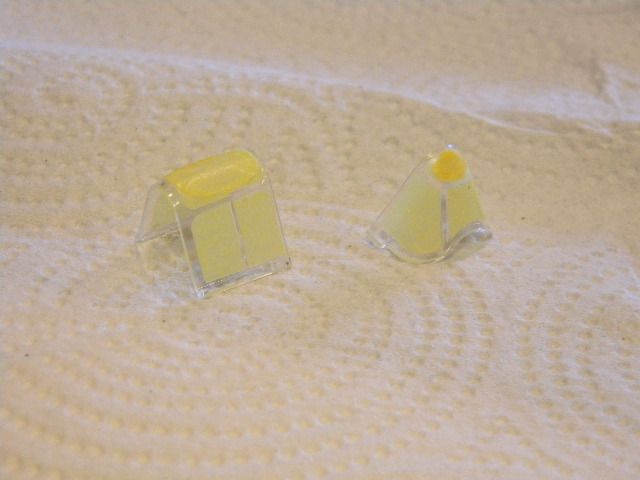
Thanks Joe and JR. Lookin' forward to some photos JR. Just finished shootin' the canopy IG. Now I know why I quit building the Dinah for the Japanese GB. I was at the canopy masking point. I do not like applying that mask! What a pain. The IG is a little spotty, but looks good from inside the canopy. Anyways... Gonna keep plodding along.
Craig