With a break from school and holiday “to-do’s” I was able to tend to couple of my models. School has made me a slacker in the hobby department and the same will occur with the Spring semester so I have to get in as much as I can in the short window of homework free time that I have.
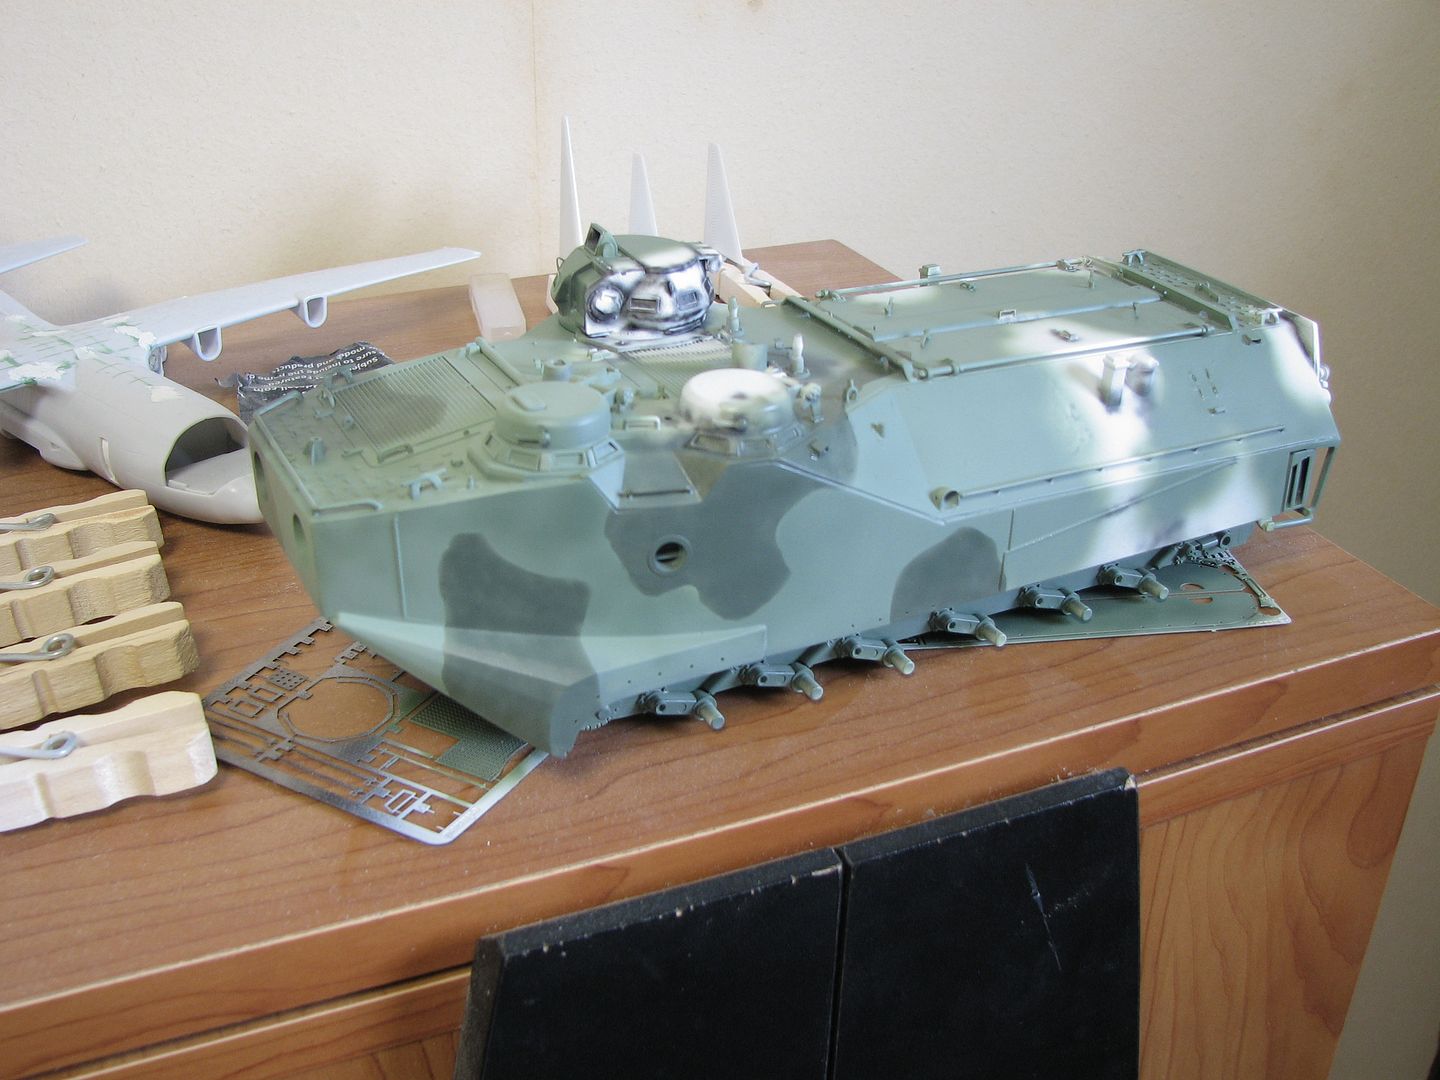
The darker green did not come out as I wanted but am hoping to tone it down with some weathering once all the camouflage is applied. I have several runs of track complete but have not started adding the track extenders yet but I do have nearly 400 pieces of .076” channels cut and ready to glue.
Thai LVTP7