So during the week I built all the small sub assemblies for Steps 5 & 6, which are essentially the internal components that go inside the Equipment Stage. And I added the final external parts on Step 7, which is the nosecone radar antenna and the manuvering rocket nozzle housings on the Equipment Stage. After building those items, I did seam clean up, but I did not glue it all in place. Instead I superglued them on to toothpicks for handling during airbrushing. Then using the following photos that I found online as reference, I began my airbrushing session today.
Retrograde Section
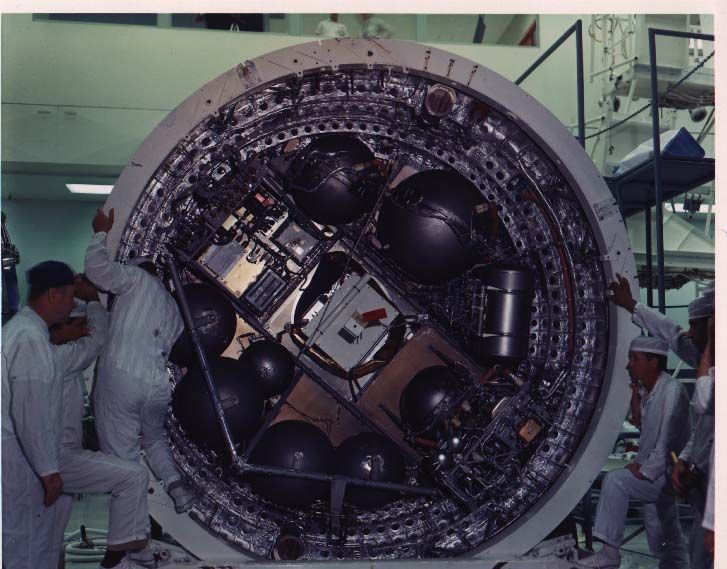
Equipment Section
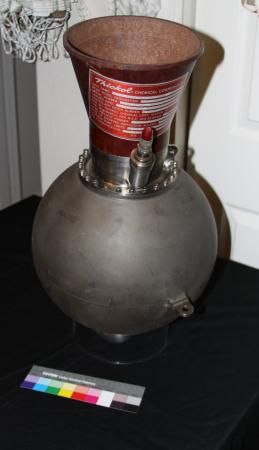
Retro Rocket
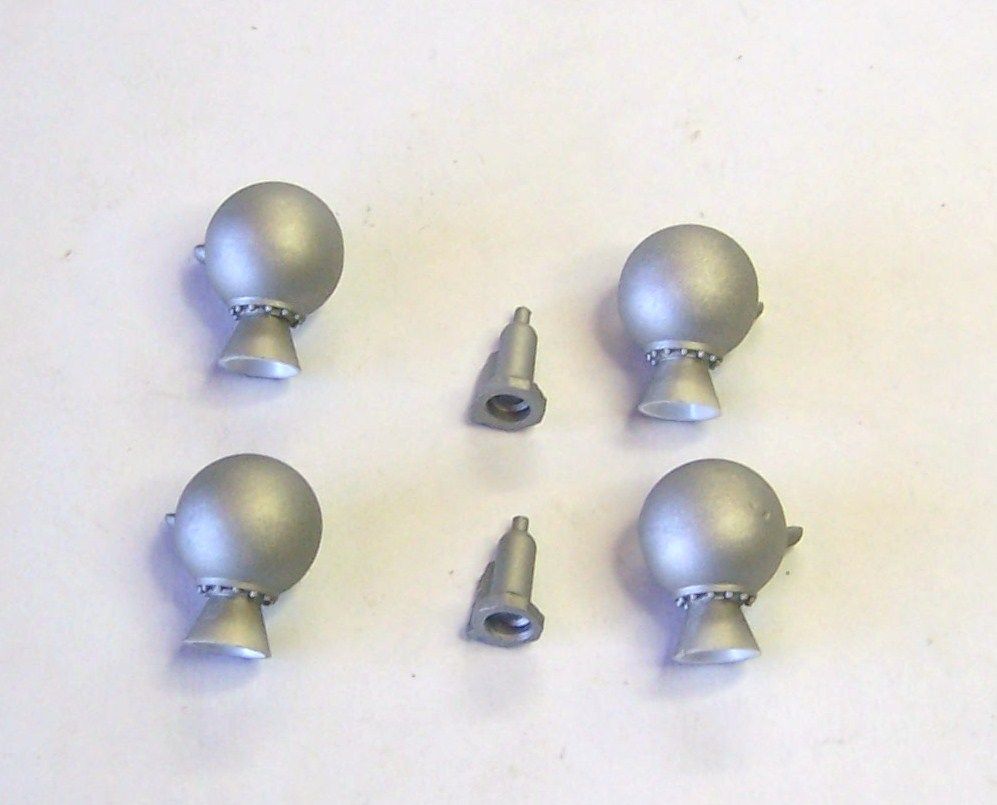
Retro Rockets and Manuevering Rockets (Testors Flat Steel). I still need to paint the nozzles and their attachment collars
Electronics:clockwise from upper right Electronics Package, Cooling Unit, Battery Power Cells, and Rendezvous Radar
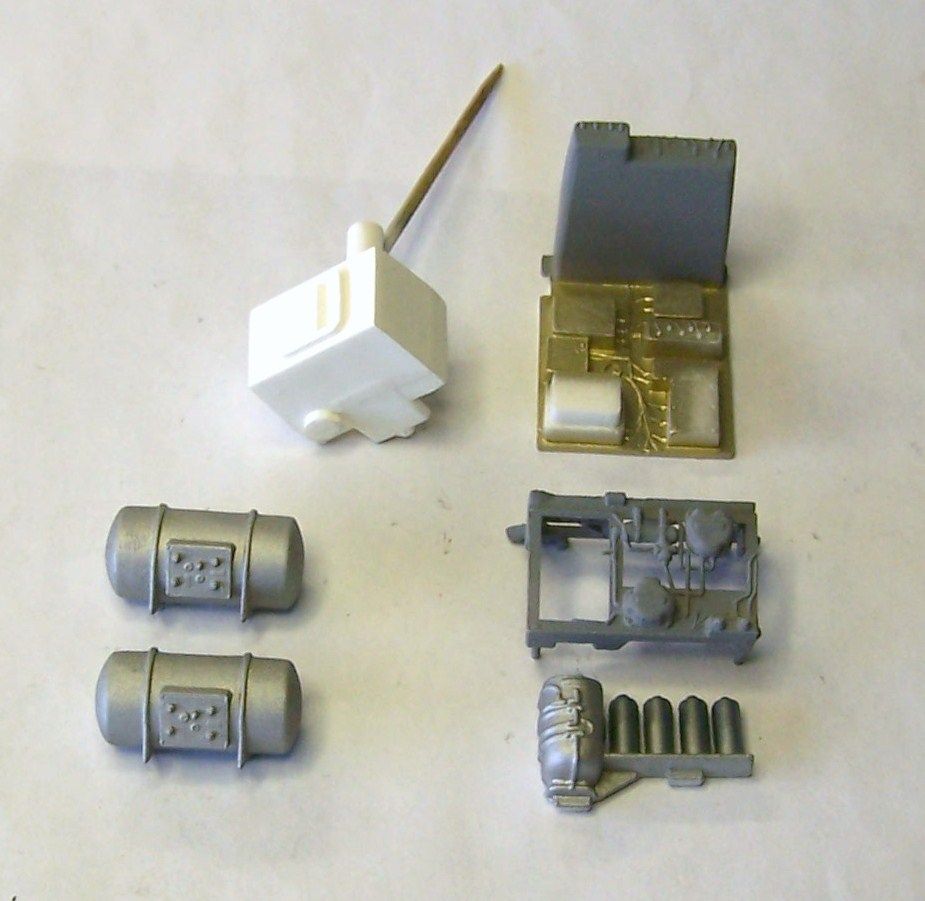
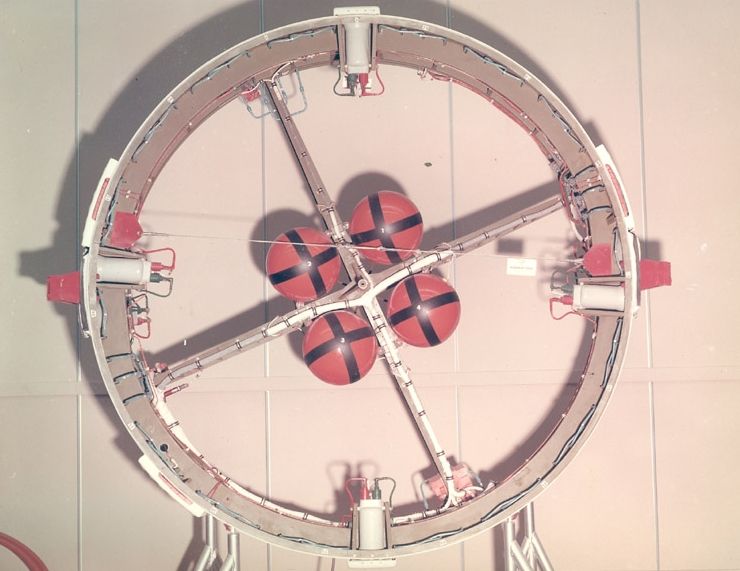
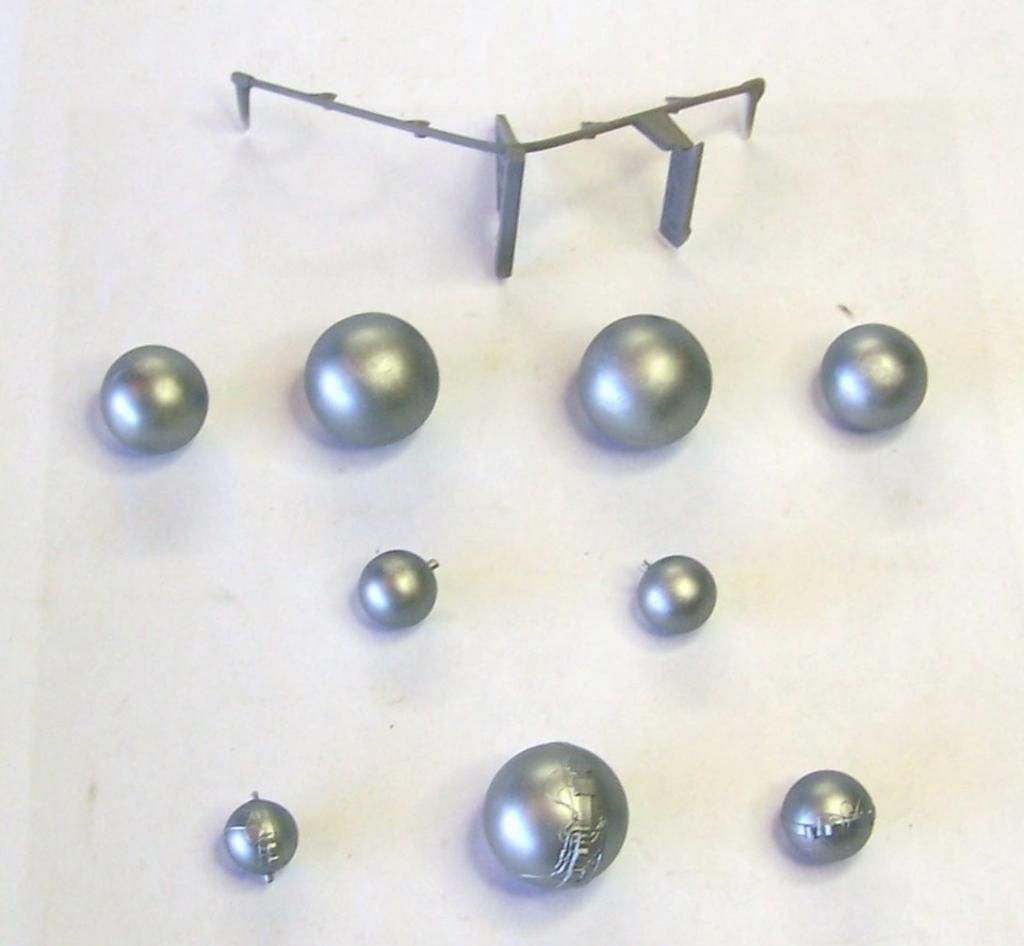
Then we have the balls... Spaceballs that is. Oxidizers, Fuel, Reactant, Oxygen, and Pressure cells, along with the mounting framework for the Reactant Cells. The rest mount onto the top of the Equipment Stage (Model Master Oiled Steel and Dark Gull Gray)
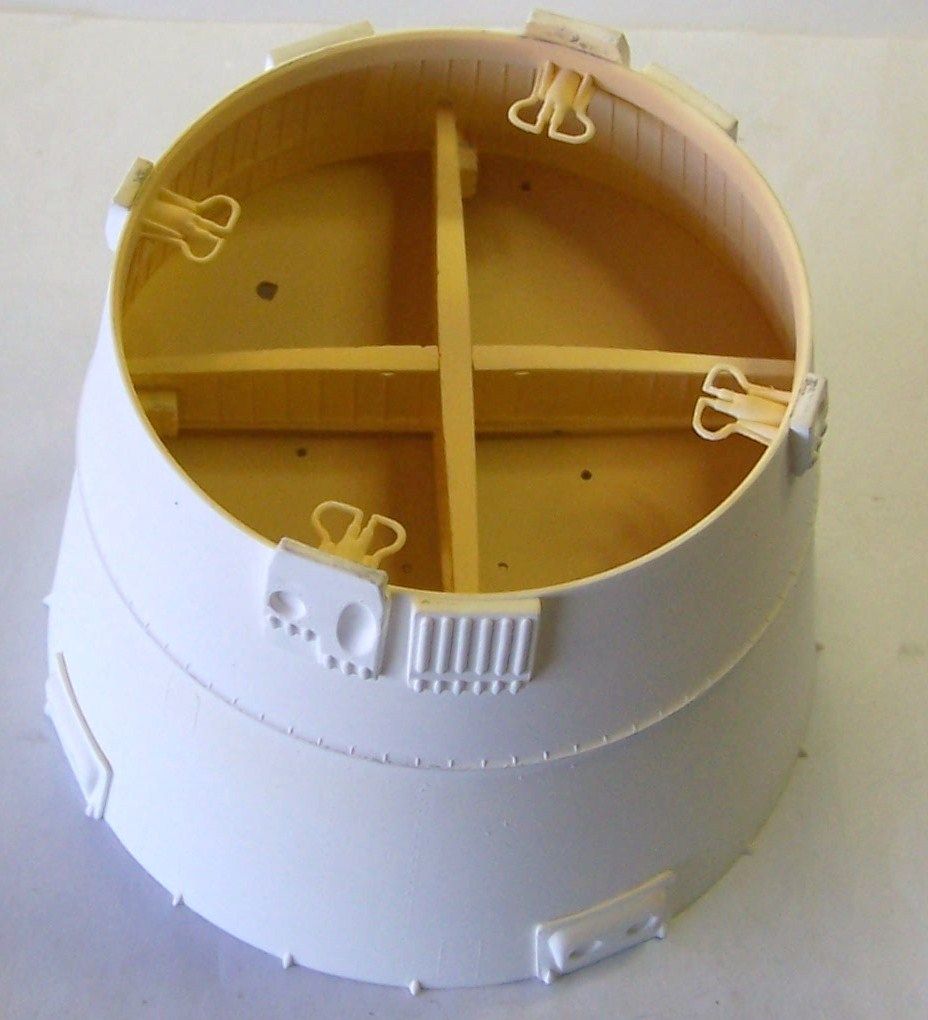
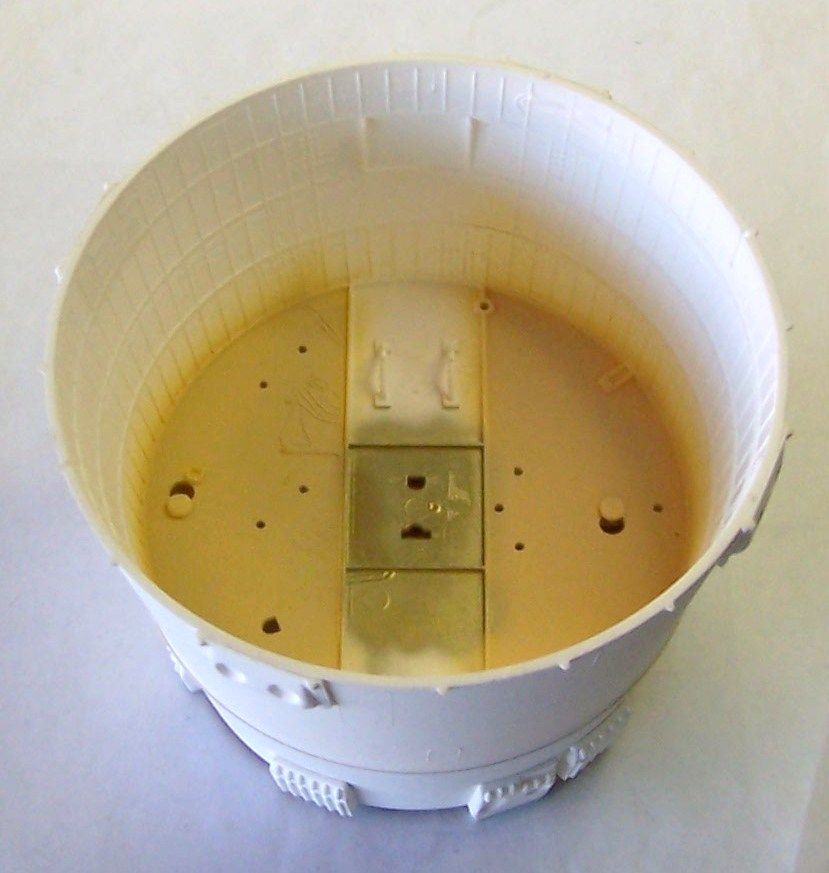
Then based upon the above photos, and having read that the cover between the Retrograde Stage and the Equipment Stage was made from fiberglass, I opted to use MM Radome Tan, which is a standard US aerospace fiberglass color. And I gave the external portion of those Stages a base coat of Humbrol Matt White
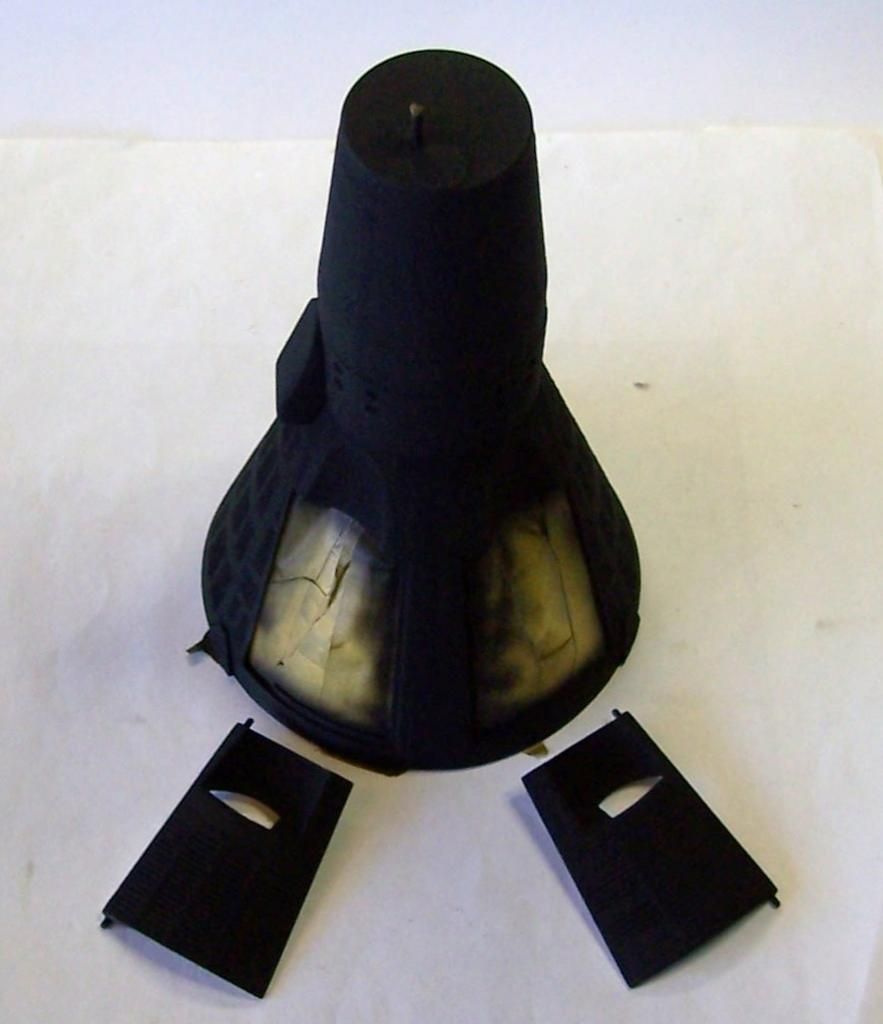
Then I did a touch up coat of Humbrol Matt Black on the Capsule itself
More to come in the next few days.