Doug
You are racing along again there - on the second (or third, or fourth) lap, and I am barely out of the blocks.
Matt,
That is a great scheme there, from here it doesn't look like you had trouble with it.
Mustang,
That looked very hard to take, only a lot jealous.
TB379,
Your E 4 has come up so well, the painting and decals are great. I could not pick it as 1/72 without you telling me.
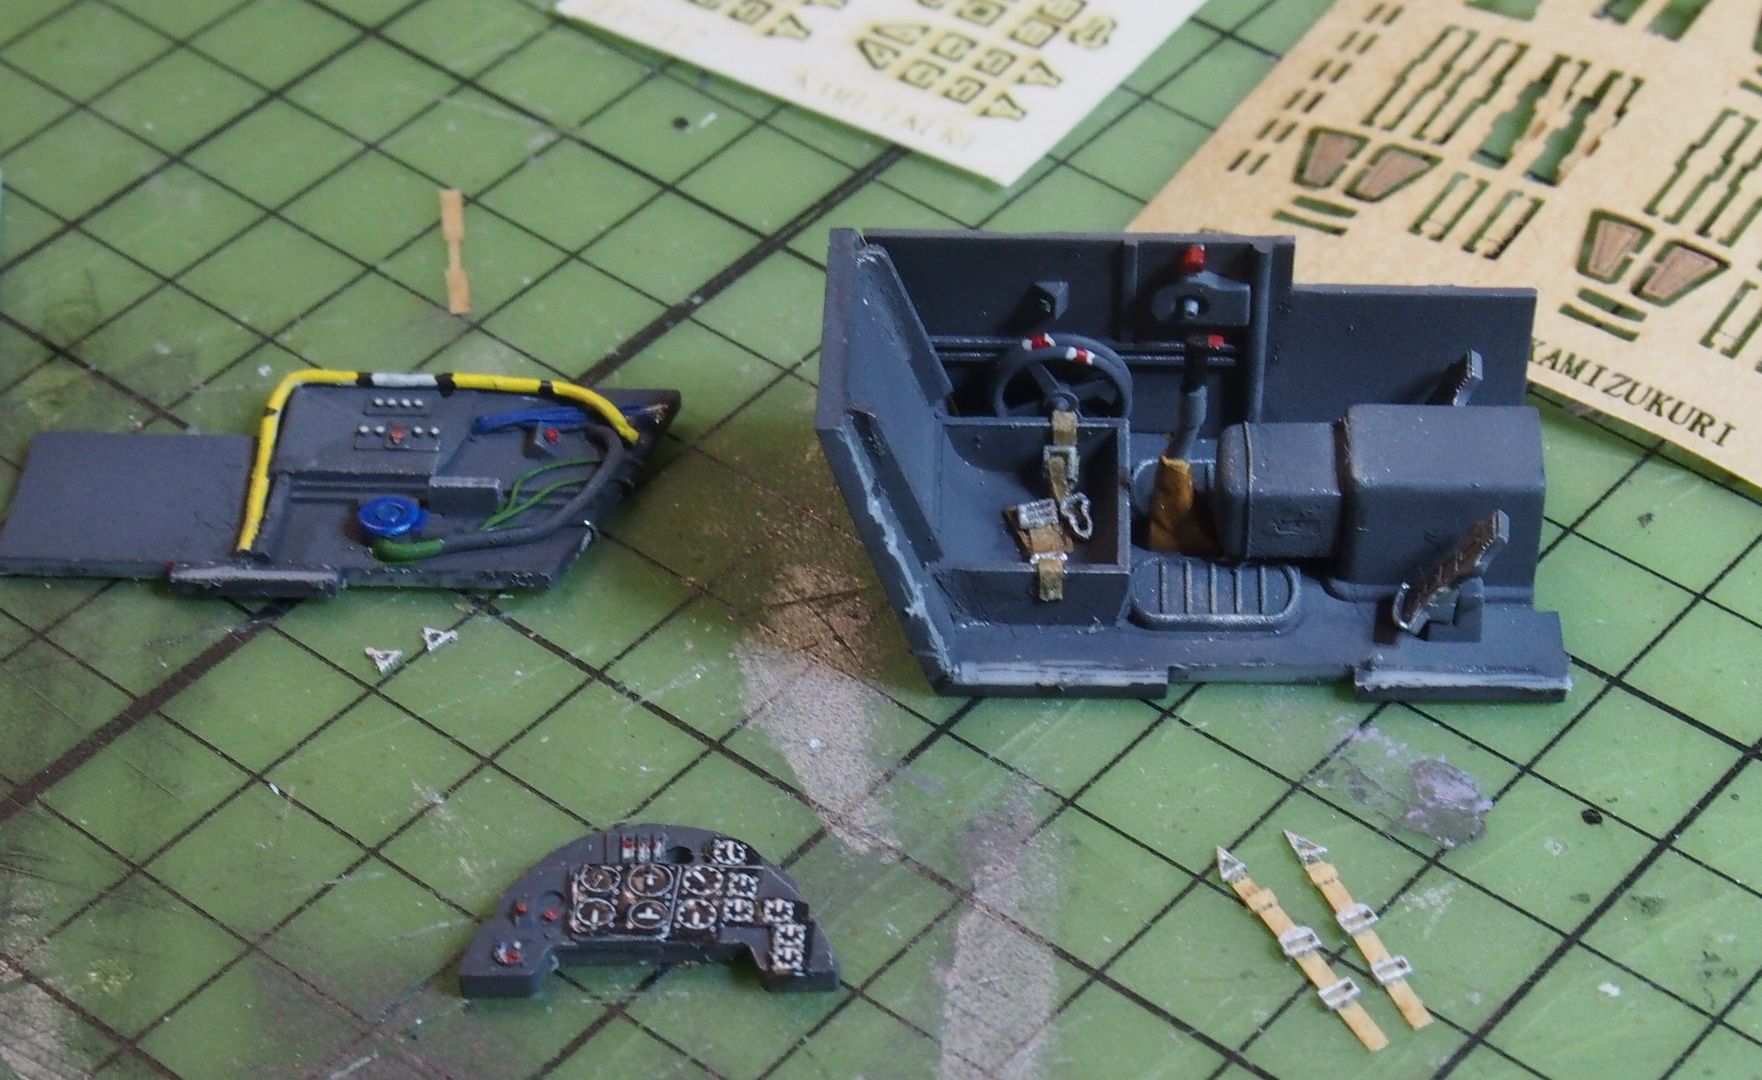
The G 2 continues on, the cockpit was finished of and put into the closed up body.
Then I tried to put the MG coaming on the nose. the kit contains a resin one specifically for this variant. But it doesn't fit. So now I have the choice of shimming and blending the resin or modifying the plastic one for a different variant. And I haven't helped myself by over sanding the deck in front of the windscreen.
