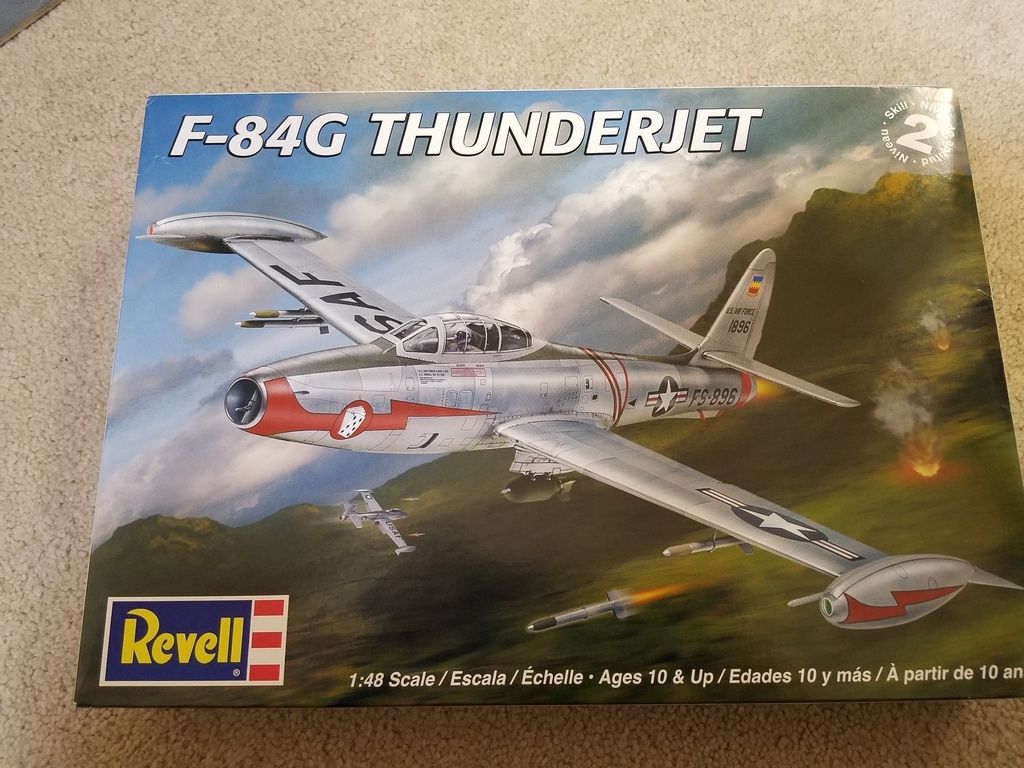
Greetings all, and a late Happy New Year! I made it back from Australia safe and sound. Here is what was awaiting me when I returned. Thank you to my Secret Santa, cant wait to get it started. Sorry for the rotation on the picture, I couldnt get it to adjust when I brought it over from PB.