Bish
Nice work on the pit there Justin. But just a note on the colur, the cockpits and exposed areas of RAF night bombers was black.
Another ![Oops]()
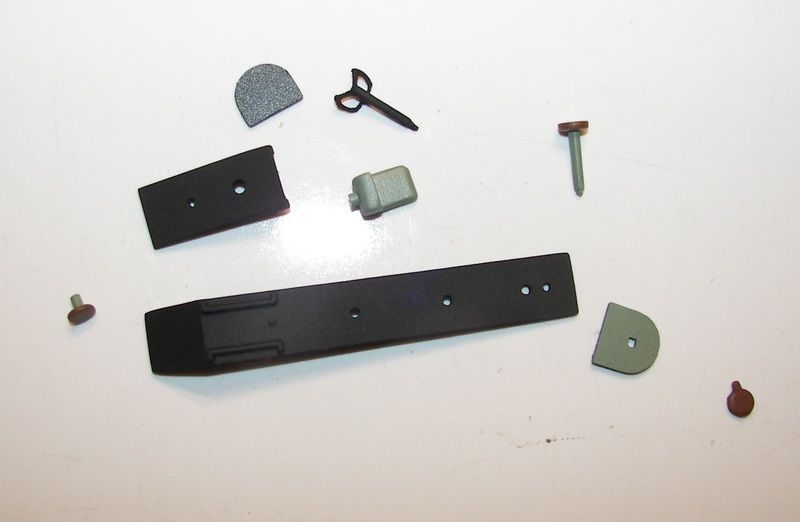
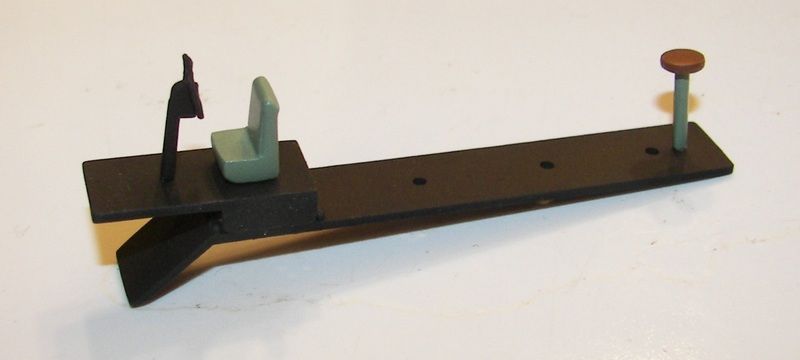
I followed the Airfix painting instructions for the HP Hampden, and ended up with this.
Closed up the fuselage already, but haven't posted until I get the photos over to PhotoBucket.
Instructions called for Interior Green on the crew areas, but fortunately black in the bomb bay.
Ought to teach me to do research and not be overly sanguine about the instructions in the kit.
Thanks, though, for the information, Bish. I'll know better next time.
On a happier note, great work going on with the rest of the builds. Exceptional work all around.