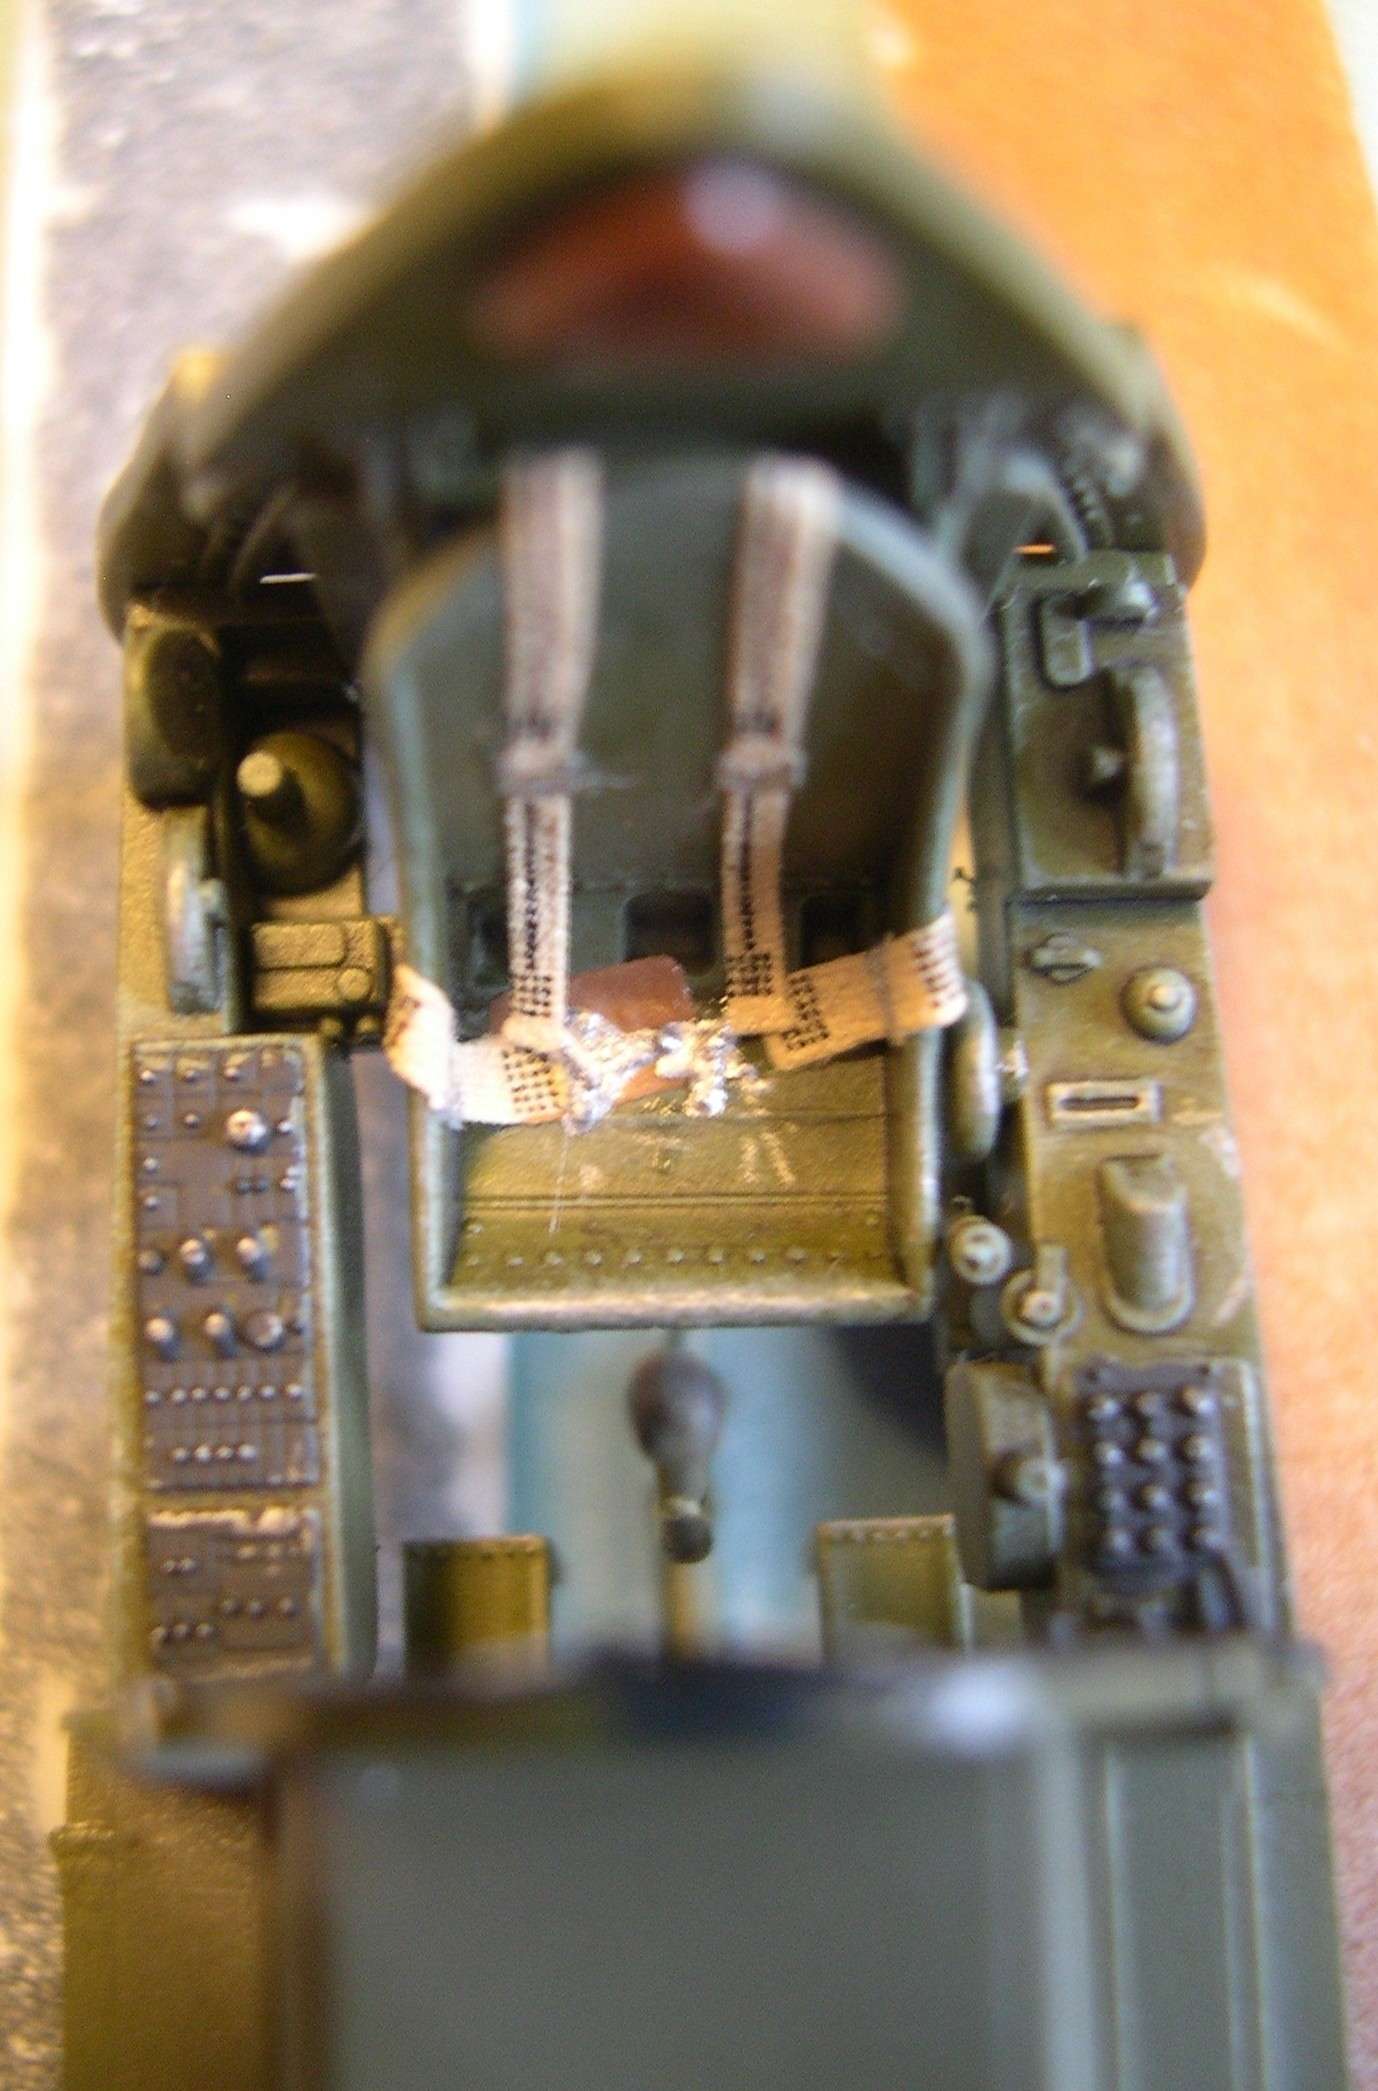
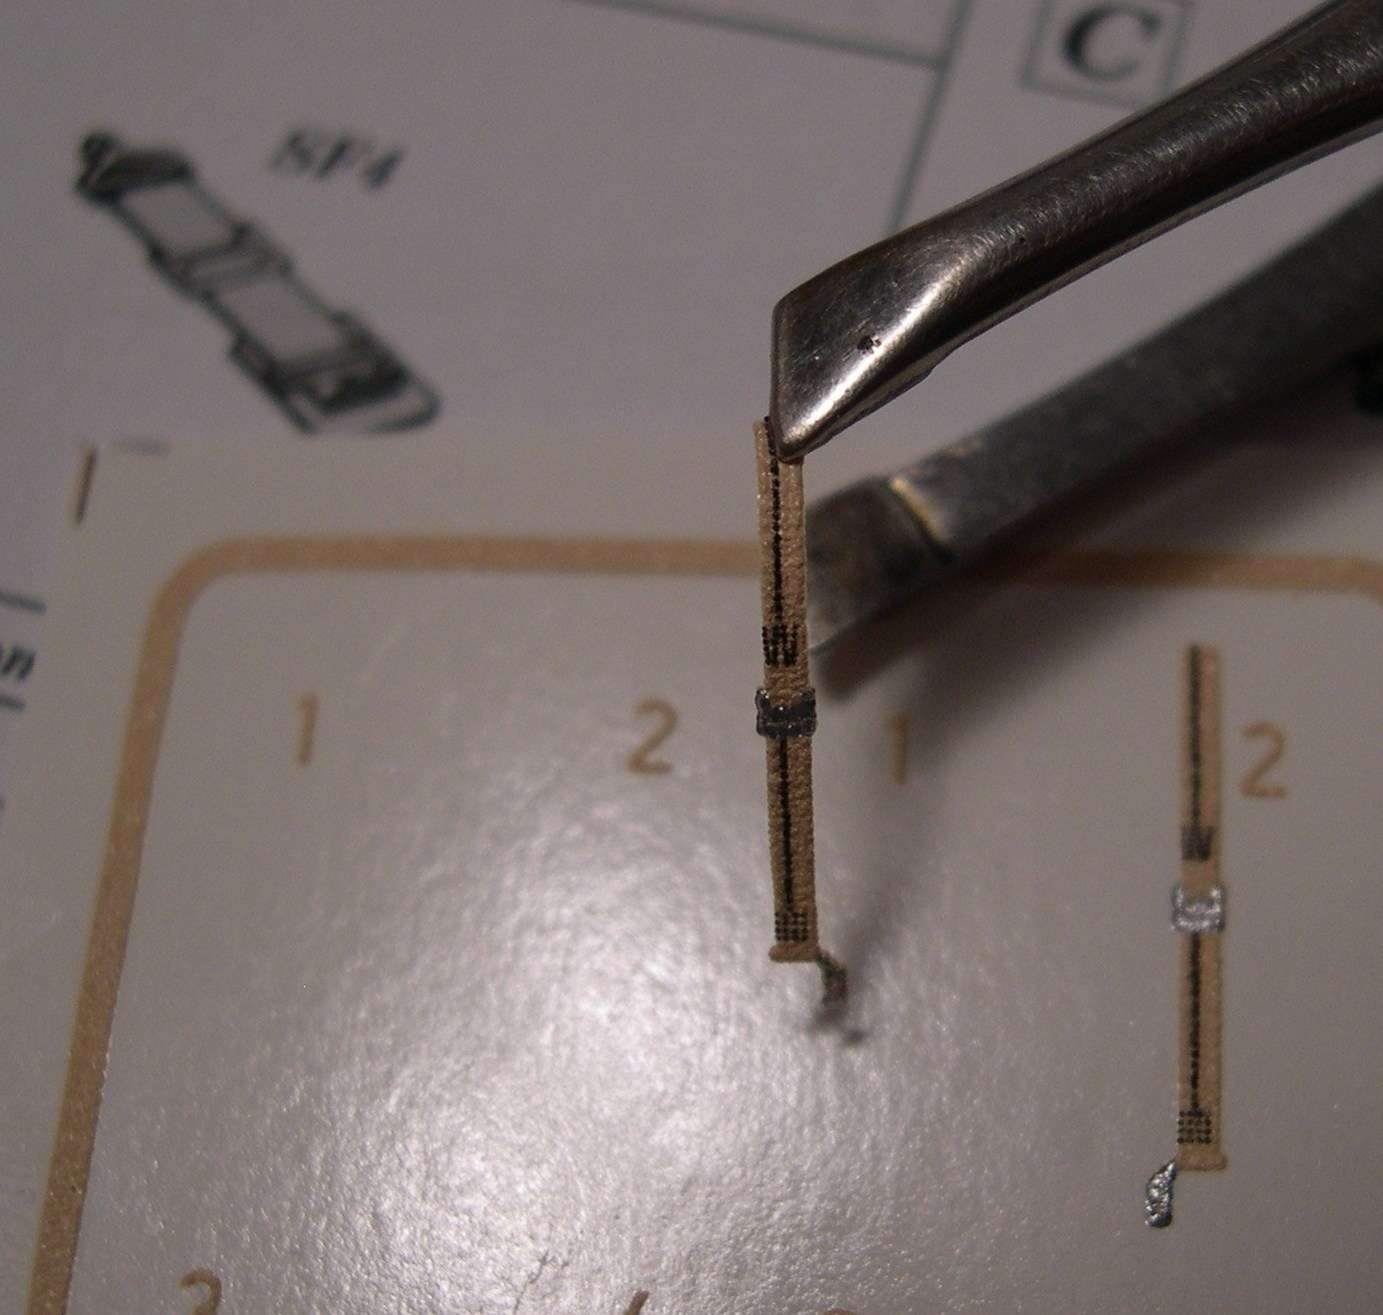
My seatbelts came in Friday. I used these Eduard 'Superfabric' which I think is new, I've haven't heard of them before. They look more like a thin flexible plastic material to me than fabric. I don't think they don't look anywhere near as good as the fabric and metal ones but in 1/48th scale they look good enough.
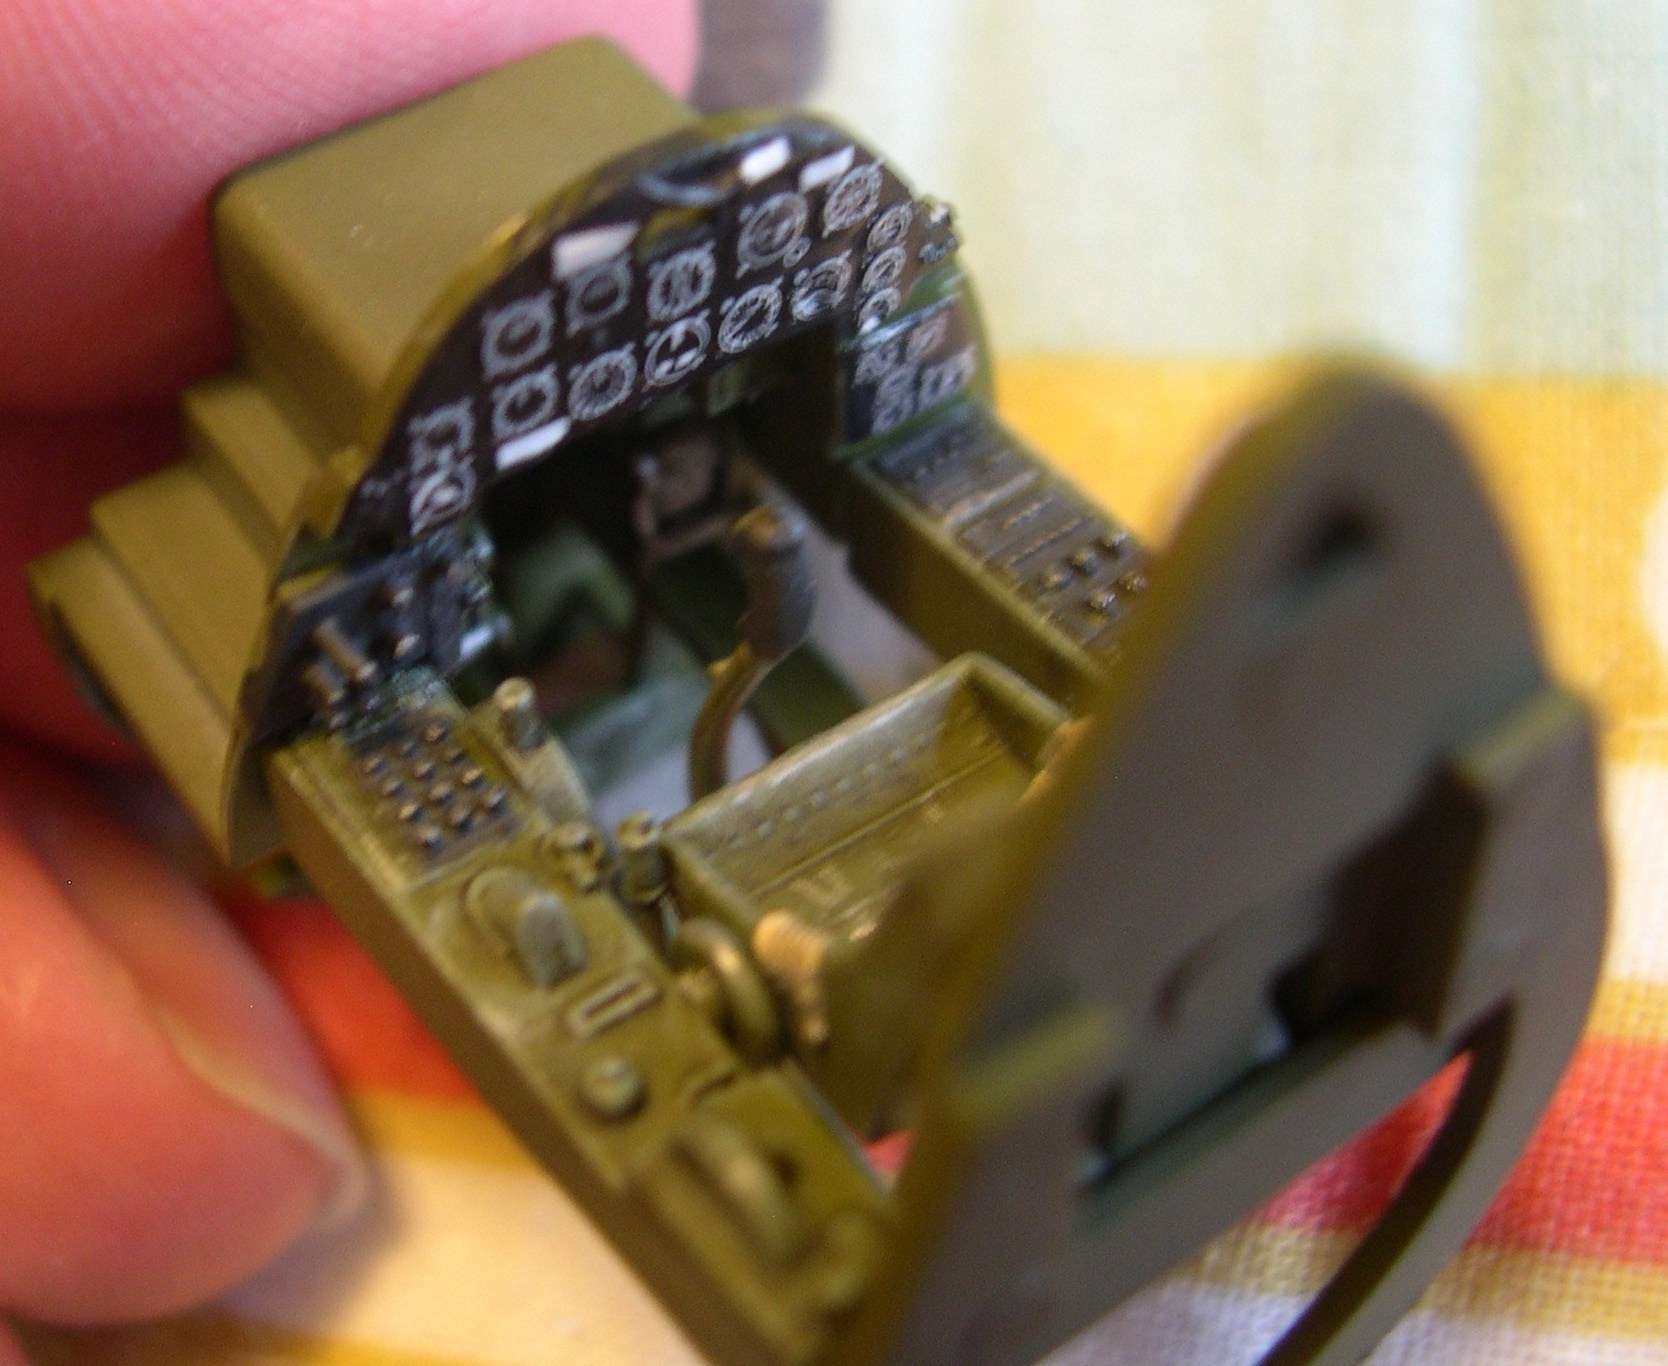
I just used the decal for the instument panel. Again shoved down in a dark cockpit it looks good enough for me. I rubbed a silver Prisma coloured pencil over the controls and raised edges, it seems to give me better control than normal dry-brushing.