After 2 months of headaches, buckets of filler, sheet after sheet of sandpaper, and enough grey hairs to warrant a blue rinse, the Sabre is done!!!!!!!!!!!!!!!!
Well, for the moment anyways. I still need to place the number '22' on the nose, but the decals supplied in the kit will not fit, they are toooooo large, only because the resin nose piece supplied is tooooo small in depth, and without covering up half the gun port, there is no way to put them on.
I have a sheet coming from the US with some numbers that will fit, will wait till then.
Here are some pics-

Cockpit (duh!)
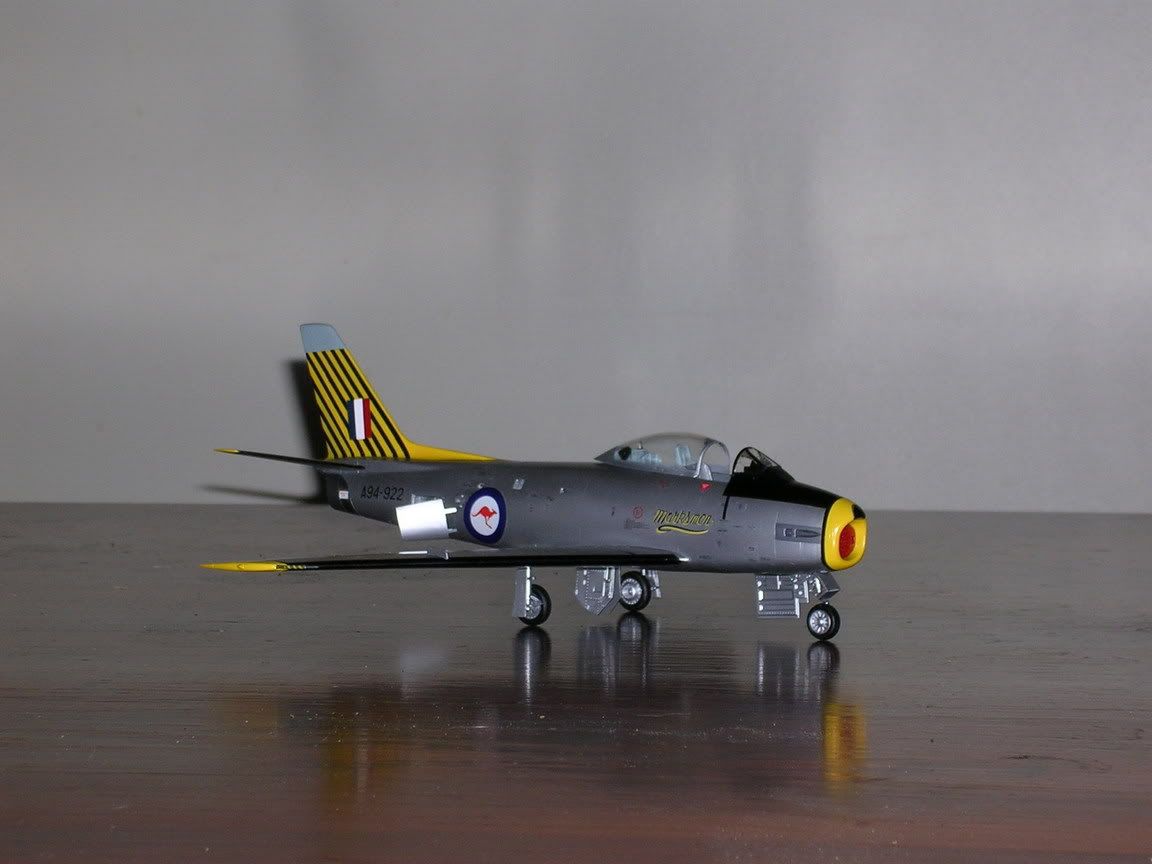

Side view.
The decals appear to have some silvering in them, and the blue seems washed out, but that is from the BMF reflecting through the decal due to the flash on the camera, in reality, the decals look quite pleasent.

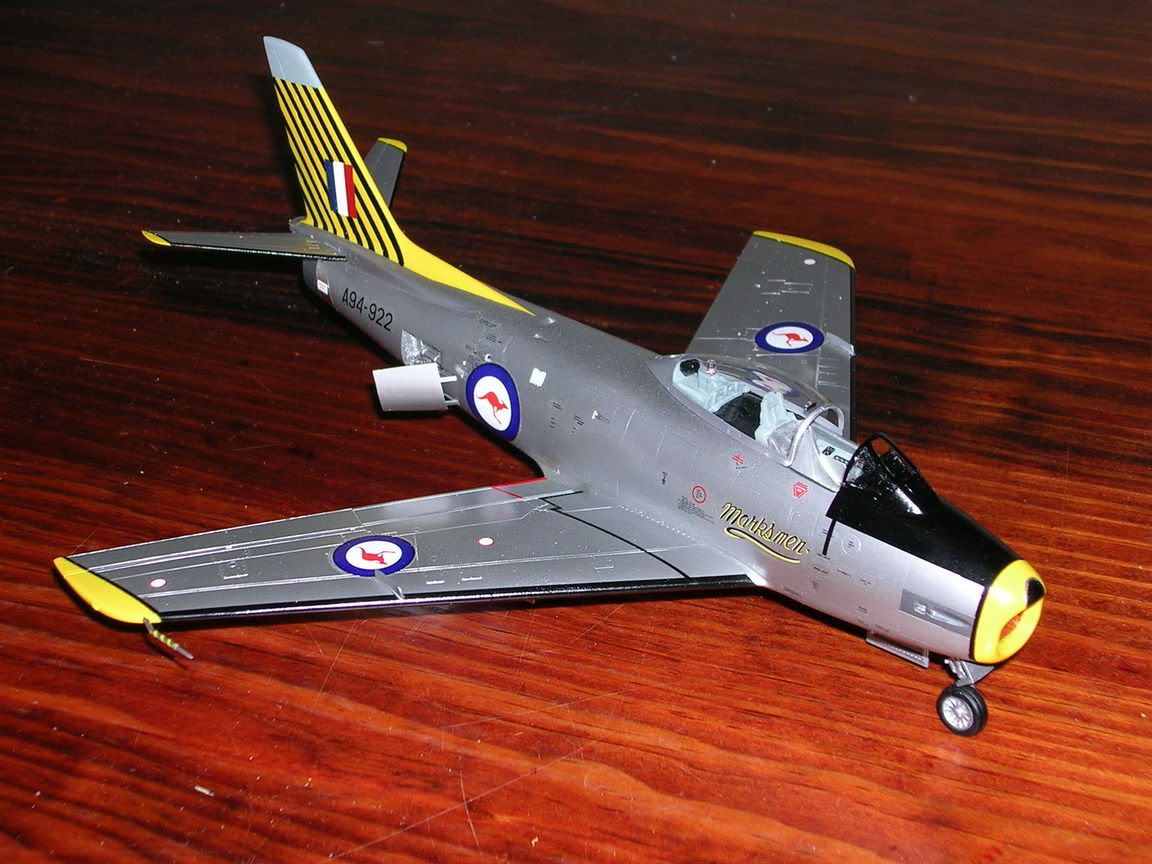
This isn't the best picture, but shows the dont walk lines I masked with Mask It.
If you guys get a chance to use this stuff, do it, it is magic!
If you look closely, you can just make out the repair line along the spine.
Well, thats it for now, it was a pleasure (and pain) to build with you guys, and hope to do it again in the new year.
Sean