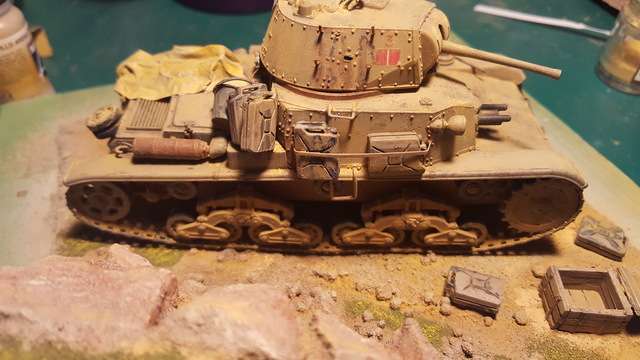
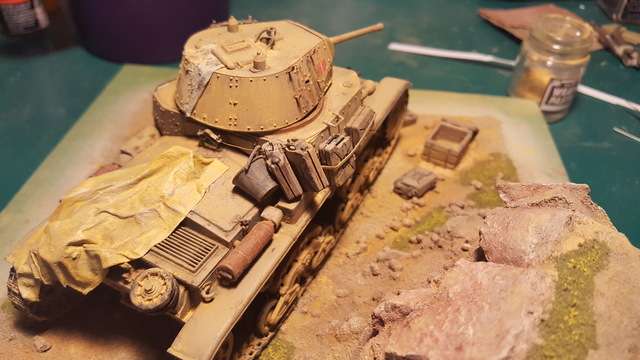
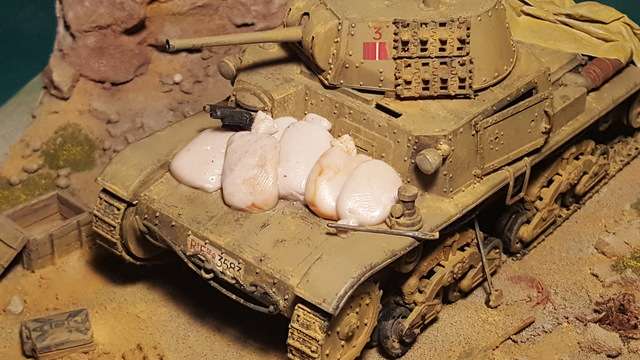
I went with the welded on strap for the cans. I also hung a couple on the back as well as a bucket. I also hung some track on the left side of the turret and made brackets for the removed track on the right side. I made a few sandbags but not real happy with them. I think they are too big, but next to the GI figures they don't look too bad. They are my first try at making epoxy putty bags. I'll get better at it.
Tomorrow night I really need to get to the GIs as long as Stick dosn't point something else out LOL. I also need to work on something to toss in the create.
Seriously though, I want to thank you Stick for watching so closely and helping me to become a better armor modler ![Big Smile]()