SEARCH FINESCALE.COM

Enter keywords or a search phrase below:

The Endless Nausicaa Model Thread

57664 views
335 replies
1 rating 2 rating 3 rating 4 rating 5 rating
  • Member since
    November 2009
  • From: SW Virginia
Posted by Gamera on Thursday, August 12, 2021 11:24 AM

Glad to see her that close to the finish line!

Looking forward to seeing her in paint!!!

"I dream in fire but work in clay." -Arthur Machen


  • Member since
    April 2014
  • From: Australia
Posted by lostagain on Thursday, August 12, 2021 7:54 AM

Real G,

The Bakagalas is kicking along in fantastic style! So glad to see this starting up again - this is an amazing build mate.

So looking forward to seeing this ready for Vegas

  • Member since
    May 2011
  • From: Honolulu, Hawaii
Posted by Real G on Wednesday, August 11, 2021 8:34 PM

Gamera,

The last major items to be made are trailing edge "fingers" attached to the flaps, which are going on tonight.

There are four Youngman-type external flaps that hang under the main wings, which are already sourced and just need to be trimmed to fit.  They go between the two most inboard hangy-down-thingies:

I'll make the guns later, gotta focus on getting the airfame to the paint shop.  The wheels and wheel wells will be painted black, then assembled while leveling the model.  I'm gonna try to paint them in place like some armor modelers do.


TB,

Yes die fuzes spitzensparken in das modelwerks!!

“Ya ya ya, unicorn papoi!”

  • Member since
    November 2009
  • From: SW Virginia
Posted by Gamera on Wednesday, August 11, 2021 7:57 PM

Looks good! Nice to see the fins and engines are in place. Any other big parts you need to add?


The clip is from 'The Giant Claw' (1957) where Jeff Morrow and Mara Corday face off against a giant (big as a BATTLESHIP) space buzzard with an antimatter (?) force field. They filmed the entire movie and then contracted out the monster work to a Mexican effects house later- so the actors never saw the critter they were being blue-screened against. Morrow used to attend screenings in the small town he grew up in. With this film he was so embarressed he and his wife excused themselvies shortly after the 'Claw' showed up and went home early...  

"I dream in fire but work in clay." -Arthur Machen


  • Member since
    October 2019
  • From: New Braunfels, Texas
Posted by Tanker-Builder on Wednesday, August 11, 2021 7:24 PM

Oh!Oh!

       You Haff Blown the fusensparken in da Brain. Must changen be doing tha fuses. Chees, whatta weeeeeeird and wonderful Model!!

  • Member since
    May 2011
  • From: Honolulu, Hawaii
Posted by Real G on Wednesday, August 11, 2021 6:34 PM

Thanks Steve, hope to show it to you in person next week!

“Ya ya ya, unicorn papoi!”

  • Member since
    July 2014
Posted by modelcrazy on Wednesday, August 11, 2021 2:16 PM

That looks cool G

Steve

Building a kit from your stash is like cutting a head off a Hydra, two more take it's place.


http://www.spamodeler.com/forum/

  • Member since
    May 2011
  • From: Honolulu, Hawaii
Posted by Real G on Wednesday, August 11, 2021 12:39 PM

Gamera,

That thing looks like some deranged muppet from the dark side of Sesame Street!  It could be Big Bird's crack addict cousin!  Remember kids, don't do drugs!

So the slog continues on in the desperate remaining days.  I took a leap of faith when I fixed the fin supports struts, hoping the jig I made had properly set the strut base angles.  I think it worked okay-ish.

The fins can still be slid off the fuselage for painting.  I confess it's not 100% perfect, but it will have to do,

I also glued on the engines - all eight of them!

Hurry, Star Force - there are only 8 days left!!!

“Ya ya ya, unicorn papoi!”

  • Member since
    November 2009
  • From: SW Virginia
Posted by Gamera on Monday, August 9, 2021 8:03 PM

Very cool!!! 

Love all the bumps- reminds me of a beautiful bird as big as a battleship... 

"I dream in fire but work in clay." -Arthur Machen


  • Member since
    May 2011
  • From: Honolulu, Hawaii
Posted by Real G on Monday, August 9, 2021 1:50 PM

TB,

With time running out, I'm gonna have to figure out the best use of the remaining days.  I did give a hard look at my riveting scheme, and once I get a unifying coat of primer on, I'll decide where they are needed and where they are not.

I did get some big bumps made and attached to the upper nose over the weekend.  This was the last engineering obstacle I had to overcome.  I was worried over how to heat form the bumps such that they were a perfect fit to the curvy nose, but in the end I realized they were thin and thus easy to flex a bit  into place.

I need to finish attaching the various turret rings before a final sand down.  I added the last gun position on the tail last night.  Primer will follow.

“Ya ya ya, unicorn papoi!”

  • Member since
    October 2019
  • From: New Braunfels, Texas
Posted by Tanker-Builder on Sunday, August 8, 2021 9:44 AM

Well Yeah!

       I am taking my very sweet time to build a Treibflugel, What If Plane model. The areas I filled that made the rivets disappear didn't look right so, I put them back and cleaned up where the paint blocked them too. I was able to do that Because GoldHammer saw my dilemna and sent me a trio of Pounce wheels, he said he wasn't using.  Whatta difference! He said folks had assisted him in the past like this and he was paying it forward!

      So, see modelers do tend to think ahead! I have used them almost on a regular basis now.I actually didn't se what I was missing! What scale is the ship? The Smallest Pounce wheel would probably look good , or  arethey pronounced above the surface? If they are raised, Walthers Model Railroad Products has Rivet decals in all the important scales. You can feel them under paint too! 

  • Member since
    May 2011
  • From: Honolulu, Hawaii
Posted by Real G on Friday, August 6, 2021 2:01 PM

TB,

I was originally thinking of riveting every single panel's entire perimeter, but that may make it look like an iron bridge.  The fuselage will still be done this way, but the wings and landing gear sponsons require a re-think.  Like the "Game of Thrones" dragons, the rivets are coming... 

“Ya ya ya, unicorn papoi!”

  • Member since
    October 2019
  • From: New Braunfels, Texas
Posted by Tanker-Builder on Friday, August 6, 2021 1:22 PM

That's whut I thunk!

 Rivets? Noooooooooo!.Let's do we break them upp in groups or do like Hawk Plastic did when Aurora copied some of their kits. Put rivets in Morse code patterns Spelling out RealG!LOL.LOL.

  • Member since
    May 2011
  • From: Honolulu, Hawaii
Posted by Real G on Friday, August 6, 2021 1:22 PM

Rain gutters and the "crow's nest" tail gun fairing have been installed.  I had to turn a new heat form buck for the crow's nest, as the taper of the original part was insufficient.

“Ya ya ya, unicorn papoi!”

  • Member since
    November 2009
  • From: SW Virginia
Posted by Gamera on Friday, August 6, 2021 9:59 AM

Weirder and cooler!!!

"I dream in fire but work in clay." -Arthur Machen


  • Member since
    March 2007
  • From: Northeast WA State
Posted by armornut on Thursday, August 5, 2021 6:51 PM

   Thanks Real G, I told a mutual friend that I so NOT a rivet counter..... Now I gotta count every oneWink

we're modelers it's what we do

  • Member since
    May 2011
  • From: Honolulu, Hawaii
Posted by Real G on Thursday, August 5, 2021 6:24 PM

You are not seeing things TB, it IS getting weirder.  Big Smile

But most of the exterior details are on, so from now it is going to get - rivets!

“Ya ya ya, unicorn papoi!”

  • Member since
    October 2019
  • From: New Braunfels, Texas
Posted by Tanker-Builder on Thursday, August 5, 2021 5:54 PM

HEY ?

        Is it me or is that thing looking weirder and weirder? Luv it, Interesting Gunports!

  • Member since
    May 2011
  • From: Honolulu, Hawaii
Posted by Real G on Thursday, August 5, 2021 12:39 PM

Thanks Gamera!  The work continues...

I finally sat down and forced myself to cut out the 6 fuselage side gun position window frames.  I had a devil of a time cutting the window opening on the first one, but like I say I do things the hard way first.

Hard Way = Cut opening and trim with knife, hoping knife won't slip or make the dreaded "k-k-k-k" skip with resultant rough/faceted edges that propagate fractures.  I lost 2 window frames that way.

Easy Way = Drill pilot holes, use knife to butcher out a rough cut, then refine opening size and shape with elliptical cross section file.  Easy.  5 done in one sitting.

The window openings were backed with 0.010" sheet plastic.  I used the heat form buck to trace out the rough shape to get a drop-fit into the backside of the frame.  Again, easy.

There are 2 odd shaped side gun postions and one tail position at the back that need to be fabricated and installed.  I have those figured out already.  Some rain channels also go back there.

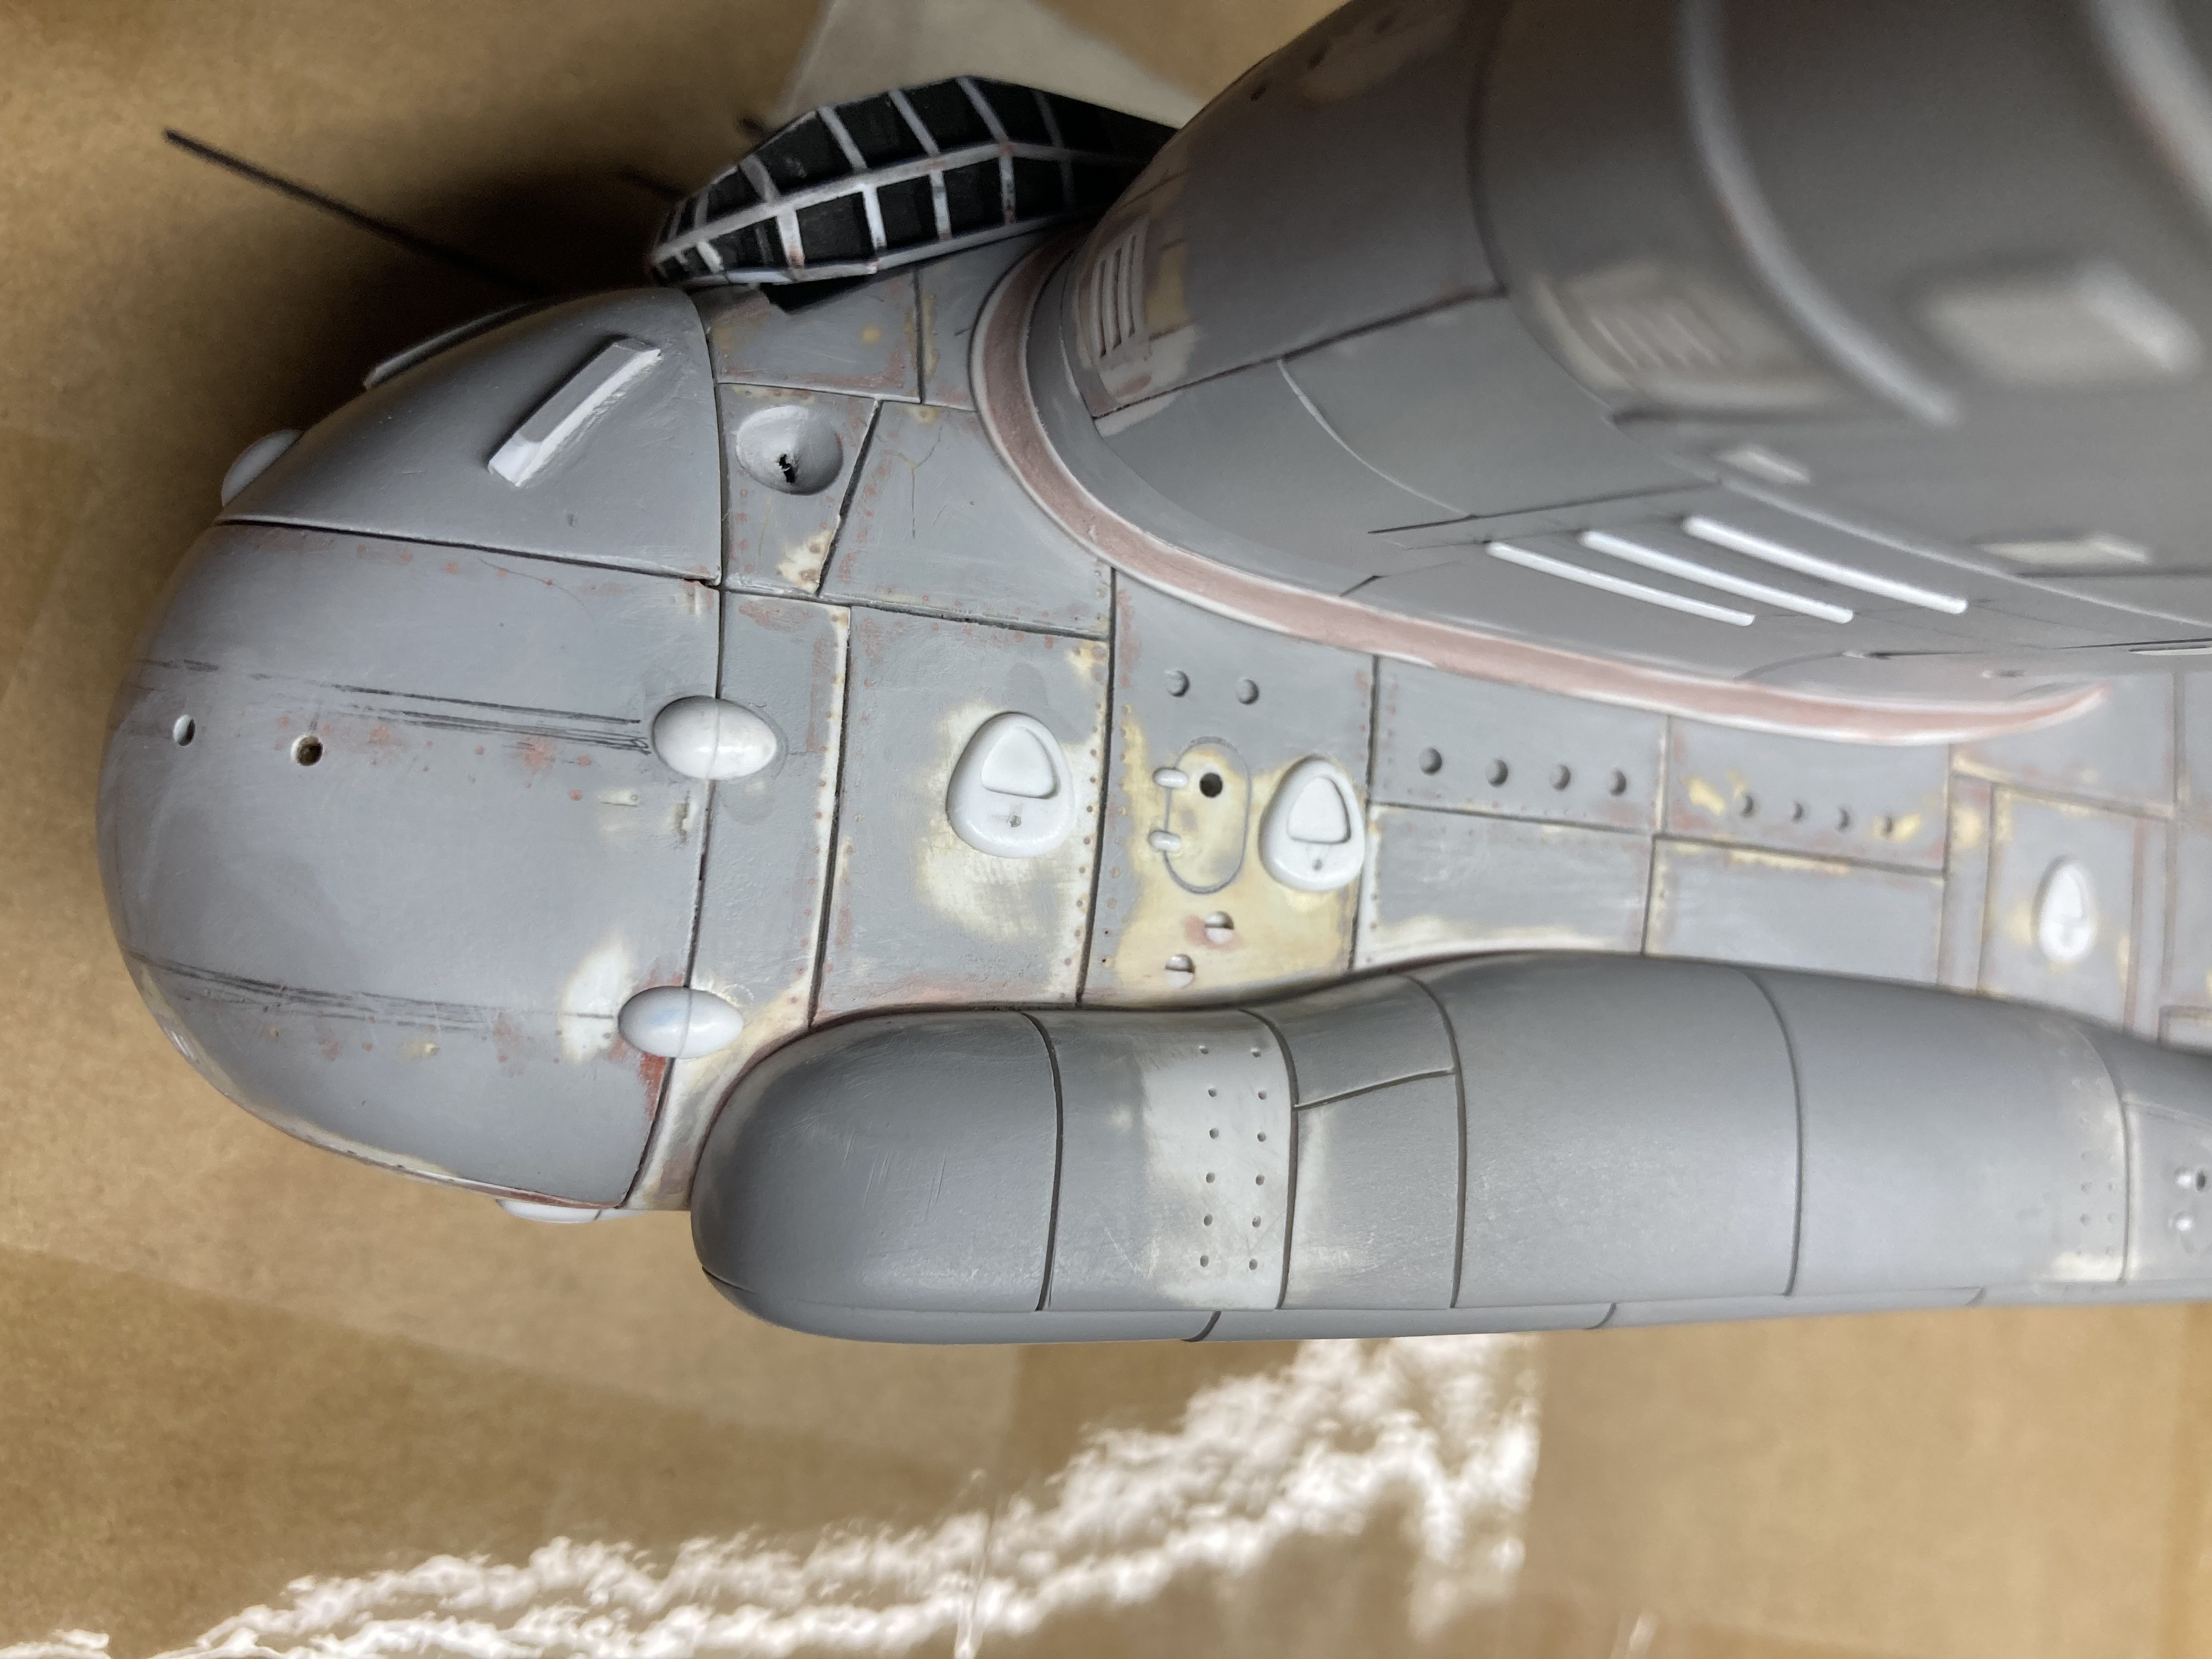
Those holes on the landing gear sponson are for little wire grab handles.


“Ya ya ya, unicorn papoi!”

  • Member since
    November 2009
  • From: SW Virginia
Posted by Gamera on Monday, August 2, 2021 8:33 PM

Looks awesome to me! Love how the cockpit looks! 

"I dream in fire but work in clay." -Arthur Machen


  • Member since
    May 2011
  • From: Honolulu, Hawaii
Posted by Real G on Monday, August 2, 2021 12:58 PM

Thanks Gamera for your encourgement and support!  Yes  It's do or die time with just 2 weeks left.  Tongue Tied

I painted the canopy flat black in preparation to filling the recesses with clear UV resin.

It looks okay, so the resin goes in this week.  I DID check the resin container and verified it was full and still liquid!

As I try to get the gun stations sorted, other long postponed work has commenced.  I had made a jig to spot where the pivot points for the Youngman-type external flaps would go, so I used a 0.5mm pencil lead tipped with red paint to mark the locations.  Sorry no pic; I'll take a photo explaining the process later.  Anyway, I driled the holes and stuck in some rods to check alignment in all 3 axes.

It looks acceptable.  Any small adjustments will be made by drilling corresponding holes in the flap ends.


“Ya ya ya, unicorn papoi!”

  • Member since
    November 2009
  • From: SW Virginia
Posted by Gamera on Sunday, August 1, 2021 8:56 AM

Good luck!

I've got my fingers crossed you make the deadline.

"I dream in fire but work in clay." -Arthur Machen


  • Member since
    May 2011
  • From: Honolulu, Hawaii
Posted by Real G on Friday, July 30, 2021 12:41 PM

I'm still running behing schedule, but am close to finishing all the putty and sanding stuff.  Still need to make some small bits, but moving forward.

TB, the model will be some kind of blue-grey with yellow-orange wing tips.

“Ya ya ya, unicorn papoi!”

  • Member since
    October 2019
  • From: New Braunfels, Texas
Posted by Tanker-Builder on Friday, July 30, 2021 9:14 AM

Well, I thought we'd never git here!

      Good on you for a fine job on the Little Details! What color we gonna be?

  • Member since
    May 2011
  • From: Honolulu, Hawaii
Posted by Real G on Tuesday, July 27, 2021 1:11 AM

Gamera

Looks good to me! Crossing my fingers you make the deadline. 


Me too.  Indifferent

“Ya ya ya, unicorn papoi!”

  • Member since
    November 2009
  • From: SW Virginia
Posted by Gamera on Monday, July 26, 2021 9:52 PM

Looks good to me! Crossing my fingers you make the deadline. 

"I dream in fire but work in clay." -Arthur Machen


  • Member since
    May 2011
  • From: Honolulu, Hawaii
Posted by Real G on Monday, July 26, 2021 12:02 PM

Work has been slow again, but the scab plates are on.

I needs to complete the remaining surface details like the turrets by this week.

“Ya ya ya, unicorn papoi!”

  • Member since
    May 2011
  • From: Honolulu, Hawaii
Posted by Real G on Thursday, July 22, 2021 12:49 PM

I'm getting closer to finishing adding the vents into the wings and fuselage.

That laser pistol thing in the background is a small hand vac meant for railroad model ground cover recovery.  It's super useful clearing balsa bits as I dig holes in the model's skin to set the vents.  The suction force is weak, but by keeping the unit on until it can be pointed into the garbage can, the particles stay in until the switch is turned off and the bits fall into the can.

Next up is adding 0.005" scab plates in random areas.  I trialed 0.010" sheet, but it is way too thick and takes forever to sand back to 0.005" thickness.  I'm running behind schedule, but am still hopeful.  Smile

“Ya ya ya, unicorn papoi!”

  • Member since
    May 2011
  • From: Honolulu, Hawaii
Posted by Real G on Tuesday, July 20, 2021 1:03 PM

Thanks Gamera!  Hai, gambarimasu.

“Ya ya ya, unicorn papoi!”

  • Member since
    November 2009
  • From: SW Virginia
Posted by Gamera on Monday, July 19, 2021 8:46 AM

'I've got you covered kid! Now let's blow this thing and head for Vegas!!!'

All joking aside looks great! I hope we keep you motivated, as cool as this is it'd be a shame for you miss the date...

"I dream in fire but work in clay." -Arthur Machen


JOIN OUR COMMUNITY!

Our community is FREE to join. To participate you must either login or register for an account.

SEARCH FORUMS
FREE NEWSLETTER
By signing up you may also receive reader surveys and occasional special offers. We do not sell, rent or trade our email lists. View our Privacy Policy.