Here's the latest installment guys--making good progress here.
The installation of the legs presented a bit of a challenge: ParaGraphix does not include a "leg" per se and they suggest that you use different sizes of aluminum tubes, but I have NO experience with working with that, so I thought "well maybe brass", but then that brings up the problem of working with different adhesive complexities, so I figured that I would just try to make it work with styrene rod and tube.
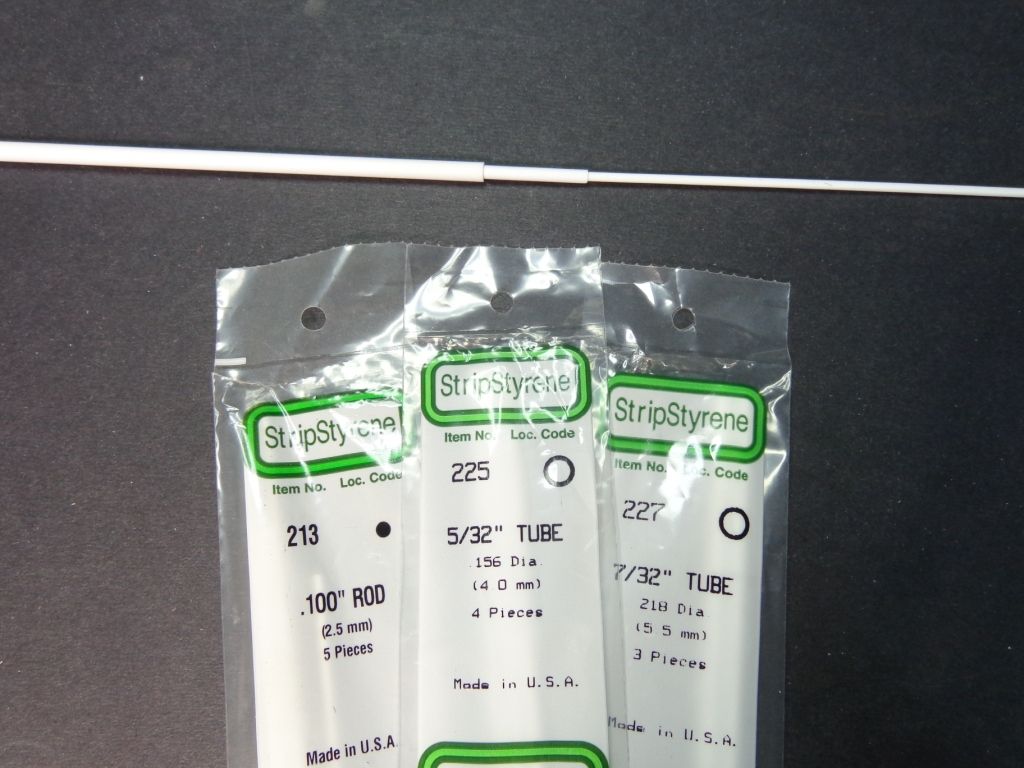
After a special trip to the only local hobby store still around (thank god) I was able to size and settle on three sizes that worked well: .100 mm rod for the actual leg, and two different "nesting" sizes -- 5/32 (4mm) and 7/32 (5.5mm) tube, which, when fit inside each other, would not only provide strength and stability, but also allow me to find the right "ride height" for the Eagle before cementing them in.
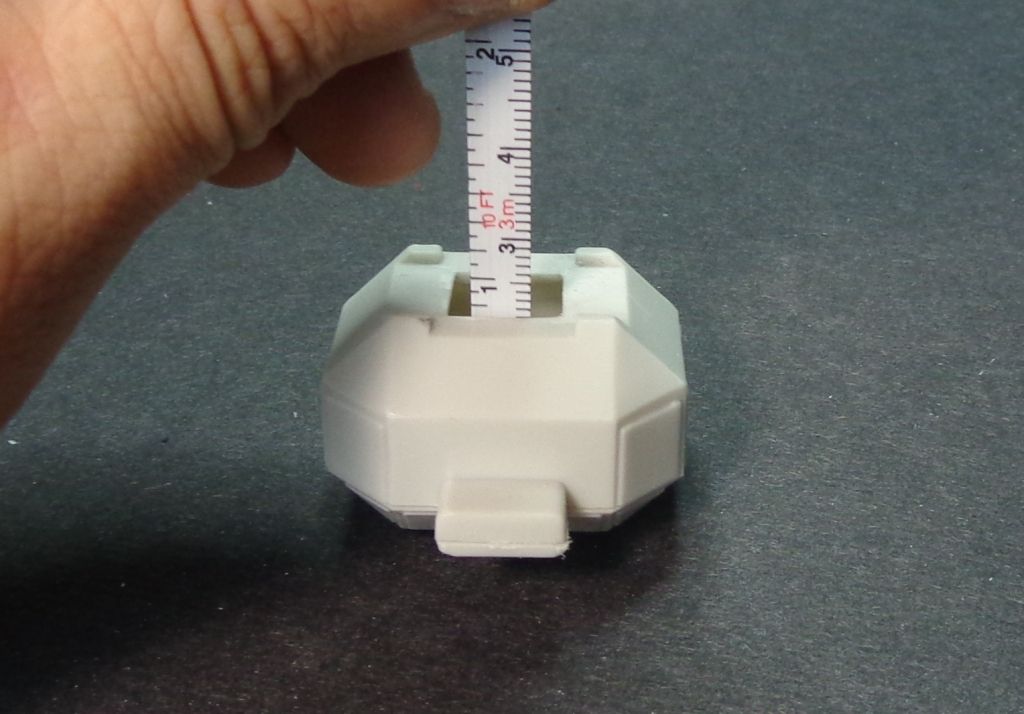
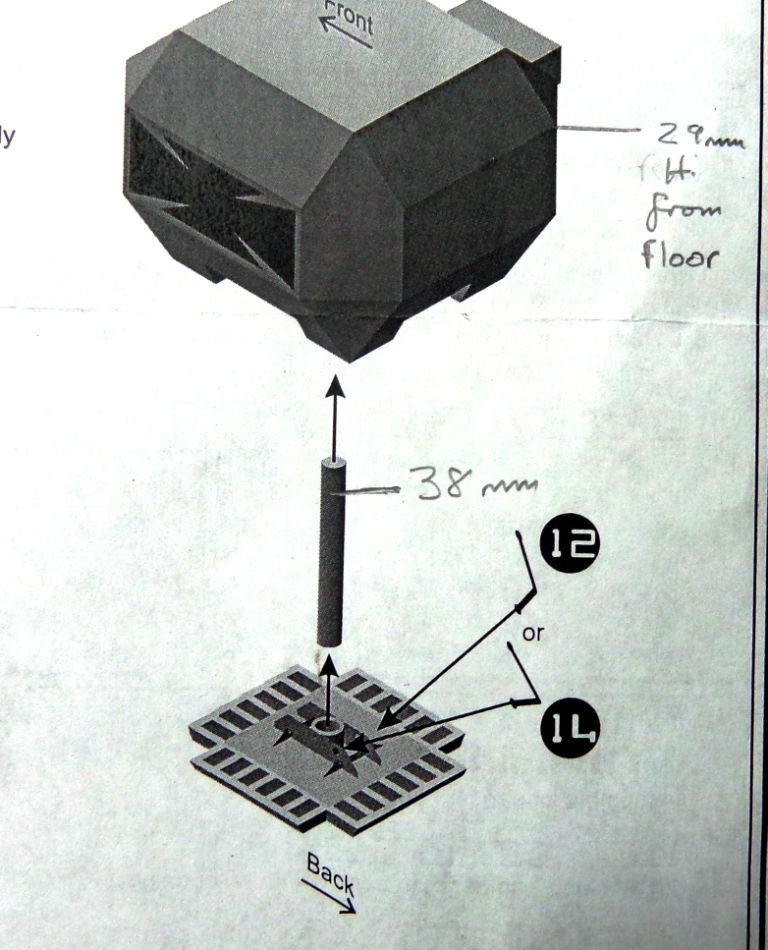
 First I measured the inside race of the pod: 26mm.
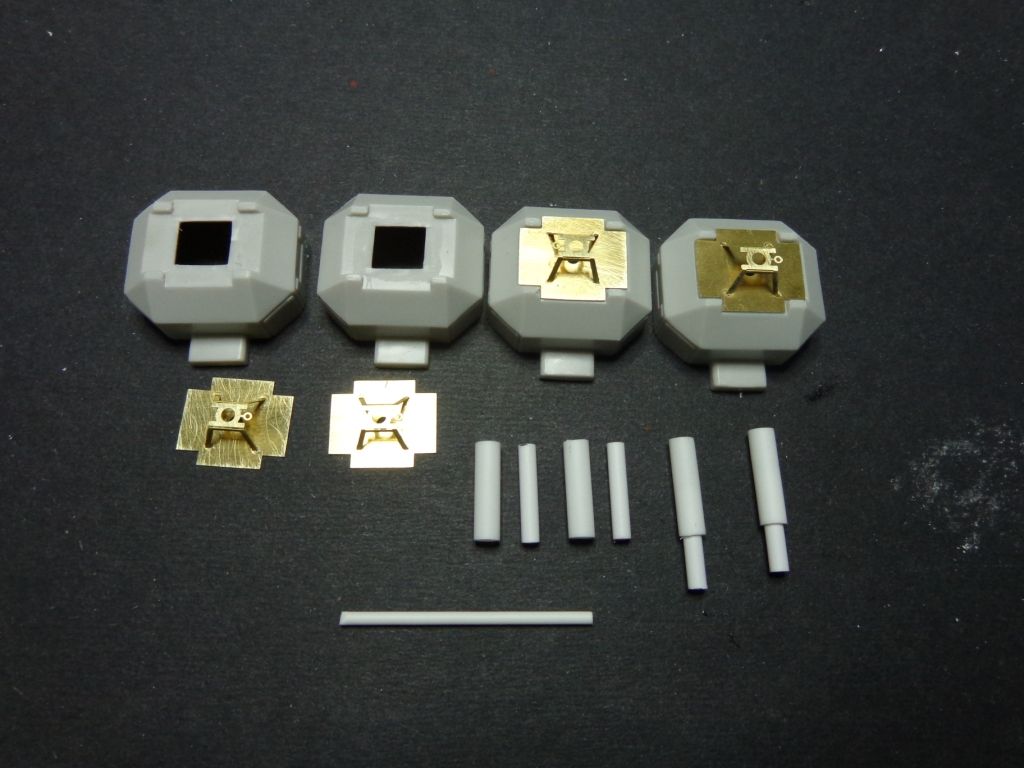
Nest, I cut 4 pieces of each tubing and fit them into each other (below right in the photo). Note the brass PE parts which form the base of the leg pods. MAKE SURE you put them together first because those spider-legs have tiny tabs which fit into cutouts which would be impossible to get into if the flat brass pad is glued on first.
Make sure to position the pods as they will go on the model. I'm pretty sure they're all the same anyway, but the important thing is that the little tabs on the PE part face toward the rear of each pod.
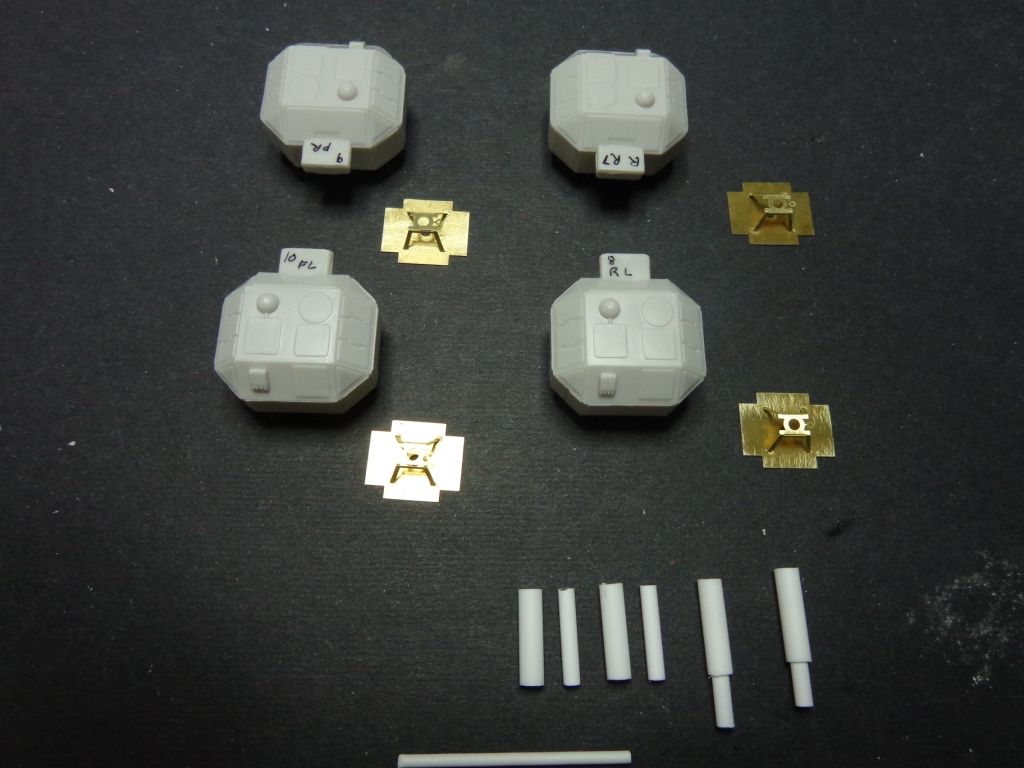
Next, I placed two of the 26mm nested tubes over the hole of the PE base and used a random length .100mm rod to locate it accurately in the dead-center. This is NOT GLUED at this point!!!
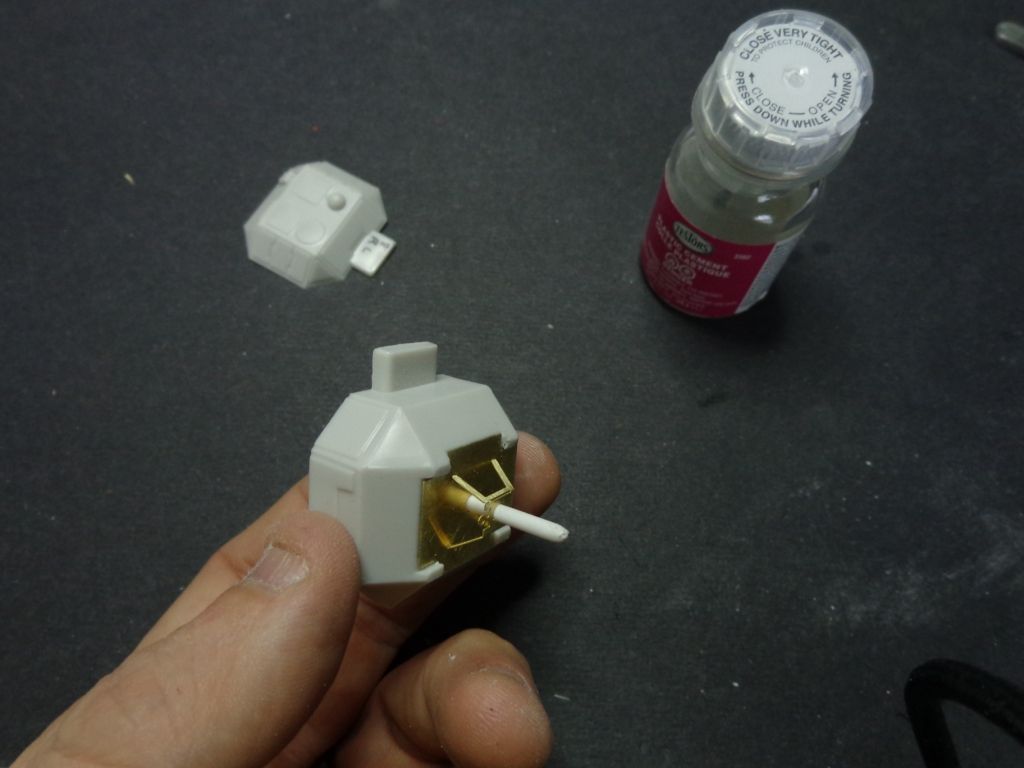
Hold the tubes carefully in place and glue them onto the inside of the brass base.
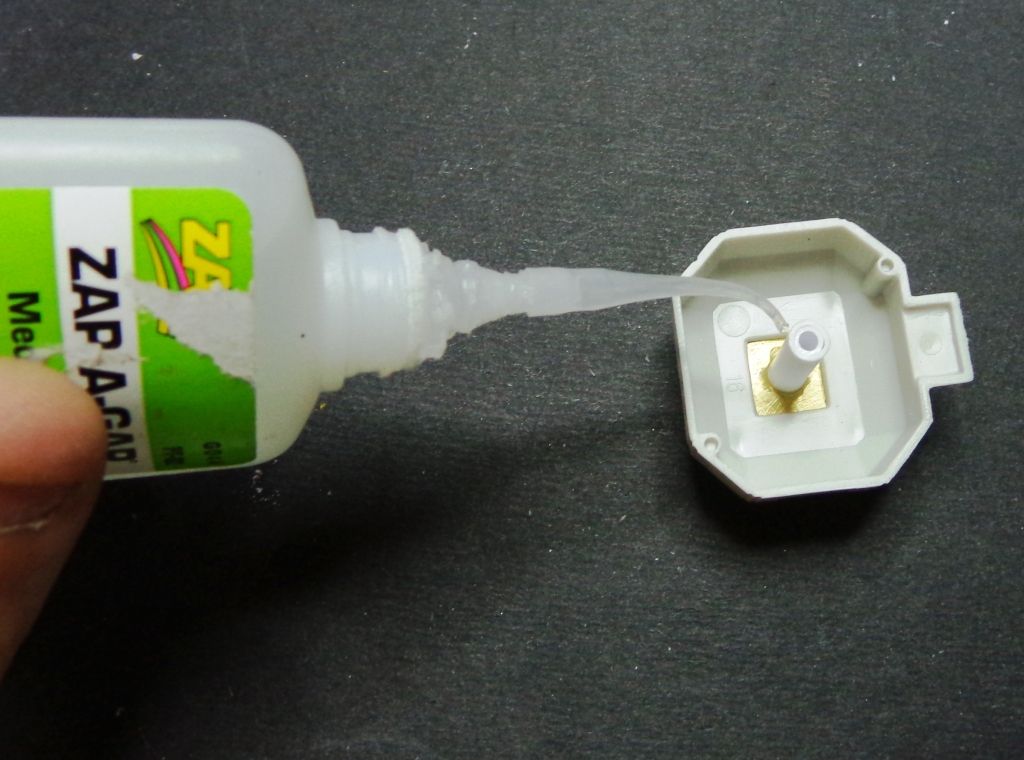
Now, to help make a dead-solid, strong tube column for the leg to fit into, I glued a small square of .010 plastic onto the inside-top of the leg pod. This is slightly uneven here, so this small piece helps to make a firm bond to the tube tops. Also, it provides a small degree of "interference fit" which adds strength to the whole assembly when you join the halves.
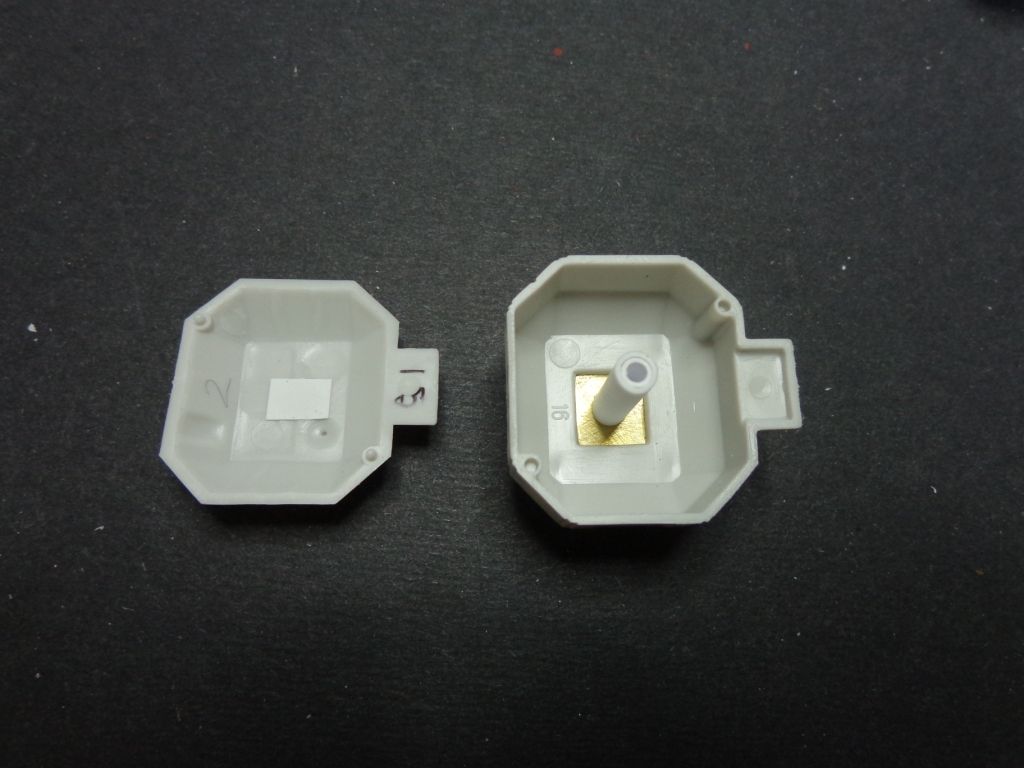
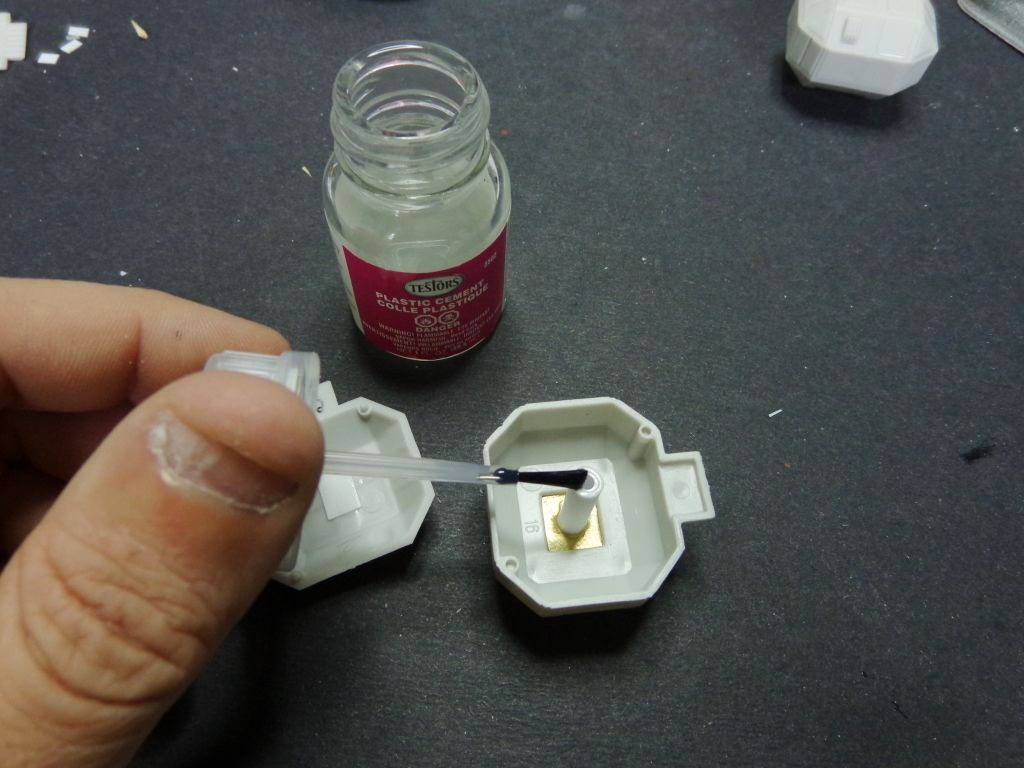
I add Testor's glue to the top of the tube and the square and sides of the pods, and join them together with some pressure for a minute or two. The glue on the top of the tube will "sink" into the soft styrene square and really set up with immoveable solidness.
After allowing to dry for an hour or so, I went back and kept reducing a four pieces of .100mm rod until I settled on a height of 29mm rod which fit into the tubes extending into the pod. This gave me the "ride height" that I liked. (The 29mm measurement is just my note to measure each pod point to ensure even height after they all dried--this point is the line of the top of the side-thrusters panel where the black maltese cross decal will go)
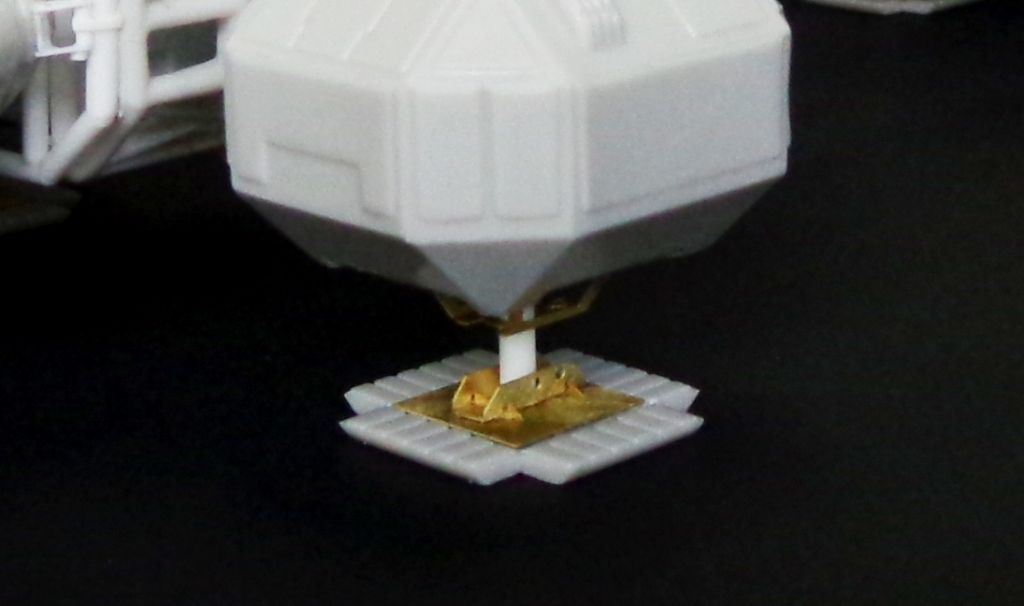
You'll also notice the feet, modifed with PE. This involves the normal procedure of removing the molded-on details and sustituting the PE parts.
Here's where the Eagle stands now.
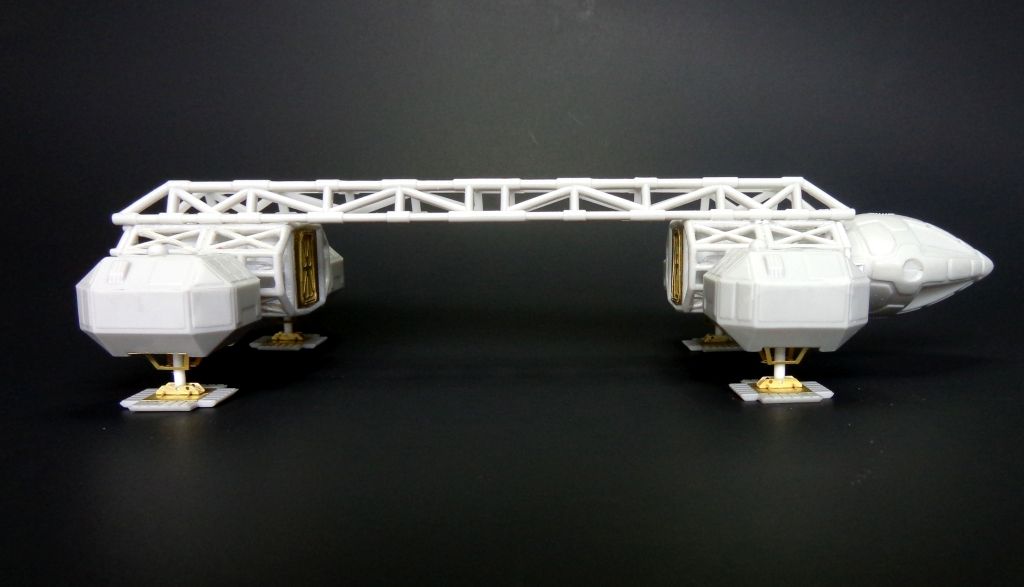
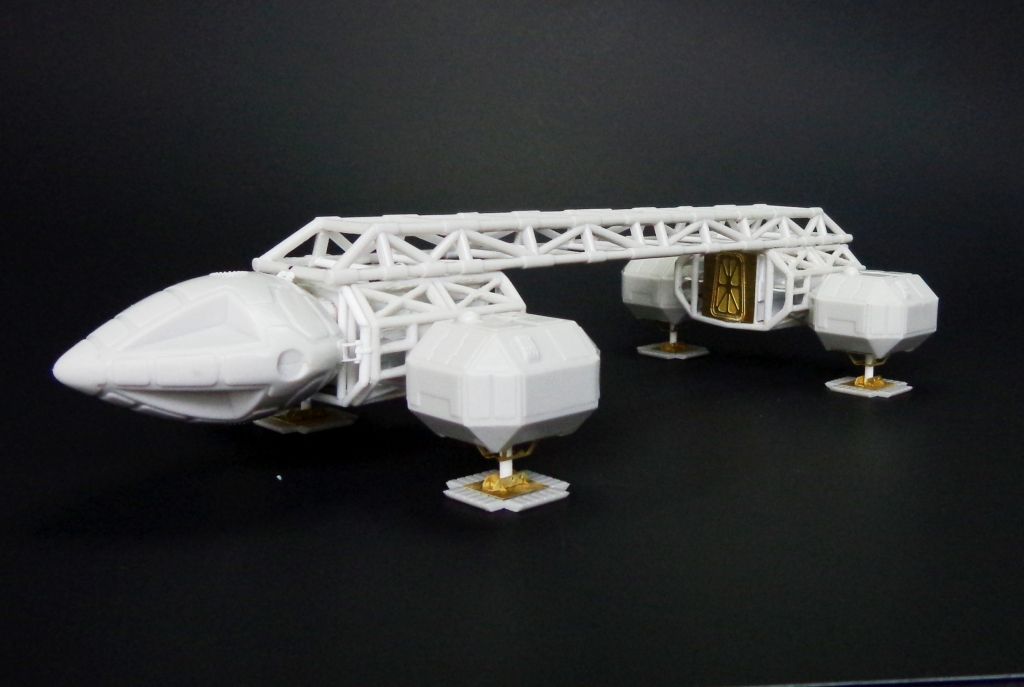
I remind you that I'm building the cargo version of the Eagle here, but it seems a waste to not build the passenger pod as well, given the nice PE endcaps in the ParaGraphix set.
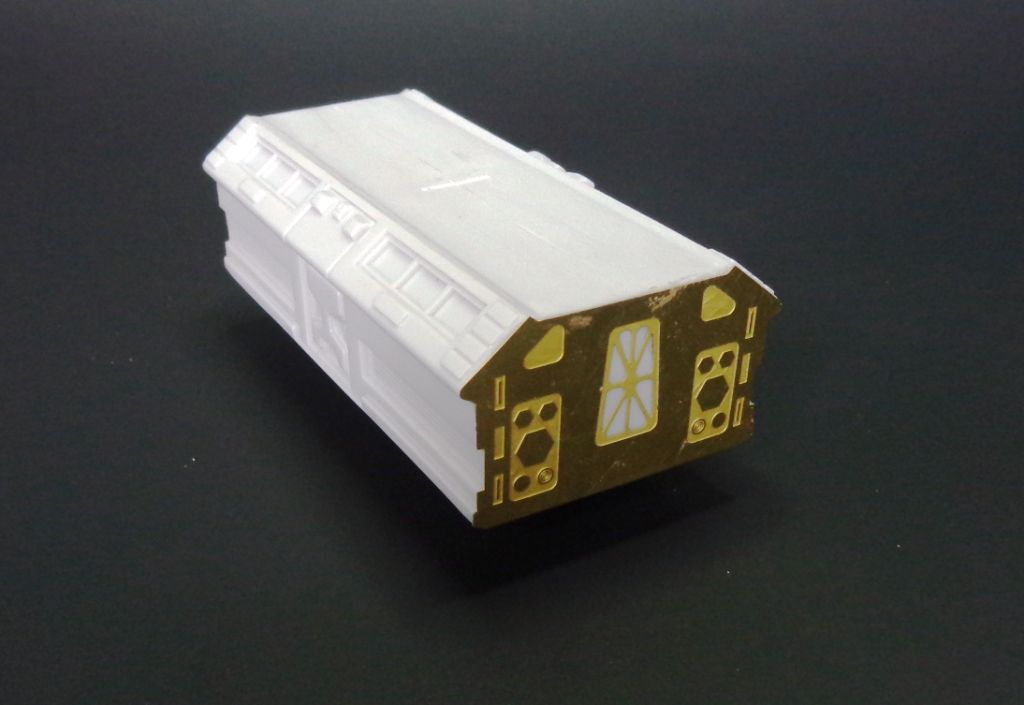
I'm going to display the pod next to this Eagle. In order to do that, I had to eliminate the molded-in legs for the pod and fashion new ones.
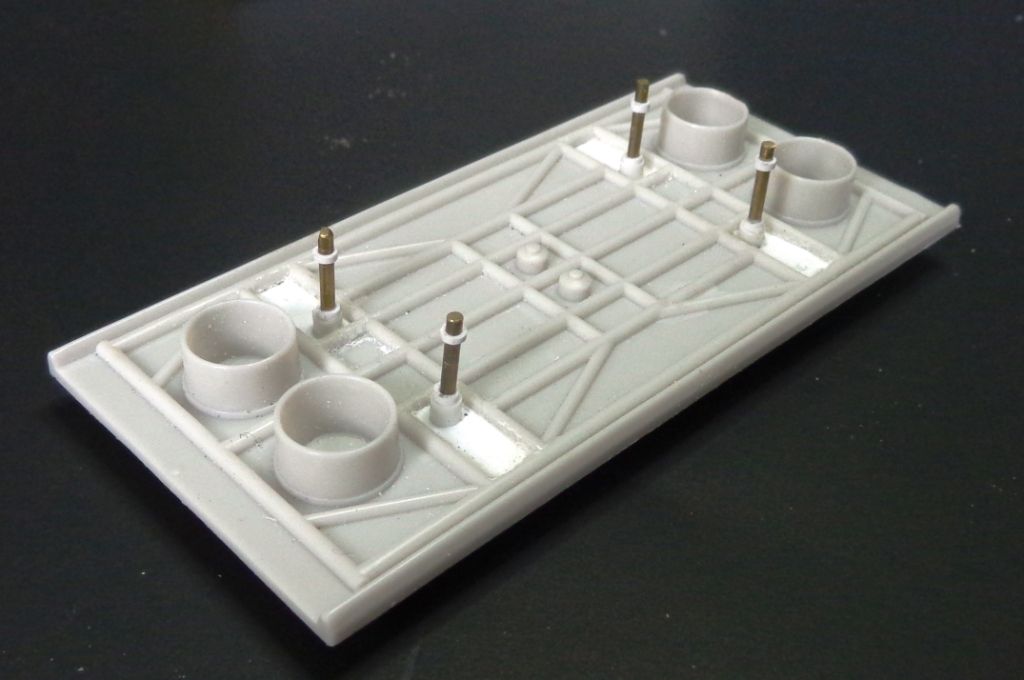
On this piece, I did use brass rods onto which small pieces of tube were slipped to simulate the hydraulics. I secured the brass inside the pod by building up some bulk styrene and drilling through it, making for a tight fit, but then also using epoxy to make sure the legs didn't slip and cause it to sit unevenly.
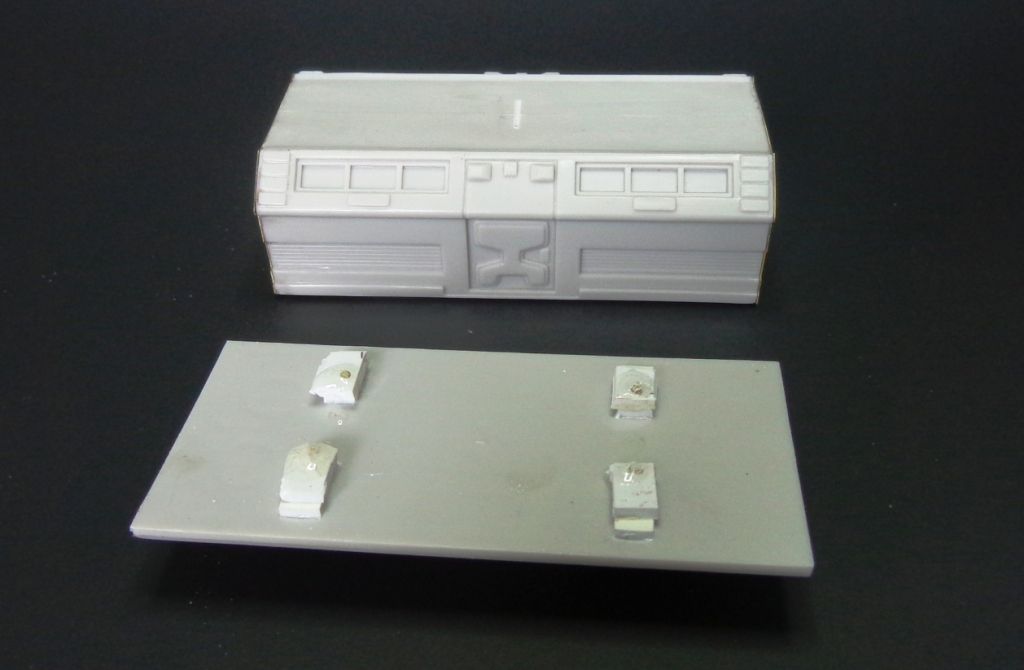
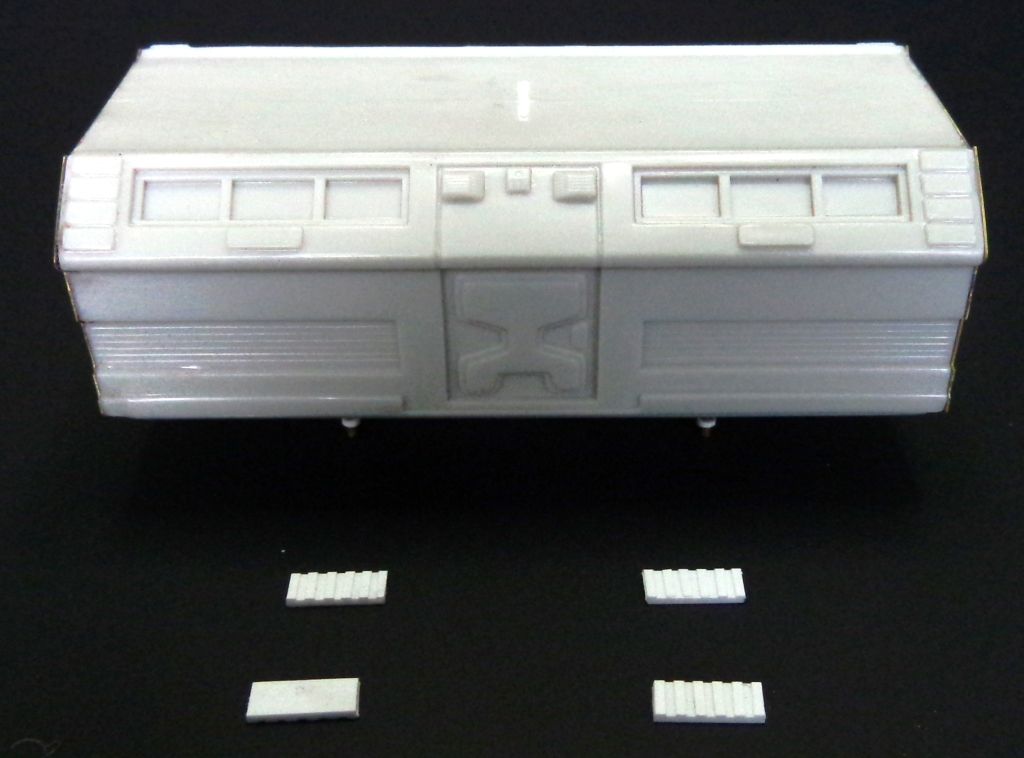
The feet are easy enough to make. I used .040 x .188 styrene strip with .010x.040 strips running broadly on them for the detail.
That's it for now. I'm probably going to tackle the engines next. And--EXCITING NEWS!!--I actually found a distributor for Raboesch Super Styrene rod, which is bendable styrene rod which is absolutely invaluable for fashioning the twisty engine plumbing. I used it on my previous Eagle, and it was just the thing to make the engines look more accurate. Here's a pic of the former engines before painting:
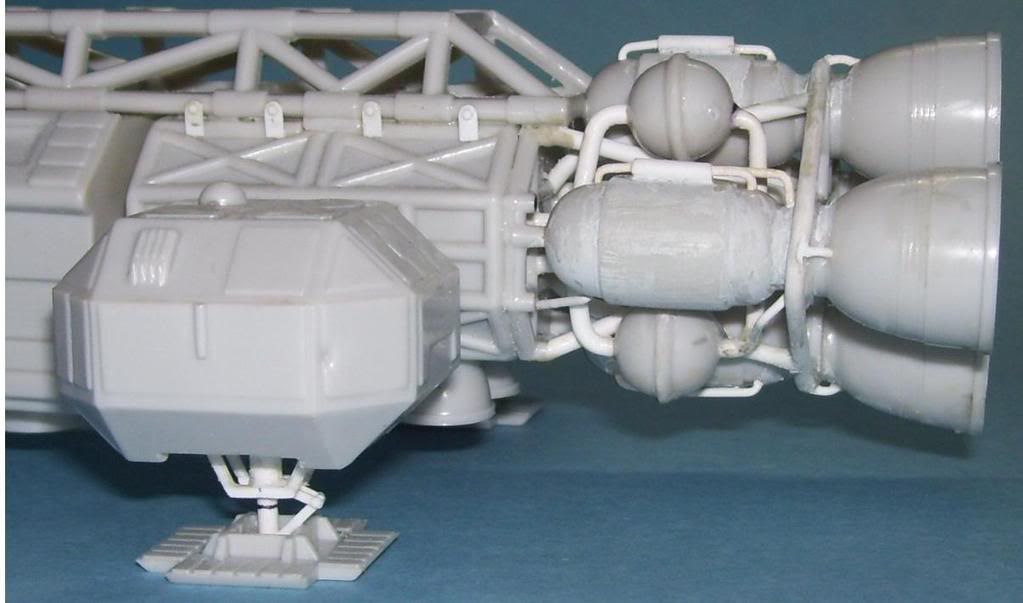
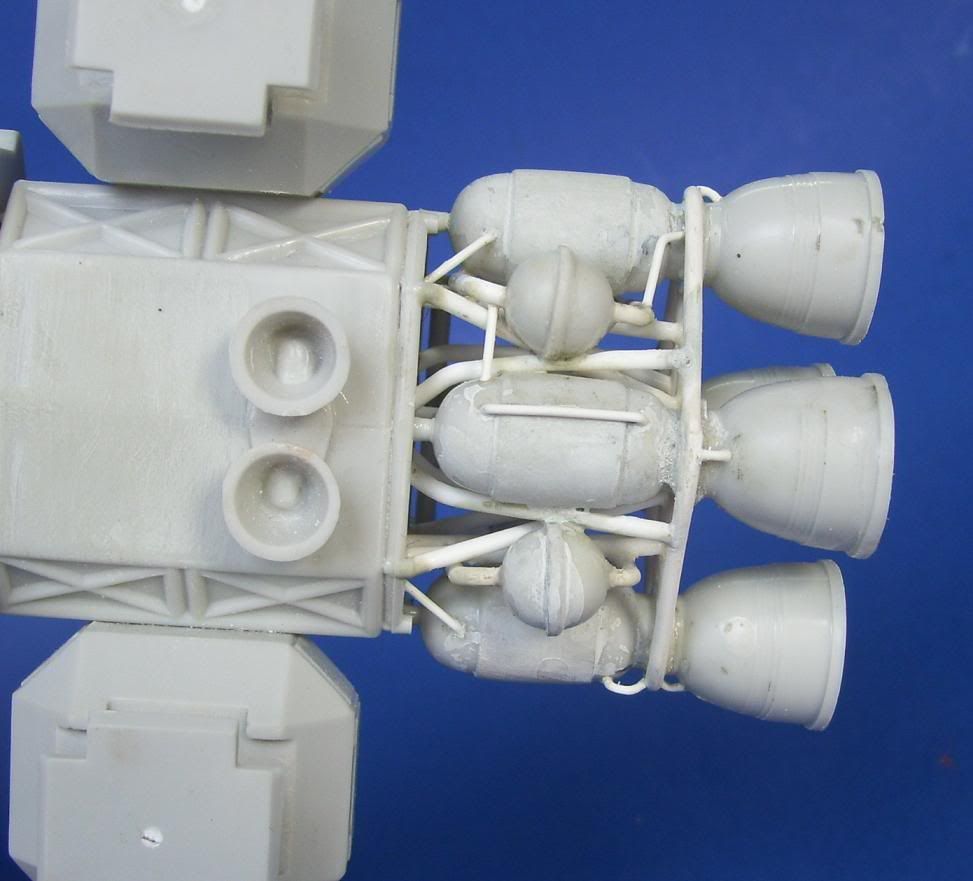
I'm waiting on the arrival of a shipment from Germany, and I also am looking into placing an order with the company itself which is in Holland. I will post detailss when I find out that latter, as the German company claims that it is no longer to be receiving shipments of this product very soon. Stay tuned! Comments appreciated and welcomed! 