Here's the next series concerning the landing gear. I'm doing this in two parts so I won't be stuck here writing for a straight hour. =] Part 1 will deal with getting the main bits and pieces into place with less fuss, and Part 2 will involve the hinges and actuating arms for controlling the doors and other delicate parts.
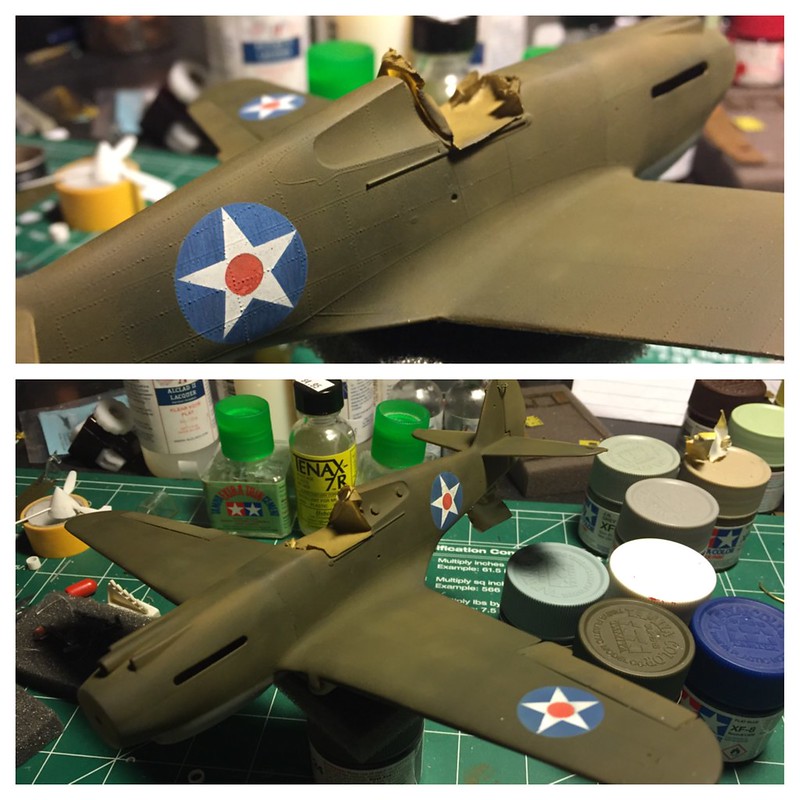
First off, I finished painting the upper surface so I can get a coat of Alclad's Klear Kote down and begin weathering the bottom next before installing the already finished landing gear.
 Untitled by brittvallot, on Flickr
The painted insignia went down with relative ease. I took my time and added my own weathering and such which I can talk more about later for anyone who's interested.
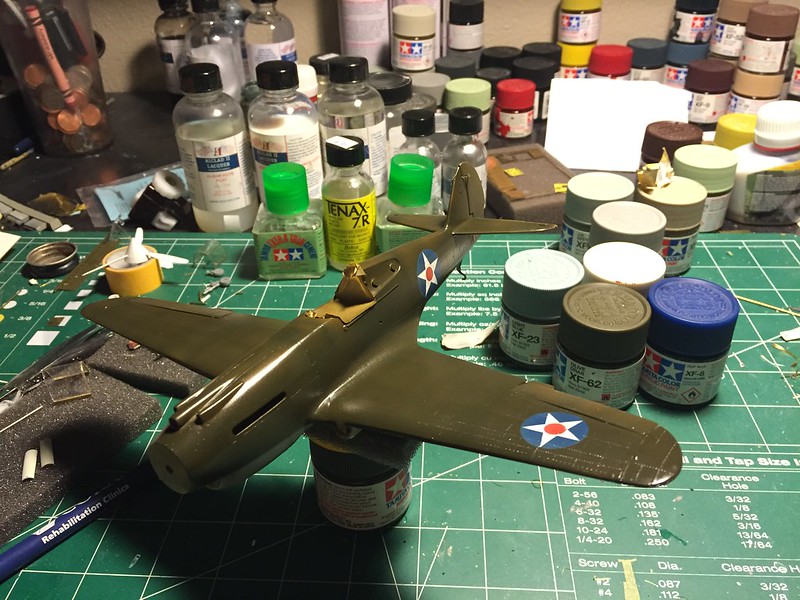
Obligatory Clear coat shot:
 Untitled by brittvallot, on Flickr
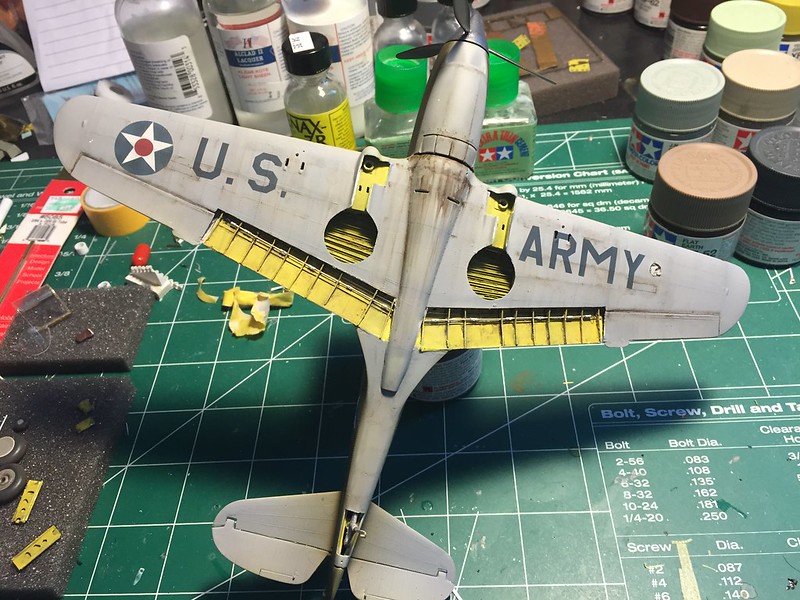
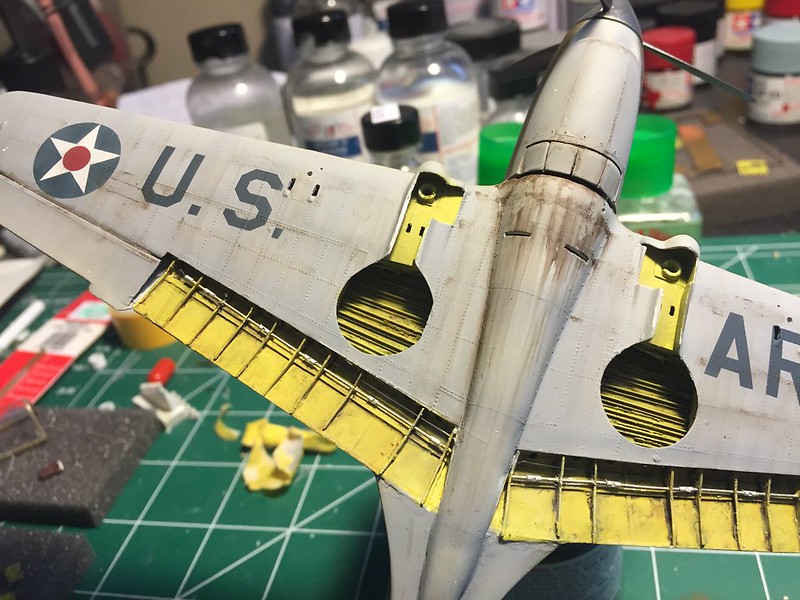
Put my initial weathering down with oils to represent dirt and oil drips running down the plane. I kept it light this time around. Here's a quick shot of that after it's been sealed with Alclad's Klear Kote Flat.
 Untitled by brittvallot, on Flickr
 Untitled by brittvallot, on Flickr
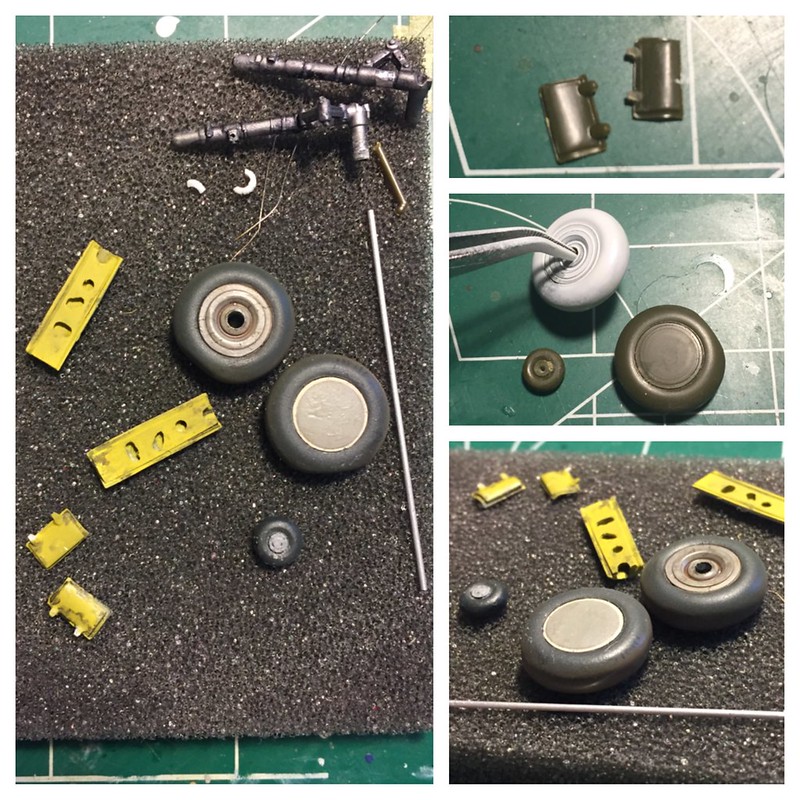
With some of that out of the way, I can now turn my attention to the remainder of the landing gear parts. I used the kit parts for the tires as they aren't too bad really, and I wanted to keep this kit as much OOB as possible outside of some personal scratch building. They go together without any real difficulty. I wanted a slightly weighted look to the tires as this is often overlooked. After referencing enough -B variants on both the grass and on the tarmac, I came up with what you see below. Normally, the tires will bulge to the sides as well as the rubber is displaced, but I wasn't seeing that too much with the tires I referenced. So to compensate for some of this (as it's scaled down as well) was to paint the tire and wheel hub to trick the eye into believing it bulged.
I first painted the wheel hub in the Tamiya Sky Grey [XF-19] undersurface color and used an Eduard mask from a Tamiya Corsair I previously skipped over using. The size matched up quite well. For the outside ring of the hub painted in white, I took a couple of drops from the grey I just used and added it to a mix of Tamiya Flat White [XF-2] to dirty it up a tad and painted this next. Once it dried, I used the outside ring mask and cut it at one point and used that to be at the bottom of where I've sanded the tire flat. I've tapered the ends to encroach onto the ring at the bottom where the "bulge" would be so as to decrease how much white will show. The intent is to use the colors present to trick the eye into believing the tire is creeping up into this area. Just an easy way to suggest something without going into a lot of putty and sanding BS.
I also realized after sitting back and thinking about it...you could probably achieve the same thing with a slightly larger circle mask and dropping it down just off center. However you go about doing it is up to you, but the effect is simple and I think it helps tell the story of what our eyes are seeing.
The tire itself was painted in NATO Black [XF-69] and I wanted to suggest some dirt and usage and opted for Taimya's Flat Earth [XF-52] to go on top. This was highly diluted and went only on the top. I will further weather these tires more later, but this is where I've stopped in terms of painting. I really like the NATO Black as a tire color. I would definitely suggest it over only using a Flat Black. Once this was clear coated to seal it, I brought out the Detailer in Brown and some Black to muck up of all this here. After I was satisfied with the weathering, I put down a coat of Alclad's Klear Kote Light Sheen over the tires first, and then carefully sprayed a coat of their Flat onto the wheel hub itself....allowing for only the slightest overspray onto the edges of where the tire meets the wheel. This gives the tire a little bit of shine to help represent the rubber.
Primed and painted the gear doors. For the smaller doors, I reduced the nubs to something a little smaller. I believe Revell intends on them being hinges. These don't exactly exist on the real thing quite the same, but I left them to use in a functional sense of making a stronger attachment as they won't be very visible anyhow.
 Untitled by brittvallot, on Flickr
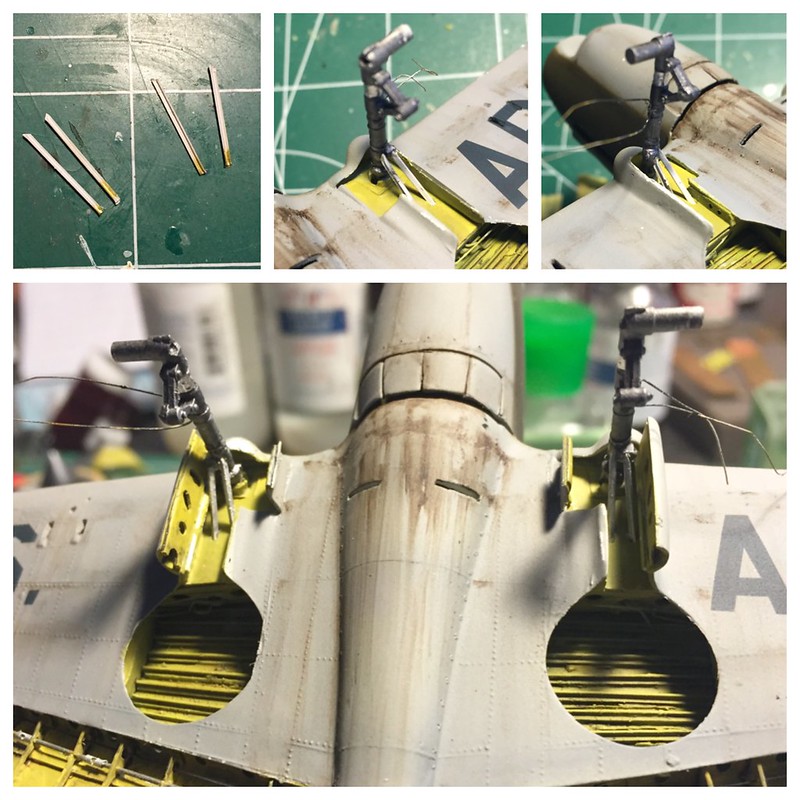
With this completed, I moved onto installing the main gears struts and to the control arms of the main gear. I used THE smallest C channel brass that I could find since I couldn't get a hold of an I beam of a comparable width. It works pretty well actually. Measured my length, made my cuts, and primed and painted. A drop of CA later and they're both in. A thin square strip of plastic (0.5mm x 0.5mm) makes up the hinge running the length of the larger door and it's carefully glued in place with Tamiya ETC. Both doors get mated to the gear bay with the Tamiya ETC as well. And here we are:
 Untitled by brittvallot, on Flickr
That's where I've paused it for now.
Questions, comments... =]