Thanks Ray. =] I agree. That was the one thing I wanted to fix most on this build. None of this so far is too challenging...just takes some patience.
Back for an update.
So this last part may not be necessary for all, but as I mentioned before, I want to include some of the various ongoings that are visible any chance I get. I couldn't find this specific to the P-40B/C for certain, but within the family of Hawks this was all pretty much the same. So here are some of the hoses and fittings reaching through the gear bay.
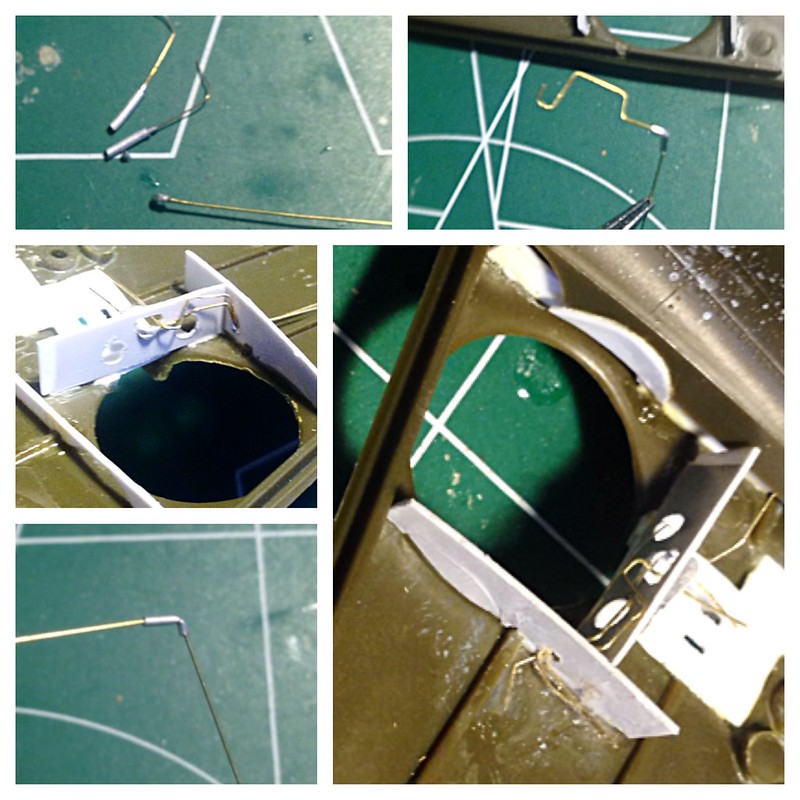 Untitled by brittvallot, on Flickr
None of this is overly complicated. Just some brass rods slid through an Albion tube and bent to shape.
Afterwards, I needed to secure the part of the box that runs perpendicular to the fuselage. I Tenaxed the hell out of it and taped the wing edges up to ensure this fit. I really wanted to have this extra piece connected to the fuselage as the wings don't provide much in the way of any attachment...especially considering the poor fit.
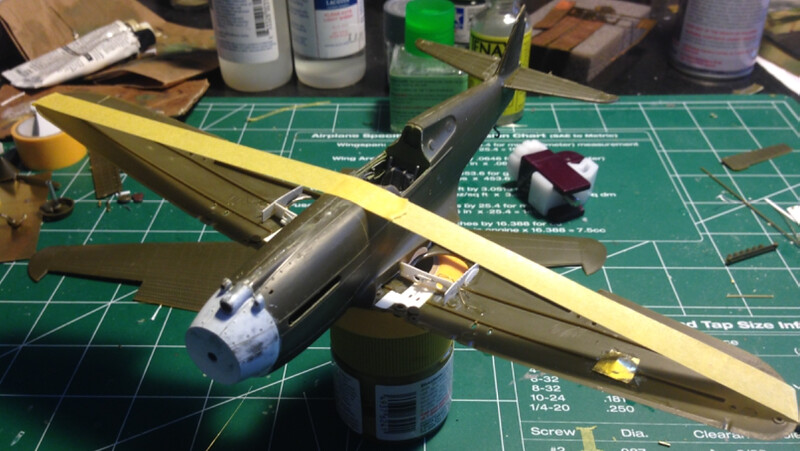 by brittvallot, on Flickr
This was allowed to set up the remainder of the day. Once that was out of the way, the interior was primed and painted as I'm ready to close this up. One last thing I saw I needed to do was to place a makeshift shelf for the .30 MGs. I was originally going to drill tiny holes in the plastic kit parts, but they were just too flimsy to pull it off well enough. So I'm opting for the Model Master .30 machine gun brass barrels. I've checked the distance they need to extend out of the wing and set my shelf in place. Eye-balled the holes, drilled them, and closed these wings up with some Tamiya ETC. Now I have a means of gluing my MG barrels after painting so there's no need to mask them. =]
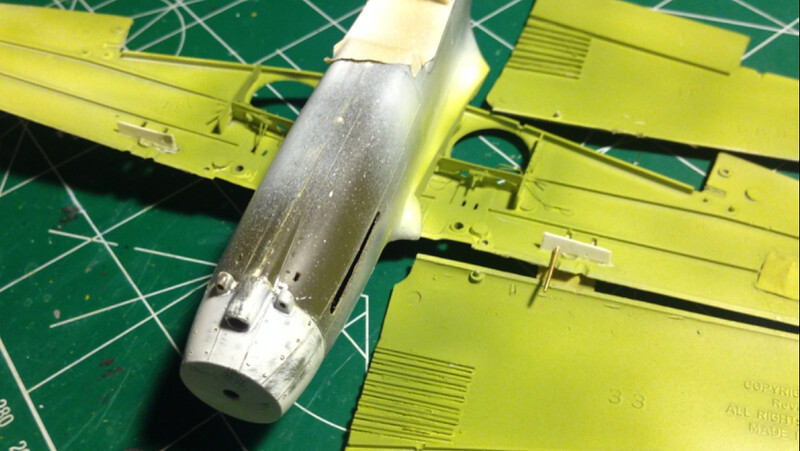 Untitled by brittvallot, on Flickr
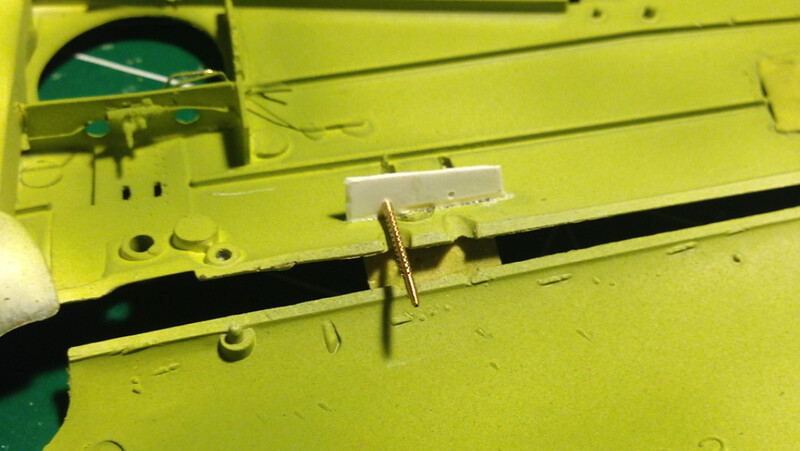 Untitled by brittvallot, on Flickr
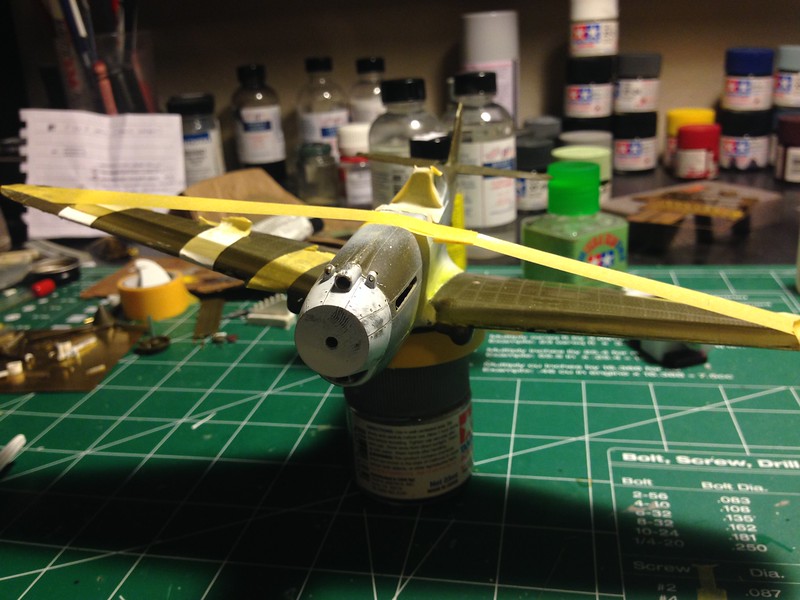 by brittvallot, on Flickr
Next, I turned my attention to getting the flaps ready for installation. This is another area that can be passed over for the most part. I've almost never seen a P-40 parked with the flaps down unless it was under maintenance. The flaps I purchased off of Ebay were from 1992 by Eduard. They require some minor tweaking to make this whole section look right.
The first thing I noticed was (on my particular kit at least) was that there was no room for the flaps to fit between the upper and lower wing joints. I had noticed this before fitting the lower wings and decided to only CA the two main pins at the most forward point where the fuselage attaches to the wings. That allowed some maneuvering on the back end to squeeze these flaps in.
I did come up with this as a solution
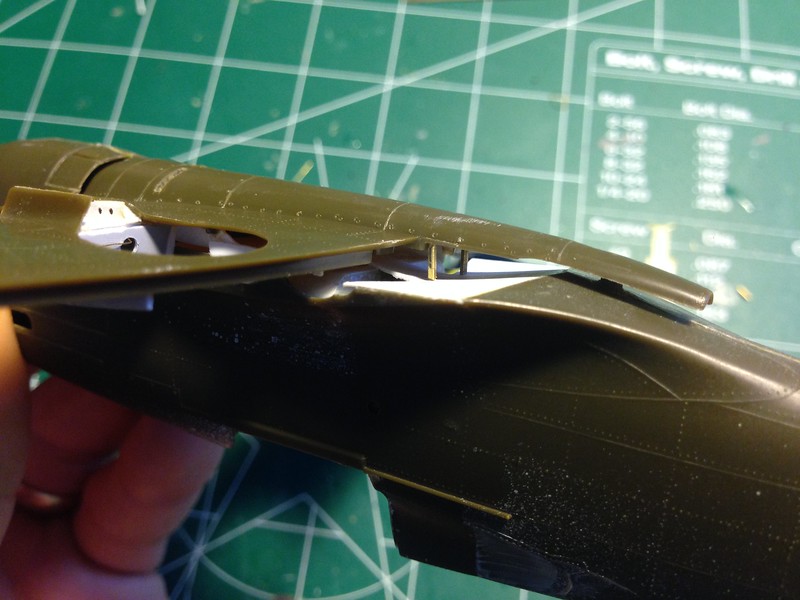 by brittvallot, on Flickr
With the plastic piece I scratched out (I'll be back with a picture later--I can't seem to find it at the moment) to fit under the flaps as there is a terrible gap on the kit...I used a few clips of the L brackets to act as spacers to provide the necessary room.
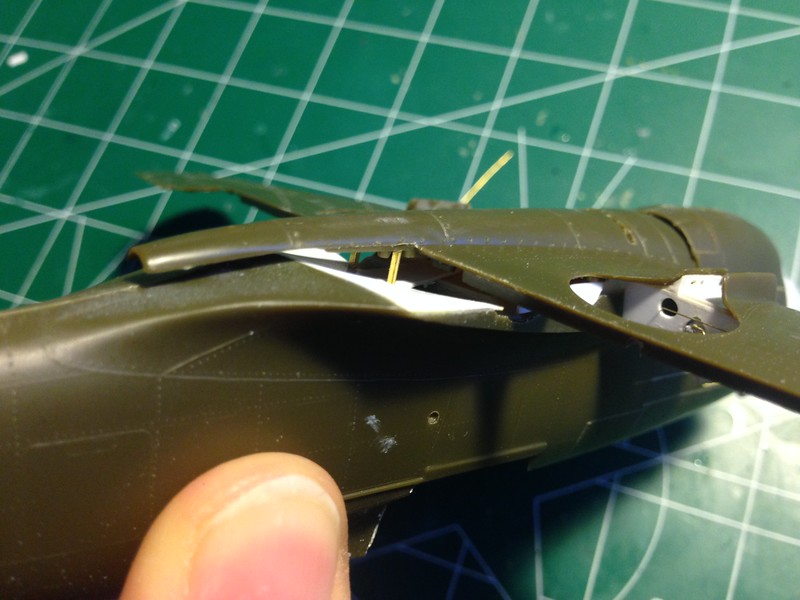 Untitled by brittvallot, on Flickr
This does little to throw off the shape or the join at the end of the belly near the fuel drain. A few drops of CA and it's sitting right where it needs to be. =]
I didn't want to have ANY troubles with the PE coming up after gluing it, so I opted for a two-part epoxy to fix the upper portion to the wing. I taped it down to better secure it and left it set for about 5 hours. That SOB isn't going anywhere now! =D
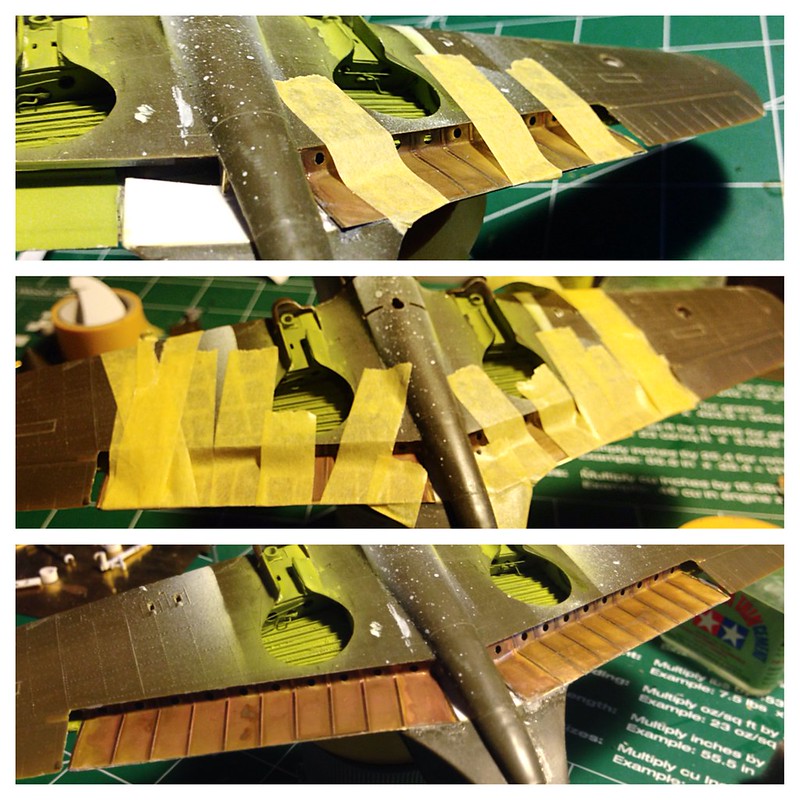 by brittvallot, on Flickr
One trouble for me was that the Eduard PE didn't have any of the internal ribbing for the flaps. So I had to build my own. This is quite a time consuming task and a real PITA but great for a tutorial as it turns out. So, I consulted my books and went to cutting. Once I found my shape...I made a mask and sprayed out 22 of these bad boys to cut out. I was mostly going for speed here and I'm not concerned about saving the plastic and making better thought out cuts. I have plenty of this stuff anyway. =] The plastic I'm working with here is about as thin as you're gonna get... about .01 in.
Here's my progress
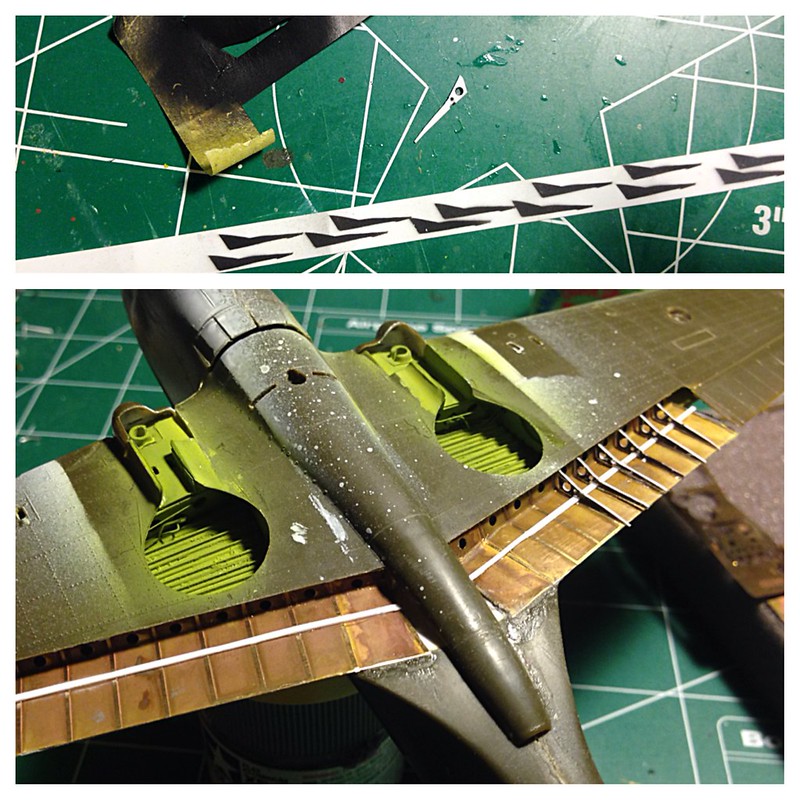 by brittvallot, on Flickr
I've got this side done now and put a coat of primer on it and let it set over night. I'll be dressing up the rods and turnbuckles to operate the flaps next. =]
Questions, comments, or anything else are always welcomed.