Andy, glad to hear it! =] I've been on this forum for a few years now and I'm still pretty impressed with some of the guys and subjects I follow. I feel the same way about it. Even now that I feel I've got a pretty firm grip on how I'd like to to do things, I'm always finding that there is something new to learn around the corner.
7474, the app is called iModelKit. I know it's available for iPhone and it'll cost a couple of bucks but it's well worth the price. The money alone you'll save in paint by not having to waste it to mix certain colors will make it worth it! It does so much more than just matching color schemes and the developers put a lot of math into making everthing quite specific. I can't possibly use everything it does but I wholeheartedly recommend it.
Before getting to what's new with color, I did take my time with this build and worked hard not to rush certain steps concerning construction. I have a bad habit of moving on and having to correct something later down the road when it's not very agreeable. As it happens I caught a few spots that missed my attention when going through my checklist...I mean it's been a couple of months since I was able to jump on this cat. =P
One, I left off the actuator for the trim tab on the left aileron. The HB kit doesn't include it. Two, I needed to scribe in a panel near the wing root just below the cockpit on the side of the fuselage. Tamiya has the first near the front of the wing for the fuel tank but failed to put the one behind it. No problem. You can see those two in the top picture. I also had to replace those damn PE parts for the elevator. I new that was coming. Scratched new ones out of plastic strip. Sanded into shape and welded those bad boys on with Tamiya ETC. BAM!! They'll take a whole lot more abuse now.
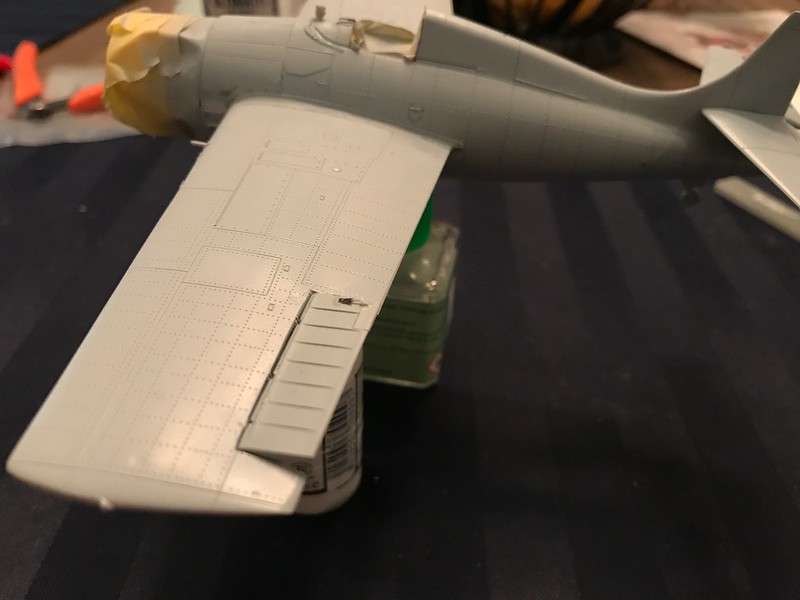 Untitled by Britt Vallot, on Flickr
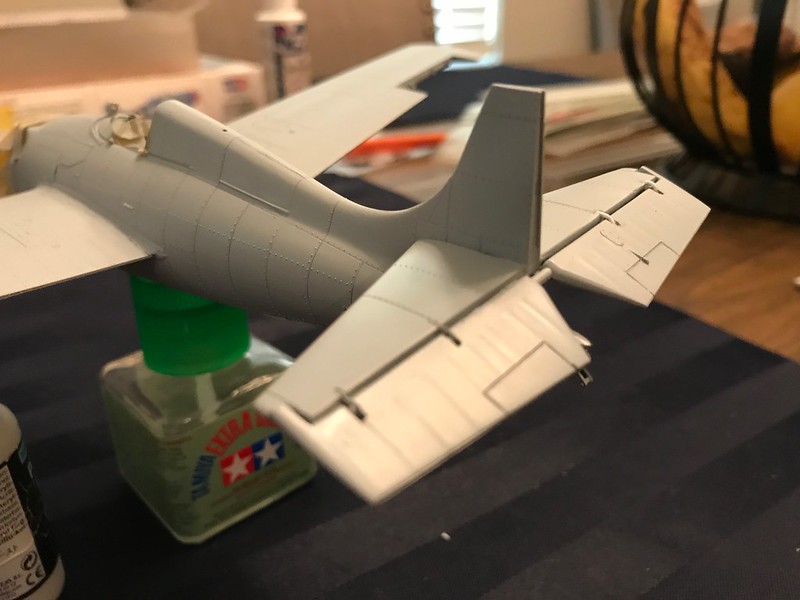 Untitled by Britt Vallot, on Flickr
Paint!! And about damn time too. I just noticed I'm about 7 months into this kit. I need to pick up the pace. =]
I've recently been paying more attention to what I can do with my surface weathering in the painting stage since that's really what I find I'm best at. With the last two builds I've been making use of Blackbasing to go about painting my aircraft. I've seen others here on the forum make use of it too, but I've really gotten to see a lot more about it through another modeler Doog who some times pops into Finescale every now and then. For those who don't know it involves beginning with a black base as a painting surface and building up the color through several layers that are put on thinly and in a "marbled" pattern as Doog puts it. Done properly, it does a great deal to show how paint weathers and fades in a non-uniform manner. On actual aircraft it's the subtle variations in the surface, the paint and it's thickness, dirt and debris, oils, etc that all play a part in giving us the weathered looking planes we've enjoyed modeling. If you can control your spray and keep it tight enough, it's quite possible to put several layers of paint down and build up a lot of character before putting down too much paint.
Here, instead of using a black I'm opting for a dark blue color. It's Tamiya's Sea Blue in fact. For the same reason you almost never use black in a real painting, I'm hoping for the dark blue color to help out in a similar way that black does but without having to be black. Since I'm using the Navy's Blue-Grey scheme, I'm hoping the blue works better. If we put the two side by side to make a comparison, I doubt it would be too noticeable but I think opinions would slant towards the blue. =]
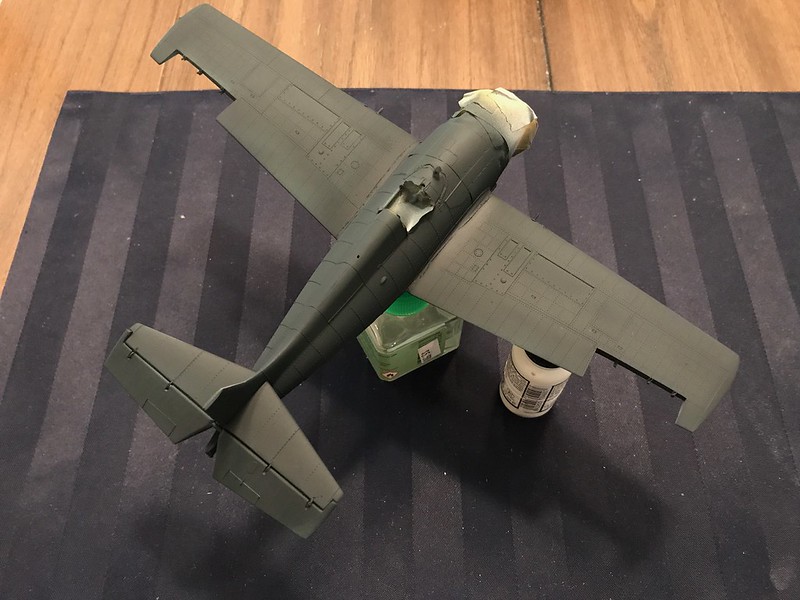 Untitled by Britt Vallot, on Flickr
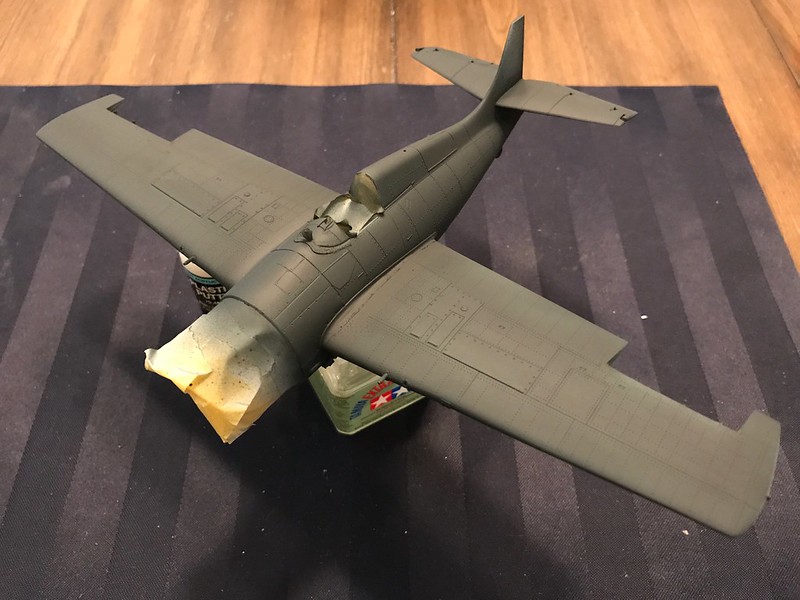 Untitled by Britt Vallot, on Flickr
The "marbling" at work. Here I've used Sky Grey and NATO Brown from Tamiya to make the Navy's non specular light grey. This was 7:1 respectively. I'm painting outdoors now which is complicating my airbrush a bit. Humidity sucks and I don't have a water trap. So I didn't quite have the control I normally have while doing this but it wasn't too bad.
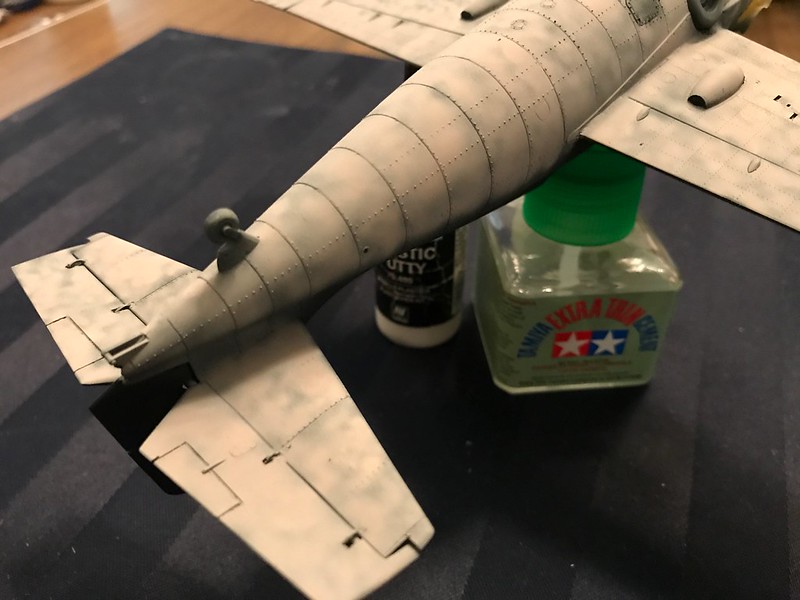 Untitled by Britt Vallot, on Flickr
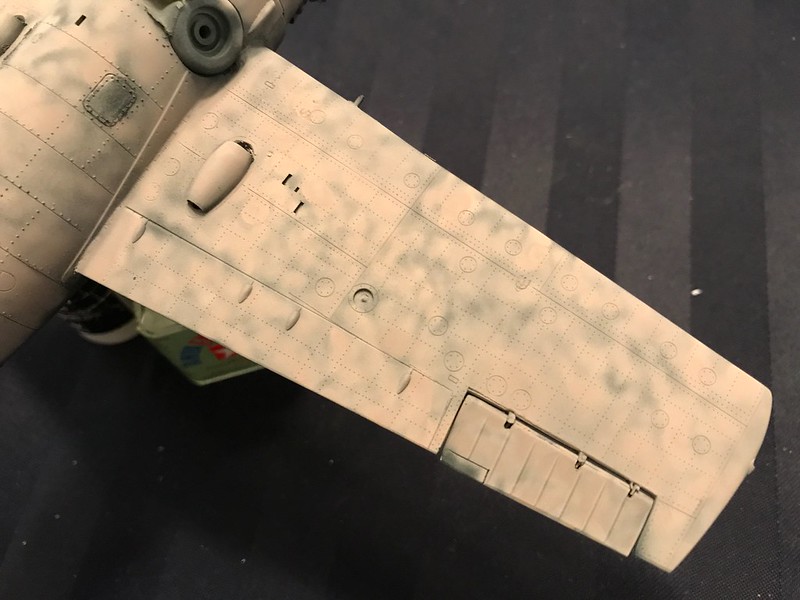 Untitled by Britt Vallot, on Flickr
It's best to work a panel at a time and be as non-uniform as possible in your strokes.
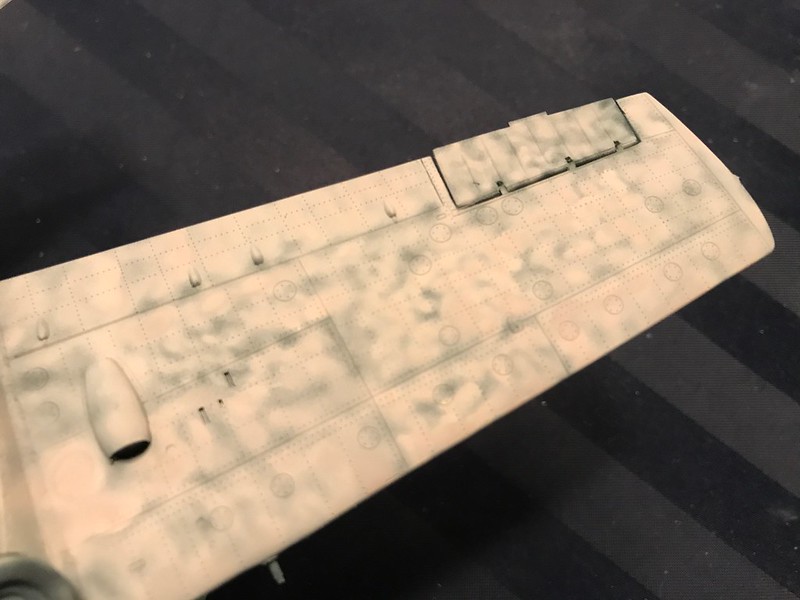 Untitled by Britt Vallot, on Flickr
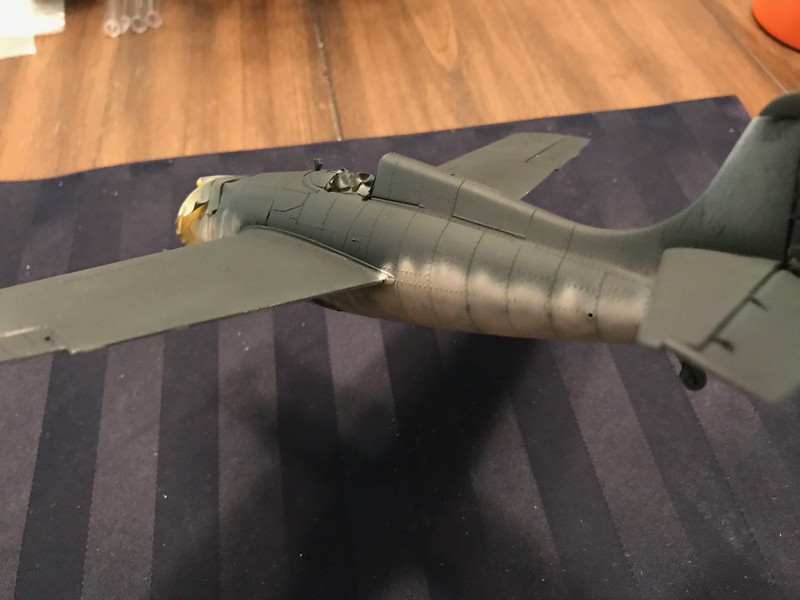 Untitled by Britt Vallot, on Flickr
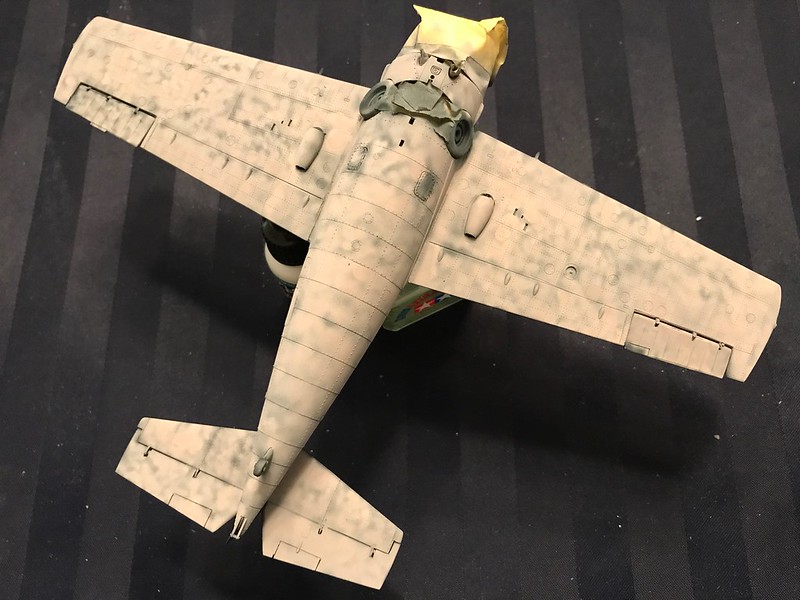 Untitled by Britt Vallot, on Flickr
This last picture doesn't really capture what the eye sees. It's a bit washed out. The actual detail is a bit more subtle. I hope to get better pics when it's complete. The blues ought to do better. I won't be doing too much more since I got a little too heavy with the light grey. I'll marble in some dark grey with an actual brush along the wings nearer the engine and then follow up with the blend coat.
That's where it stands for the night. =]