Finding it hard to make time lately. This is one of the busiest parts of my year. I have managed a little progress with the gearbay and engine however.
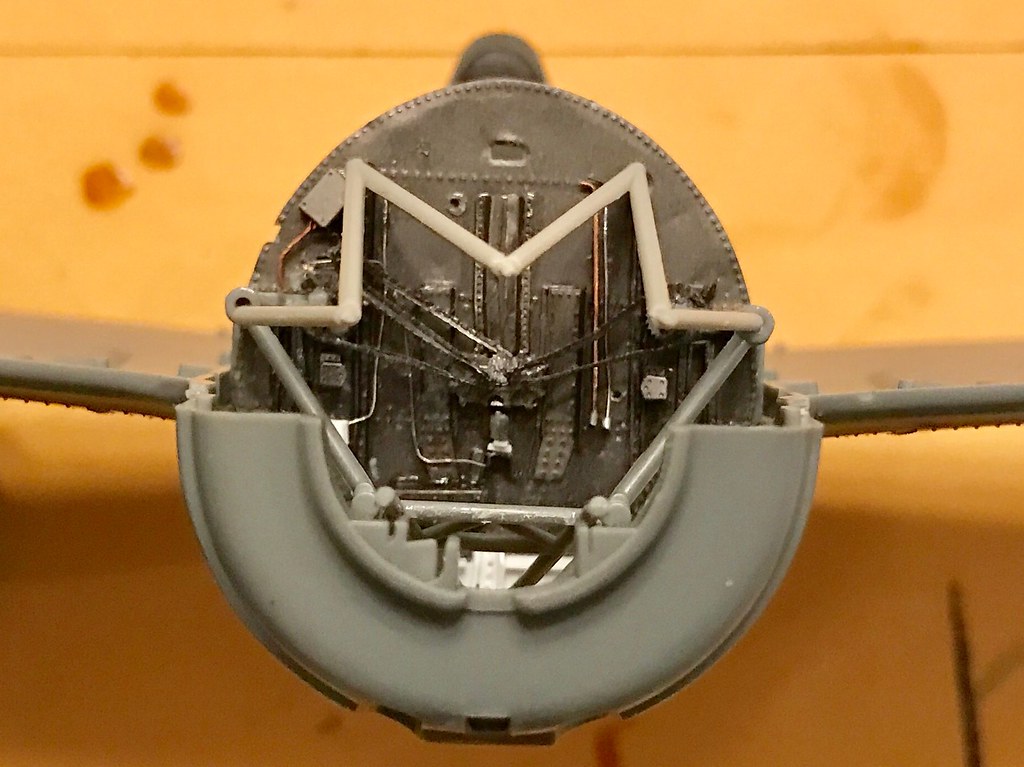
Since I won't be opening up any of the panels to the gearbay, all of this will have to go together in stages to ensure it fits. After careful study of photos of this area both in original aircraft and refurbished aircraft, I've mostly got all these hoses and wires figured out. Even still, there are a couple of parts that will likely get left out. But the business of activity in there ought to be sufficient. ;)
This is where I'm currently at:
 Untitled by Britt Vallot, on Flickr
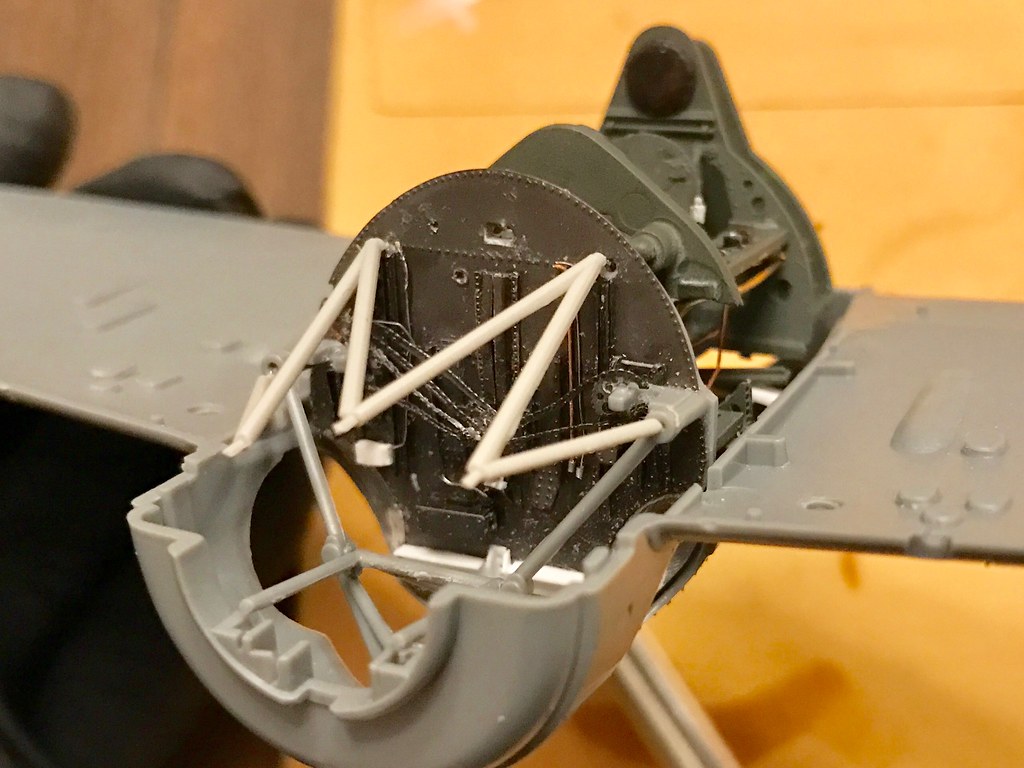
After some dry fitting of some parts, I've decided on working mostly from the bottom up. I'll be putting this together in left and right sections also. Once everything is pieced together, I'll tie it in to the engine's respective parts and places.
 Untitled by Britt Vallot, on Flickr
You can see where I've already knocked off a couple of PE parts and had to scratch out some new ones. Boy this stuff is tedious. The lighter color plastic is the engine mount from the HB kit. Tamiya left it out. This part happens to match up perfectly so I'm using it in place of scratching out my own. It's a little soft on detail, but it's not going to be very visible so I'm not particularly worried about it.
On to the Pratt & Whitney R-1830-86 Twin Wasp!
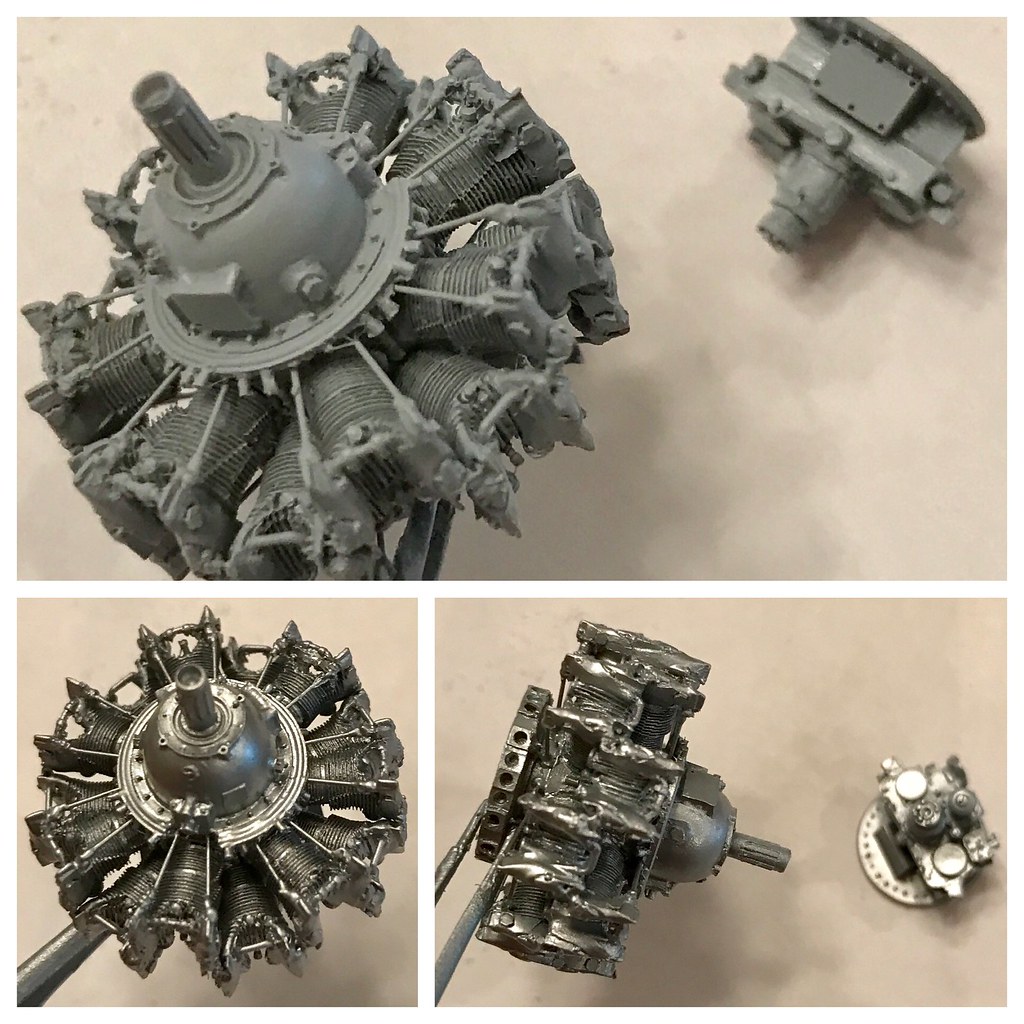
Many thanks to Victory models productions for shipping this Vector resin engine so quickly!! =] I am so excited to get to finally build up this engine. I've been eyeing it for a few years now. It builds fairly easy too.
 Untitled by Britt Vallot, on Flickr
The instructions aren't so bad. I think I'm missing a part for the wiring harness on top of the pistons. If you refer back to the top of the page with the AM pics you can see they have a separate molding for that part. Anyhow, since I'm not using all the PE from Eduard to detail the Tamiya kit parts, I went ahead and utilized those parts.
 Untitled by Britt Vallot, on Flickr
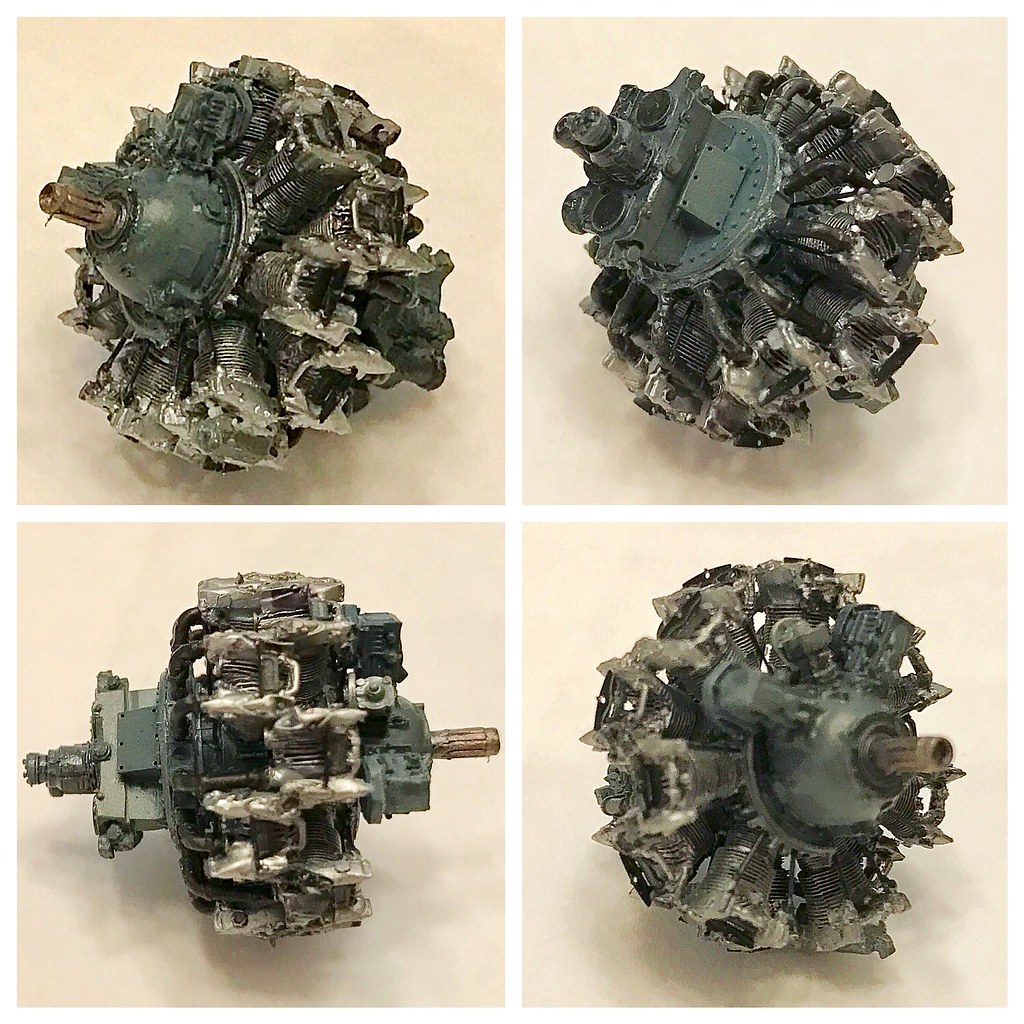
Got everything built up. Push rods were added with brass rod. Put down a coat of Alclad Grey Primer...this stuff lays down so well. Alclad Aluminum and The Detailer (BLK) went down next. After some quick masking, a mix of some Tamiya Medium Blue and Medium Grey (1:1ish) set up the color for the propeller reduction box and rear plate. A little Polished Aluminum on the propeller shaft followed with Pale Burnt Metal and Jet Exhaust for the Intake manifold. The Blue-grey was thinned and brushed in between the piston heads for ease of painting, but I suppose this could all be painted separately if one desired.
 Untitled by Britt Vallot, on Flickr
A few quick blasts of Tamiya Smoke and some dabs of Black Detailer here and there where it's still needed to make some of this detail pop where appropriate. This was all sealed in Alclad's Light Sheen. Really like this stuff! =] I find plenty of use for it. Here it helps that slight shine seen in the high heat enamel paint used for these engines and it's also good for oil that gets smeared over the surface of aircraft. You'll note the contrast between a flat paint and a slight sheen next to it and it'll make all the difference to your eye.
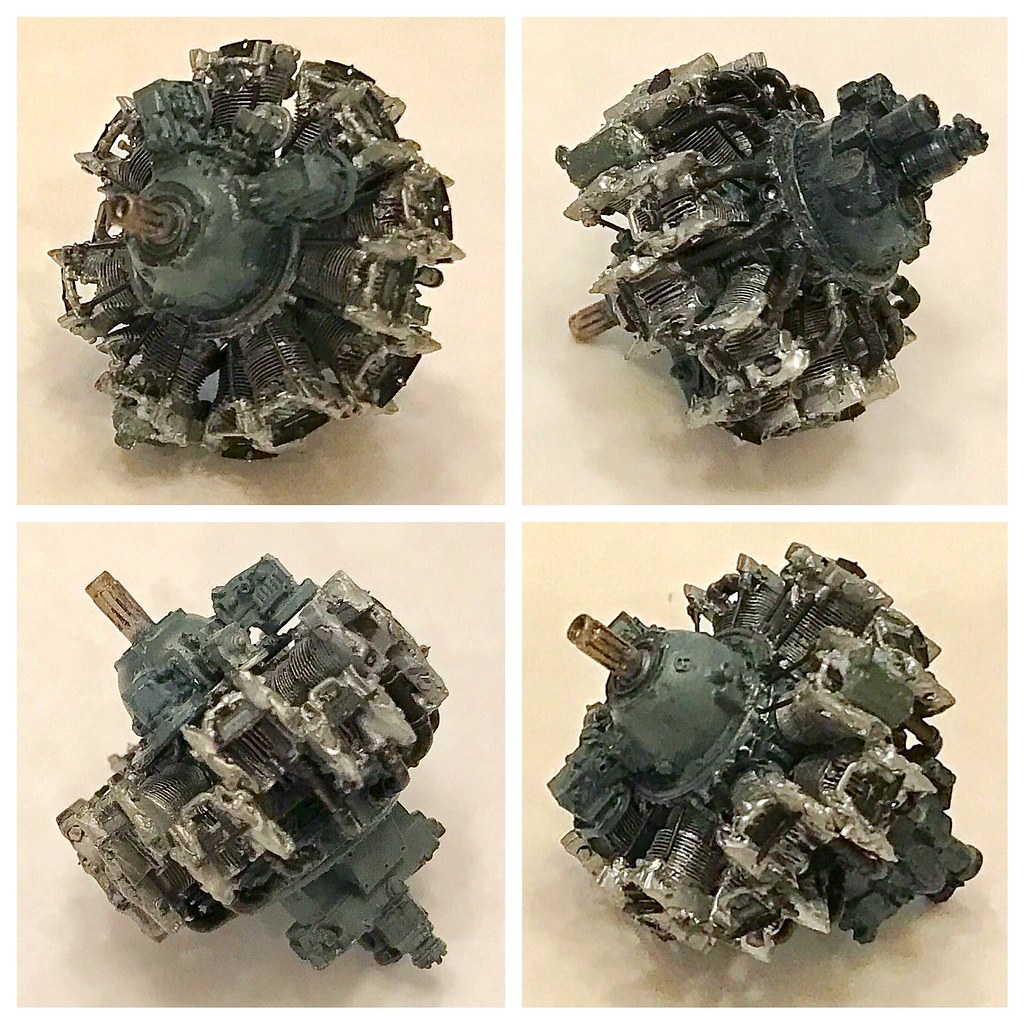 Untitled by Britt Vallot, on Flickr
The top of the prop shaft was drilled out as well.
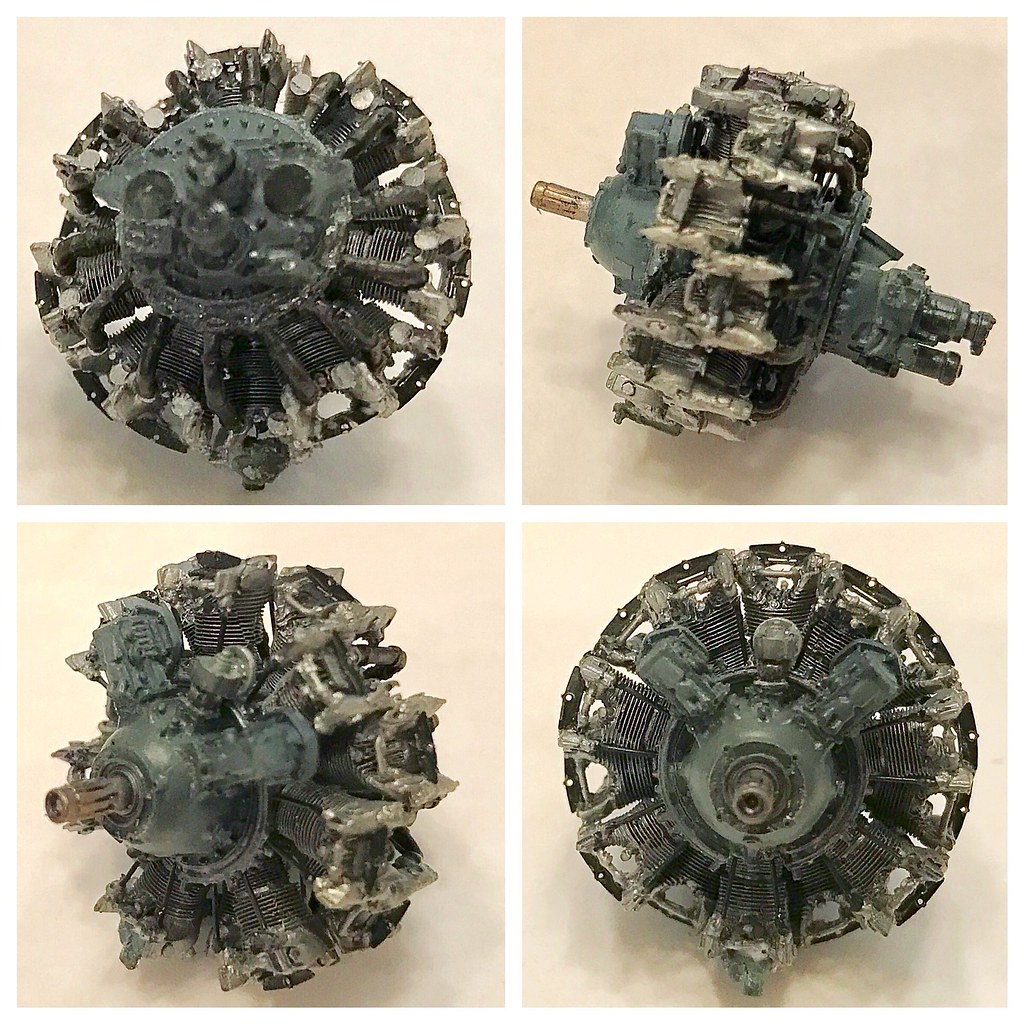 Untitled by Britt Vallot, on Flickr
That's my stopping point for now. I'm very excited about this engine. All that's left mostly is to set up the exhaust manifold and the wiring harness. I waited to do it last because I'm afraid all the extra handling for the fitting that's to come would end up breaking something...sooo.... I'll just wait till then.