And I'm back with more paint. =]
A lot of this speaks for itself so I won't blab too much about what you're looking at.
A look at brushing in a grimier color along with the coffee staining.
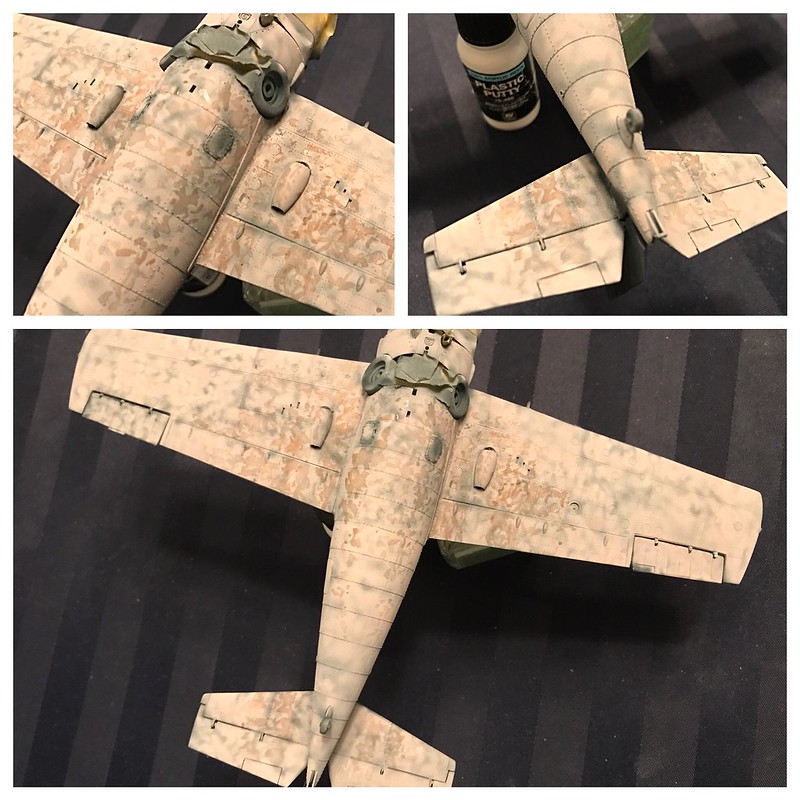 Untitled by Britt Vallot, on Flickr
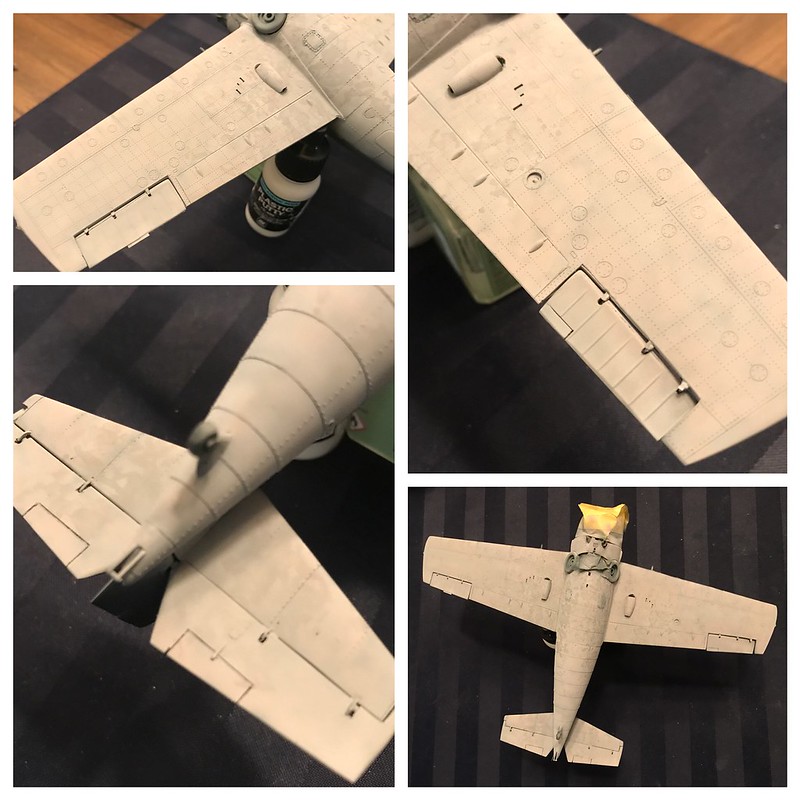
Here is the blend coat for the underside of the Wildcat.
 Untitled by Britt Vallot, on Flickr
I employed a new weathering technique that I've only tested one other time and like but it's not giving me quite the same results. I used coffee to add a stain to the light grey underside which worked remarkably well originally. It's possible I brewed a pot that was a little stronger or was a darker roast, but what I do know is that it stained a little too much and it isn't quite getting covered up with the thin coats of paint that I'm looking for. I'm hoping that the clear coat will dampen this to something more to my liking. It got away from me, but I'll have the last say. =]
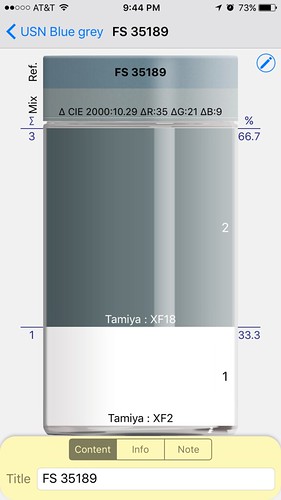
Marble coat for the topside in USN non-specular Blue-grey. Honestly, Tamiya's XF-82 Ocean Gray is practically dead on for this color. I add just the tiniest dab of Flat Blue and threw that down on top of my Sea Blue undercoat. Skip all of Tamiya's suggestions. Here's my math:
The first is the typical Tamiya suggestion as well as what you'll see around the internet
 Untitled by Britt Vallot, on Flickr
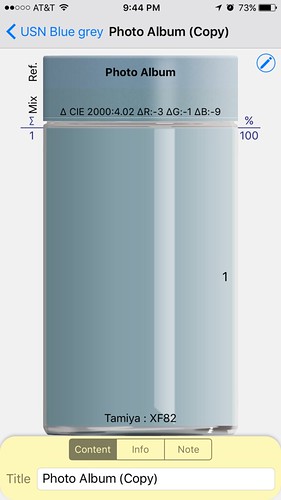
Second is XF-82 alone matched to a pixel from a uniform area of a color photo of a clean wildcat in 1942
 Untitled by Britt Vallot, on Flickr
The third is the FS number associated with this USN color mixed to Tamiya paints that I put together
 Untitled by Britt Vallot, on Flickr
Not the exactly the precision science that took us to the moon, but it's easy to see how much closer the Ocean gray is than the old school mix...for anyone who's interested.
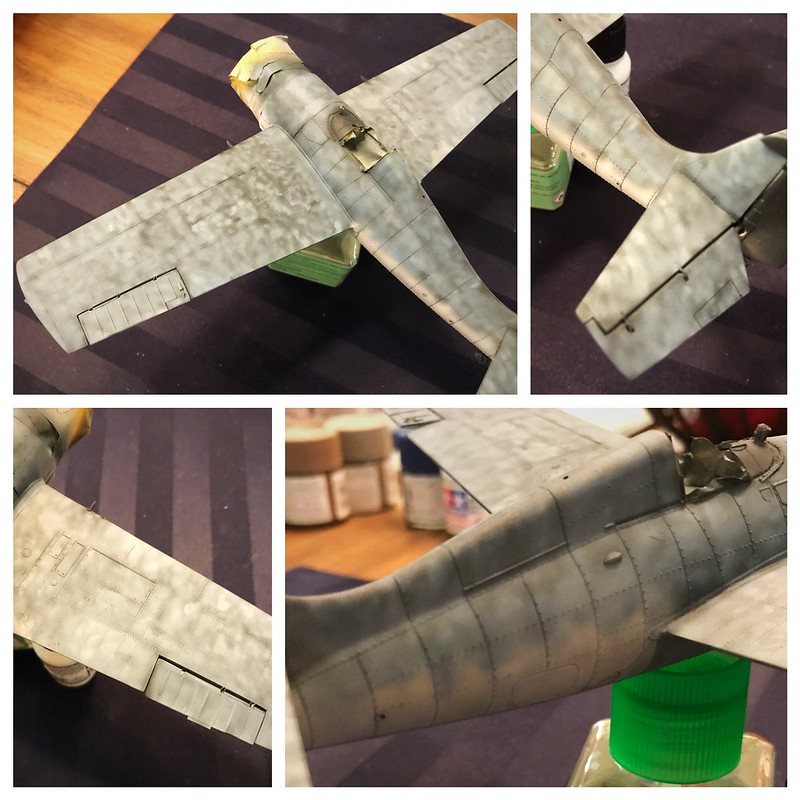 Untitled by Britt Vallot, on Flickr
Blend coat for the topside.
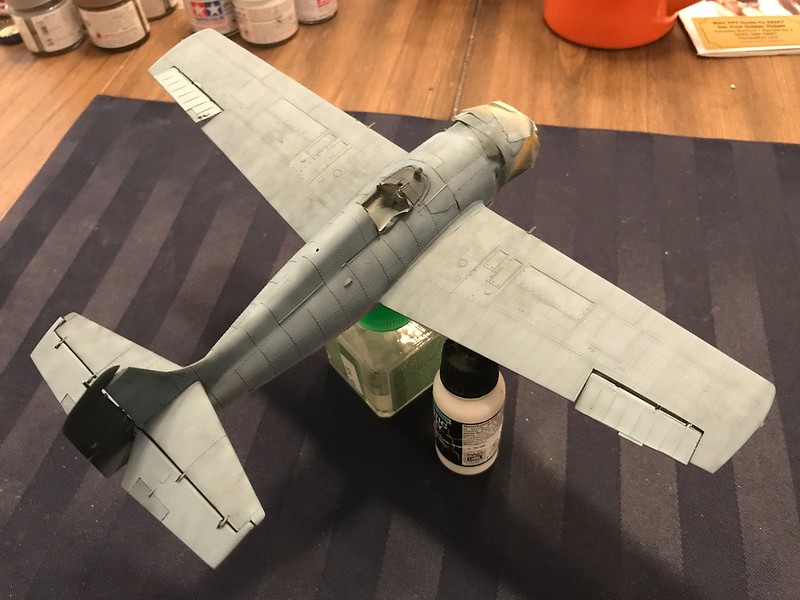 Untitled by Britt Vallot, on Flickr
Here you can see some of that staining that got a little heavy.
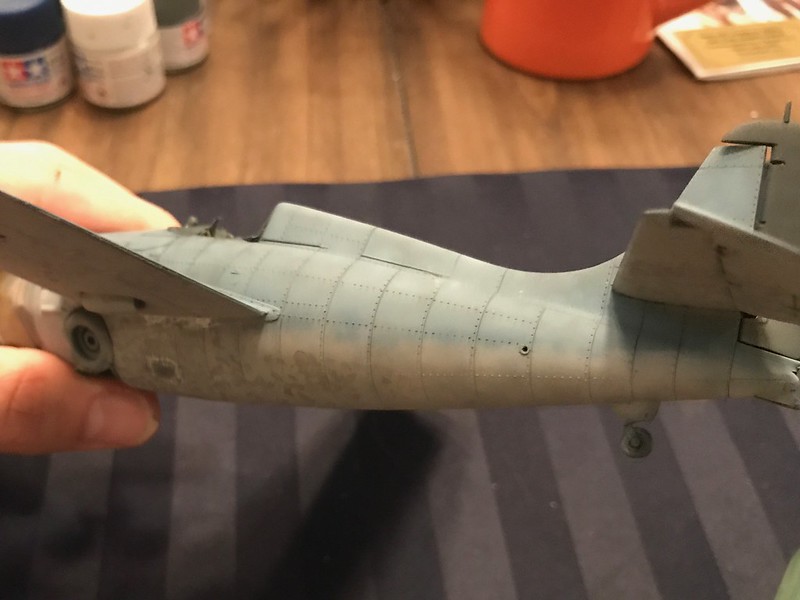 Untitled by Britt Vallot, on Flickr
These next two pics are a truer look at the color. The white balance on my iPhone is lightening these pictures up a little more than what the eye actually sees.
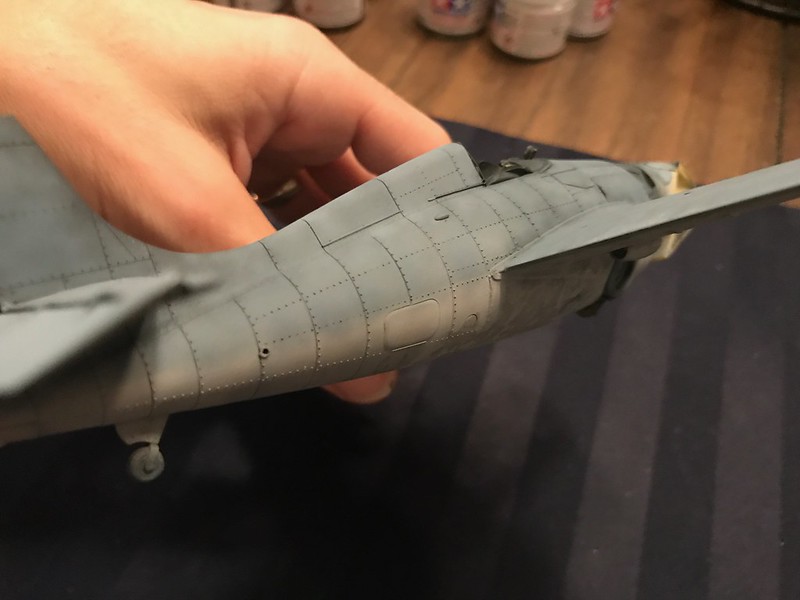 Untitled by Britt Vallot, on Flickr
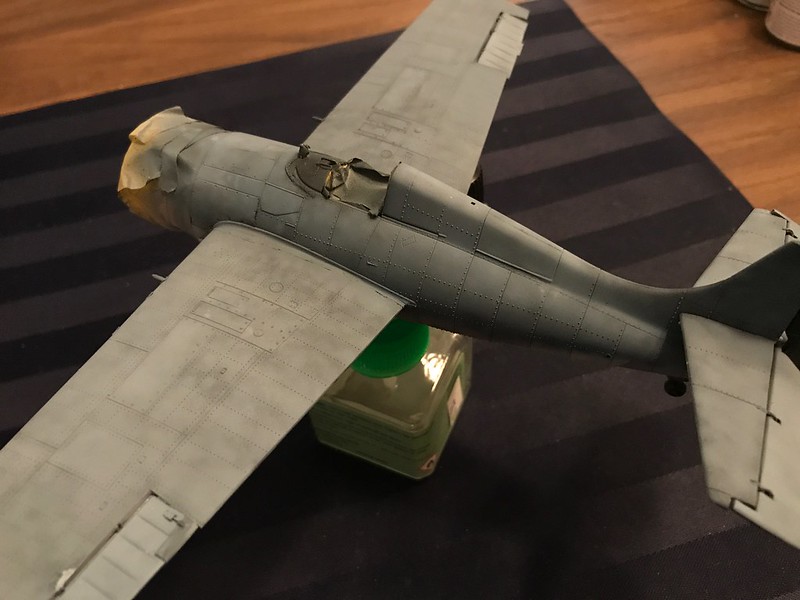 Untitled by Britt Vallot, on Flickr
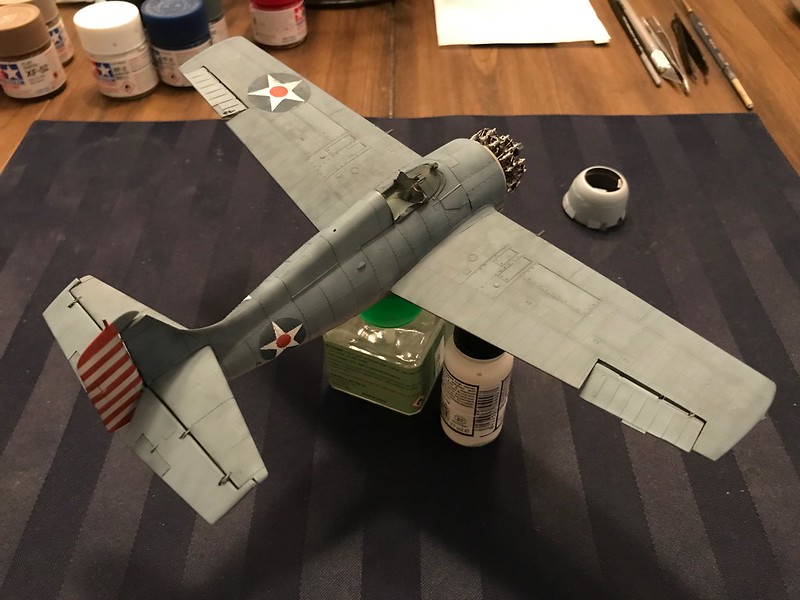
Naturally the masking set that came with the HB kit from Ebay was some ambiguous name brand that didn't match up with anything. The stripes were pretty close but as you see the mask itself didn't quite cut it. There was another set meant to be used for the red stripes so I used those instead to mask the white as that was my base color to help the red pop better.
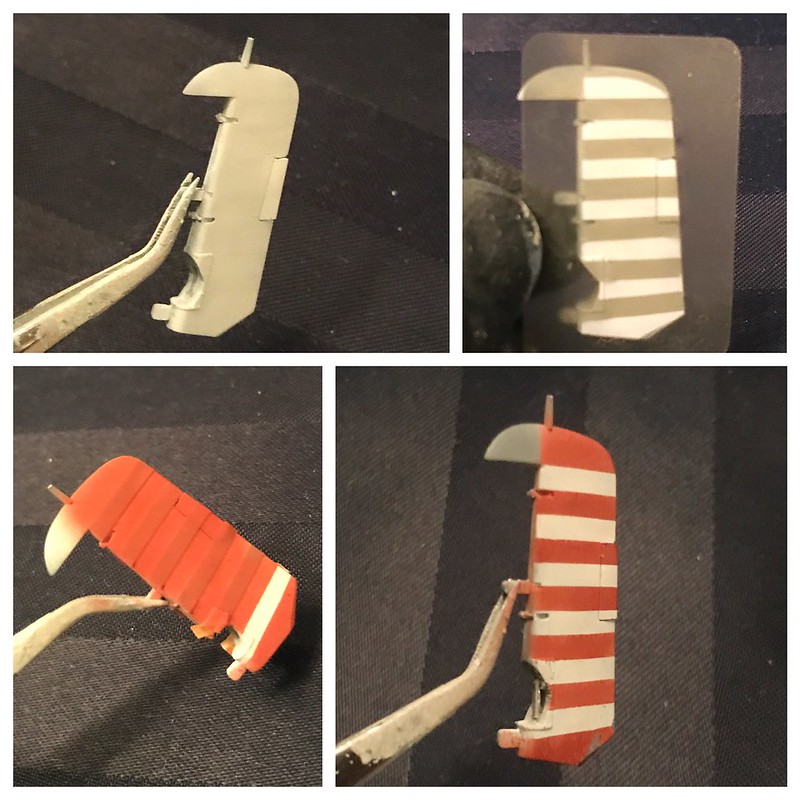 Untitled by Britt Vallot, on Flickr
In the bottom right picture you can see the rod that makes up the axis for the rudder. I carved out a niche for it and placed an 0.6 mm aluminum tube after painting. =]
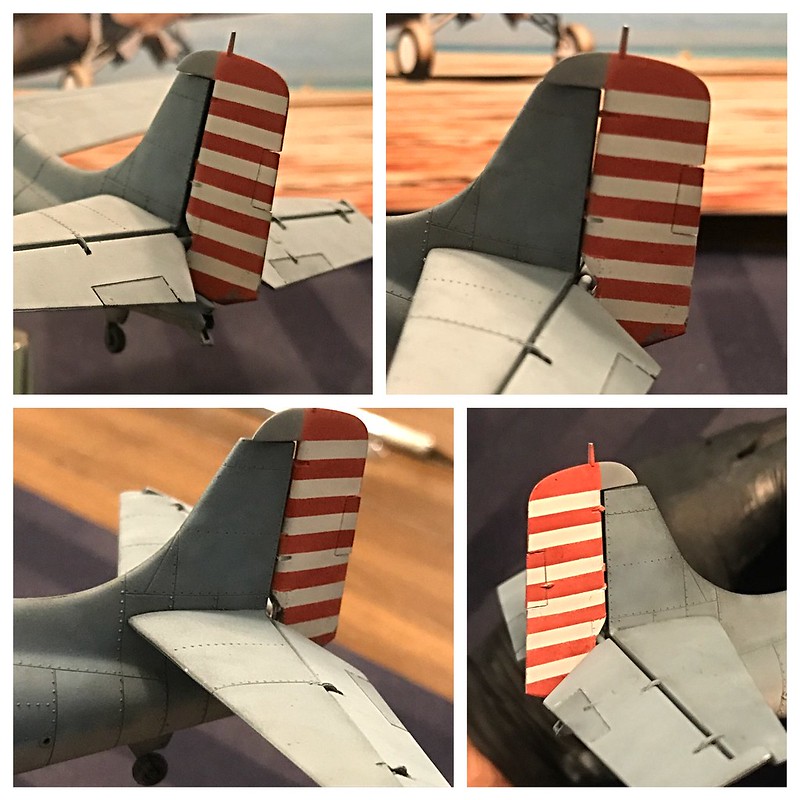 Untitled by Britt Vallot, on Flickr
The masking for the insignia were completely unusable. I opted to tape over the kit decals that HB has for O'Hare's White F-15 and cut out my own mask with a new blade.
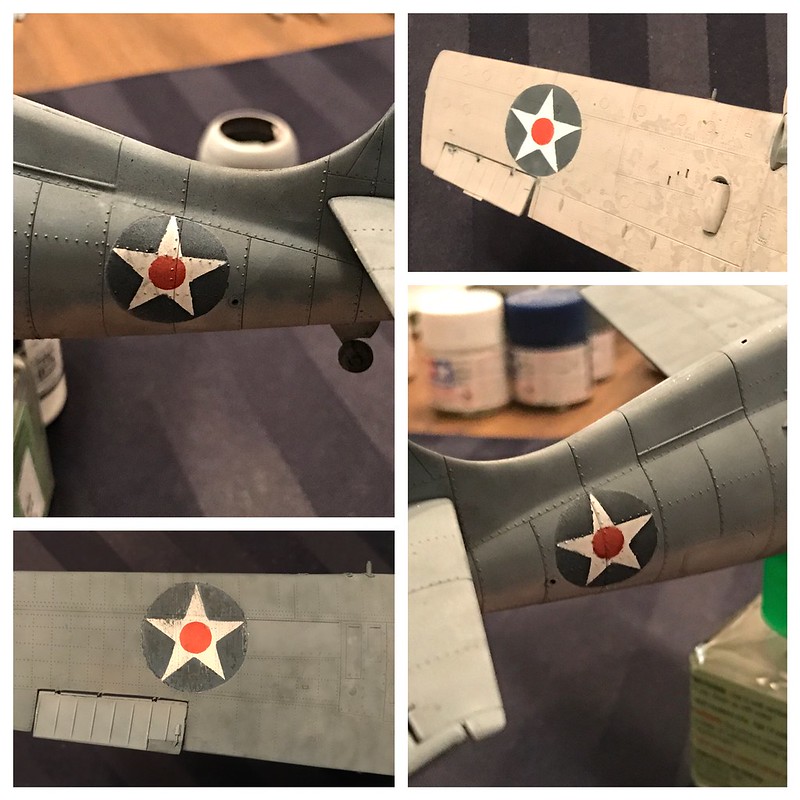 Untitled by Britt Vallot, on Flickr
 Untitled by Britt Vallot, on Flickr
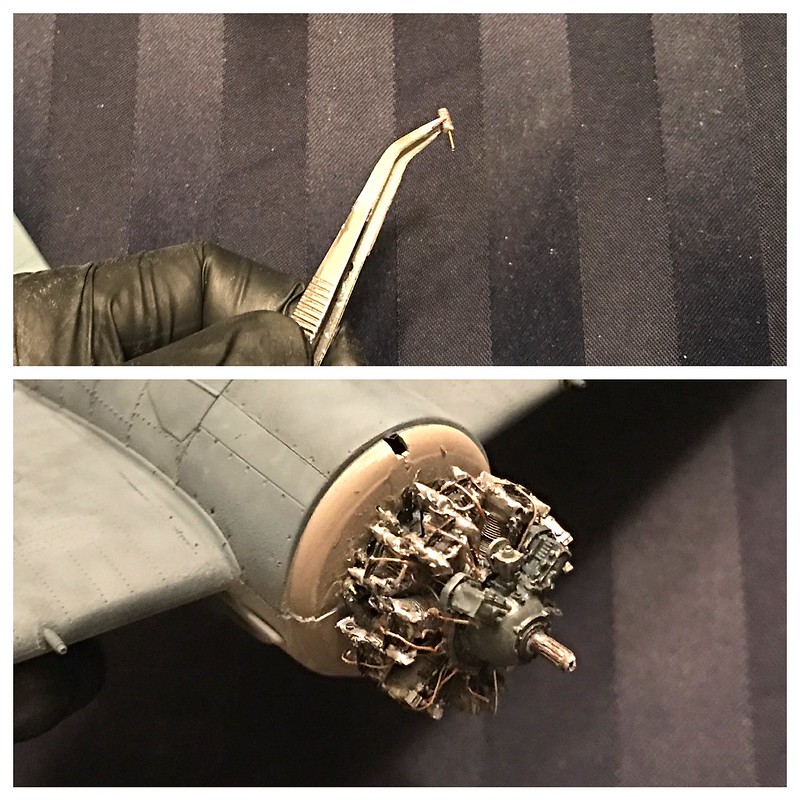
I had a moment tonight to address the prop shaft that snapped off as well. I drilled a hole out with a pin vise--can't recall the size--into both the broken end of the shaft as well as what is still stuck in the engine and dropped a .51mm brass rod both with a drop of CA. Voila! The front end is a little dinged up, but maybe i'll come up with another trick for that later.
 Untitled by Britt Vallot, on Flickr
Moving on to the cowling and finishing the skid strips and numbers. =]