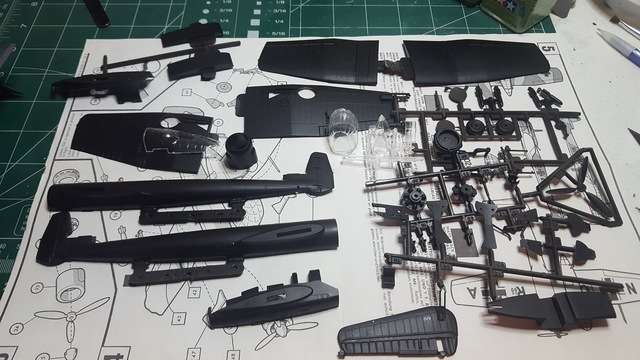
I started on the BV. It's typical of the old Airfix, lots of flash, nonexistent detail, raised panel lines and oversized rivets.....OK the rivets constitute some detail. It should go together quickly and probably take twice as long to fill the seams.
I started in my usual way with a black primer.