I guys and welcome to the first part of the twin Stormbird build. I'm starting with Delaney's #1 cockpit. This took me a lot longer then I care to admit but its all part of the process I guess.
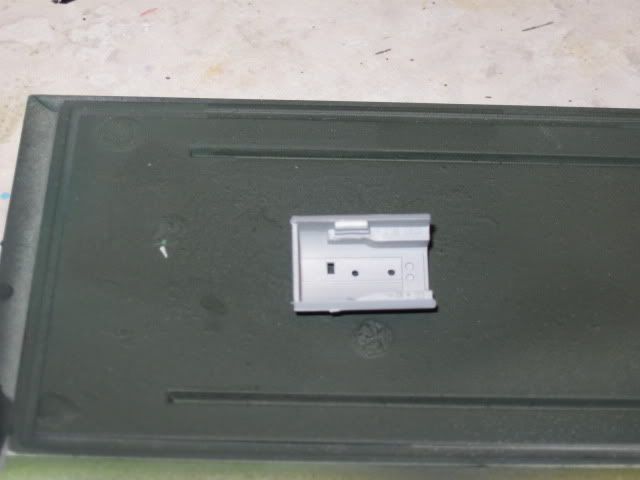
Here is the first part from the kit
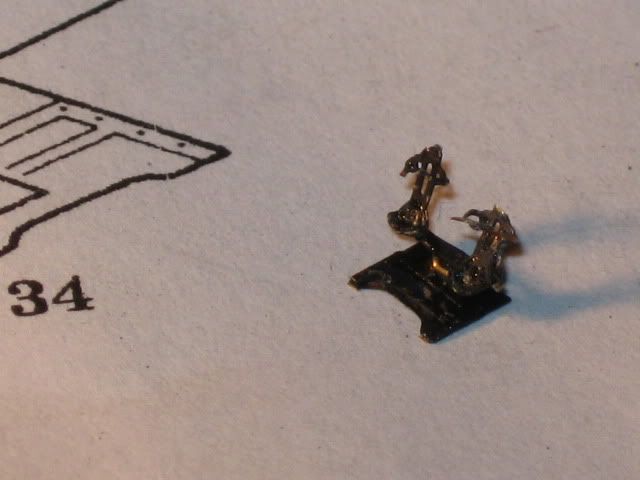
Here we have the the first of the Photo Etch parts before and after
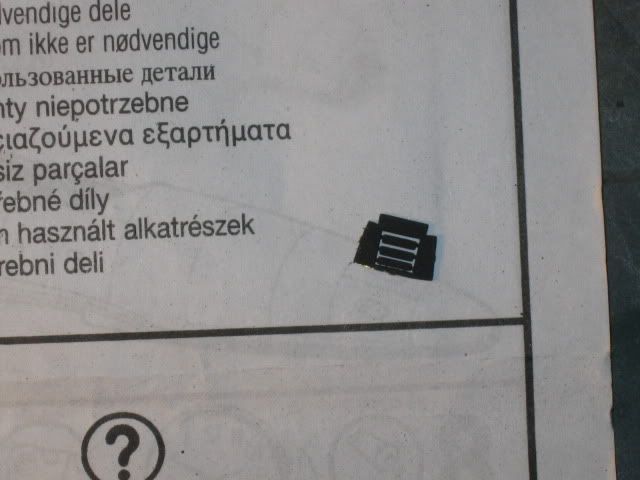
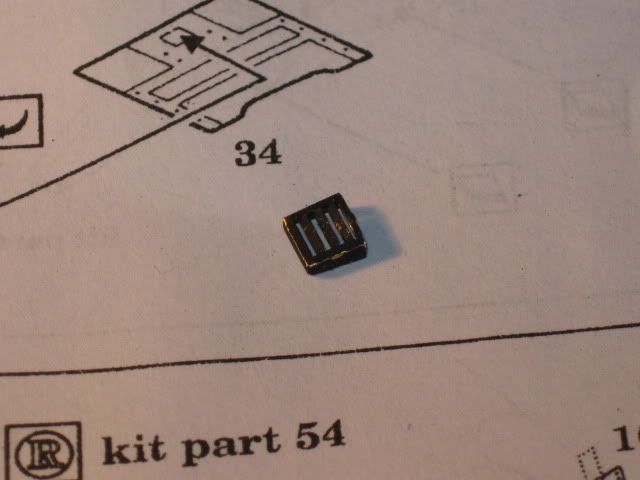
Now before we place this first piece of PE we need to make room by cutting out the kit part.
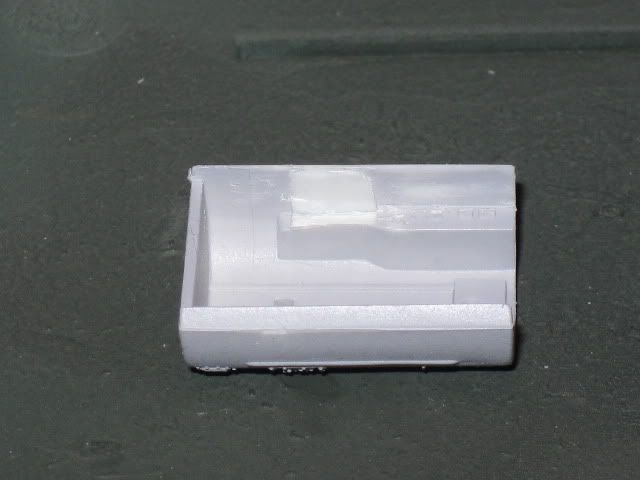
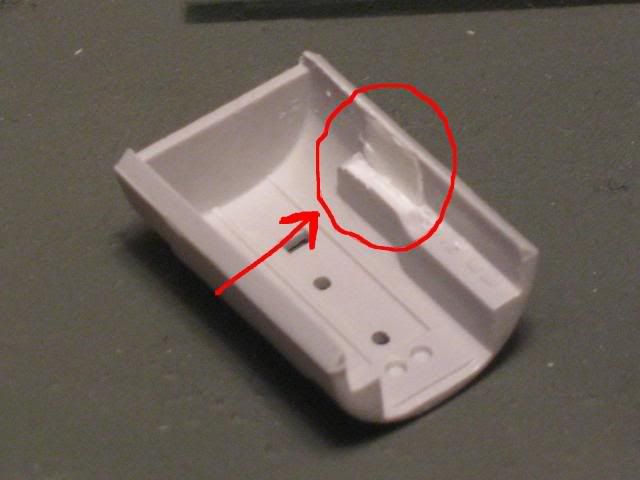
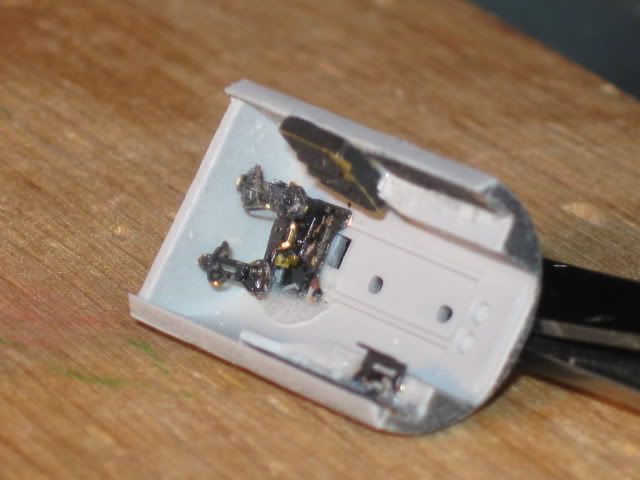
Here the console is in place but its still not right. Its sitting to high and needs to be lowered.
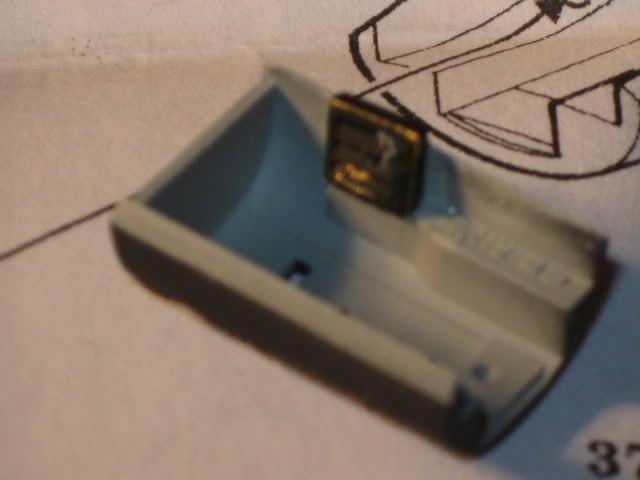
Here you can see where I added some PE panels and levers.
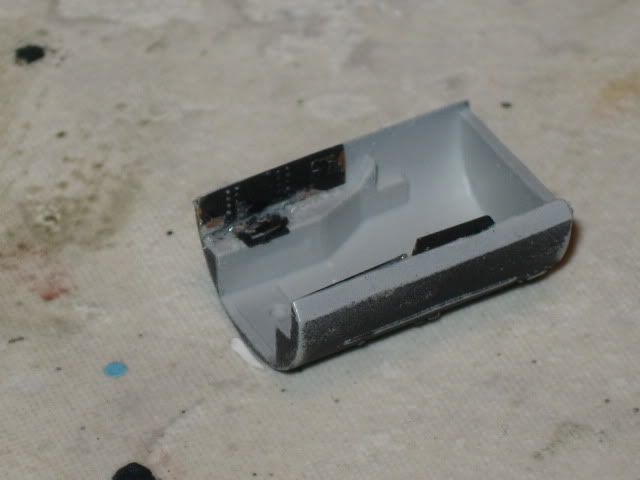
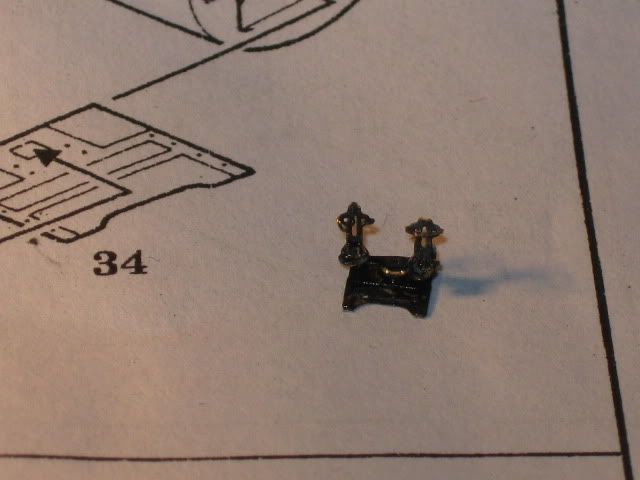
Next I moved onto the rudder pedals. These were a royal pain in the arse and will most likely the last set I put into any of my aircraft. They are just to much work and will never be seen.
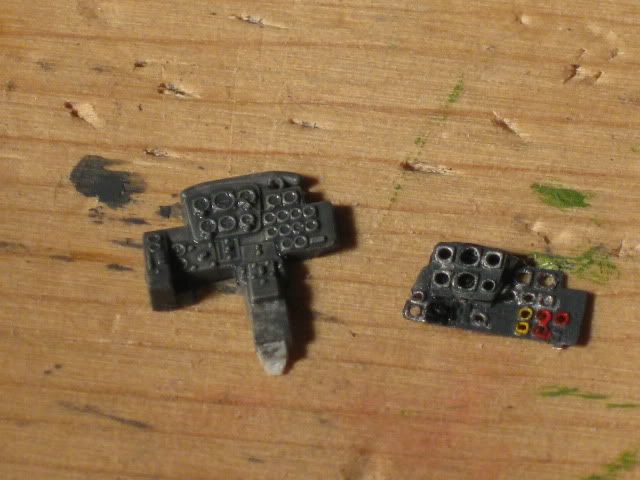
Next I'm moving onto the instrument panel. On the left is the kit part and the right is the PE part that gets placed over top the original
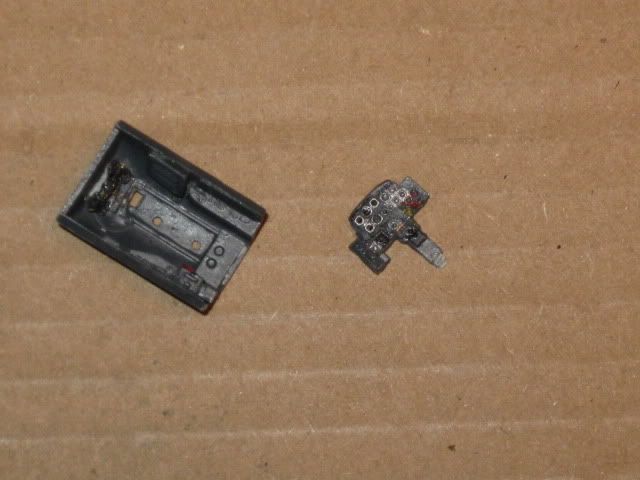
I painted the interior with Poly Scale RLM 66. It has a slightly bluer tone to it like some of the actual color photos of the 262 cockpit. I chose the Poly Scale over the Model Masters RLM 66 not only because of its accuracy but because it allows us to see the detail much better then the darker Model Master.
Next I moved onto the pilot seat. It was here that Murphy (He wrote a bunch of laws) reared his ugly head and I broke the seat.
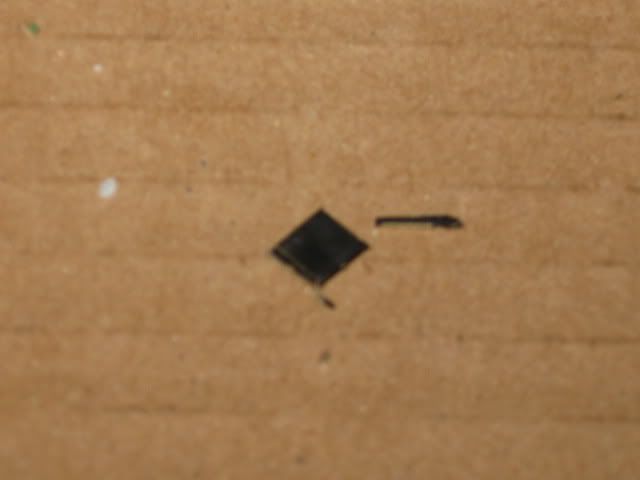
My resolution to this problem was to make a Frankenstein seat. I took the kit seat, cut the bottom off and attached the PE seat back. SWEET!
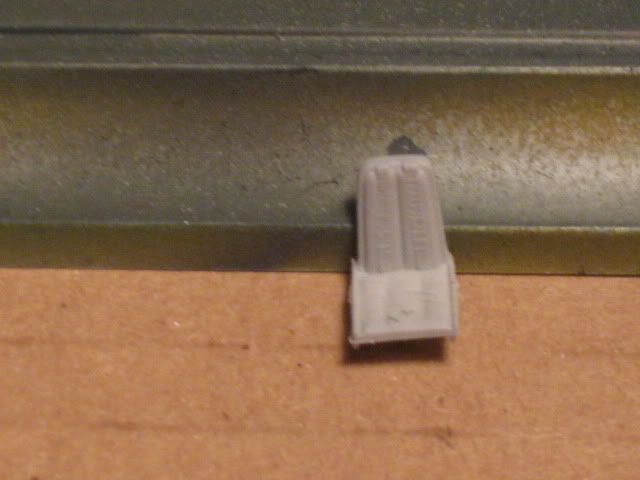
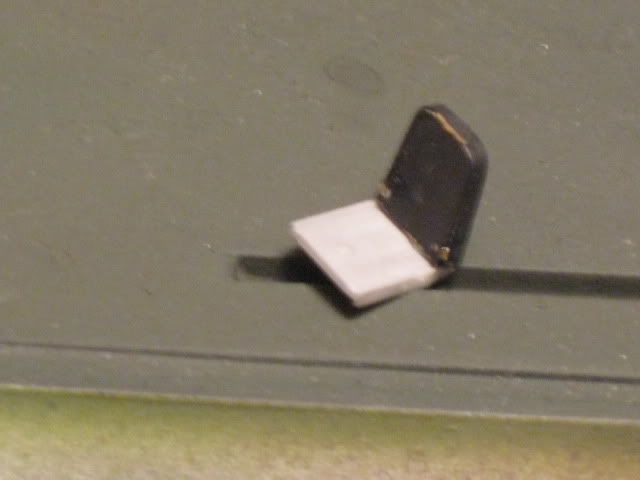
Next i installed the PE framework for the seat, some levers and the seat belts. Next went the control stick and the seat. Hold on a minute. Here comes Murphy again. The seat doesn't fit in the cockpit. The funny thing is the PE seat back is no bigger then the standard kit part. The resolution was to shave down the cockpit walls with a file till the seat fit.
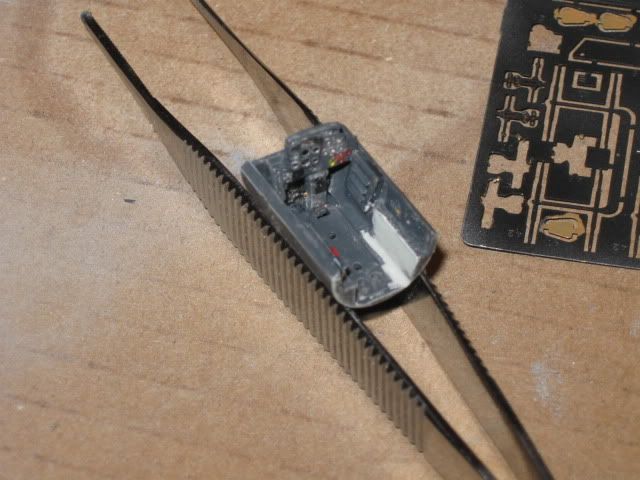
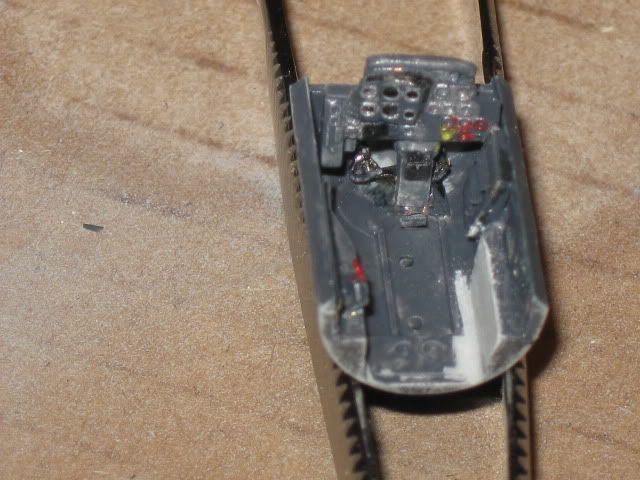
Finaly we have the completed cockpit
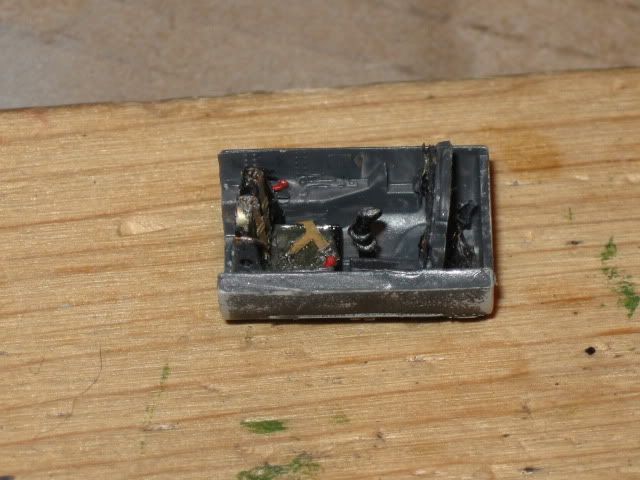
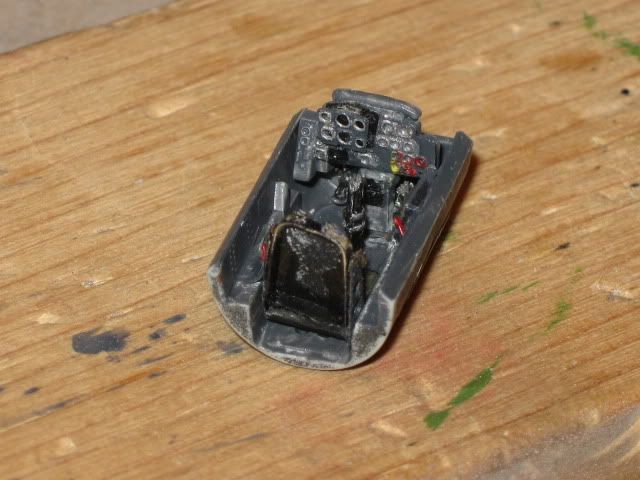
Thanks for looking...
Till next time