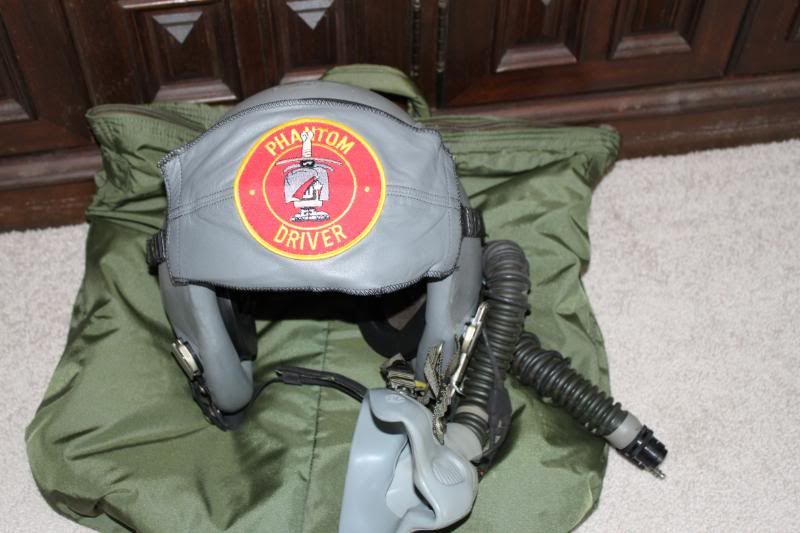
Sorry it took so long to post the pictures I promised you Ken. The first picture is my helmet bag. The second is my skull cap. I am sure HVH could explain why we had to wear them. The third is my helmet. That is not my helmet I used when I was on flight status. My oldest son collects helmets for a hobby so I gave him my old one and he gave my an updated type worn at that time. The visor cover comes off for the tented visor to protect against ther bright sun. Very seldom did we use the sun visor as we wore sun glasses.
I still have three good flight suits and two not so good that I use when I worked on the car or truck. I have my flight jacket, G suit, chute harness that my son gave to me. We didn't use the harness as the T-33A had fanny chutes and the TF-102A used back pack chutes. Most of the time we didn't even wear the G suits except when we were the target on DACT.
I used to wear a flight suit whenever I flew the C-150 type of aircraft. It has so many pockets it is great for flying. You have plenty of room for maps, check lists, and anything you happen to have with you for the flight. Yes Dom, you can even carry your lunch.