SEARCH FINESCALE.COM

Enter keywords or a search phrase below:

(A)SW GBII - CLOSING

82445 views
560 replies
1 rating 2 rating 3 rating 4 rating 5 rating
  • Member since
    June 2009
  • From: Netherlands
Posted by kermit on Monday, September 12, 2011 11:05 AM

Lewbud,

Happy to have you again! I loved your little subs last year and i am sure this year wont be any different. Didnt know there was an ohio available!Stick out tongue Ill put you on the list ASAPWink

Vetteman, Maxfax,

That spit is a real gem and lotsa fun to build!. It is indeed a hasegawa rebox.

Richard

"Success is the ability to go from one failure to another with no loss of enthusiasm." - Sir Winston Churchill

  • Member since
    September 2008
  • From: Ancaster, Ontario
Posted by maxfax on Monday, September 12, 2011 9:37 PM

Gentleman,

I have finished the engine section. I added alot of extra plumbing and the port telegraph. I need to remove the corresponding section on the hull. After that, I'll finish the oil canning ( I regret starting this), then the laborious task of adding all of the supports adjacent to the flood vents, and adding to the saddle tanks  that pass through the central drainage slot. Then the external PE. Lots to go yet!

On the bench:  Revell 1/72 HCMS Snowberry


  • Member since
    October 2008
  • From: italy
Posted by bsyamato on Tuesday, September 13, 2011 8:06 AM

great work on man YesYes

  • Member since
    October 2008
  • From: italy
Posted by bsyamato on Saturday, September 17, 2011 9:48 AM

Sir Kermit i just started an hss-1 seabat for the sar group, the elicopter on "marina militare" was mainly used as asw, can put it even here? (no fear i planned to do almost an oob of it Whistling)

  • Member since
    June 2009
  • From: Netherlands
Posted by kermit on Sunday, September 18, 2011 2:44 AM

Maxfax,

Stunning work on that diesel!YesYesYes. That submarine is starting to be crowded with aftermarket goodiesWink Love it!

Bsyamato,

Wow, a Seabat you say??Stick out tongue Love the lines of that plump helo! Can you tell me what brand and scale you are building so i can put it on the front page? Have fun my friend, ill be watching really closely!

Richard

"Success is the ability to go from one failure to another with no loss of enthusiasm." - Sir Winston Churchill

  • Member since
    October 2008
  • From: italy
Posted by bsyamato on Sunday, September 18, 2011 6:19 AM

yeff! ut's the italeri 1/72 kit hss-1 seabat, the special italian box Tongue Tied with a poor decal sheet.

the base s-58/wessex high shared mould with revell and hobbyboss, dunno who's the real owner of original mold but probably italeri.

The kit is really fun to build, two years ago i built the  raf hu5

this kit ,even italeri, comes with more options than the seabat.... boh, strange italeri marketing that in the italian version not included the fuselage troops seats . 

also started to paint the gannet with lighter color Big Smile


  • Member since
    June 2009
  • From: Netherlands
Posted by kermit on Sunday, September 18, 2011 6:48 AM

Bsyamato,

So Italeri it isWink

Haven't built alot of italeri stuff (sdkfz. 234/2 puma and the ex esci F86E) but i was up untill now never dissapointed. Bit overpriced though....

I will add your build to the list now. Have fun my friend! Btw. your RAF version looks really good!Yes

Richard

"Success is the ability to go from one failure to another with no loss of enthusiasm." - Sir Winston Churchill

  • Member since
    October 2008
  • From: italy
Posted by bsyamato on Tuesday, September 20, 2011 5:13 AM

Sorry for the italeri prices, here comes at less prices probably, the seabat comes at 8.90€ regular price.

Best thimg from italeri i see are on some 1/72 armor kits and between 1/720 ships. Latest 1/72 kits for a strange choice have engraved panel lines a little too much accentuated Surprise as the mc-205 veltro in the stash.

  • Member since
    October 2008
  • From: italy
Posted by bsyamato on Monday, September 26, 2011 4:59 PM

some update;

before all the mess i have on the workbench

why i cannot win on the workbench organization?? Ick!

then gannet updates, nothing new glued but after 3 layer on lighter color of camouflage i got an acceptable finish.


the various control surfaces

now need to find a correct color for the dark gray, i thinked the 140 used as primer is near to the real, some opinion about?

then speed up on the seabat, the inner is about finished, need just some retouch and a black washing.

Embarrassed not spend too many time on the details this time, all the doors will closed, then really few can see when all closed

that's all for this night folks 

  • Member since
    October 2008
  • From: italy
Posted by bsyamato on Tuesday, September 27, 2011 6:49 PM

more updates on seabat

the cockpit finished i think

a mummy

and without bandages (naturally i night passed on)


and the more problematic piece: almost if you want to see all outtakes opened. 

all was covered with tiny flashes

that's all


  • Member since
    September 2008
  • From: Ancaster, Ontario
Posted by maxfax on Wednesday, September 28, 2011 8:57 AM

Hello bsyamato,

Nice work on the aircraft- kinda makes me want to do another one now! The extra wiring on the Gannet turned out great. I've taken a hiatus from the u-boat- needed a mental break from it, because  all I will be doing is oil canning and sanding for a month! I've been working on Eduards 1/4 BF 110 instrument panel, and finished it on the week-end. I'll be hitting the sub in a few days.

Rob

On the bench:  Revell 1/72 HCMS Snowberry


  • Member since
    June 2009
  • From: Netherlands
Posted by kermit on Wednesday, September 28, 2011 1:04 PM

Bsyamato,

Dont know what paints you like to use but revell says to use a darker shade of blue grey... Maybe humbrol 156 could be a close match?

Beautiful work on both the gannet and the seabat!Yes Looks like a fun kit to doSmile

Rob,

I certainly don't envy you having to do such tedious work.... But in the end i am absolutely sure you will end up with some great work as you have shown sofar. Good luck on the 110 as well! Are those eduards any good?

Richard

"Success is the ability to go from one failure to another with no loss of enthusiasm." - Sir Winston Churchill

  • Member since
    October 2008
  • From: italy
Posted by bsyamato on Thursday, September 29, 2011 12:40 PM

Thanx Maxfax , you posted the wip of 110? i like the subject (another unexplained missing from my collection)

Richard, the seabat is really a fun kit (in mind to get the third?) problems only between the nose and the fuselage fit, just today put few putty in some location, the kit don't need so much Cool

on the gannet i was convinced to use the 140 but... when checking the jars i realized that the last one was finished to prime the gannet himself Indifferent

Some seabat update tomorrow i think

  • Member since
    October 2008
  • From: italy
Posted by bsyamato on Thursday, September 29, 2011 5:42 PM

brief update

this afternoon i used the putty and sanded lots, tomorrow counting to strike the first paint layer

  • Member since
    September 2008
  • From: Ancaster, Ontario
Posted by maxfax on Friday, September 30, 2011 11:13 AM

Bsyamato- man, you are just moving along! The eduard 110 instrument panel was really nice, and took a few nights to get it together. Ibam not sure how I willndisplay it. I'll try to get a pic up this week-end. Rob

On the bench:  Revell 1/72 HCMS Snowberry


  • Member since
    October 2008
  • From: italy
Posted by bsyamato on Friday, September 30, 2011 7:57 PM

at least a picture is a must for the 110   Surprise

Bad day for the seabat, he unfortunately is the first kit withouth the precious humbrol 140 i used as primer on last two year kits. Searchin for a substitute i tried the 147 but..

... i just performed a good example on how not draft an hand of color on a kit Crying

fortunately the color will going on is darker than the gray.

so ,even for the 140 emptyness i tried a mix of  dark blue gray 77 and light gray 147

this the result for now, after two hands and some retouch

i know Richard, it's time to take care of engine section and finally finish the gannet Cool


  • Member since
    October 2008
  • From: italy
Posted by bsyamato on Saturday, October 1, 2011 5:27 PM

some news about the double mamba

Thinkin at how to reproduce the oil tank up the gearbox i used a piece of balsa , so this model is a real multimedia container (lead metal brass copper tape wood etc)

the four main tubes from the tank

bended two and start to add piece alot

unfortunately i enginereed the two engines too wide Tongue Tied then i cannot exagerate with too many lateral tubes present on real ones

  • Member since
    October 2008
  • From: italy
Posted by bsyamato on Monday, October 3, 2011 5:49 PM

glossy night!

tomorrow hope to put decals Stick out tongue can't wait to see it with markings

  • Member since
    October 2008
  • From: italy
Posted by bsyamato on Tuesday, October 4, 2011 6:02 PM

Decals on!!!! cartograph printed in italy the sheet.... just perfect on all aspects

the only left decals is for the canopies and for the cutted engine cover parts


  • Member since
    July 2008
  • From: USA California
Posted by vetteman42 on Tuesday, October 4, 2011 6:13 PM

ALRIGHT BSYAMATO !!!!!!!! I have been waiting for this ! Looks fantastic man, very well done sir ToastYesYes Love the color scheme and markings, all the extra work you put in is paying off big time.

Randy So many to build.......So little time

  • Member since
    March 2011
  • From: Victoria BC Canada
Posted by de havilland canada on Tuesday, October 4, 2011 9:29 PM

Looking really good yamato!!!!!!Hopefully decals will be available soon to finish my Tracker.....I will start on next project this week.


Cheers

http://i756.photobucket.com/albums/xx202/kermit77/ASWgb2/ASWgb2Badge.jpg

  • Member since
    July 2008
  • From: USA California
Posted by vetteman42 on Tuesday, October 4, 2011 10:26 PM

Now THAT is a really cool group badge !!! I gotta get moving I want one !!!!!!!

Randy So many to build.......So little time

  • Member since
    September 2008
  • From: Ancaster, Ontario
Posted by maxfax on Wednesday, October 5, 2011 7:54 AM

Bsyamato:  That's a great result so far! I just have to get my butt in gear....

On the bench:  Revell 1/72 HCMS Snowberry


  • Member since
    October 2008
  • From: italy
Posted by bsyamato on Wednesday, October 5, 2011 8:30 AM

Bow Down tanx for comments guys it's time to finish this little one wishing me too to see it finish Beer (and check if are a tail sitting ..)

and need to see some more wips here Toast

  • Member since
    October 2008
  • From: italy
Posted by bsyamato on Friday, October 7, 2011 8:08 PM

De havilland hope you get soon the decals .. but you can see the delivery  tracking of tracker decals  ? Whistling

after this i can change work..

long night on the gannet and on aother plane, same day for decals and ,this time, same night for panel lining :

i used a light brown/earth this time instead of black

2 or 3 steps was needed before an acceptable looking lines.

After final excess cleaning

same process on flining surfaces and.. Bang Head one of flaps hit the ground and one of retraction compass was lost!!!! (lesson learned :ALL the little fragile pieces must be glued only when i'm sure about their safety Black Eye )

Also workin on the seabat, just done the white under the reds paint zones, but no pics.

that's all for the night, leaving at least a whole day for perfect dry will work on others pieces.


  • Member since
    October 2008
  • From: italy
Posted by bsyamato on Saturday, October 8, 2011 9:03 PM

so i continue on the gannet and the seabat.. also more troubles i did

...

the seabat is four blade copter ... find you the little incident occurred
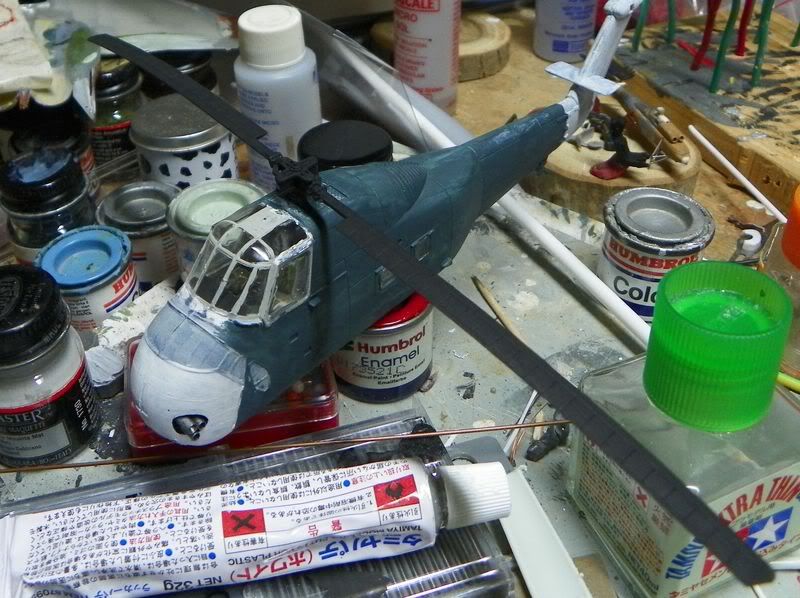
i painted part of the gray triyng to not invade the white areas, rotor was glued and painted two days after the kit comes, but sleeping in the gannet garage i probably put it accidentaly on the rotor (and the gannet have a good weight really Bang Head )

so on the gannet i found lots of pieces is again on the sprues (whitout counting scratched pieces the kit comes with 115 pieces) 

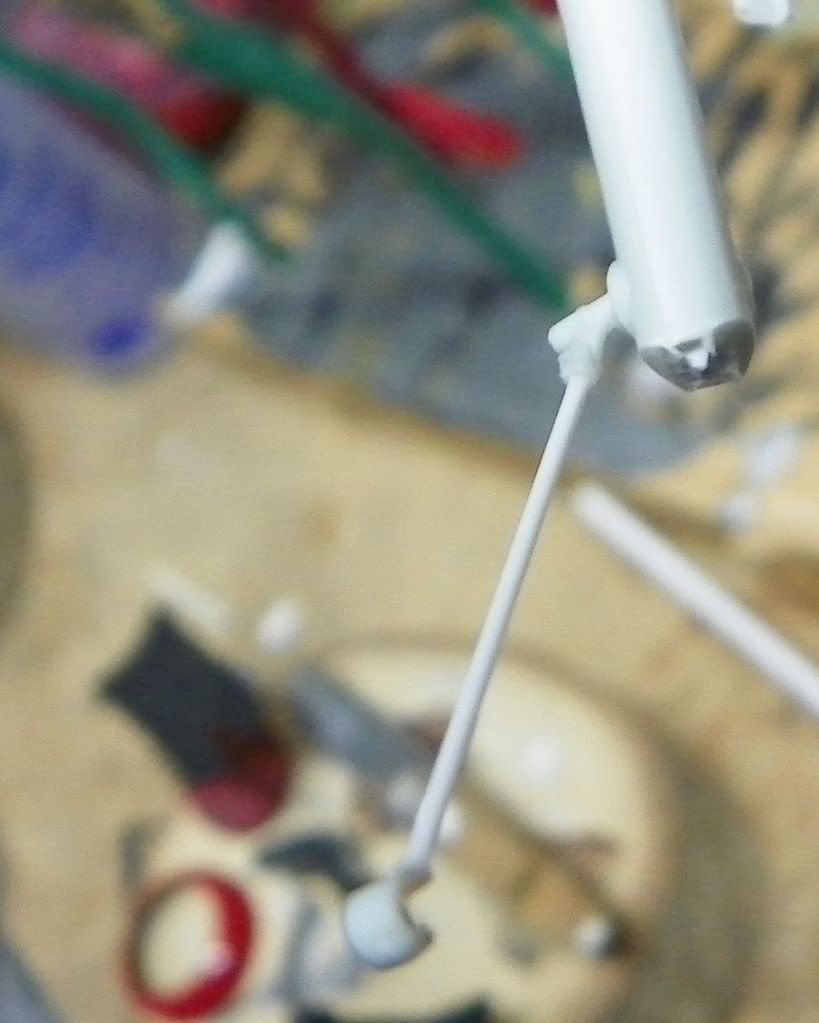
the arrestinng hook comes already broken in the middle (not my fault this time), a piece of plastic rod replaced the central pieces
on the main gear doors i drilled a recess as present on the real 
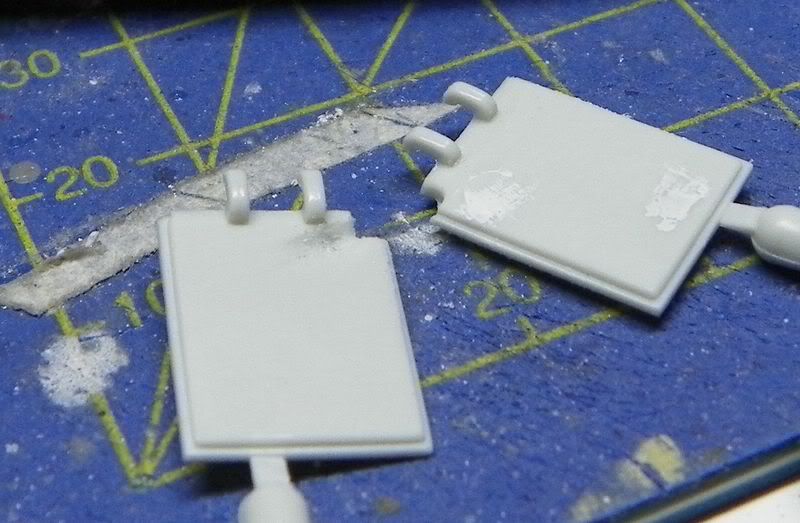
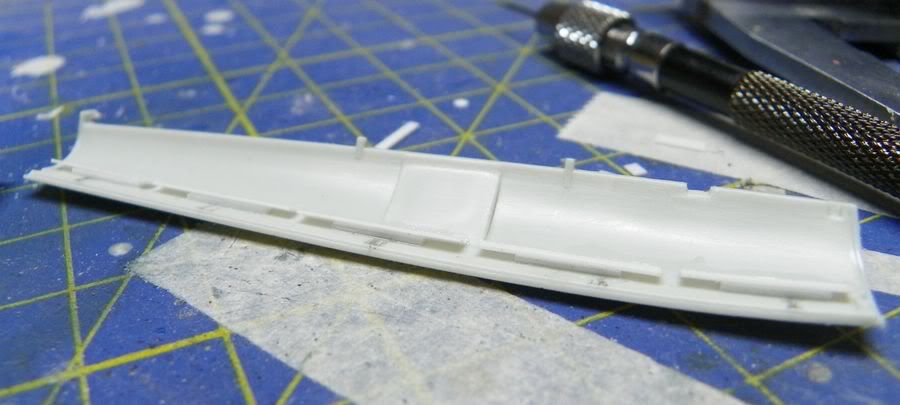
parts of remaining pieces passed with black ,these pieces will be in alluminium, lots of pictures says that these pieces and the wells will be in the same light sky as the bottom of the planes but lots of others says these inner parts in alluminum . Unfortunately i don't found specific pictures of the "UA 106" i chosen
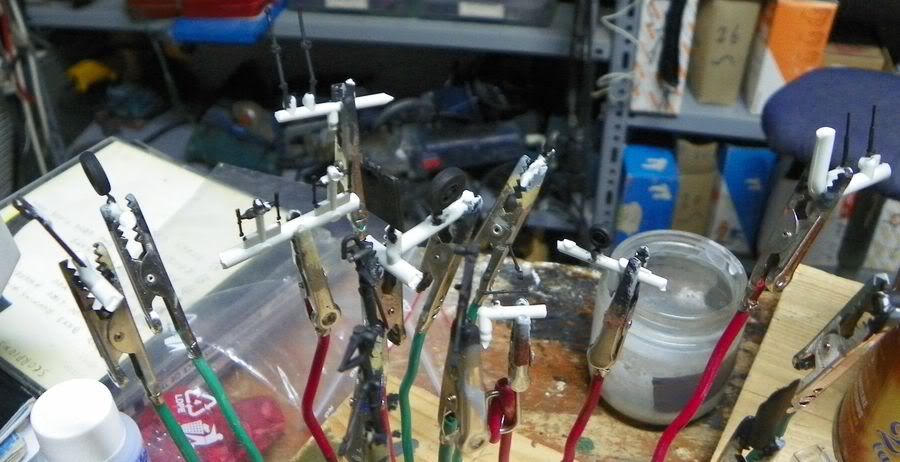
then started the last scratch out of engines zones (at least if don't break more finished pieces Whistling )

the weapons bay doors;:

after consulting lots of referecnces and seen pictures of aftermarket kits i planned so:

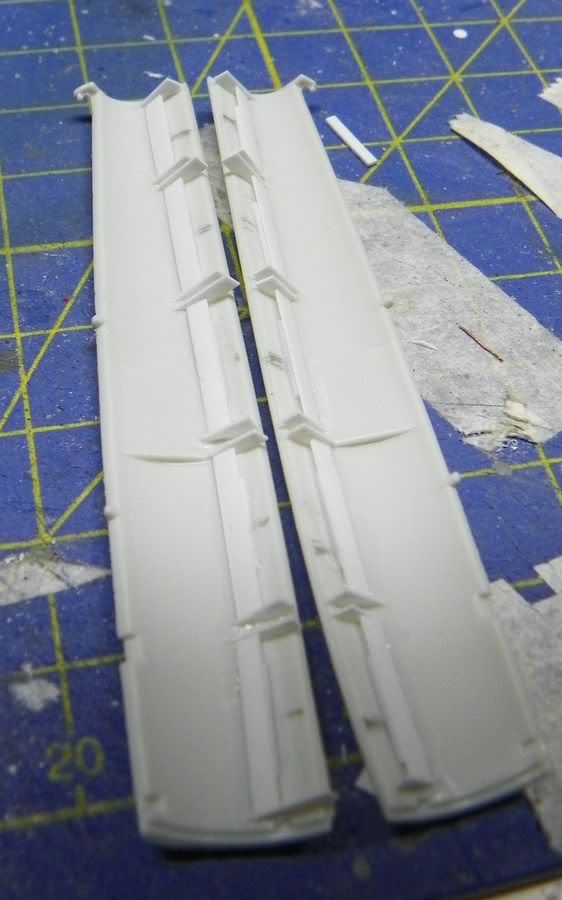
both doors have a sort of structural box, 5 per dors located at the center of bay when closed, probably to secure the torpedos during flight
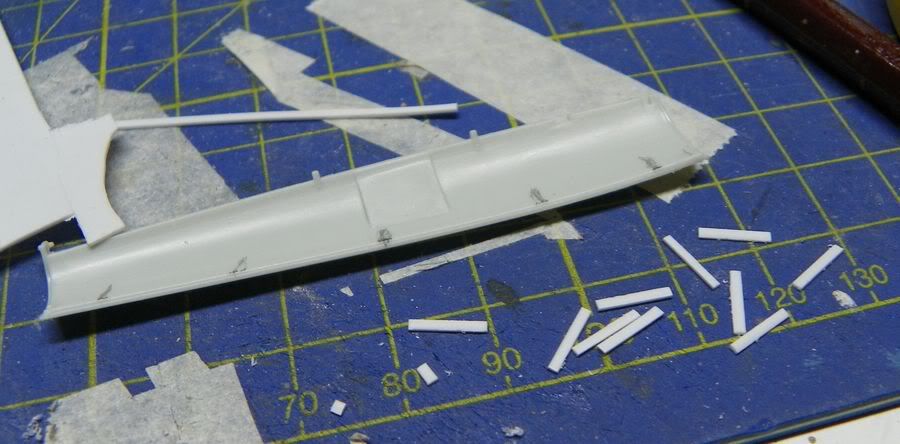
these pieces was cutted from styrene sheets, without usinsìng ready profilates, before to cut the first ten pieces i shapen one of sides to obtain an upper anle when glued
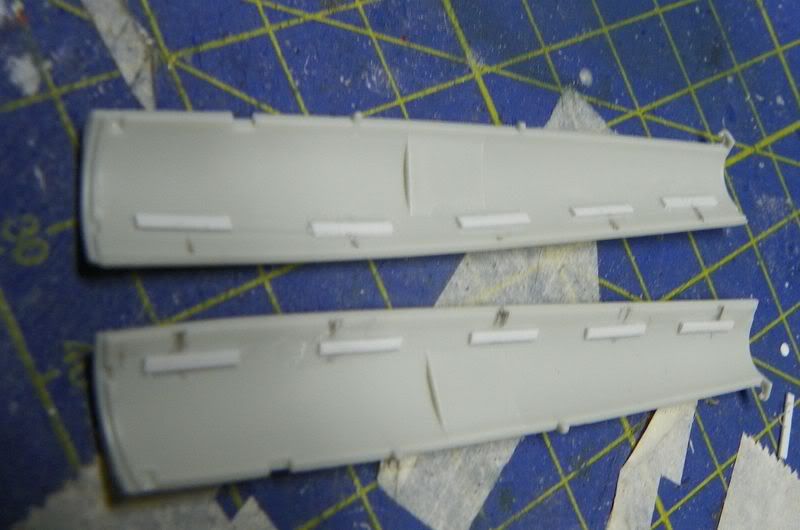
then larger pieces (10+10)
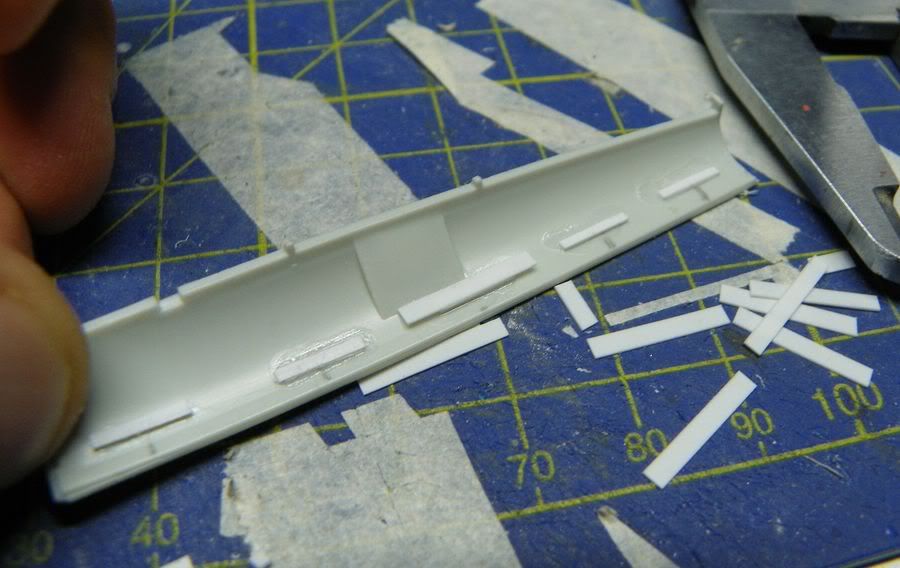
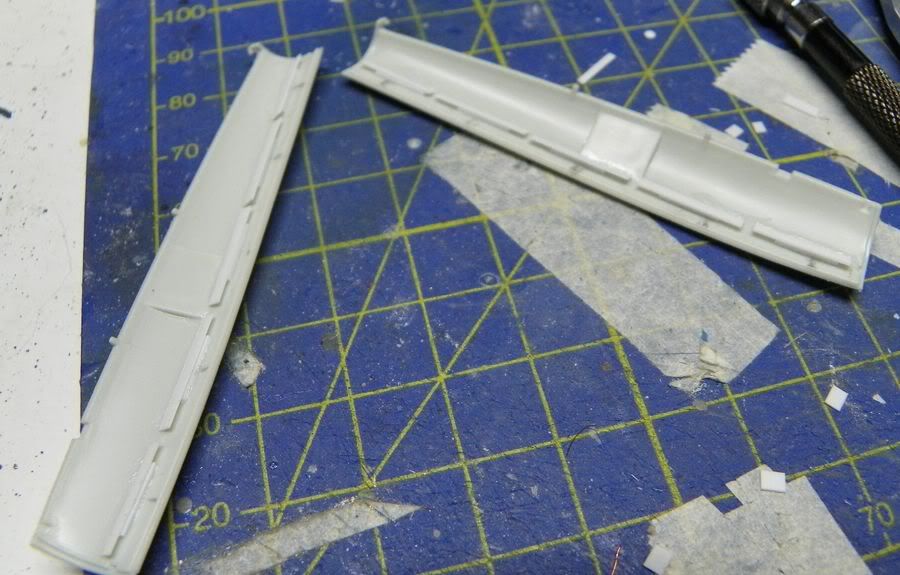
then the lateral walls to close these boxes, only a side left opened as the real
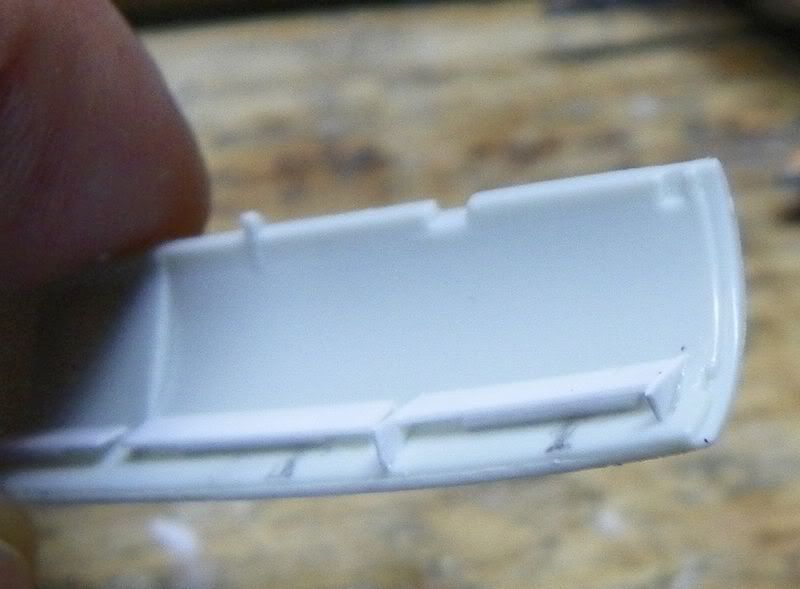
not see in pictures cables for the doors, only the actuators and the hinges from the kit need to be added, then just waiting the glue perfect dry and i'll refine the pieces with a new x-acto blade .

So other 40 pieces was added Tongue Tied really tedious this part but the result pay this spended time Toast


  • Member since
    June 2009
  • From: Netherlands
Posted by kermit on Sunday, October 9, 2011 12:10 AM

Bsyamato,

Man! That model must be getting heavy by nowBig Smile I think you must have doubled the number of parts.... It is looking gorgeous thoughYes Very keen eye on detail you have my friend.

I shall call you...... the Italian styrene stallion!Toast

Joking.... i am really a bit jealous with your skillsStick out tongue Wish i had the eye for it.

Richard

"Success is the ability to go from one failure to another with no loss of enthusiasm." - Sir Winston Churchill

  • Member since
    October 2008
  • From: italy
Posted by bsyamato on Tuesday, October 11, 2011 8:57 AM

Thanx for compliments Richard but italian styrene stallion sounds a little excessive Big Smile 

I had three day constrained to stay out of workbench ; something strange occurred to my elbow, a buldge was formed Crying and i can't bend the left arm regularly withouth blaspheme something. Just now returned to check the situation but again not totally cured (the curse of the gannet Alien ).

  • Member since
    October 2008
  • From: italy
Posted by bsyamato on Monday, October 17, 2011 6:08 AM

more updates on the gannet!!

refined the weapons bay doors

also started to paint it

well ... i fixed the gears with some adaptation for the front gear and a washing of mixed black and light brown enamel was done in all wells, gears and weapons bay:

some retouch needed and also more cables to come after.

Also fixed other munor pieces and exhausts. And a black drybrush added. Not see any pictures of real plannes with flames signs near the exhaust, the i left ... clear for now

canopies on the paint stage

and then... the truth moment after fixed the control surfaces:

the plane sitting down Bang Head and now?? theres 4 ways to try fixing

1) scratch two lead torpedoes and put in the weapons bay

2) Put on the main wheels the parking wedges to move the plane center of gravity more back

3) don't cut the two front larger well doors and put in the front well more lead Ick!

3) all three above points together Propeller

  • Member since
    September 2008
  • From: Ancaster, Ontario
Posted by maxfax on Monday, October 17, 2011 7:56 AM

Bsyamato: Man, that is looking good! You are just plugging away at that plane! I've been struggling. After a needed mental break, I was back at it this week-end. Finally finished oil canning the hull and started detailing the hull. I'll post some WIP in a day or two.

Rob

On the bench:  Revell 1/72 HCMS Snowberry


JOIN OUR COMMUNITY!

Our community is FREE to join. To participate you must either login or register for an account.

SEARCH FORUMS
FREE NEWSLETTER
By signing up you may also receive reader surveys and occasional special offers. We do not sell, rent or trade our email lists. View our Privacy Policy.