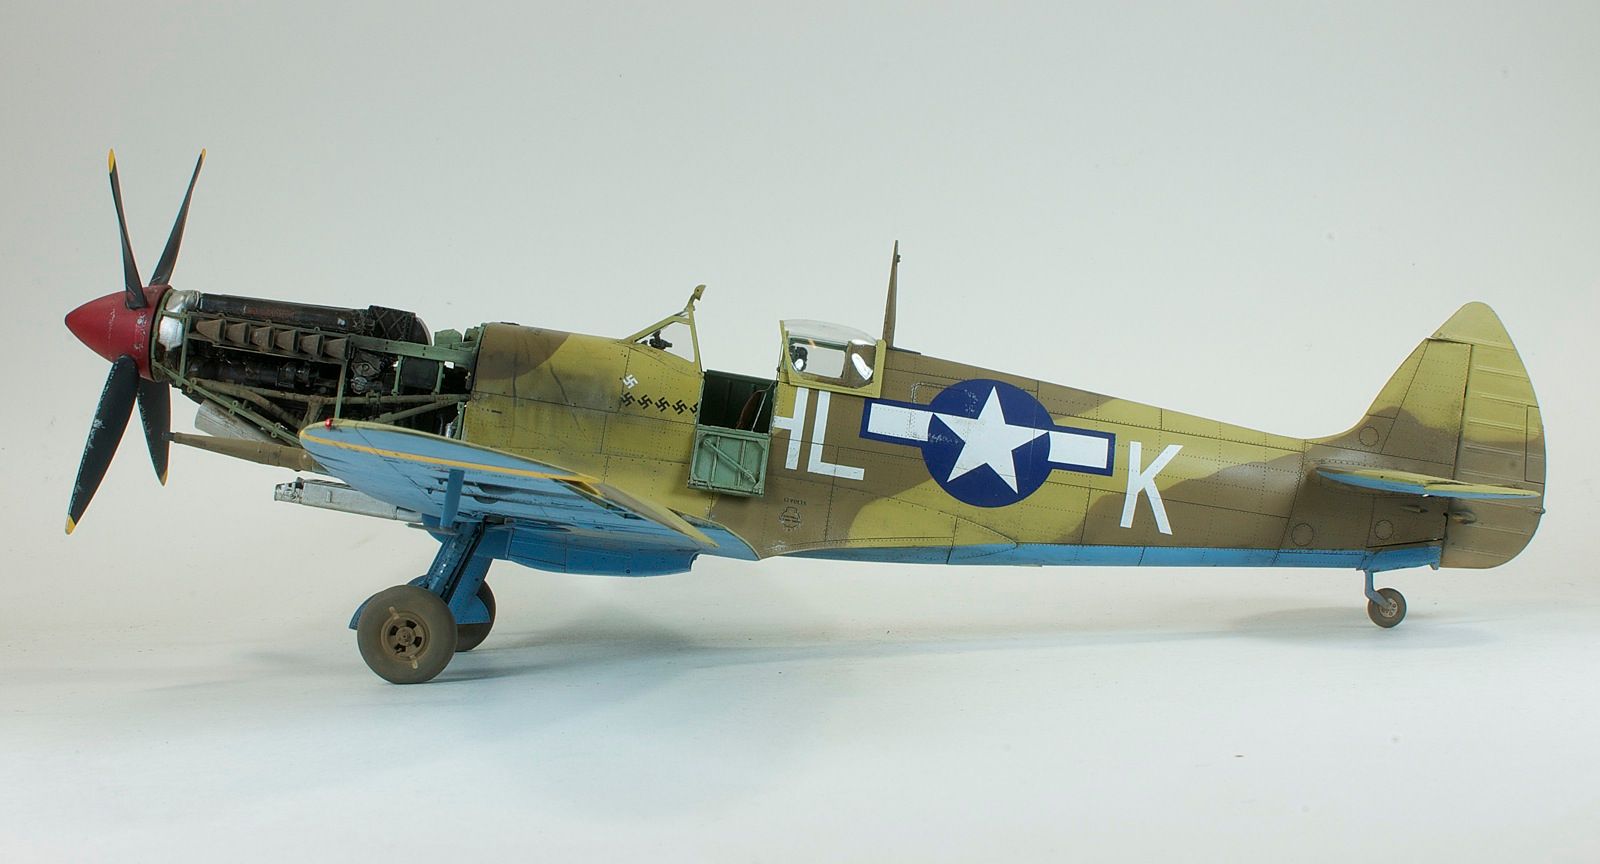
Alright, I'm sticking a fork in the Mk.VIII.
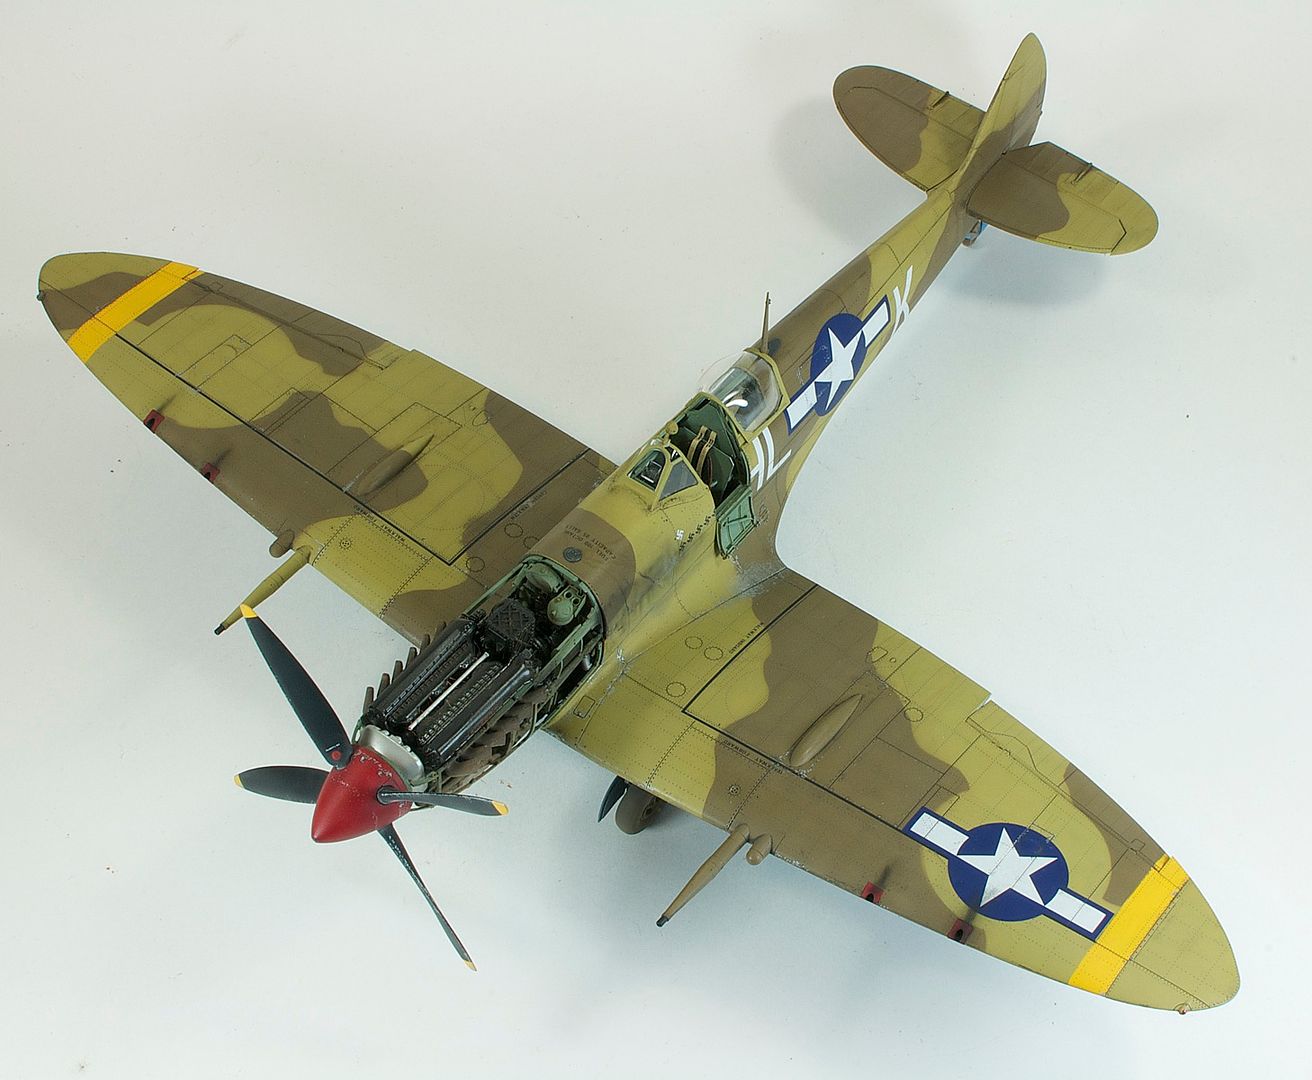
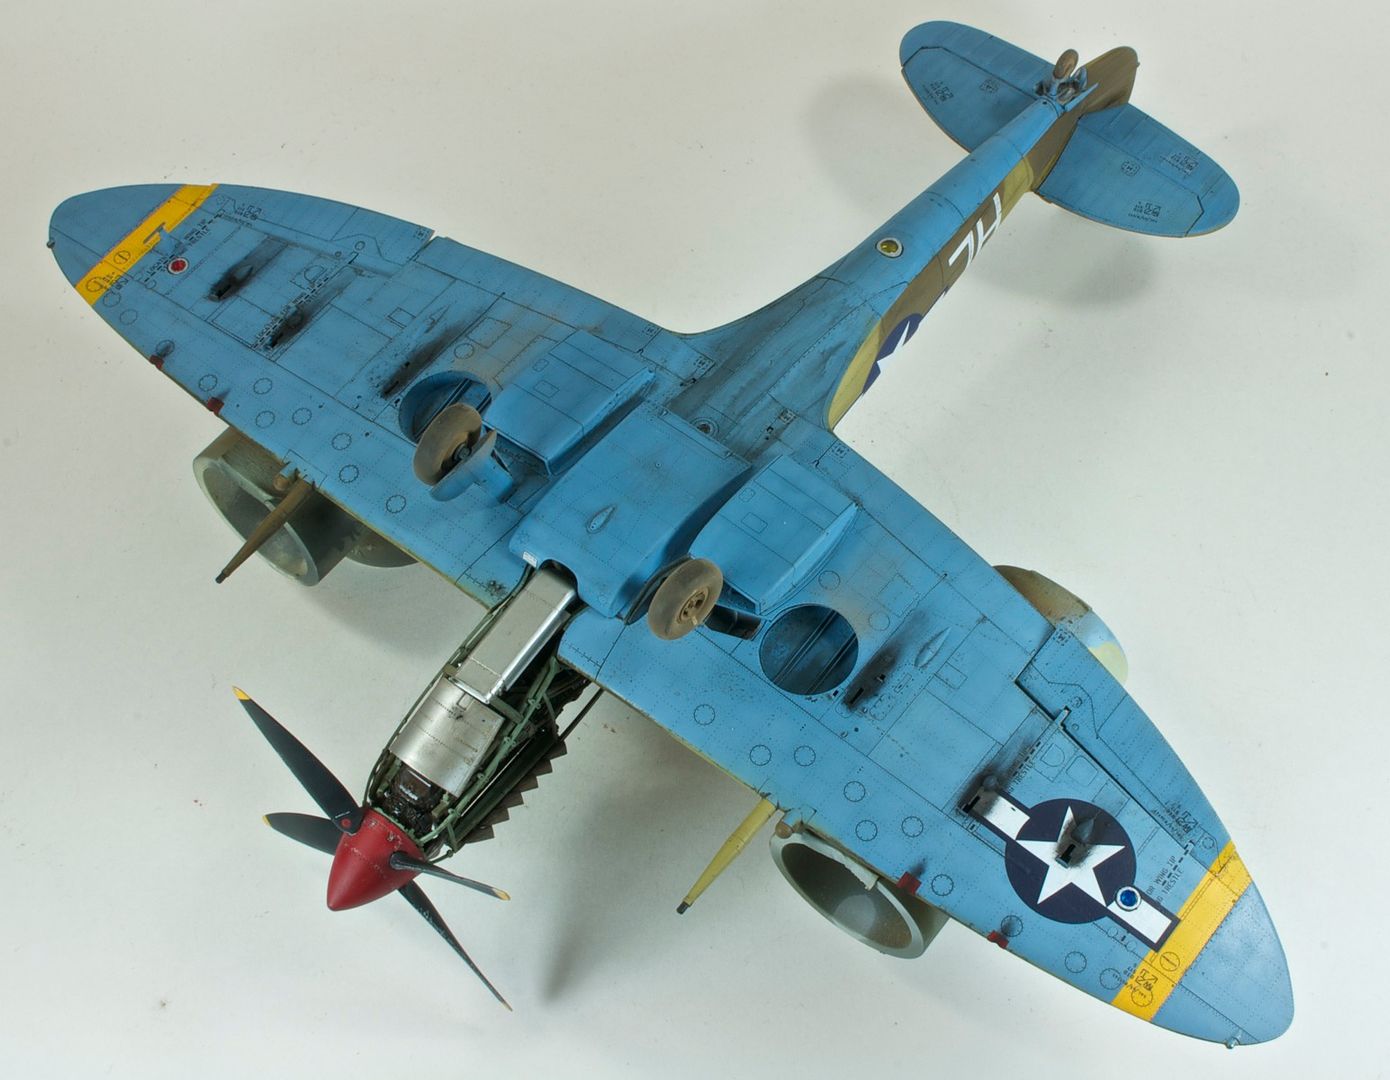
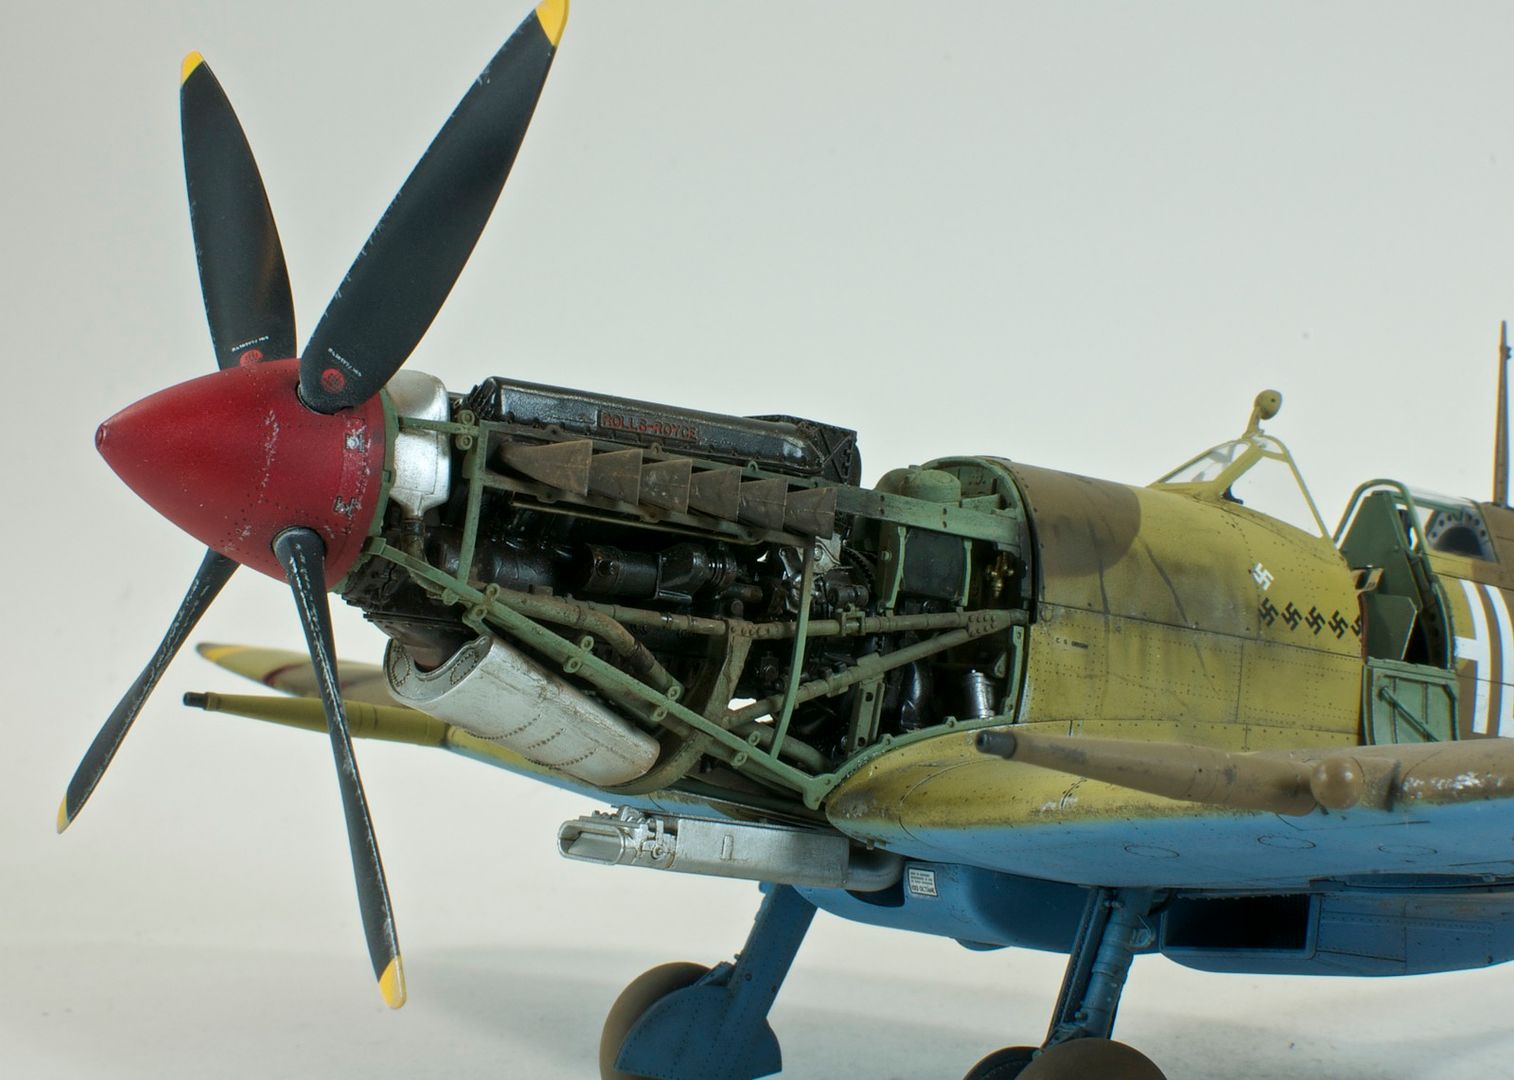
Overall, I really can't praise this kit enough. Expensive, blah blah, but it friggin' earns it. The fit, the engineering, the ambition, the obvious passion that went into it. It's a downright epic build. Hope you all like the final results:


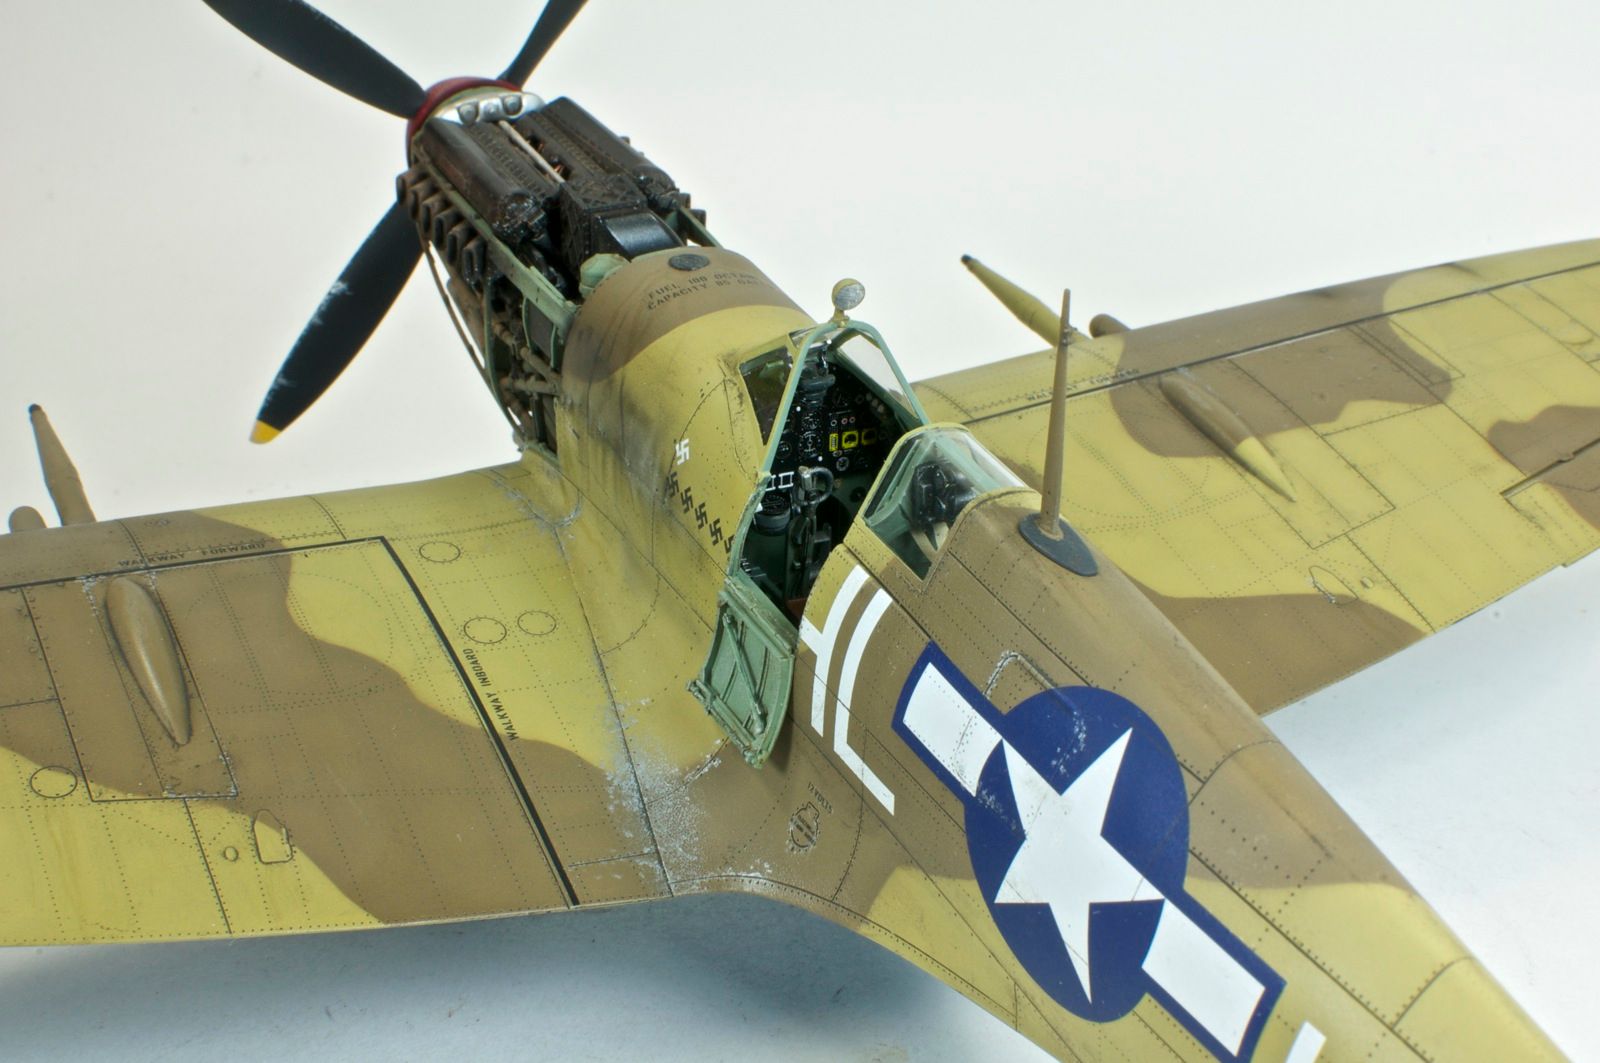
Not sure what I'll be building next...right now I'm leaning toward either another Spit, something USN, or Academy's P-47N. But...this thing's definitely lit an enthusiasm for Spits I didn't have before! Thanks for the excellent GB!