Here’s the progress on my Spitfire builds. I’ve got the fuselages and wings assembled and sanded off. With the old Spits, you can insert the (sparse) cockpit from the bottom. This can’t be done with the new mold. You have to glue to the port side of the fuselage, according to the instructions. Then close it up, glue and sand.
Also, I discovered that the instrument panel needs to be shaved down or the fuselage won’t close around it. Of course, I only discovered this after painting.
In both cases, I closed the fuselage, sanded, then painted the area black, behind the prop backing plate. Then I attached the plates to all three planes. This is easiest with the old molds, since the plate as a hole in it, and is held by a “pin” inserted through the fuselage. I stuck some masking tape, sticky side out, on the end of a paint brush, threaded the “pin” through the hole and held it there while pushing on the back plate and gluing. I should have taken photos of this, but the build got away from me and I forgot. You can kind of get the idea from some of the following photos I did remember to take.
With the new mold, there is a pin on the back of the backing plate, which is then secured by a little cap. This makes it more tricky to fix up, but it can be done, again using masking tape on the tip of a paint brush. But in this case you have to put the back plate in place, then fool around trying to get the cap on the pin inside the fuselage. Don’t know if I’m explaining well enough, and photos would have shown the process better. At least there is plenty of space between the cockpit and the bottom front of the fuselage to accomplish this.
The first photo below then is the new mold, showing fuselage and wing assemblies. That must have been a bad day, because, again, I neglected to take similar photos of the old molds.
[View:/themes/fsm/utility/ :550:0]
Unfortunately, major distressing discovery, as you can see in the next photos. In the new mold Spit, the fuselage is too wide for the wings to fit!! On each wing, there is a scribed line outboard from the edge, and the fuselage over laps this for a full width!! You can easily see this in the top view photo. The port wing is located properly, but that little scribed line completely disappears starboard, covered by the fuselage.
I don’t know if this is because I messed up assembling the wings in the first place, or if it’s a problem with the molding. Whatever it is, I will have to severely sand the fuselage on both sides until I get a fit.
[View:/themes/fsm/utility/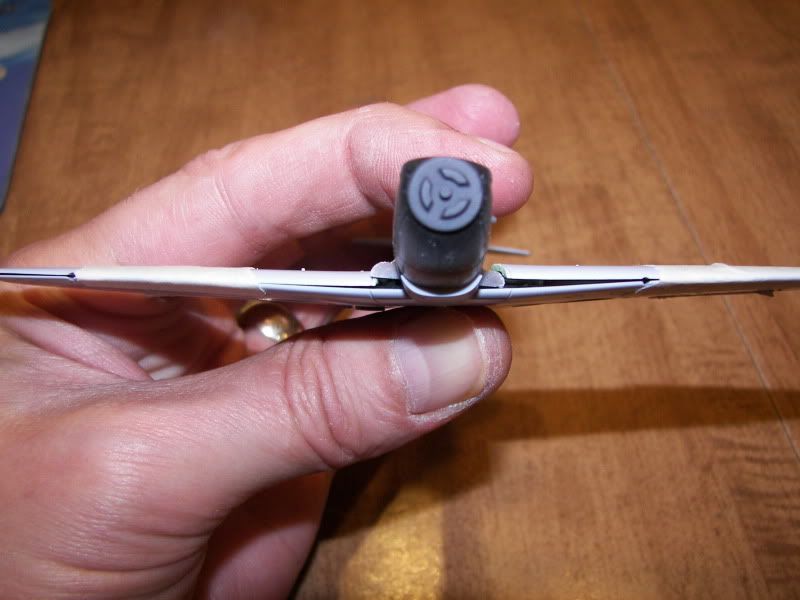 :550:0]
[View:/themes/fsm/utility/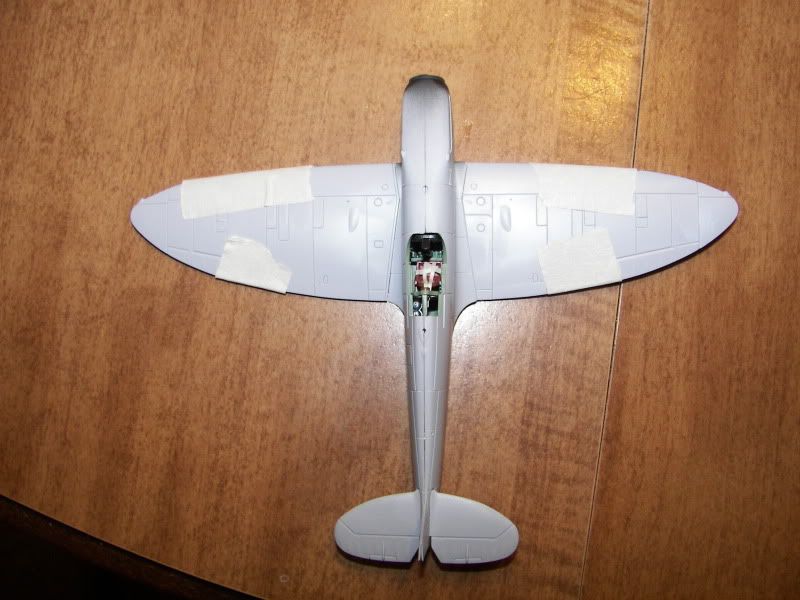 :550:0]
Interesting that this problem does not exist with the old molds. The final photos show the old mold Spit with the wings fitting very well into the fuselage, with only minor gaps to fill.
I hope to get this all straightened out within a couple of day, and then proceed to painting.
Thanks for looking in.
[View:/themes/fsm/utility/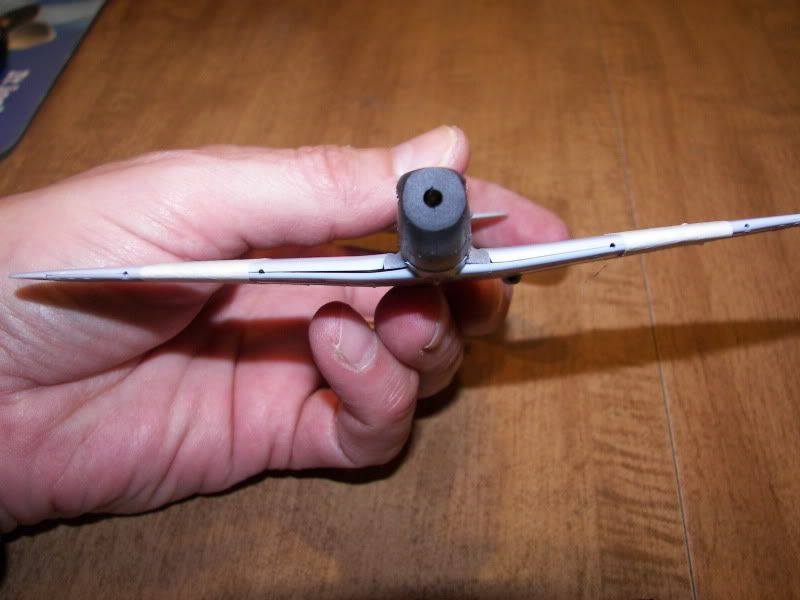 :550:0]
[View:/themes/fsm/utility/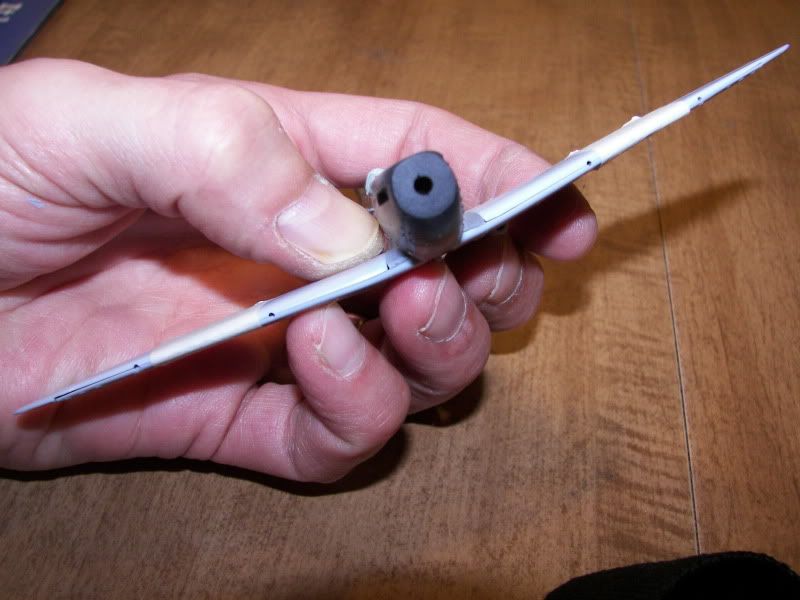 :550:0]