Thanks, Noah. I also like the darker Sky Blue. Even in b&W, some photos look like the undersurfaces might be darker than the usual Sky.
It took plenty of MicroSol to get those tail decals to wrap around; and even then the top is touched up with white acrylic craft paint. to get that effect.
Below now is DW-T, from 610 Squadron. I used the well-known photo as a basis for choosing the decals.
Undersides first, finished in MM Duck Egg Blue, with midnight blue wash. No roundels, because conventional wisdom says 610 didn't have them--although I'm not sure.
[View:/themes/fsm/utility/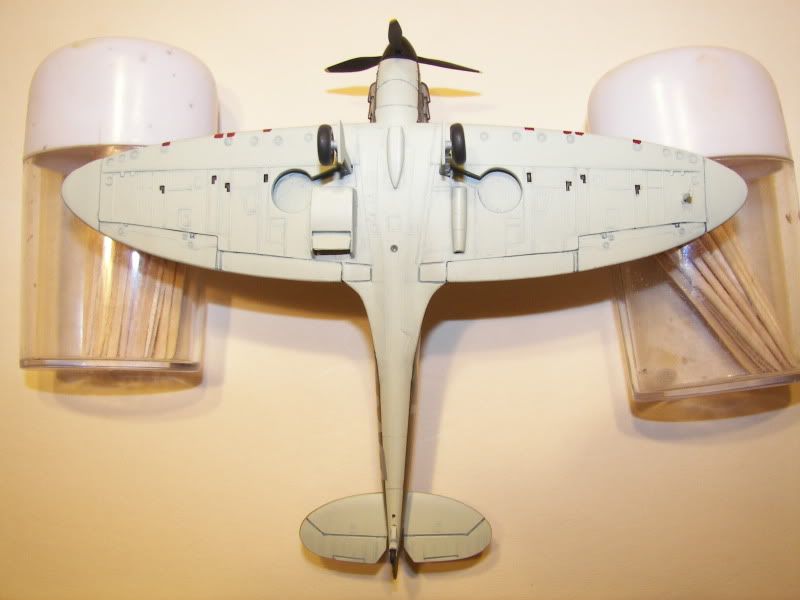 :550:0]
Overhead; once again a problem with silvering, which I didn't have with the fuselage markings. Huh? Uppersurfaces are finished with MM's version of DE/DG. Because of ruining my only 56" roundels, the ones on DW-T are 59", from Xtradecal.
[View:/themes/fsm/utility/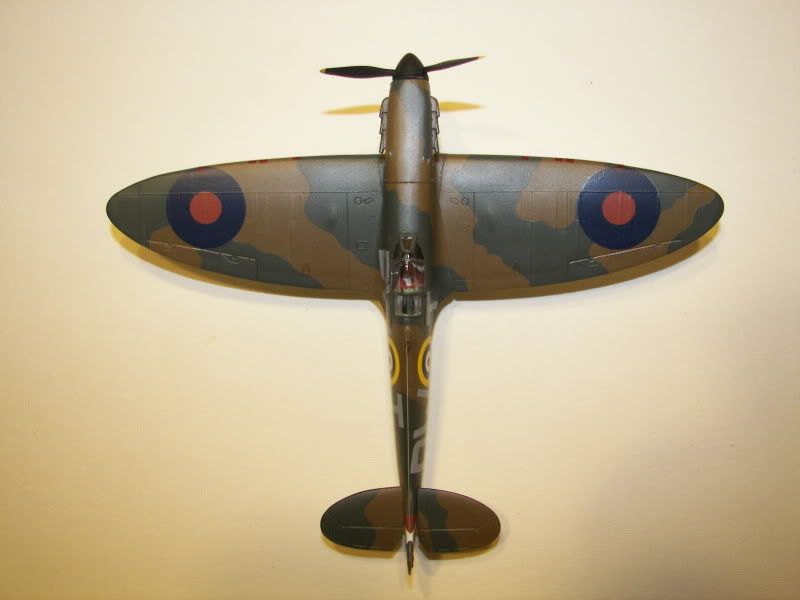 :550:0]
Port view; squadron markings are Xtradecal; roundel is from Eagle Strike. I used Floquil Grimy Black on the tires, then masked with MicroMask--and it worked. It failed on the other two.
[View:/themes/fsm/utility/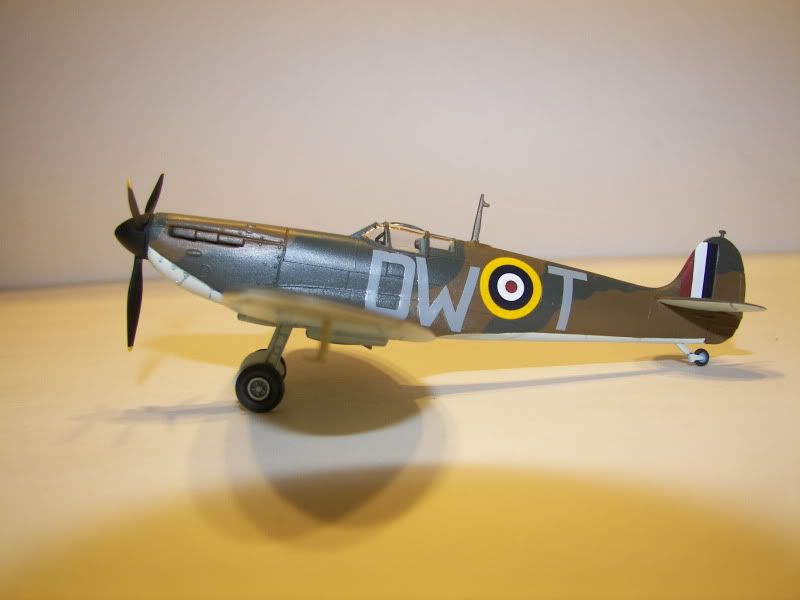 :550:0]
Front from both sides; I did the exhausts with MM Burnt Iron, then oversprayed with Burnt Metal:
[View:/themes/fsm/utility/ :550:0]
[View:/themes/fsm/utility/ :550:0]
Starboard view; research said the red circle in the fuselage roundel is larger than standard:
[View:/themes/fsm/utility/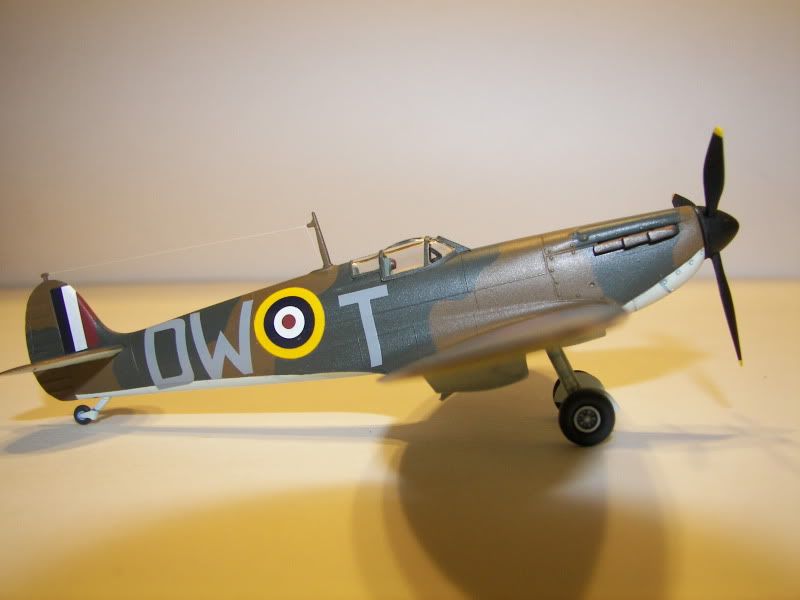 :550:0]
I tried to make this shot to be similar to the photo;
[View:/themes/fsm/utility/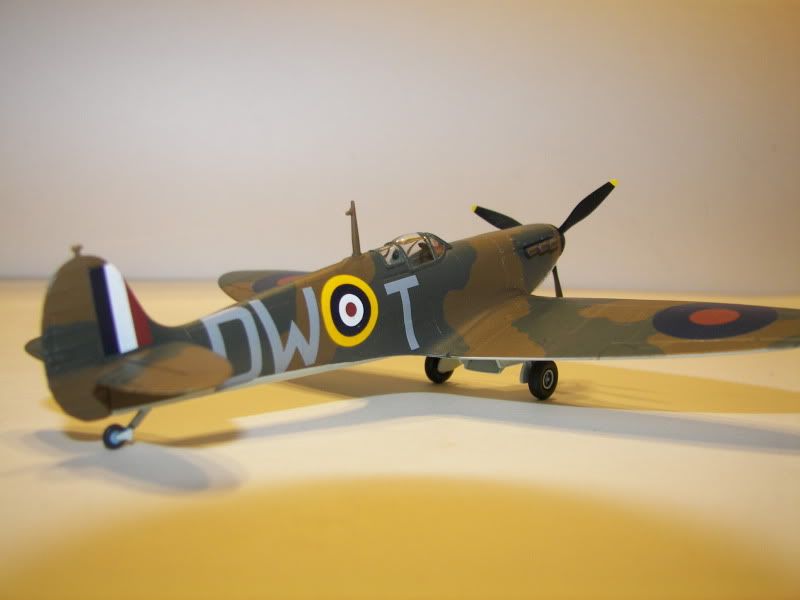 :550:0]
Back around to the rear port:
[View:/themes/fsm/utility/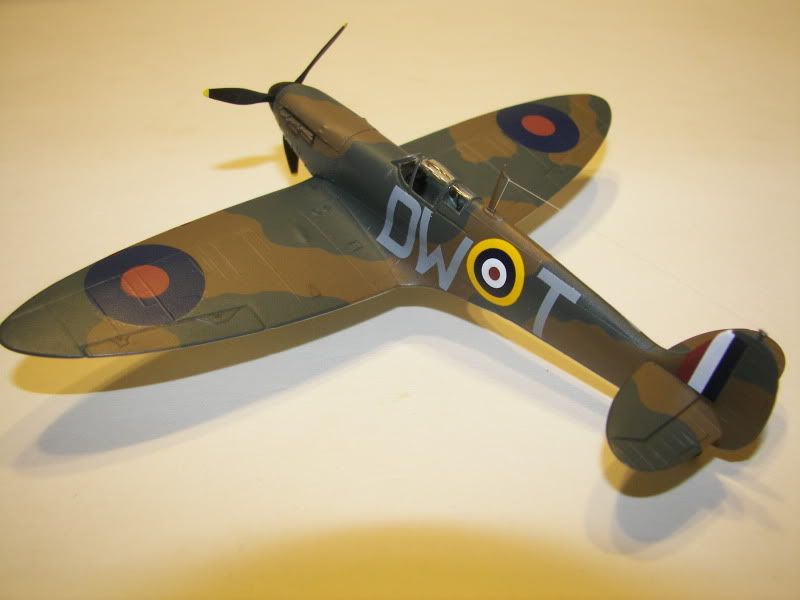 :550:0]
Closer view of the canopy area; I was trying to see how close I could get the camera and still keep something in focus, and this just about did it:
[View:/themes/fsm/utility/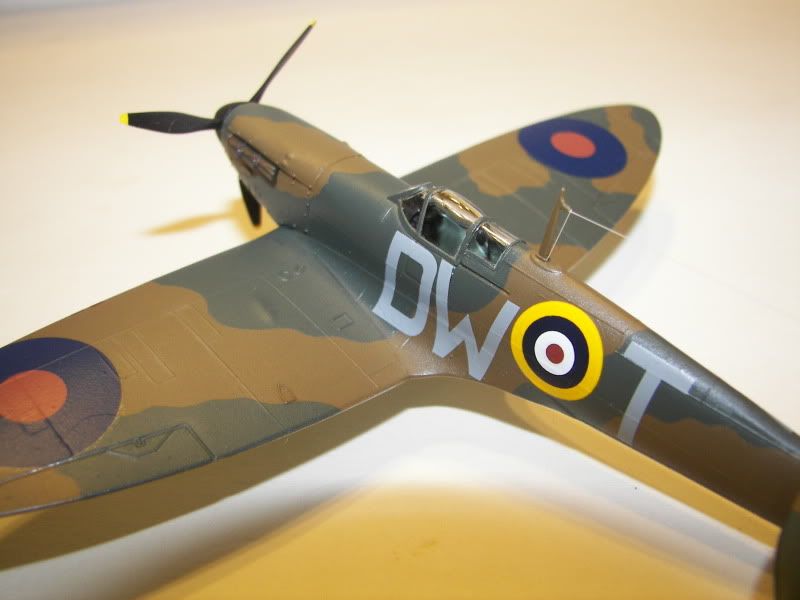 :550:0]
Had to do some repair on LO-P. The radio wire came off one end, so will finish posting tomorrow. Thanks for looking, again.