Thanks, Joe. I appreciate it.
Great information, Jack. Thanks very much for posting it. And you may very well have posted the profiles I used; I thought I found them here at FSM, but when I looked again last week, I couldn't find them. They were very useful.
And speaking of 602 Squadron, here's my final entry, LO-P of said squadron--and if I'd only known, I'd have added the gas patch. This is the new 1/72 Airfix molding; the first two were the old Airifix Spitifires.
Underside, in WEM's Eau de Nil green. I used a darker green wash in the engraved lines, and it settled in very well. Without roundels, this area needs something to spice it up.
[View:/themes/fsm/utility/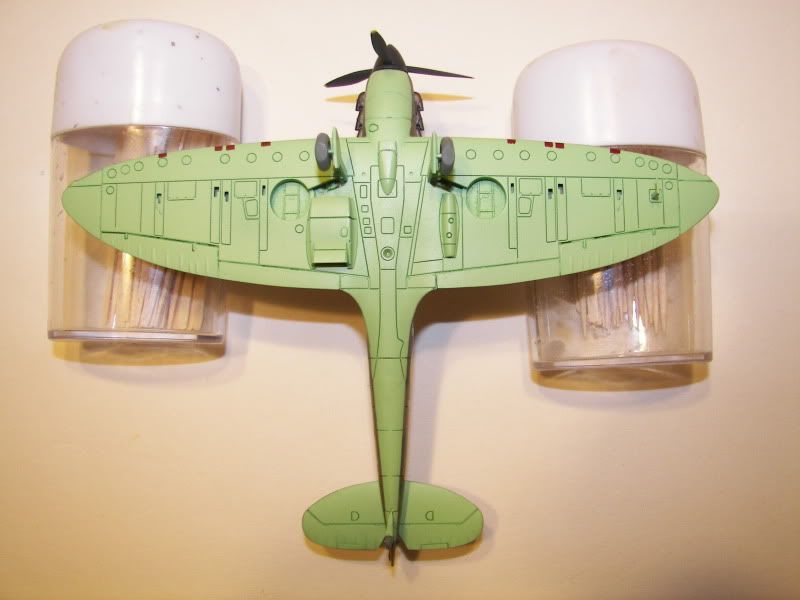 :550:0]
Next, a tour around the aircraft from port to starboard. There isn't much to say here that hasn't been said about the first two, except maybe the wheels. I painted all three sets with Floquil RR "Grimy Black," a very dark gray; then masked with MicroMask and painted the hub colours. When I pulled off the masks a few hours later, the hub colours came off around the rims with the mask on LO-P and QJ-Y.
Disgruntled, I then repainted the hubs on the two miscreants and painted the tires by hand (with a brush!) using "Pewter Gray," an acrylic craft paint from Apple Barrel. It looked darker in the bottle, but then, my car tires aren't black either[View:/themes/fsm/utility/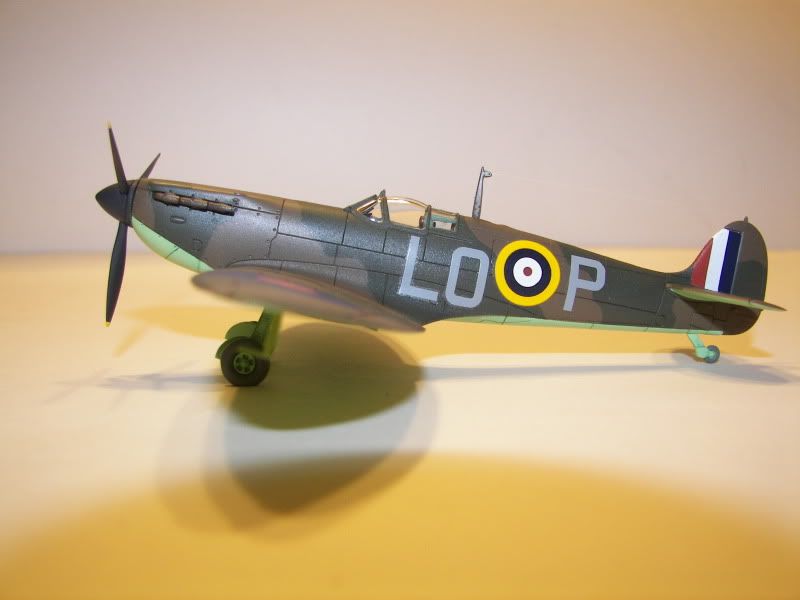 :550:0]
[View:/themes/fsm/utility/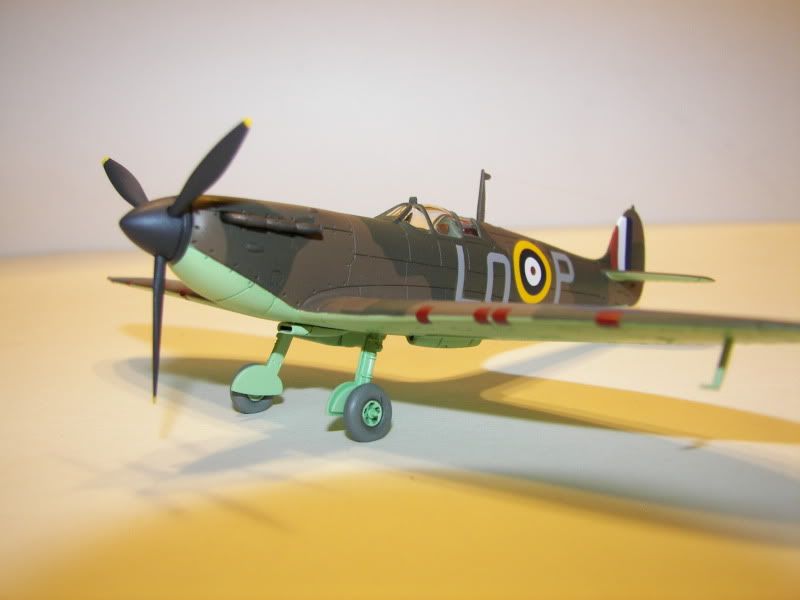 :550:0]
[View:/themes/fsm/utility/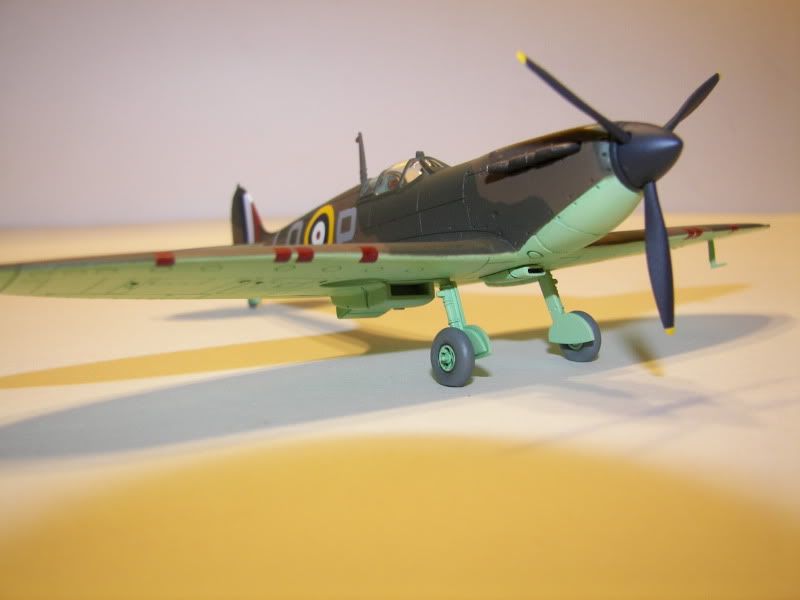 :550:0]
By the look of it, I might have used "Grimy Black" on LO-P's propeller, too.
The engine exhausts are a little fuller and "beefier" on the new mold, with a bit more detail.
[View:/themes/fsm/utility/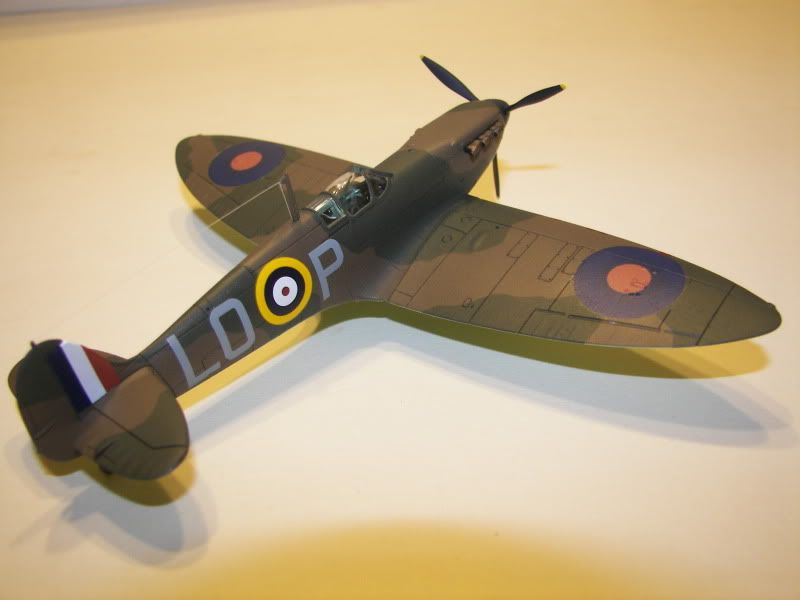 :550:0]
[View:/themes/fsm/utility/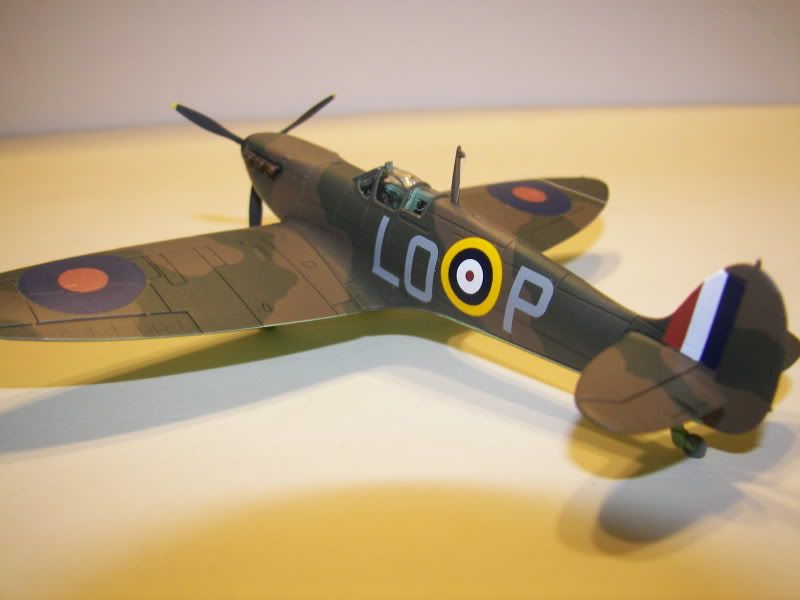 :550:0]
A close up of the canopy area; it might not be evident from the photo, but the new mold canopy seems molded in a shinier, clearer type plastic than the old molds.
[View:/themes/fsm/utility/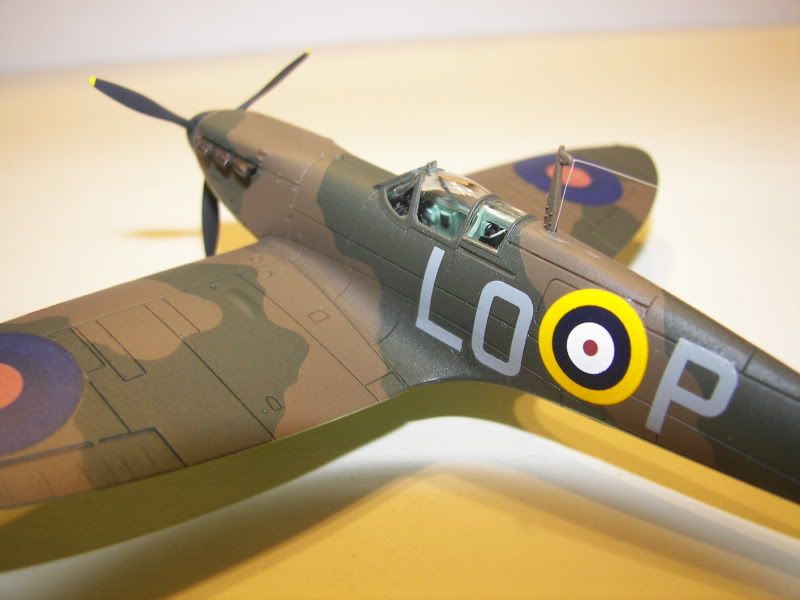 :550:0]
Finally, my swan song; all three Spits gathered on an RAF flag. Thought maybe our GB leader would prefer one picture on the first page, rather than three, and I was undecided which of the following might be the most artsy and effective.
[View:/themes/fsm/utility/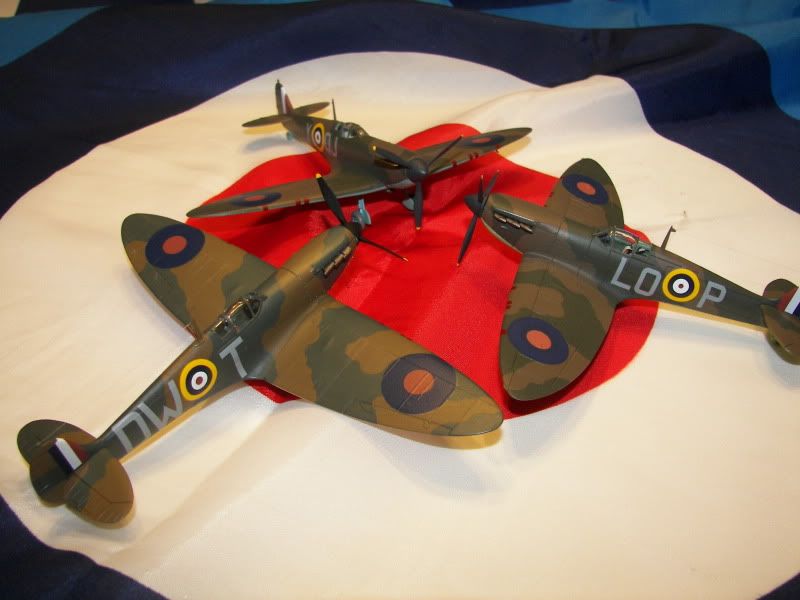 :550:0]
[View:/themes/fsm/utility/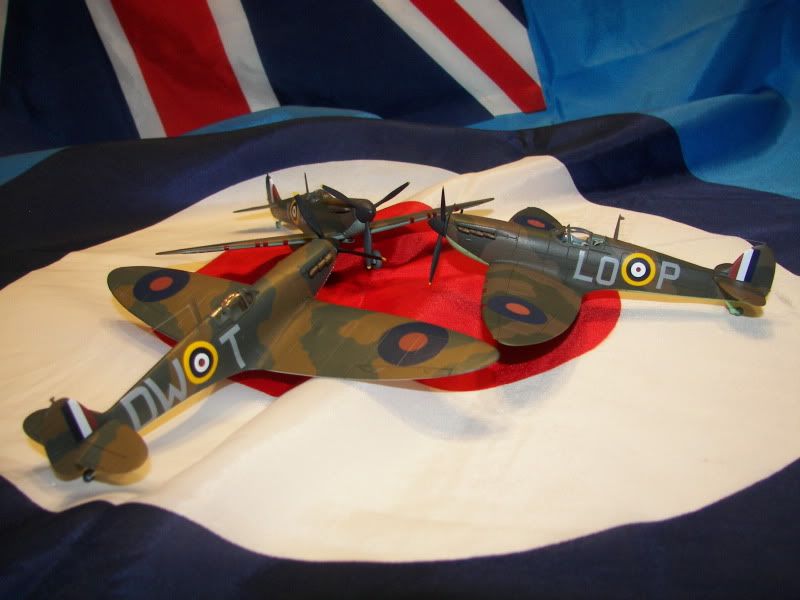 :550:0]
[View:/themes/fsm/utility/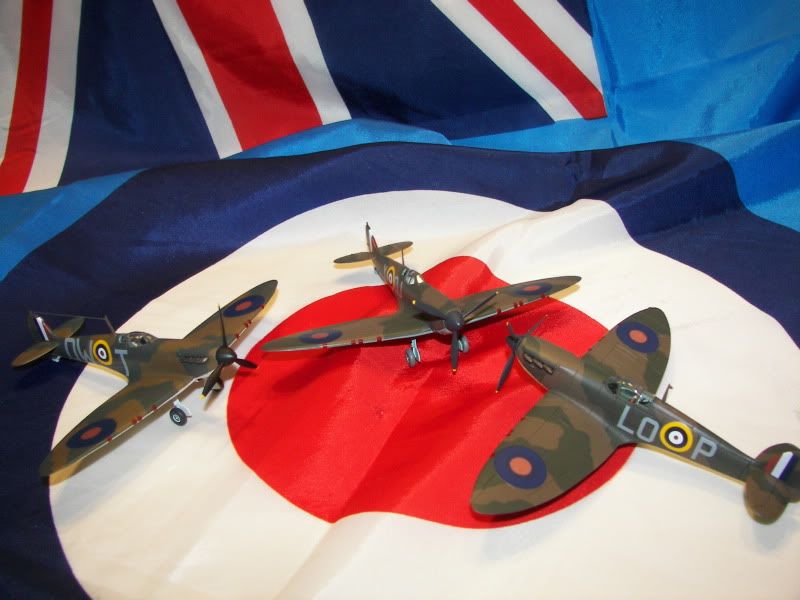 :550:0]
Again, thank you for looking; this GB has been an enlightening source of information and inspiration, and I've enjoyed the comradery and discussions very much, not to mention seeing all the talented Spitifre artisans out there.
Aloha.