Andy,, always a pleasure Pal,,,,
I may have finished the micro pz,,, but I am still tinkering with the build. A few pics of the base and scant progress.....
I start this out with a 6 x 9" walnut beveled base... checking each side I mark which way I want the "eye" to view from (front).

I then mask off a quarter inch from the bevel as the working area of the scene..... I mark the front with an X just so I don't dummy-up and forget (eventually the arrow will be gone).

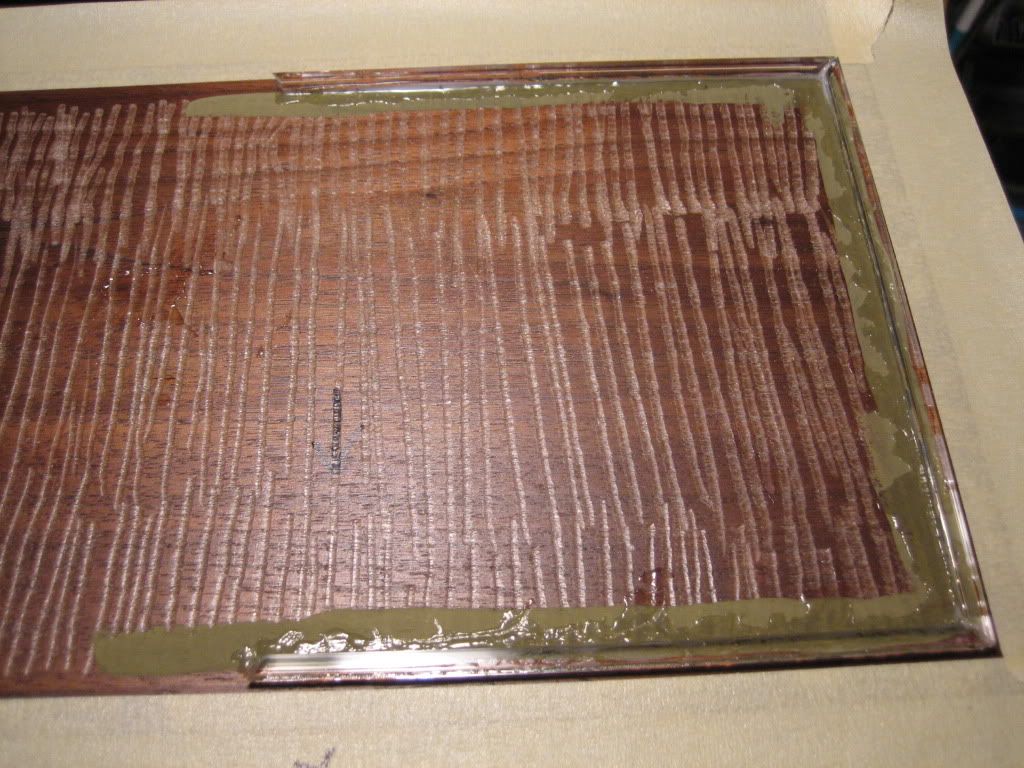
I then scrape that very nice walnut finished wood (always pains me) so my "scenery" will have some grip.

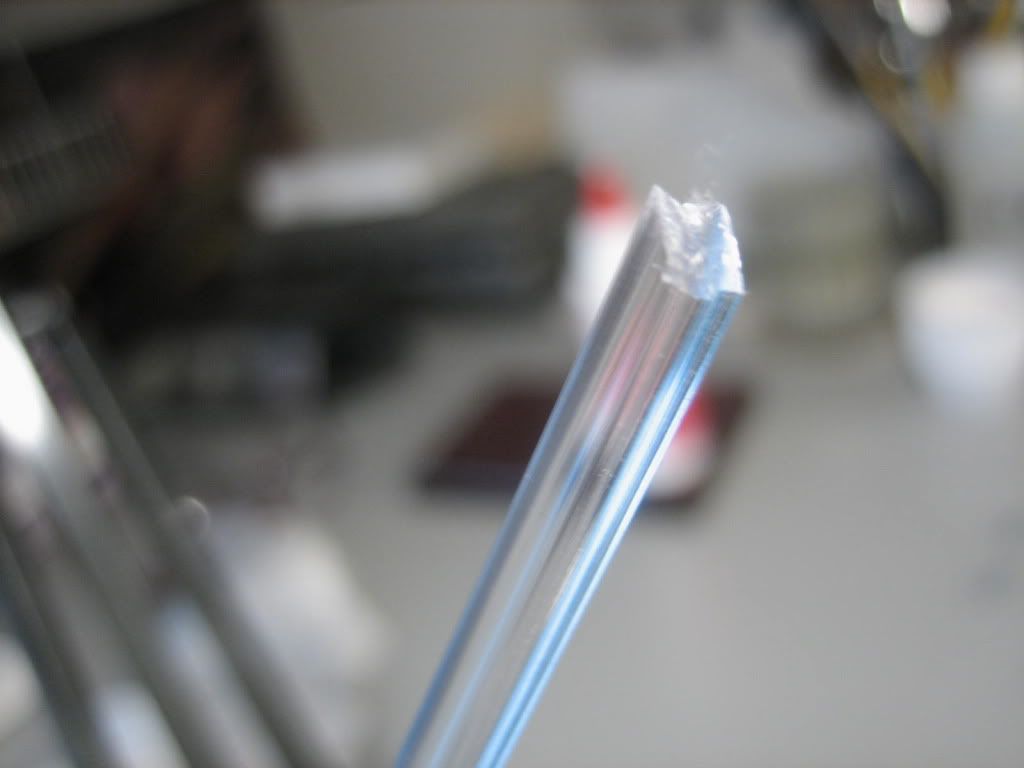
For this particular scene / idea, I am incorporating quarter inch square clear plastic as a "dam" ..... I cut at an angle (shown, somewhat) then I sand, buff and polish down to a 45 degree angle (or close).

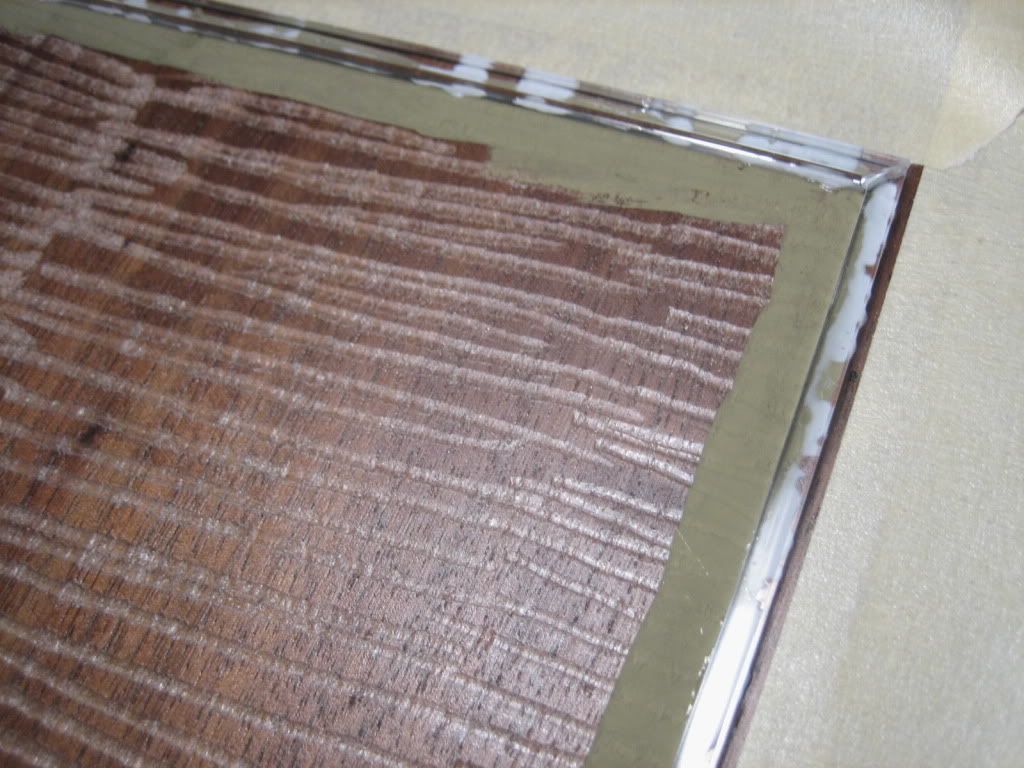
Before securing [to the base] I paint a border so I don't have to worry about the edges showing the scarred walnut underneath. The border painting will reflect the color of the scene in an upcoming step.

I use Weldbond for securing the clear plastic sections....

After the intial pieces are put in place and the bond dries, I go back and totally seal the inside of the plastic frame. Neatness doesn't count in this part of the effort..... which is always nice. And the bond dries crystal clear (the corners still have a little drying time yet, but there is no rush)....

So, that is where I am at the moment. Much much more to do with this scene... I will keep you posted as I progress.
Hope you enjoy and am looking forward to following the rest of your builds!
All comments welcome of course......
Bill