A few pics. This one is just so far off the mark from usual (even usual older) Tamiya that I'm kinda stunned. Feels like a totally different manufacturer.
Here's the overall plane. When I was closing the fuselage last night, I had a total brain fart and installed the machine gun cover backward.  The fit was really poor, so I flooded it with Tenax from the inside...we'll see if I can even get it out. If not...we'll see.

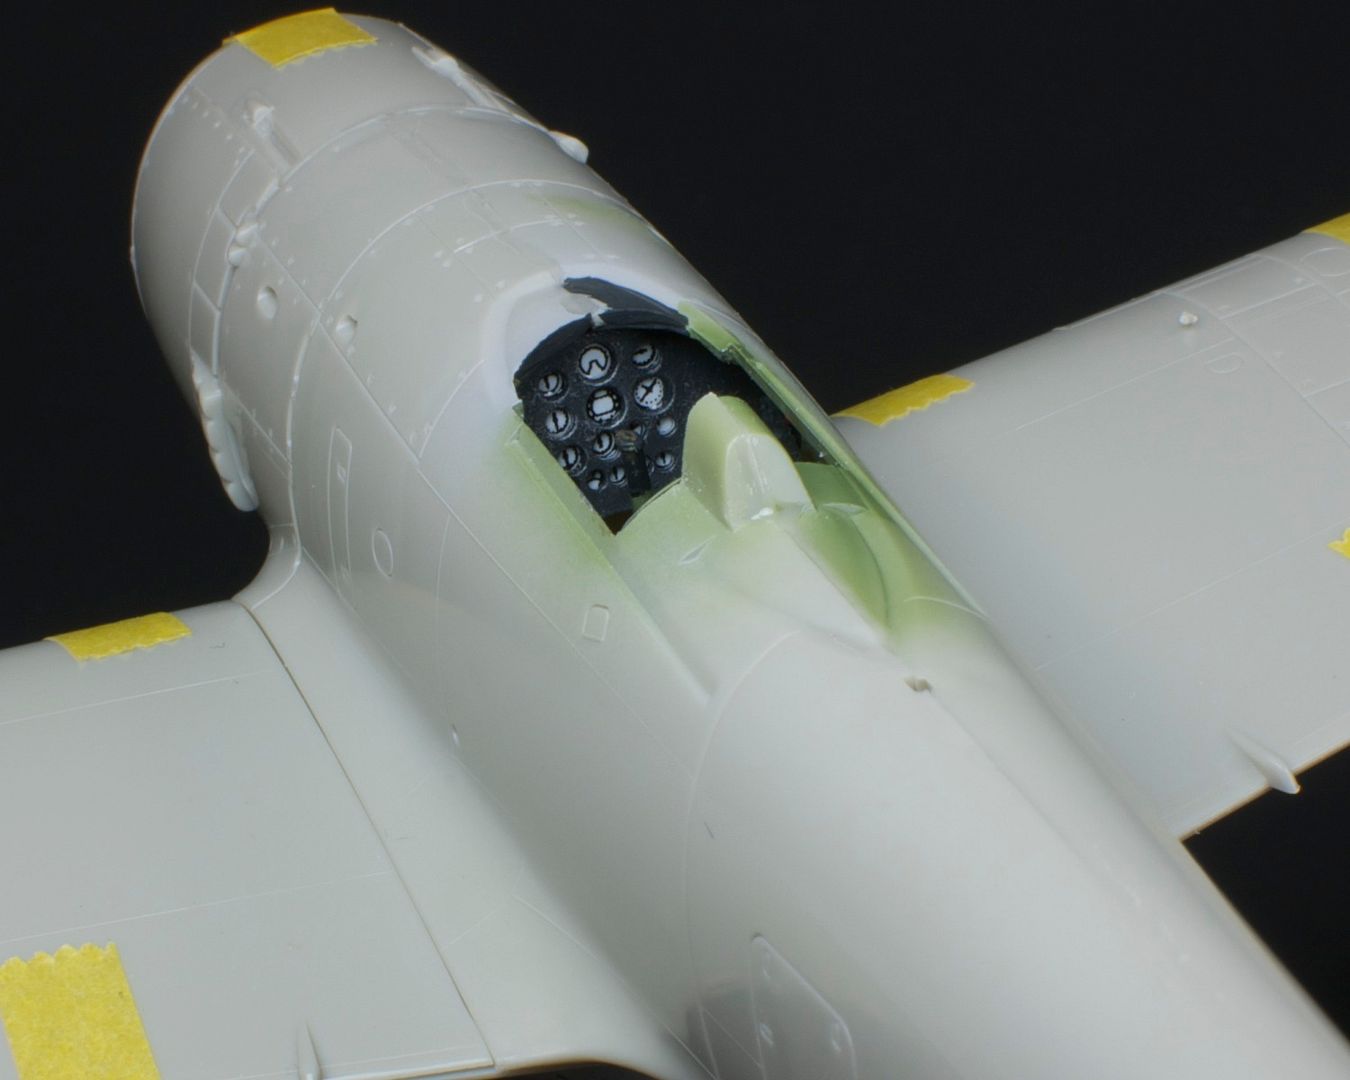
The instrument panel:
The seat:

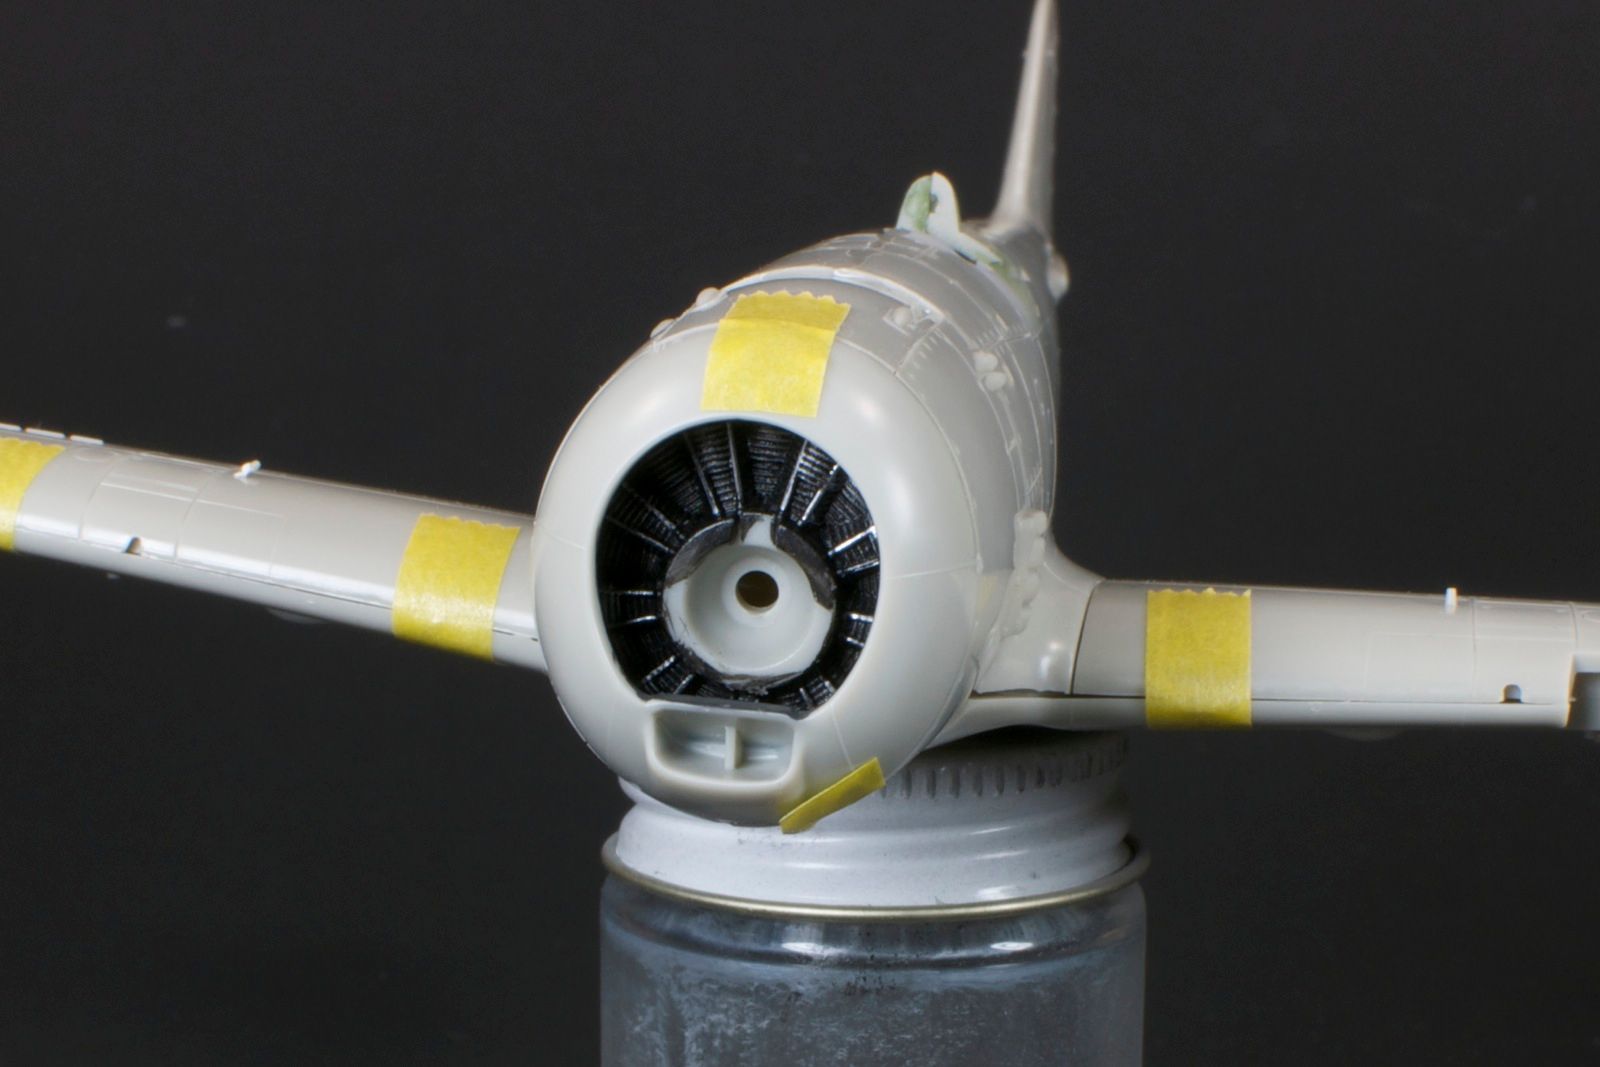
Is it just me, or does the engine seem to sit low? That's where the kit locates it, but still?