Sherman II at El Alamein: Weathering
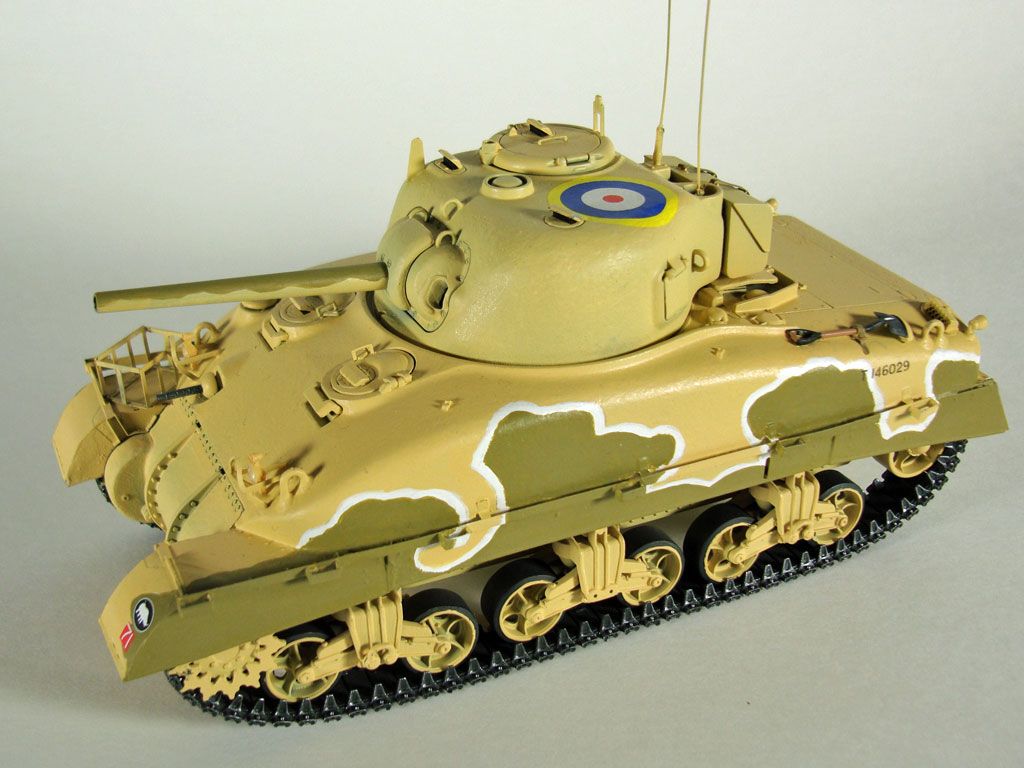
I weathered my Sherman II in three steps: filters, wash and dust effects using AK Interactive’s weathering products for this work. Since the British received their Shermans just prior to El Alamein, I did not chip the paint nor did I apply any fading or streaking (other than a little dust).
Before I got into the weathering, I first had to apply the decals to this tank. There are only a few decals and they went on very easily with a little warm water, Micro Set and Micro Sol.

Filter
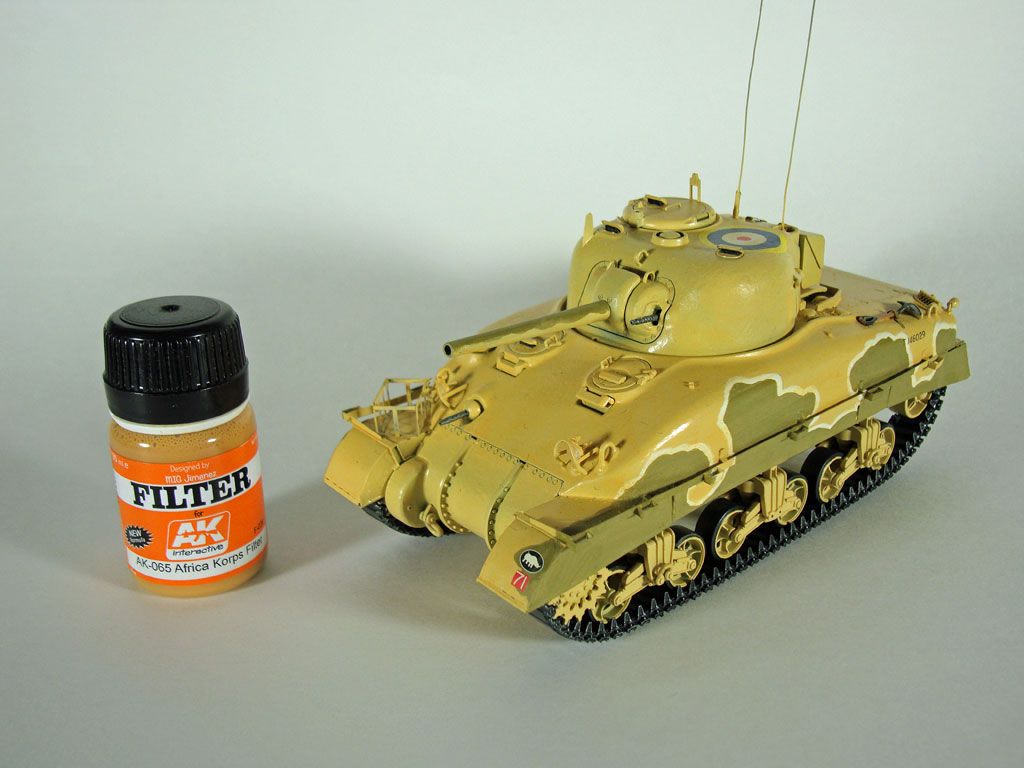
Weathering started in earnest with a filter. If you’re not familiar with this technique, a filter is a very translucent layer of paint that is applied over a larger surface. It tints the underlying paint and helps to unify the finish.
I used AK-065 Afrika Korps Filter for this phase. This filter is very orange and my tank has a green tint to it. In fact, it is so orange that I almost decided not to use this filter and instead use a general wash after I opened the bottle. However, I decided to use it and was glad I did.
Filters like to go over a satin finish (well, at least according to Mig Jiminez in his book FAQ 2). So, I applied a couple of light coats of Acrylicos Vallejo’s Satin Varnish with my airbrush to prepare the tank’s surface.
I applied the filter evenly, over the entire model. I used a number 6 round sable brush. I tried to avoid letting the filter settle into any recesses. Once coated, I set the tank aside to let it dry.

Wash
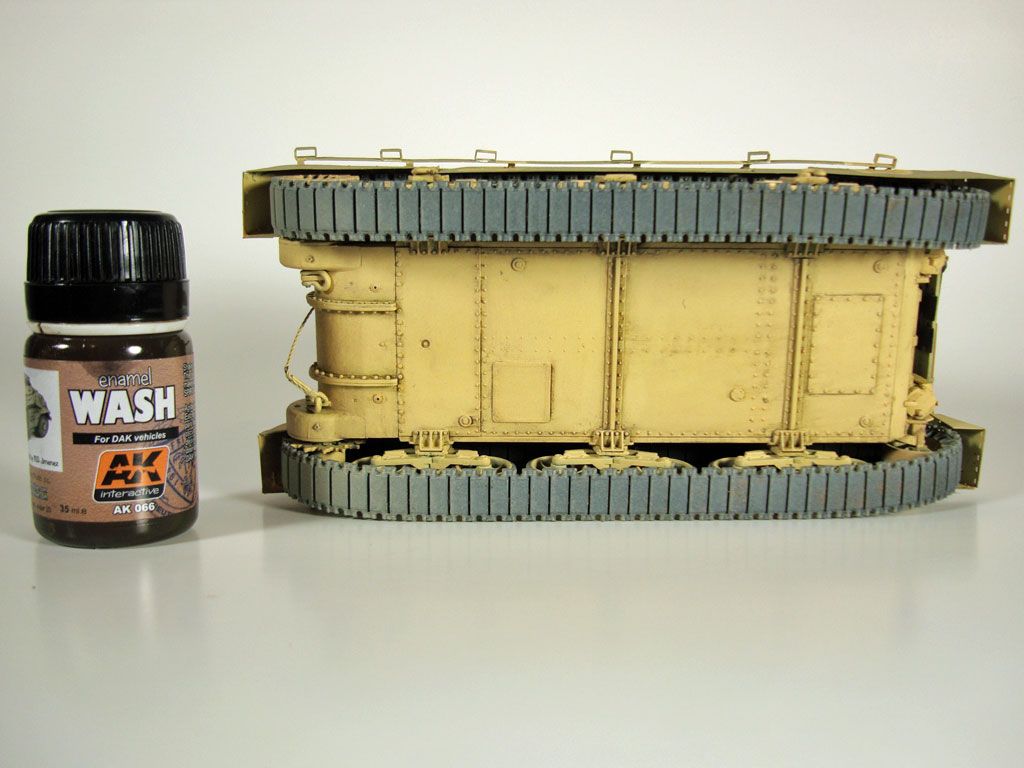
Next, I used AK-066 Afrika Korps Wash. Since this was my first time using this product, I decided to experiment in a less-than-obvious place on the tank.
Starting underneath the Sherman, I applied a general wash to part of it’s belly. After I let it dry, I used mineral spirits to manipulate the wash, creating streaking effects in some places,cleaning off certain areas, and leaving the wash in the recesses in other areas.

I followed this by trying pin washes. I started using a number 2 round sable brush and I found that the wash did not flow as well as I had hoped it would. However, I eventually used a number 0 brush, learned to load more of the wash onto my brush than I was used to, and regularly remix the wash in it’s bottle. That last part – regular remixing – is very important. I found that if I let the wash sit for more than a few minutes, the material in the wash would separate and virtually disappear when applied to the model.
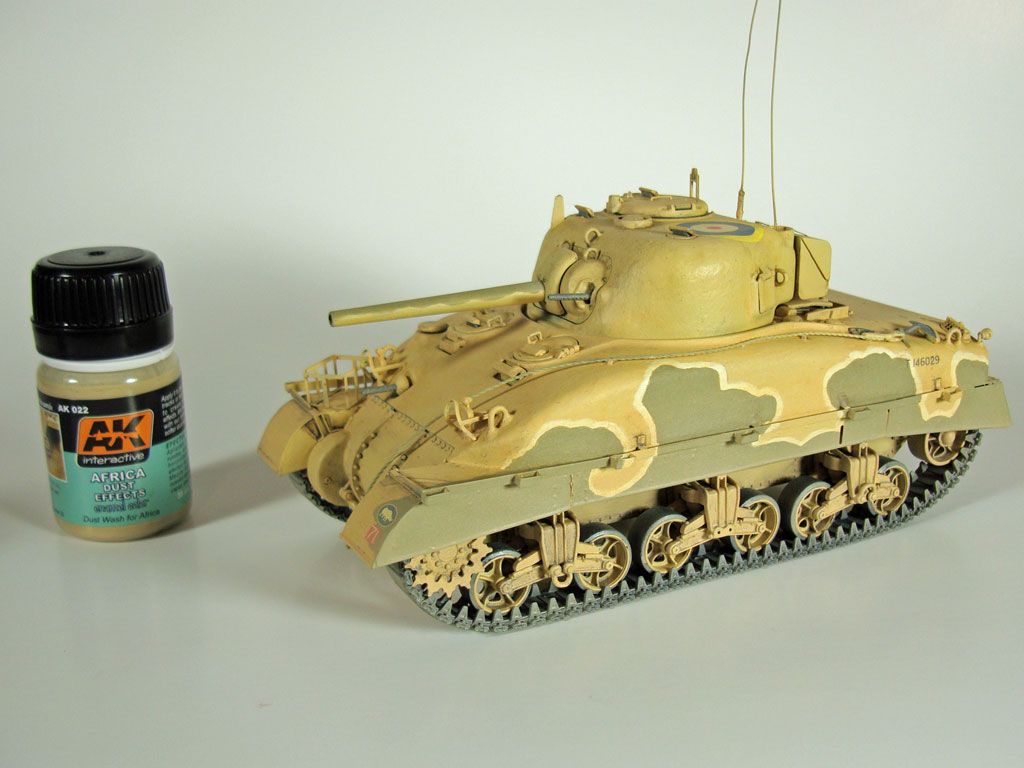
Once I was comfortable using the wash, I decided to apply it to the rest of the tank. After letting the wash dry thoroughly, I applied two coats of Acrylicos Vallejo’s Matte Varnish to seal my work thus far and prepare for my last phase of weathering. (Note that the picture above was taken after I applied dust effects as described in the next step. Still, it highlights the wash.)
Dust Effects
Finally, I pulled out AK-022 Africa Dust Effects and applied a thin coat over the entire model with my airbrush. I built up heavier layers of dust on the lower portions of the tank with successive, targeted coats of dust effects.
This product provided a wonderful finishing touch to the product and when I compare it my reference photo, I felt I captured just the right amount of North African dust.

And with the dust effects on, I think this build is done. In my next post, I’ll provide a gallery that shows the completed build from several angles. Look for it in the next day or two.