SEARCH FINESCALE.COM

Enter keywords or a search phrase below:

Still Too Many Props GB - 2013

40553 views
279 replies
1 rating 2 rating 3 rating 4 rating 5 rating
  • Member since
    October 2008
  • From: italy
Posted by bsyamato on Friday, October 18, 2013 4:58 AM

Thanx Trey and i forget to update Embarrassed  wekk done works on the fortress Toast

Here more:

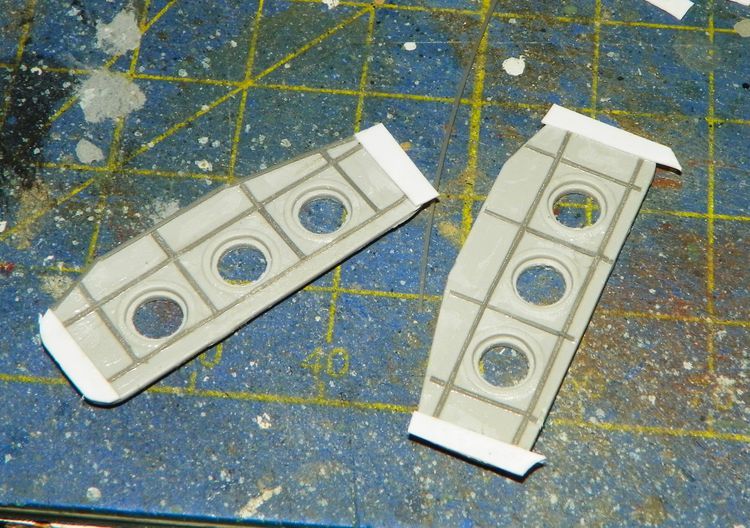
glued central decks

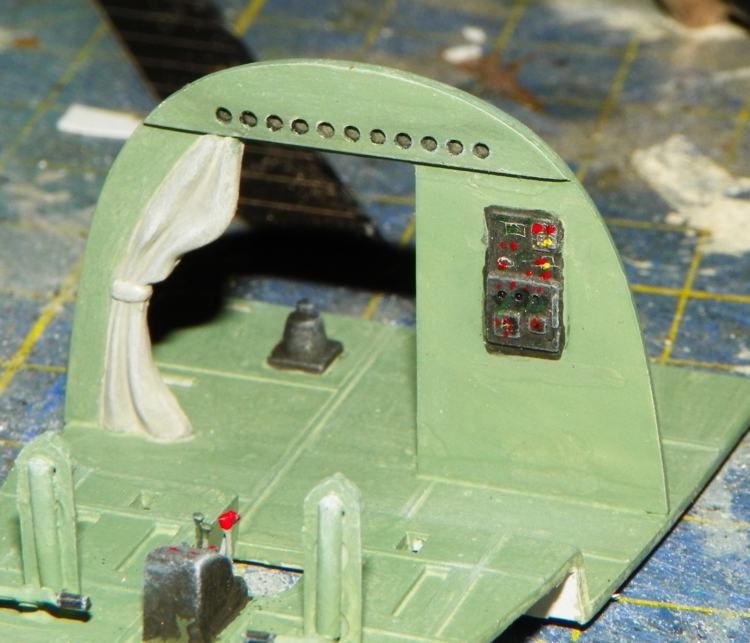
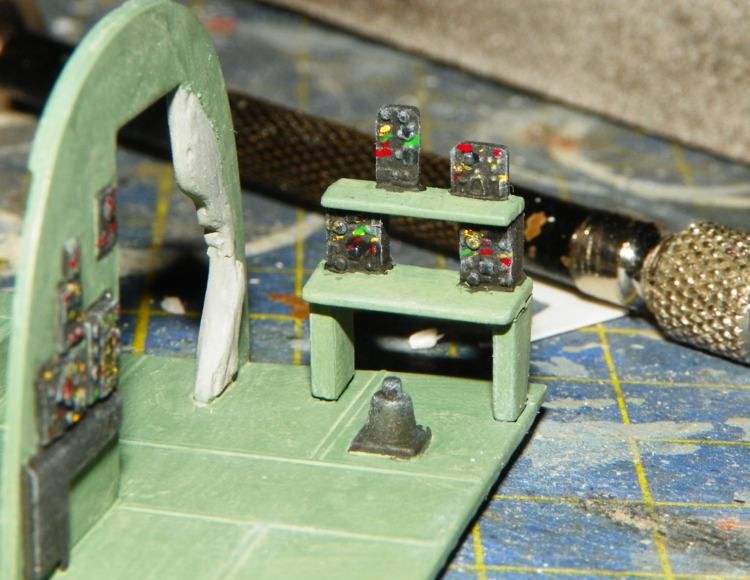
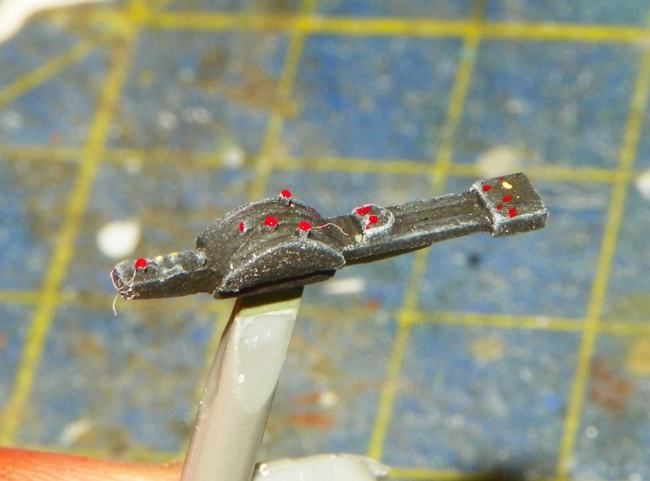
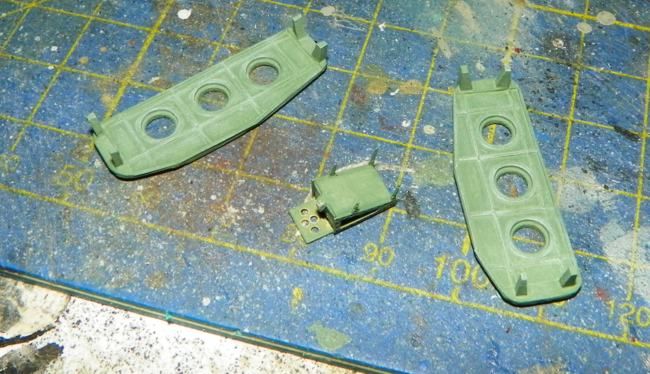
Scratched some parachute housing

Remaining seats

ready for paint

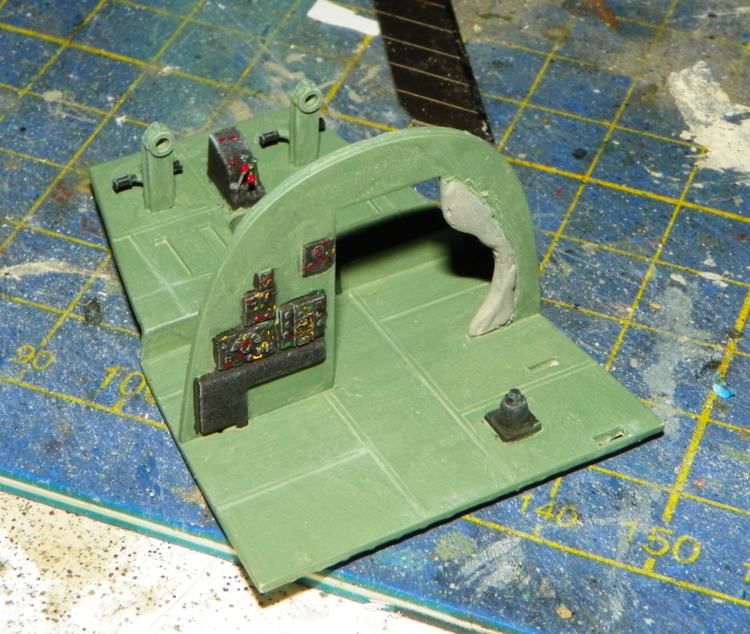
Lasts bulkhead scratching

test fitting

all three done

more tests before to paint and glue

priming , canopy too

ready to glue

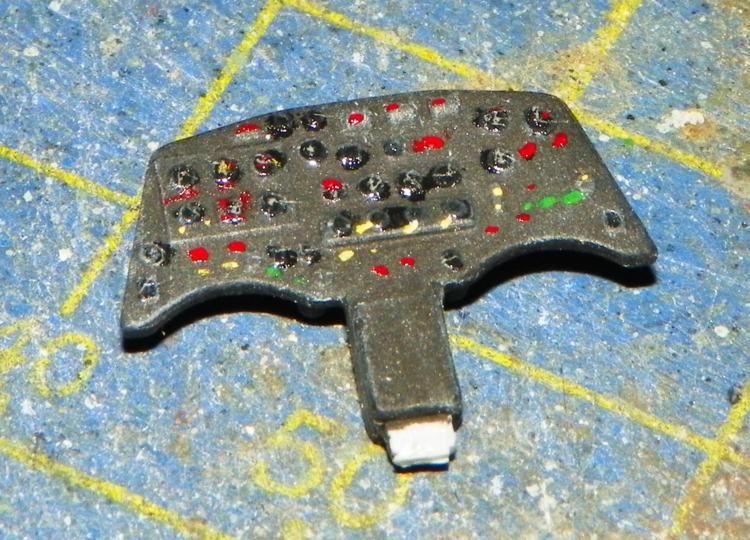
painted ,drybrushed , washed and with final matt layer, these pieces are ready for final assembly

glued all parachute housing

bulkheads too

more next time :)

  • Member since
    August 2009
  • From: Borlando Fla home of the rat
Posted by TREYZX10R on Wednesday, October 16, 2013 9:16 PM
  • Member since
    October 2008
  • From: italy
Posted by bsyamato on Tuesday, October 1, 2013 10:53 AM

SchattenSpartan

Awesome work, Yamato! I can't wait to see more!

B17Pilot: She's looking great so far!

thanx :) 

More;

Glossy before washing

washing

after the cleaning of excessive paint, i glued the windows and painted some exit with yellow

exhausts ready, flat black as base, drybrush with brown and copper

Engines setup: a numbering was neened

pieces painted with complete camouflage ready for postshading and highlights

the two front decks glued

setup of cables with electrical wires , tape stripes and CA glue

Ready for paint

and started to paint last PE parts before to glue

other folowing :)

  • Member since
    April 2013
Posted by SchattenSpartan on Saturday, September 28, 2013 9:58 PM

Awesome work, Yamato! I can't wait to see more!

B17Pilot: She's looking great so far!

  • Member since
    October 2008
  • From: italy
Posted by bsyamato on Thursday, September 26, 2013 10:17 AM

Sunderland updates

Finished with structures on fuselages

Scratched and added the tail bulkhead

Pasint works.. last layer of sky 23 humbrol and more green on other pieces

Added light tips with clear sprue

white drybrush on bottom floors and with brown on the top

painted frames on turrets

and after the camouflage grey with a toothpick cleaning (on the picture the nose turret housing too)

Other pieces after two layers of mixed camouflage grey (i used humbrol 147 as main color with few percentage of 77)

engines too, glued on .. i forget the little air scope on the bottom of each engine before to paint Huh?

First layer of thinned 78 on inner fuselages

and today with second layer and white drybrush (drybrushed only one of two in the pictures)

Simulation experiment of last tail section structures; heavy white drybrush and masked supposed structures

after drybrushed wwith middle green and removed tapes

that's all for now :)

At the next!

  • Member since
    October 2008
  • From: italy
Posted by bsyamato on Thursday, September 26, 2013 7:55 AM

B17Pilot

You planning on opening hatches or something? Cause it would be a shame to hide all the great work! Nice scratch building!

don't think yto open other hatches out of kits options Sad just will make lots of pictures before to close :)

  • Member since
    October 2008
  • From: italy
Posted by bsyamato on Thursday, September 26, 2013 7:53 AM

Thanx for commets guys :)

Nice works on the marauder B17Pilot

  • Member since
    September 2009
  • From: Frisco, TX
Posted by B17Pilot on Tuesday, September 24, 2013 11:10 PM

Minor update: Putty is on, except for the wing joints as I just added the wings. Canopy needs a little more flaring into the fuselage. Coming along none the less.


  • Member since
    April 2013
Posted by SchattenSpartan on Friday, September 20, 2013 2:26 PM

Very nice work, Yamato!

  • Member since
    September 2009
  • From: Frisco, TX
Posted by B17Pilot on Friday, September 20, 2013 1:32 PM

You planning on opening hatches or something? Cause it would be a shame to hide all the great work! Nice scratch building!


  • Member since
    December 2002
  • From: Bury St Edmunds, Suffolk, England
Posted by Bish on Thursday, September 19, 2013 12:09 PM

This is really coming along. More great building there.

I am a Norfolk man and i glory in being so


On the bench: Airfix 1/72nd Harrier GR.3/Fujimi 1/72nd Ju 87D-3

  • Member since
    October 2008
  • From: italy
Posted by bsyamato on Wednesday, September 18, 2013 6:12 PM

Yes Bish :) side guns just cleaned and painted .

Some update

Alignment of rear cockpit floor

Milliput used to fill base wings inner gaps

used the dremel to remove excess putty, after more tamiya putty and cleaned with sandpaper and polished with dremel 

and starting to fill with structures

more to add.. 

test fitting with new added floors

At the next :)

  • Member since
    December 2002
  • From: Bury St Edmunds, Suffolk, England
Posted by Bish on Monday, September 16, 2013 12:46 PM

Some amazing work there. Are those gun barrels from the kit, they look very well detailed.

I am a Norfolk man and i glory in being so


On the bench: Airfix 1/72nd Harrier GR.3/Fujimi 1/72nd Ju 87D-3

  • Member since
    October 2008
  • From: italy
Posted by bsyamato on Monday, September 16, 2013 6:25 AM

Washing time!

side guns

wheels and removable gears and cart

Also started to scratchbuild missing floor and bulkheads

Some work on the seats (the smallest need to be refined)

I'm going to build one of overall sky bottom version :) so i started to paint the workable pieces with humbrol 23.. till now two thinned layers.. my pain is for the fuselage/wings areas Tongue Tied

At the next!

  • Member since
    October 2008
  • From: italy
Posted by bsyamato on Thursday, September 12, 2013 3:59 PM

thanx guys

here more:

detailed the side bomb bay doors with struts using stretched sprues and plastic sheets
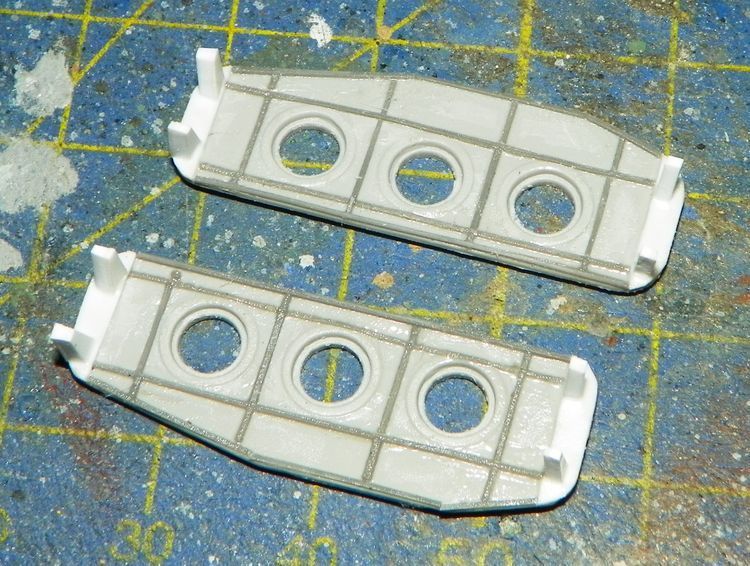
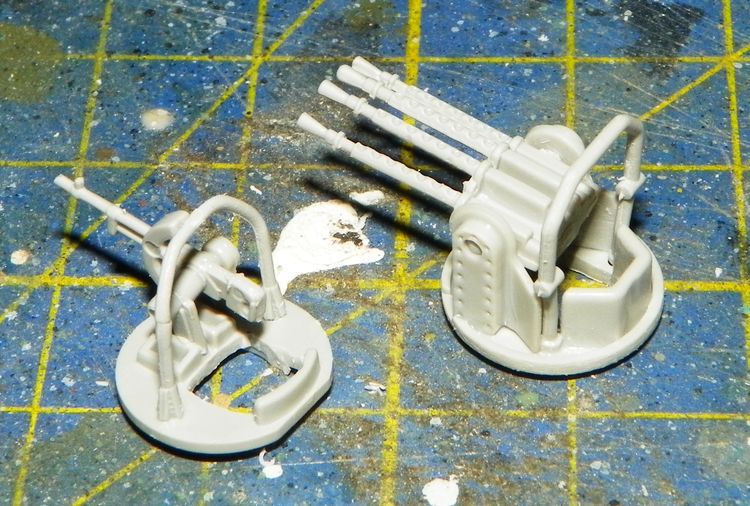
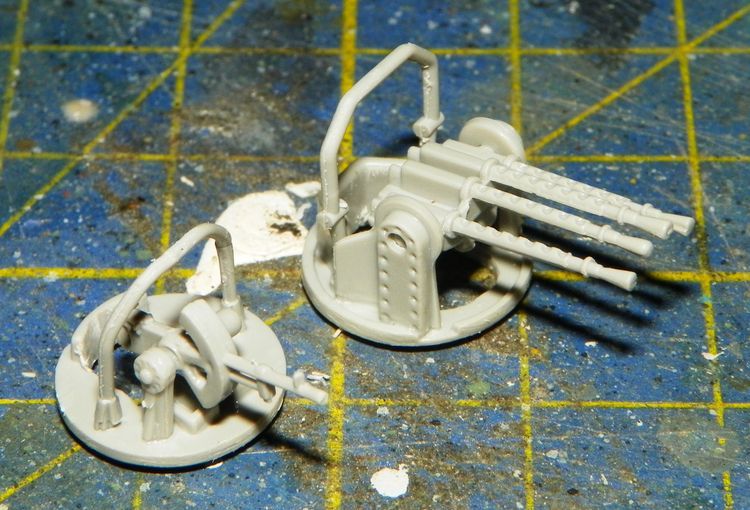
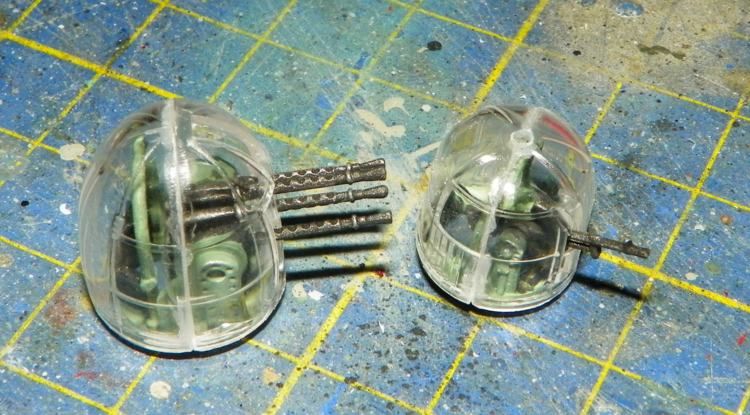
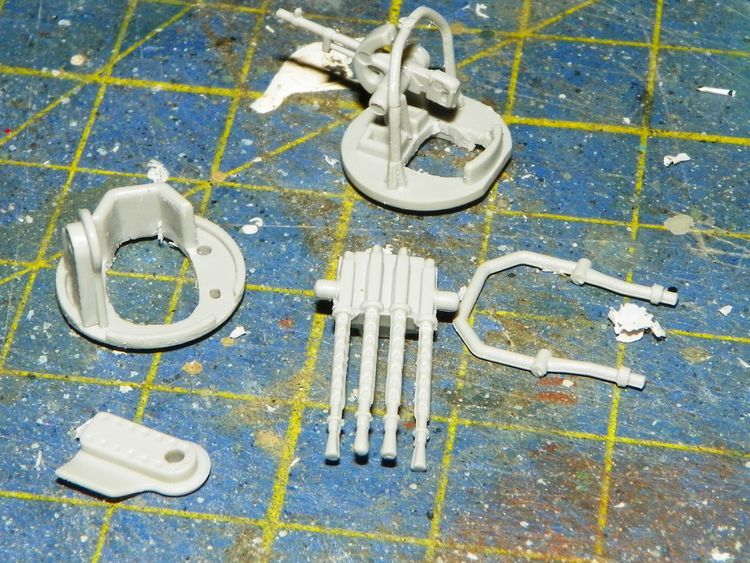
gun turrets assembies, just some improvement as a larger hole for gunners
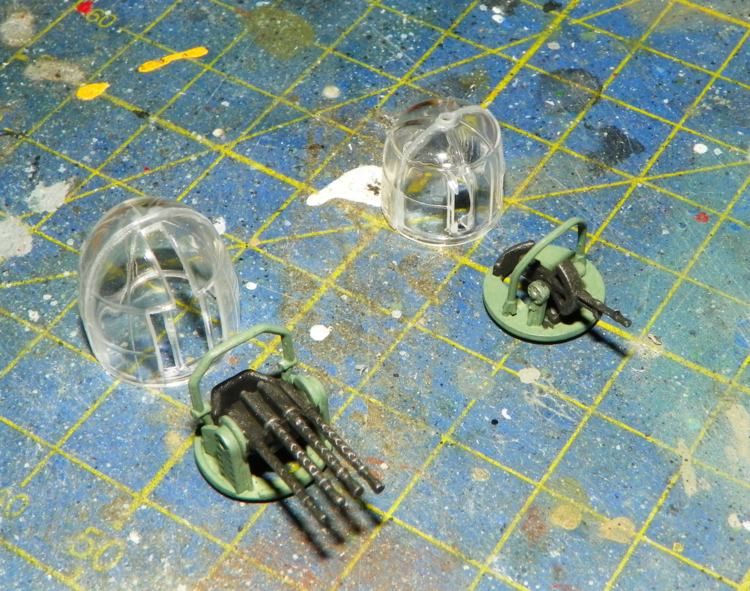
After paint a dryfitting test with clear parts :)
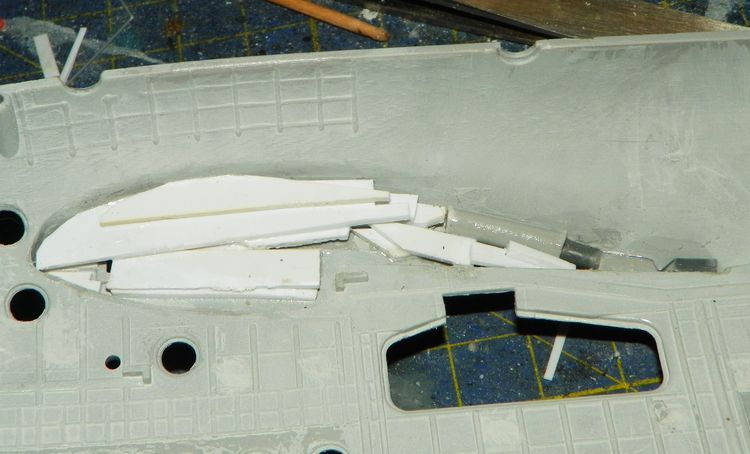
filling the wings inner hole with sprues etc, after will fill completely with milliput 
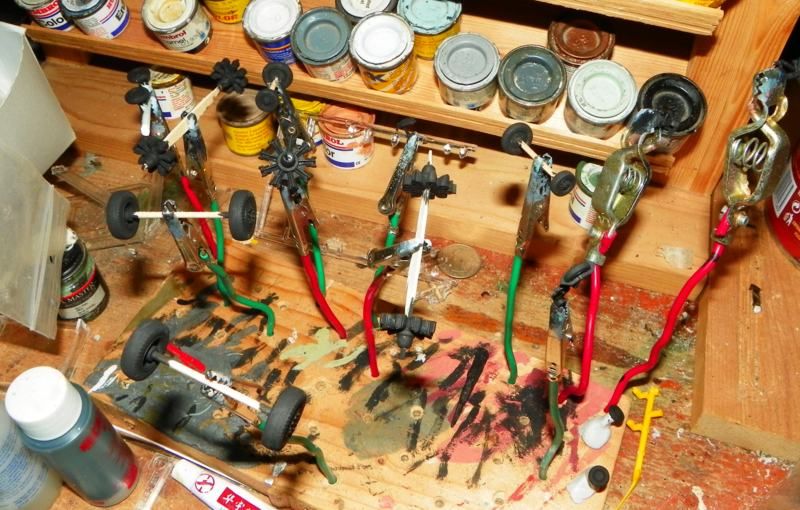
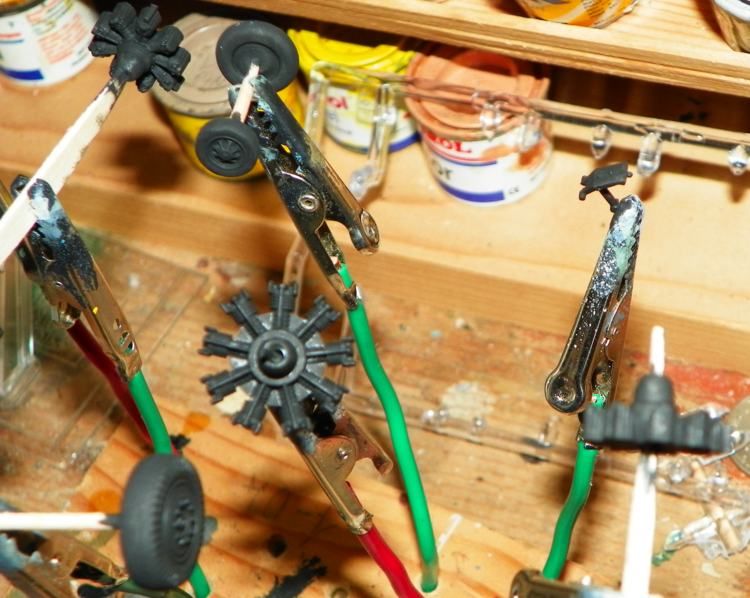
engines wheels and others pieces primed in black (some wheel ,gear and engine from other kits too Whistling )

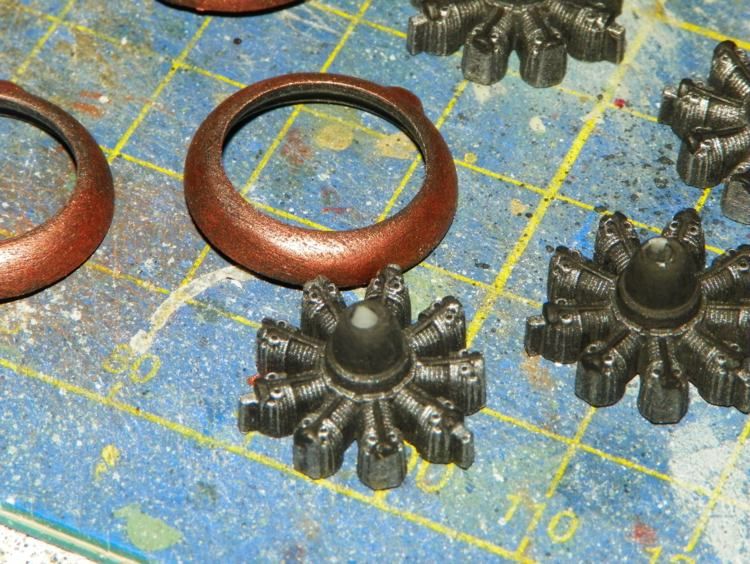
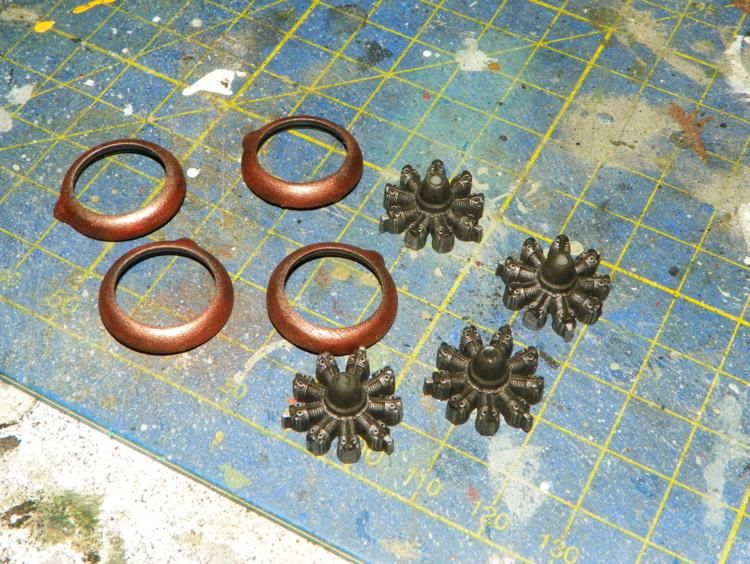
Actually engines finished with front covers in copper drybrushed on a black under layer
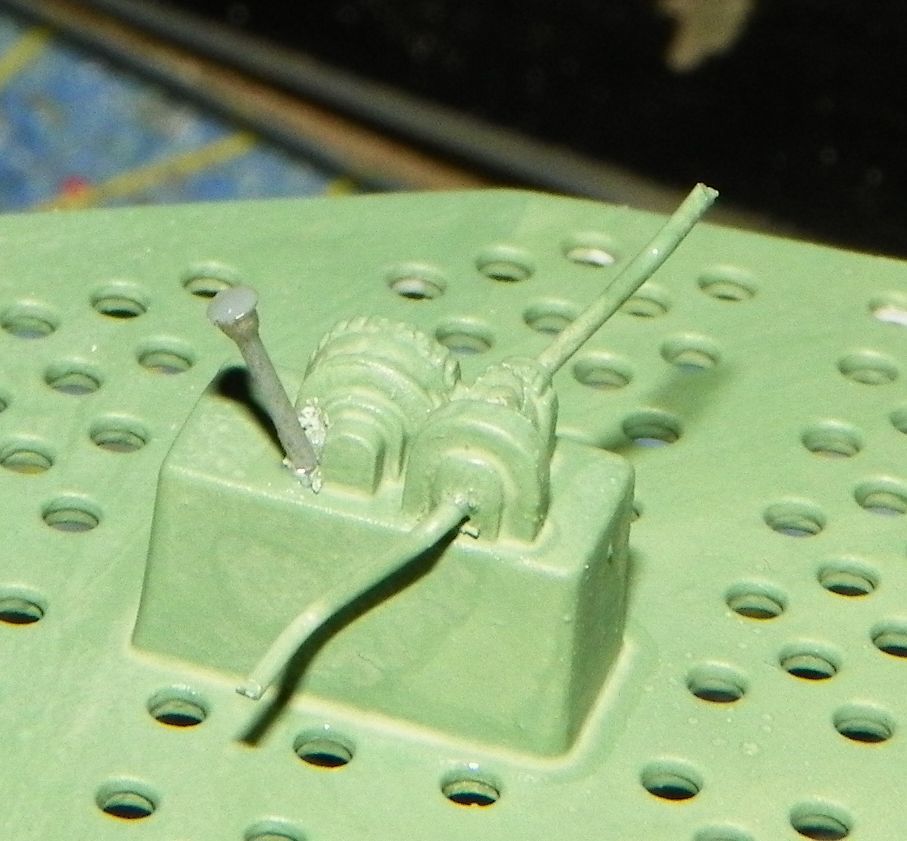
added details to the winch
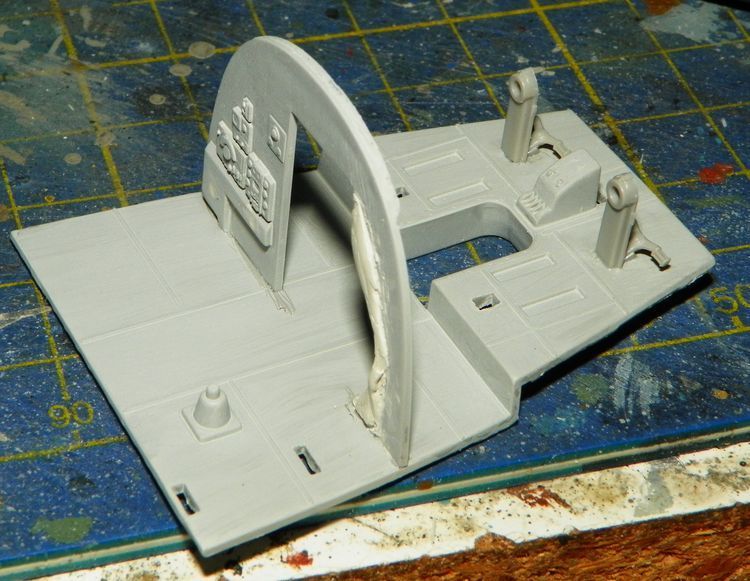
I forget to post before.. the back of curtain reproduced with normal tamiya putty 
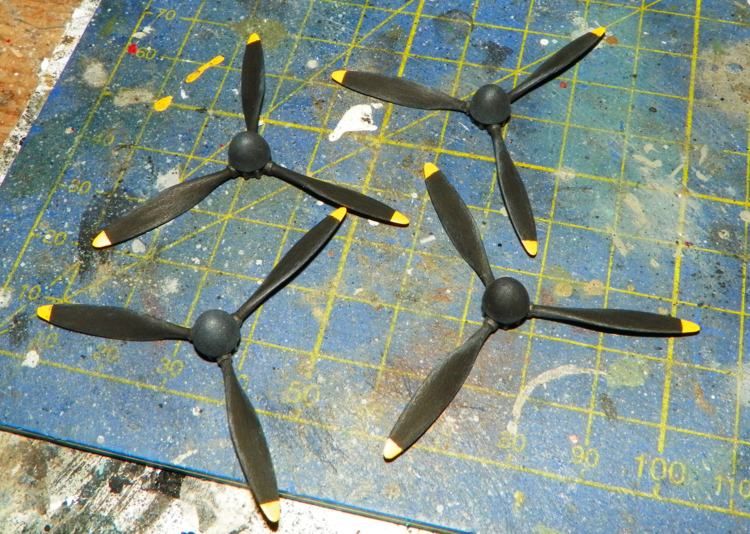
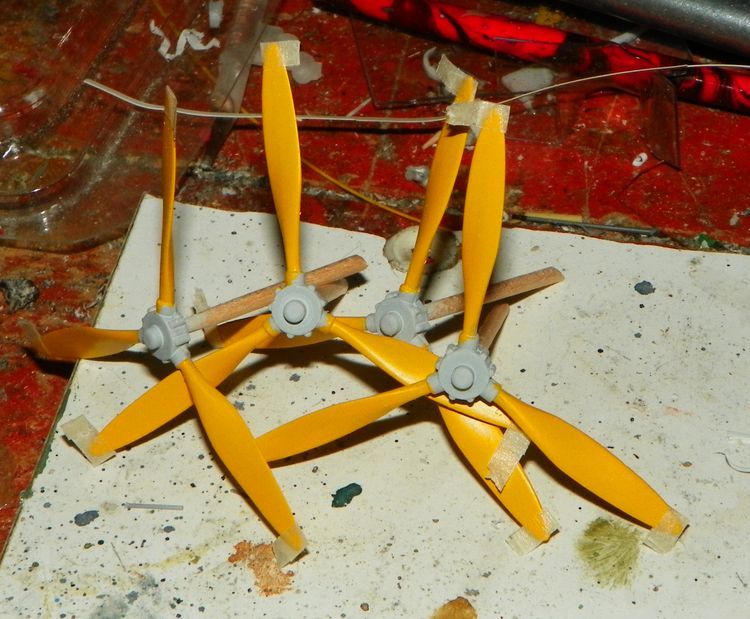
Propellers
doors, just modified hinges
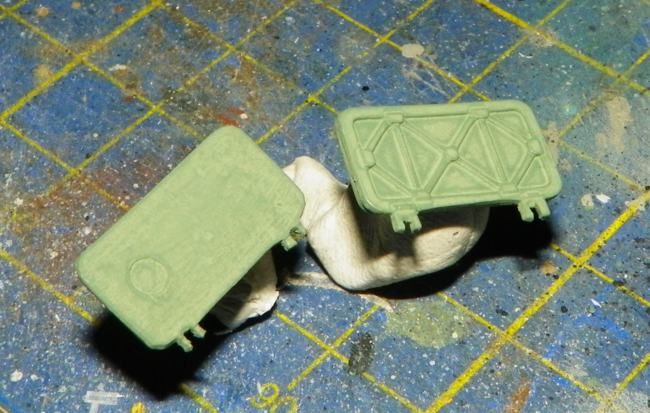
All ready surfaces was painted with three layers of 78 green thinned
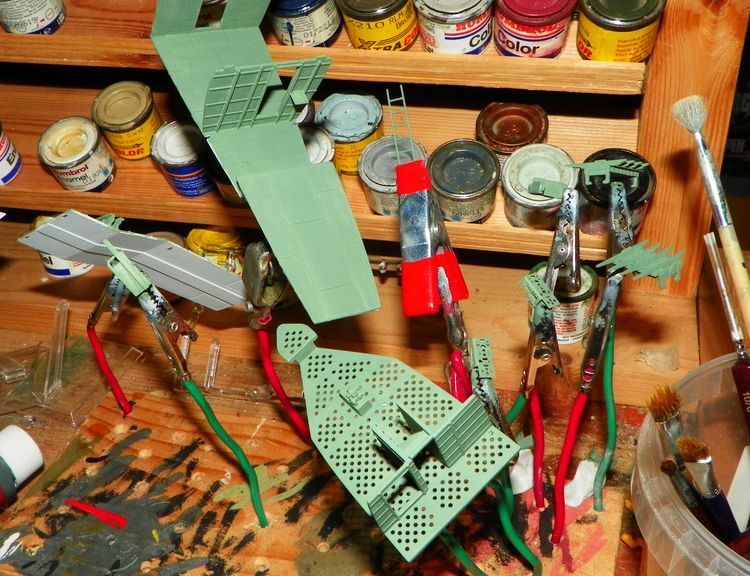
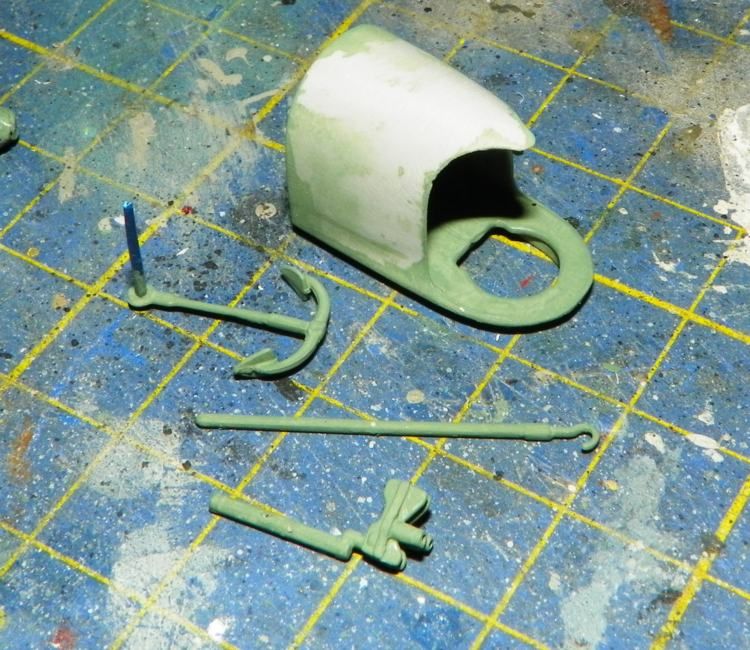
Nose accessories 
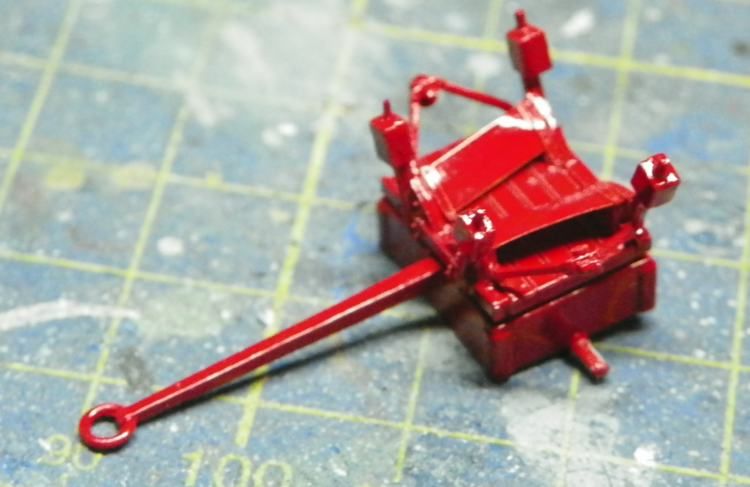
Tail cart in red :)
Cockpit painted details and withe drybrush
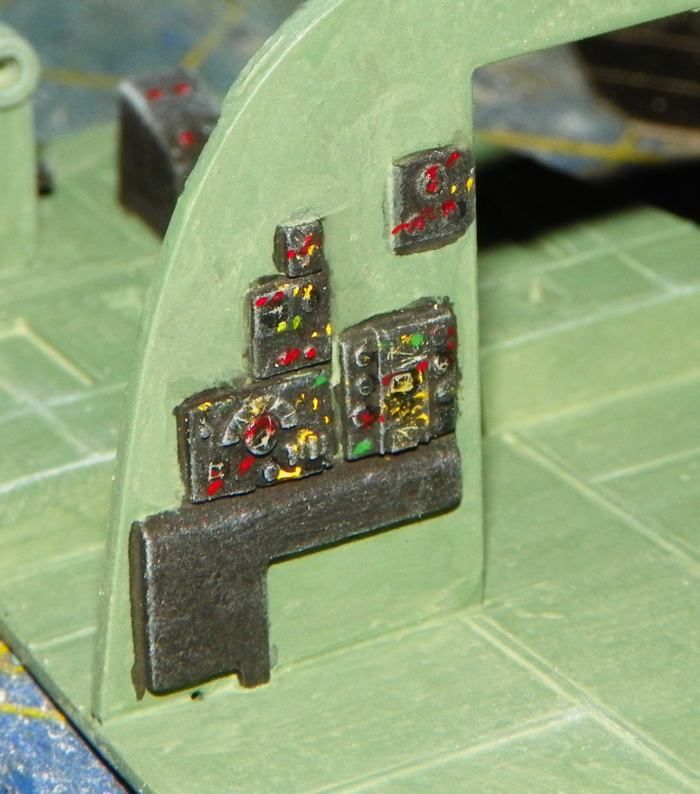
glued some piece before washing
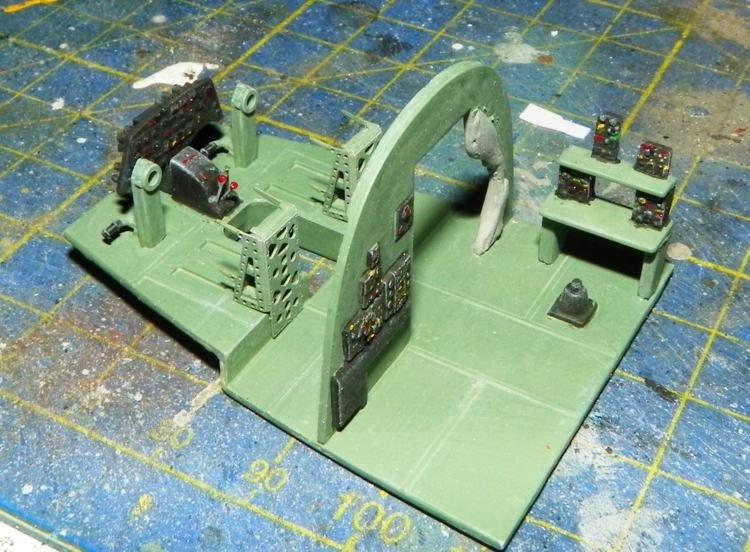
general drybrush
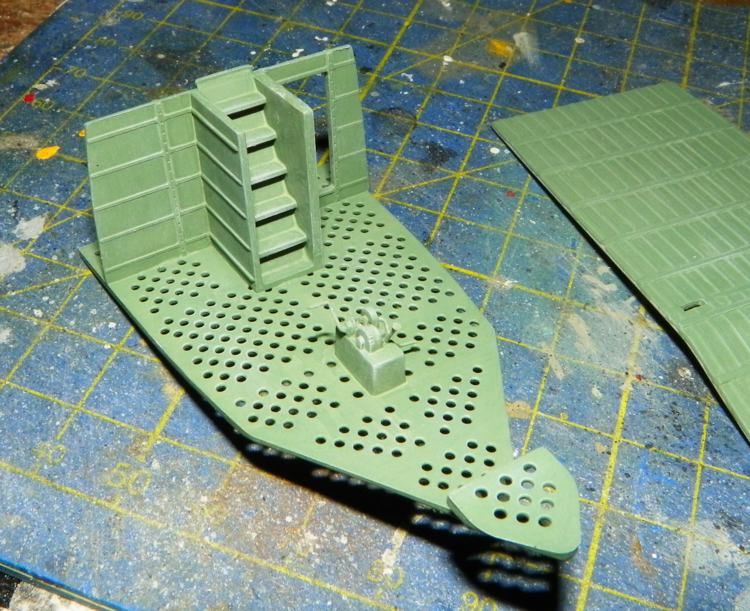
Sorry for the too many pictures but lots again to show .. the most part of works was done in august when i was withouth connection Dead

  • Member since
    September 2009
  • From: Frisco, TX
Posted by B17Pilot on Thursday, September 12, 2013 8:49 AM

Awesome work on that Sunderland!


  • Member since
    December 2002
  • From: Bury St Edmunds, Suffolk, England
Posted by Bish on Thursday, September 12, 2013 6:15 AM

Some great work on that Sunderland. Some really nice scratch work as well.

I am a Norfolk man and i glory in being so


On the bench: Airfix 1/72nd Harrier GR.3/Fujimi 1/72nd Ju 87D-3

  • Member since
    October 2008
  • From: italy
Posted by bsyamato on Thursday, September 12, 2013 4:36 AM

More old updates

Cockpit pieces

improvements

bpmbs cart, back pilot seats and tail cart

Bomb cart rairls need a retouch : the rail are too short to join the wing section rails so an add with plastic sheet is needed

Added back of instruments on the ip

and cockpit painted with three layers of humbrol 78 

At the next

  • Member since
    October 2008
  • From: italy
Posted by bsyamato on Sunday, September 8, 2013 9:49 AM

Nice update Yes

Heres italeri sunderland  sprues'n'box:

this sprue X2

PE sheet

decal sheet for six planes

included in the box a nice booklet with some real picture

dry fit test

Lots of windows... on the top too Tongue Tied

The kit is nicely detailed but will add something . Panel lines are a little too deep but are perfect for brushes :)

compang lines with academy b-17 

Starting the game:

Some subassemblies glued 

tail cart

wings

decks and bulkheads

thinned cowling flaps

Some ejector marks resolved with putty (lots on the inner fuselages)

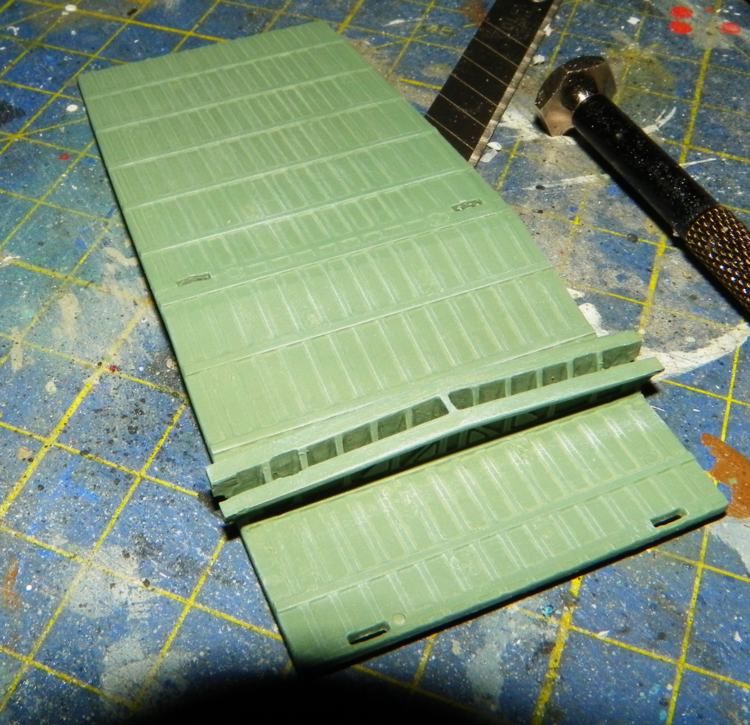
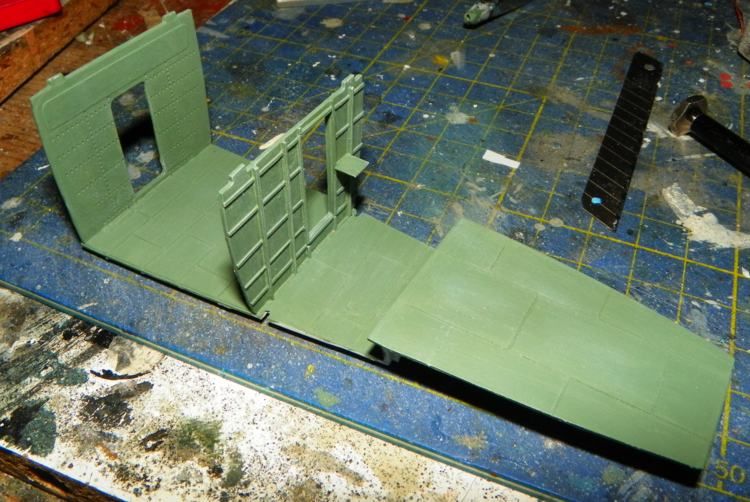
Starting to scratchbuild the last deck missing in the kit, also detailing with plastic sheet cut in stripes last bulkhead

reinforcing structures on the bottom

adding missing structures on the tail zones

Did a stop for the new deck on the left fuselage

test fitting of decks before structures

scratchin the ladder between backward decks 

Lots of updates to post again Sad at the next

  • Member since
    August 2009
  • From: Borlando Fla home of the rat
Posted by TREYZX10R on Thursday, September 5, 2013 7:29 PM

Bish looking forward to seeing more extravagant paint schemes,again superb job on the 24 Sir!

Bsyamato thank you kindly,so want to see that flying boat build. There is one hangared here at Fantasy of Flight in Lakeland Florida that belongs to Kermit Weeks and I got to walk through it a few years back.

I had to spend a lot of time fixing ejector pin marks and other gaps in the floors and bulkheads that are now visible due to the cutaways. I did'nt factor these issues in before hand and it really has set me back time wise. What made it worse was having to work around details and structures already in place,again hindsight is 20/20 they say and here goes the proof. Delays aside and after checking and double checking to make sure all components were in place and the inside as clean as possible the fuse halves are now joined!

The front window frames required some last minute tweaking to get a nice tidy alignment at the front seam but all ended well. I used thin foam safe ca and allowed it to wick into the seams on both sides via capillary action

again thanks for all the continued support and kind words,cheers Trey

  • Member since
    December 2002
  • From: Bury St Edmunds, Suffolk, England
Posted by Bish on Thursday, September 5, 2013 4:10 PM

Thanks guys, much appreciated.

And thanks again for hosting the GB.

Nice to see you back Bsyamato.

I am a Norfolk man and i glory in being so


On the bench: Airfix 1/72nd Harrier GR.3/Fujimi 1/72nd Ju 87D-3

  • Member since
    October 2008
  • From: italy
Posted by bsyamato on Thursday, September 5, 2013 3:43 AM

Great works Trey! you going to make a perfect see throught model :)

Bish.. another dioramized masterpiece Bow Down

Sorry for the long silence but just returned froma vacacy and no internet connection at home :(

During vacacy i get the sunderland MK.I italeri 1/72 newtool and actually working only on this kit.. so , B17Pilot i have the perfect kit to finbish in time for the GB :)

Already done lots of works during the last month .

at the next for pictures Propeller

  • Member since
    September 2009
  • From: Frisco, TX
Posted by B17Pilot on Tuesday, September 3, 2013 1:18 PM

Outstanding work Bish! Front page updated with your completed build.


  • Member since
    December 2002
  • From: Bury St Edmunds, Suffolk, England
Posted by Bish on Tuesday, September 3, 2013 1:06 PM

Thanks very much guys.

 I know what you mean about the paint scheme TREY, but this one is rather plan compared to some of the other lead ships, so expect so see even more outrageous paint jobs than this in the future.

And coming from a builder of your calibre, that's mean a whole lot.

I am a Norfolk man and i glory in being so


On the bench: Airfix 1/72nd Harrier GR.3/Fujimi 1/72nd Ju 87D-3

  • Member since
    April 2013
Posted by SchattenSpartan on Tuesday, September 3, 2013 5:37 AM

Bish: I can only agree with Trey! Your Liberator looks great!

  • Member since
    August 2009
  • From: Borlando Fla home of the rat
Posted by TREYZX10R on Monday, September 2, 2013 8:28 PM

Bish was a pleasure watching this build ! I really like what you've done with the weathering ,and the paint scheme is a nice departure from the usual 24. I know all that masking was tedious but it really paid off. Great base and nice touch with the truck adds some scale to the finished bird! 5star build for sure,very nicely done Sir!!!

  • Member since
    December 2002
  • From: Bury St Edmunds, Suffolk, England
Posted by Bish on Monday, September 2, 2013 3:06 PM

A day or so late, the figures took a bit longer than expected. All 2 and a half of them. Here's the completed pics.

Thanks for another great GB. I was really glad to be able to get this finished. I know there are errors, especially at the join of the front section. But I think I was able to cover most of that and have defiantly learnt lessons for next time. 

All comments welcome as always.

I am a Norfolk man and i glory in being so


On the bench: Airfix 1/72nd Harrier GR.3/Fujimi 1/72nd Ju 87D-3

  • Member since
    December 2002
  • From: Bury St Edmunds, Suffolk, England
Posted by Bish on Thursday, August 29, 2013 3:41 PM

I got the B-24 done last night, it all fitted to the base, so just got the figures to finish off. Should have the completed pics at the weekend.

I am a Norfolk man and i glory in being so


On the bench: Airfix 1/72nd Harrier GR.3/Fujimi 1/72nd Ju 87D-3

  • Member since
    April 2013
Posted by SchattenSpartan on Monday, August 26, 2013 7:17 PM

Tey: Simply amazing work! Your figure painting skills are great!

  • Member since
    September 2009
  • From: Frisco, TX
Posted by B17Pilot on Monday, August 26, 2013 7:16 PM

Bish - That B-24 is stunning! Keep those pics coming

Trey - Man you're braver than I. I looked at that verlinden frame and the 'slight' sanding involved and just went with the standard frame. Now I'm thinking I shouldn't have done that. Those frames give it a better look.


JOIN OUR COMMUNITY!

Our community is FREE to join. To participate you must either login or register for an account.

SEARCH FORUMS
FREE NEWSLETTER
By signing up you may also receive reader surveys and occasional special offers. We do not sell, rent or trade our email lists. View our Privacy Policy.