SEARCH FINESCALE.COM

Enter keywords or a search phrase below:

Still Too Many Props GB - 2013

40554 views
279 replies
1 rating 2 rating 3 rating 4 rating 5 rating
  • Member since
    December 2002
  • From: Bury St Edmunds, Suffolk, England
Posted by Bish on Thursday, September 19, 2013 12:09 PM

This is really coming along. More great building there.

I am a Norfolk man and i glory in being so


On the bench: Airfix 1/72nd Harrier GR.3/Fujimi 1/72nd Ju 87D-3

  • Member since
    September 2009
  • From: Frisco, TX
Posted by B17Pilot on Friday, September 20, 2013 1:32 PM

You planning on opening hatches or something? Cause it would be a shame to hide all the great work! Nice scratch building!


  • Member since
    April 2013
Posted by SchattenSpartan on Friday, September 20, 2013 2:26 PM

Very nice work, Yamato!

  • Member since
    September 2009
  • From: Frisco, TX
Posted by B17Pilot on Tuesday, September 24, 2013 11:10 PM

Minor update: Putty is on, except for the wing joints as I just added the wings. Canopy needs a little more flaring into the fuselage. Coming along none the less.


  • Member since
    October 2008
  • From: italy
Posted by bsyamato on Thursday, September 26, 2013 7:53 AM

Thanx for commets guys :)

Nice works on the marauder B17Pilot

  • Member since
    October 2008
  • From: italy
Posted by bsyamato on Thursday, September 26, 2013 7:55 AM

B17Pilot

You planning on opening hatches or something? Cause it would be a shame to hide all the great work! Nice scratch building!

don't think yto open other hatches out of kits options Sad just will make lots of pictures before to close :)

  • Member since
    October 2008
  • From: italy
Posted by bsyamato on Thursday, September 26, 2013 10:17 AM

Sunderland updates

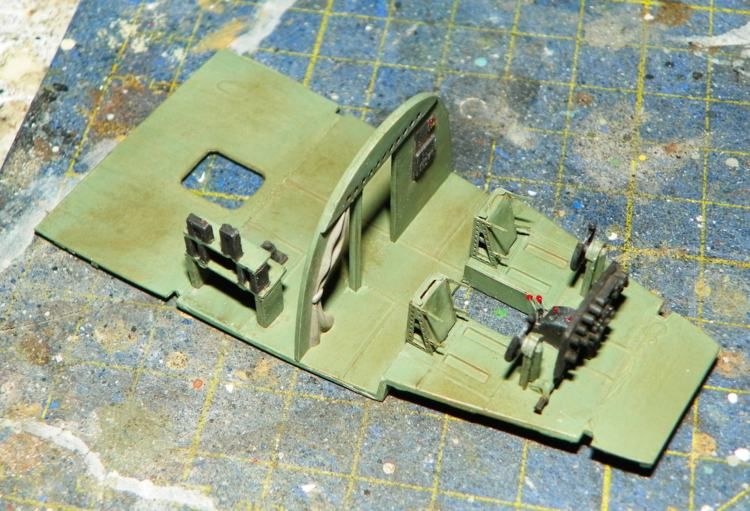
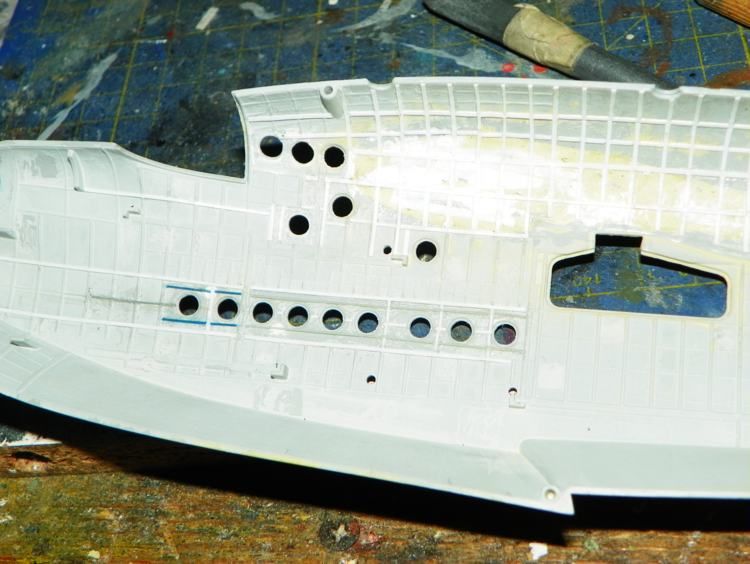
Finished with structures on fuselages
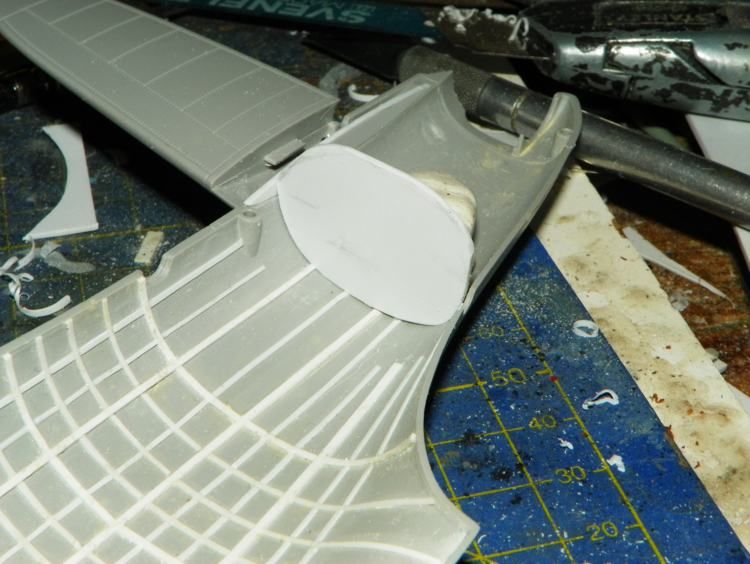
Scratched and added the tail bulkhead
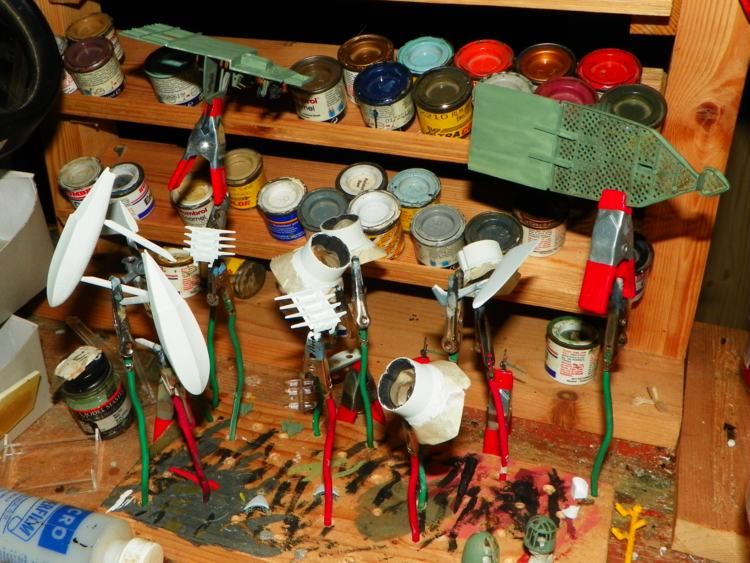
Pasint works.. last layer of sky 23 humbrol and more green on other pieces
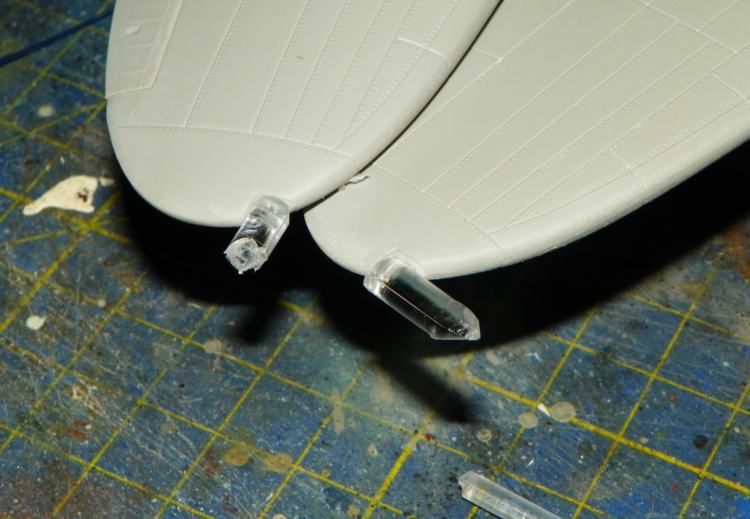
Added light tips with clear sprue
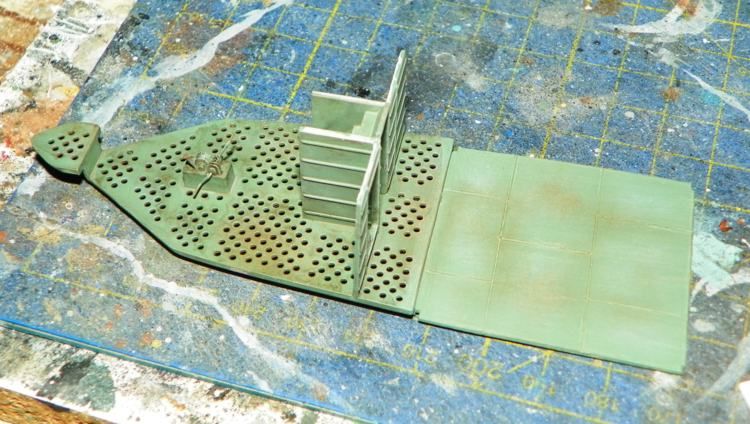
white drybrush on bottom floors and with brown on the top
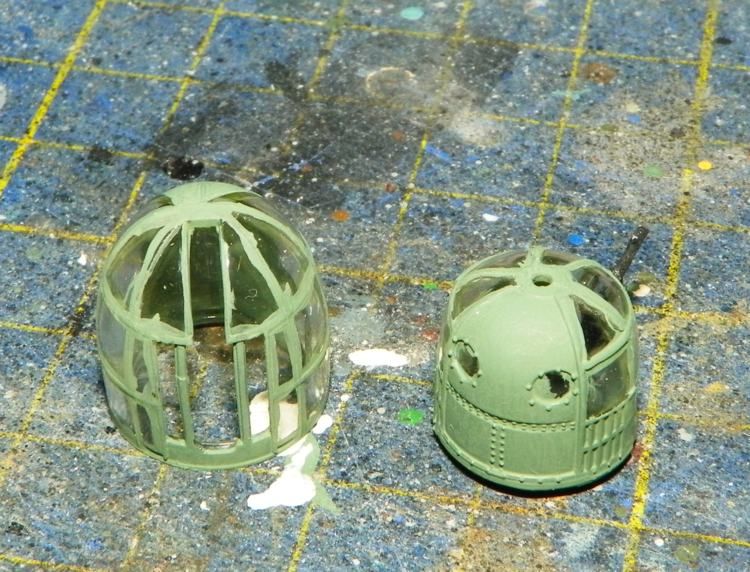
painted frames on turrets
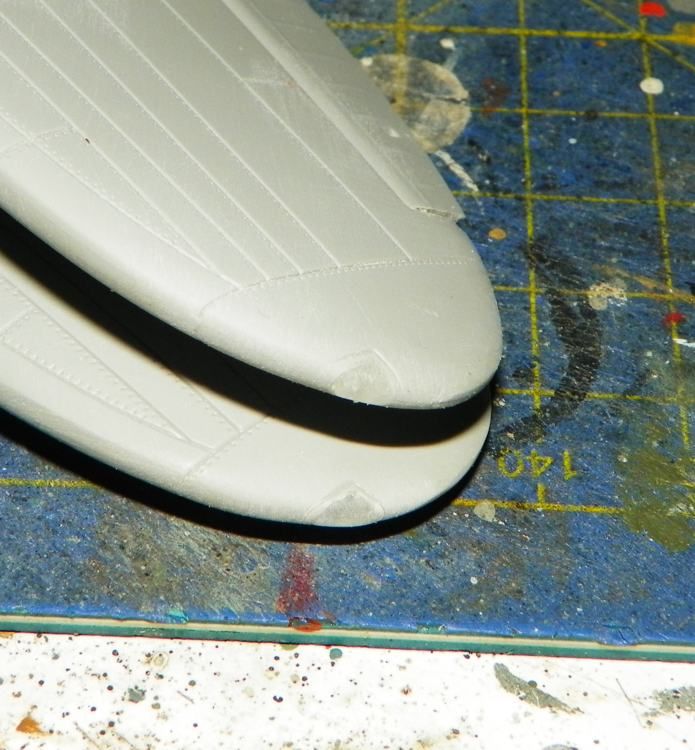
and after the camouflage grey with a toothpick cleaning (on the picture the nose turret housing too)
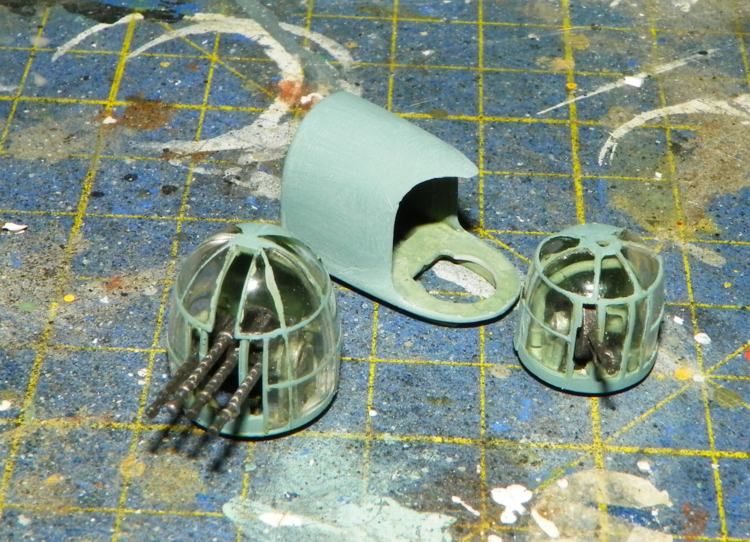
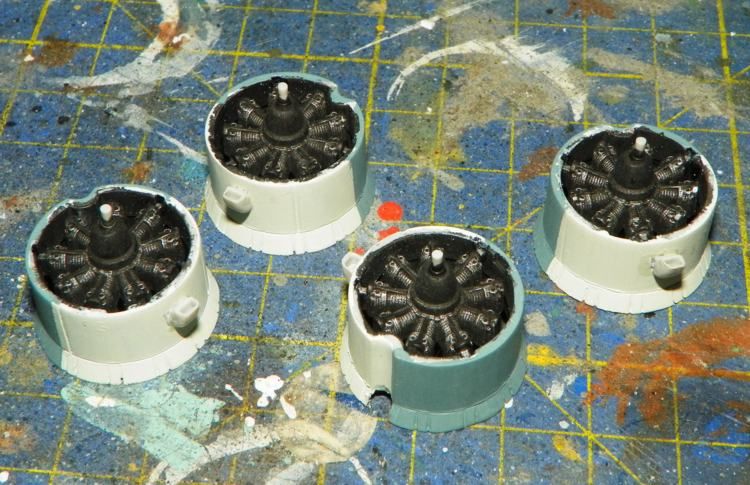
Other pieces after two layers of mixed camouflage grey (i used humbrol 147 as main color with few percentage of 77)
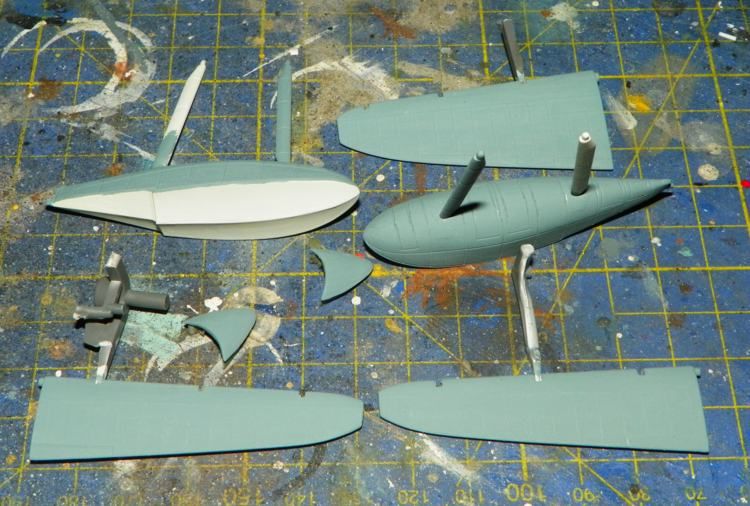
engines too, glued on .. i forget the little air scope on the bottom of each engine before to paint Huh?

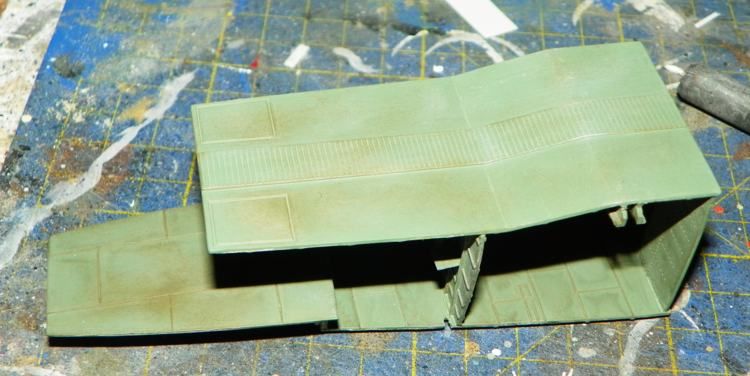
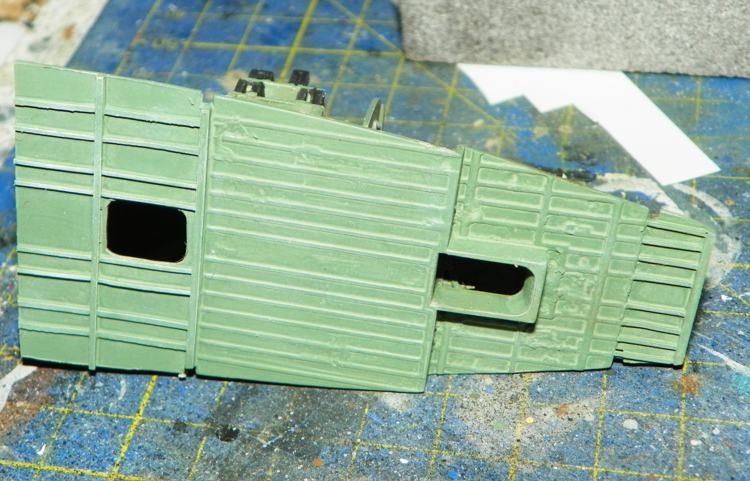
First layer of thinned 78 on inner fuselages
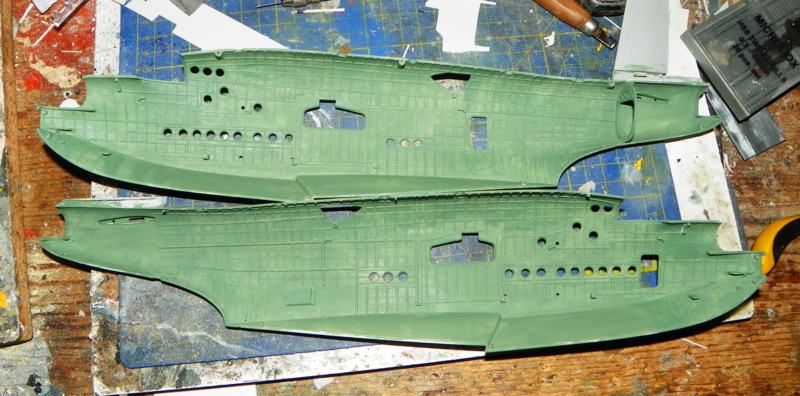
and today with second layer and white drybrush (drybrushed only one of two in the pictures)
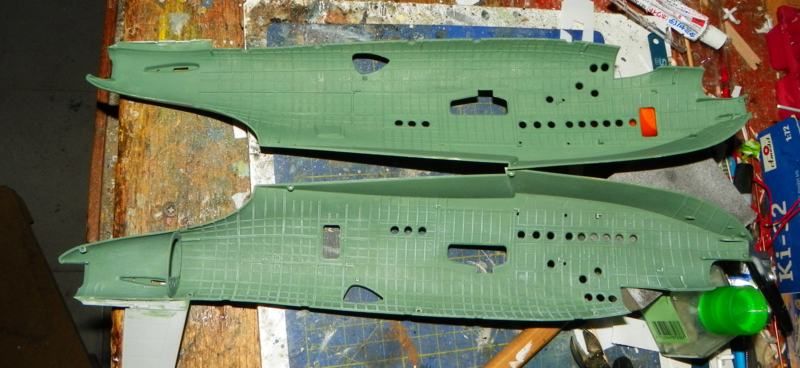
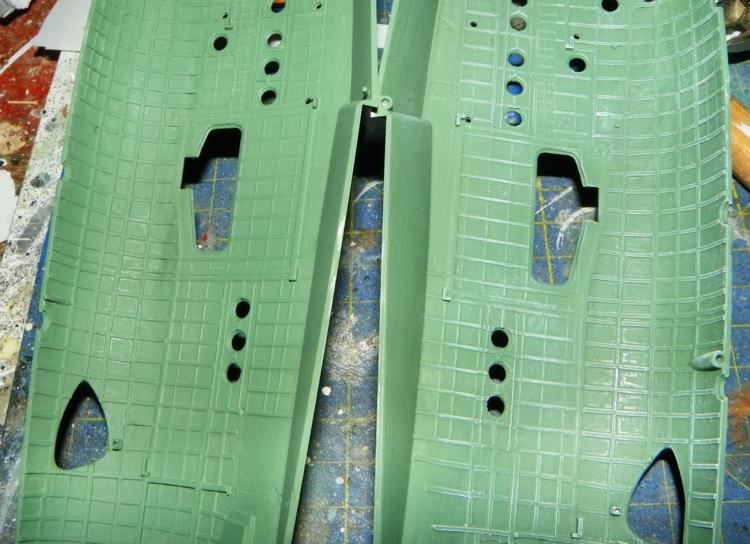
Simulation experiment of last tail section structures; heavy white drybrush and masked supposed structures
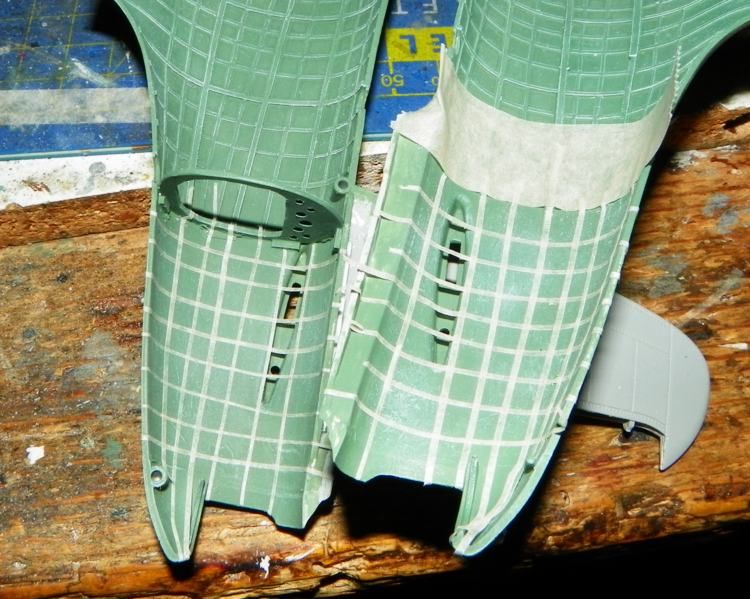
after drybrushed wwith middle green and removed tapes
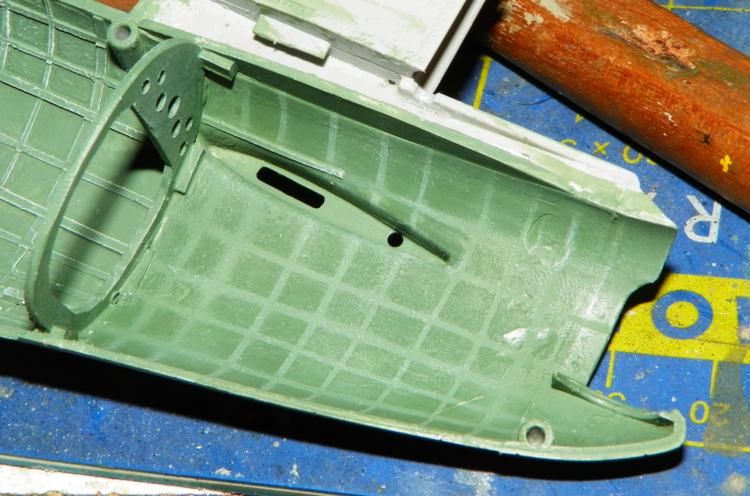
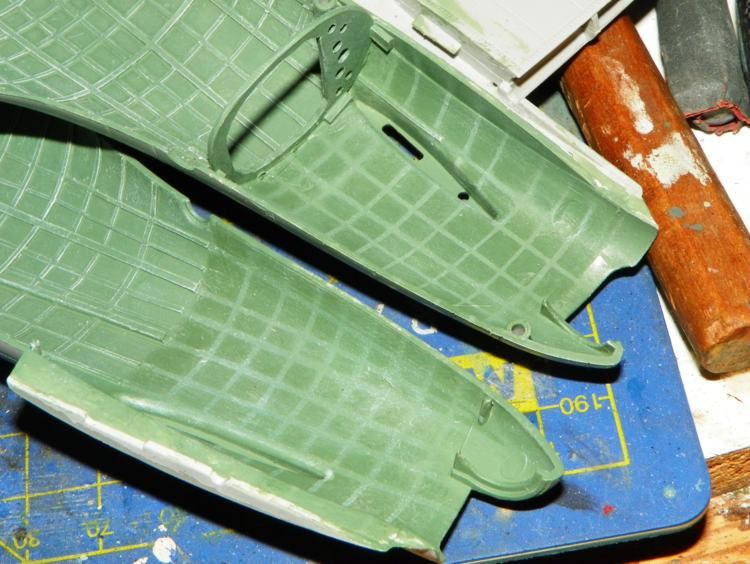
that's all for now :)

At the next!

  • Member since
    April 2013
Posted by SchattenSpartan on Saturday, September 28, 2013 9:58 PM

Awesome work, Yamato! I can't wait to see more!

B17Pilot: She's looking great so far!

  • Member since
    October 2008
  • From: italy
Posted by bsyamato on Tuesday, October 1, 2013 10:53 AM

SchattenSpartan

Awesome work, Yamato! I can't wait to see more!

B17Pilot: She's looking great so far!

thanx :) 

More;

Glossy before washing

washing

after the cleaning of excessive paint, i glued the windows and painted some exit with yellow

exhausts ready, flat black as base, drybrush with brown and copper

Engines setup: a numbering was neened

pieces painted with complete camouflage ready for postshading and highlights

the two front decks glued

setup of cables with electrical wires , tape stripes and CA glue

Ready for paint

and started to paint last PE parts before to glue

other folowing :)

  • Member since
    August 2009
  • From: Borlando Fla home of the rat
Posted by TREYZX10R on Wednesday, October 16, 2013 9:16 PM
  • Member since
    October 2008
  • From: italy
Posted by bsyamato on Friday, October 18, 2013 4:58 AM

Thanx Trey and i forget to update Embarrassed  wekk done works on the fortress Toast

Here more:

glued central decks

Scratched some parachute housing

Remaining seats

ready for paint

Lasts bulkhead scratching

test fitting

all three done

more tests before to paint and glue

priming , canopy too

ready to glue

painted ,drybrushed , washed and with final matt layer, these pieces are ready for final assembly

glued all parachute housing

bulkheads too

more next time :)

  • Member since
    April 2013
Posted by SchattenSpartan on Friday, October 18, 2013 7:50 AM

Trey: It's great to have you back! Your B-17 looks amazing!

Yamato: You are doing some incredible work there! Most impressive stuff!

  • Member since
    August 2009
  • From: Borlando Fla home of the rat
Posted by TREYZX10R on Sunday, October 20, 2013 9:07 PM

Schattenspartan thank you kindly!

Bsyamato you're really tweaking the details on this,awesome!

I tackled the dreaded turret masking this session

Masked off the Deice boots and got those painted


  • Member since
    December 2002
  • From: Bury St Edmunds, Suffolk, England
Posted by Bish on Monday, October 21, 2013 3:13 AM

That's two stunning builds there guys.

BS, that's a lot of cables going into that. Your certainly pulling out all the stop's, and TREY is right, its defiantly paying off.

TREY, nice to see her with some paint on. I would love to meet the guys who invented ready made masks.

Not sure if you have mentioned before, what unit markings are you putting on this one.

I am a Norfolk man and i glory in being so


On the bench: Airfix 1/72nd Harrier GR.3/Fujimi 1/72nd Ju 87D-3

  • Member since
    April 2013
Posted by SchattenSpartan on Monday, October 21, 2013 5:02 PM

I am speechless. You guys are doing some amazing stuff here! Yes Beer Beer

  • Member since
    August 2009
  • From: Borlando Fla home of the rat
Posted by TREYZX10R on Wednesday, October 23, 2013 9:26 PM

Clemmens thanks

Bish thanks ,yea I too would like to tip my hat to the precut mask inventor! Its from the 447th Bomber group ,still trying to locate some decals too. No luck finding the white square with the dark blue 'H' in it!

  • Member since
    December 2002
  • From: Bury St Edmunds, Suffolk, England
Posted by Bish on Thursday, October 24, 2013 7:47 AM

447th, nice. They were based at Rattlesden, one of the 3 airfields close to where I live. I pass through the village often on my way to work.

But the 447th used a square K, the square H was used by the 338th at Knettishall.

I am a Norfolk man and i glory in being so


On the bench: Airfix 1/72nd Harrier GR.3/Fujimi 1/72nd Ju 87D-3

  • Member since
    August 2009
  • From: Borlando Fla home of the rat
Posted by TREYZX10R on Thursday, October 24, 2013 7:46 PM

Bish you're right my bad it is a K !

I've got the turrets wrapped up using the metal upgrade gun barrels,must say they are worth every penny!

  • Member since
    April 2005
  • From: Australia
Posted by taxtp on Sunday, October 27, 2013 9:32 PM

Hi Everyone,

I'm running out of time for my Marauder, and my bench time hsa dried up a bit due to other things. Can I change it to a 1/72 Tamiya Henschel 129 please. It's a crossover with the Reich Defenders IV GB.

Cheers

Tony

I'm just taking it one GB at a time.

  • Member since
    December 2002
  • From: Bury St Edmunds, Suffolk, England
Posted by Bish on Monday, October 28, 2013 10:37 AM

Well, just didn't want you to place the wrong letter on it. Which aircraft are you doing. I think the most well known one from there is A Bit o Lace. Even though they are not Norfolk bases, I have been thinking about doing B-17's from the 3 bases close to us.

I am a Norfolk man and i glory in being so


On the bench: Airfix 1/72nd Harrier GR.3/Fujimi 1/72nd Ju 87D-3

  • Member since
    September 2009
  • From: Frisco, TX
Posted by B17Pilot on Monday, October 28, 2013 6:58 PM

taxtp

Hi Everyone,

I'm running out of time for my Marauder, and my bench time hsa dried up a bit due to other things. Can I change it to a 1/72 Tamiya Henschel 129 please. It's a crossover with the Reich Defenders IV GB.

Cheers

Tony

 
Sure no problem. Front page updated.
 
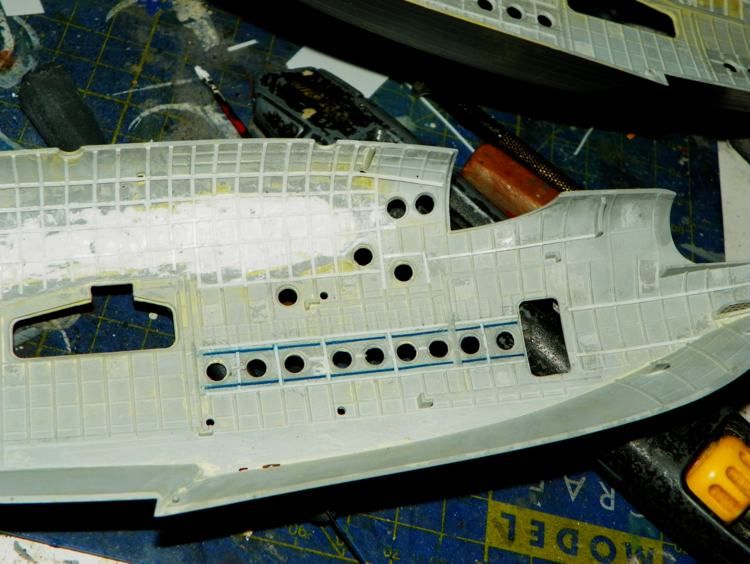
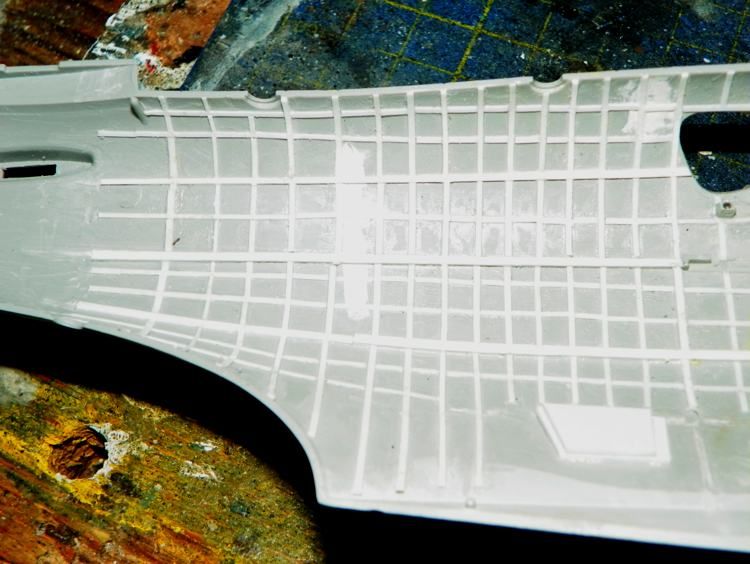
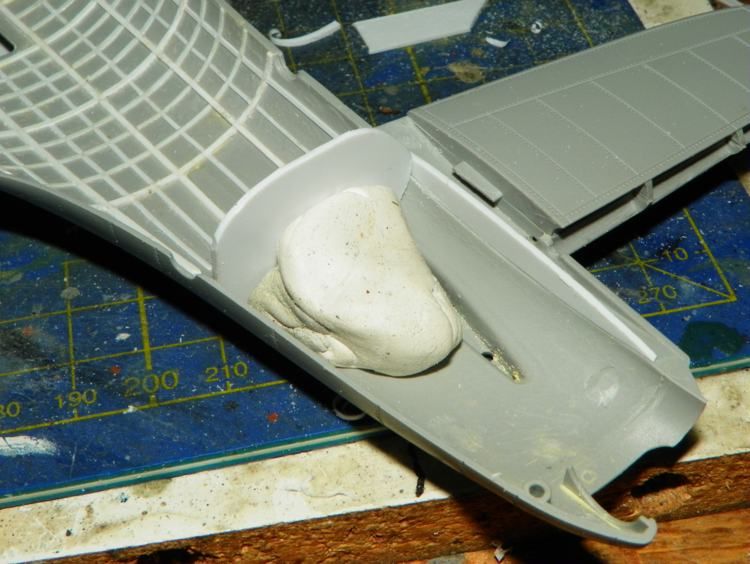
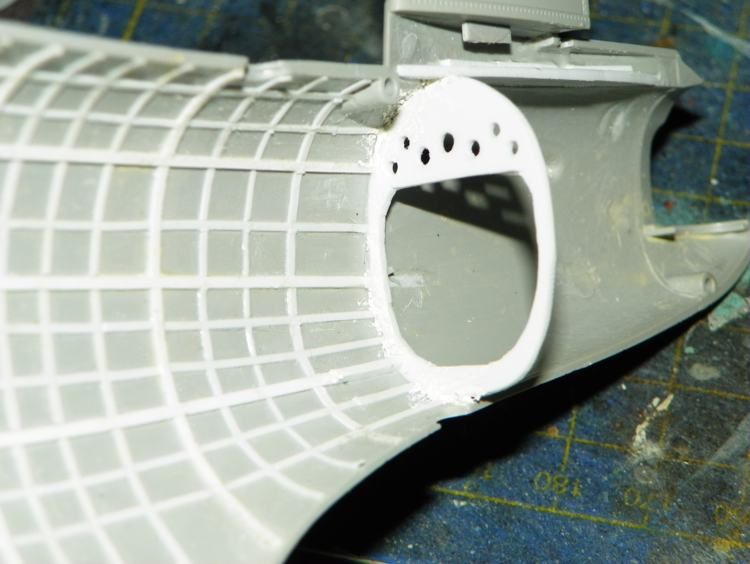
Speaking of B-26s, I got mine all sanded and seams filled (I think) and will need to cover up holes for painting.


  • Member since
    October 2008
  • From: italy
Posted by bsyamato on Friday, December 13, 2013 5:39 AM

Great works on the turrets Trey :)

Sorry for the absence.. lots of updates to post, old and new..

Front turret ready

Cut pieces for inner ladder

test fittings..

Painted and washed and glued in place

extinctors scratchin

ready for paint, also the pilot "phone"

Almost ready!

And glued in place

Another scratch, the radio operator table, the kit include radio instruments , seat but not the table :)

and glued another seat

...

And updates of these days:

Scratchbuilded the engineer control panel with stretched sprue, plastic sheet and copper wire

ready for paint

The radio operato table painted and two more seats glued

gled also the bombs pieces but no pictures :(

At the next!

  • Member since
    December 2002
  • From: Bury St Edmunds, Suffolk, England
Posted by Bish on Friday, December 13, 2013 1:24 PM

Looking nice there BS, I do like those extinguishers. I didn't bother adding them to the He 111, but I will certainly be giving your process a go in a future build.

I am a Norfolk man and i glory in being so


On the bench: Airfix 1/72nd Harrier GR.3/Fujimi 1/72nd Ju 87D-3

  • Member since
    April 2005
  • From: Australia
Posted by taxtp on Saturday, December 21, 2013 3:49 PM

I've started on my Henschel 129. It's the Tamiya 1/72 kit, which is really the Italeri kit. The only glue so far is to the wing upper and lower halves, but most of the parts are off the sprue. WIP photos to follow.

Cheers

Tony

I'm just taking it one GB at a time.

  • Member since
    April 2005
  • From: Australia
Posted by taxtp on Saturday, December 28, 2013 2:57 PM

Here is the progress on my Henschel 129. It will get some primer this morning. I only added some P/E Extratech harnesses, as I think it's too obvious if they are missing.

Cheers

Tony

I'm just taking it one GB at a time.

  • Member since
    September 2009
  • From: Frisco, TX
Posted by B17Pilot on Saturday, December 28, 2013 4:07 PM

Looking good Taxtp!

I have had a stoppage in my B-26. Went to paint it and had a major failure of the airbrush, no paint was coming out. Dunked it in paint remover to remove any dried paint that might have built up, but still no paint coming out. Might have to send it in for repair, and I even have nice weather at the moment. Nuts!


  • Member since
    April 2005
  • From: Australia
Posted by taxtp on Sunday, January 12, 2014 1:33 AM

Did you get it going B17pilot ?

Here's some more progress, but I seem to have lost the tail wheel :(

I'm just taking it one GB at a time.

  • Member since
    September 2009
  • From: Frisco, TX
Posted by B17Pilot on Sunday, January 12, 2014 6:11 PM

No, I contacted Badger and they said it was a warranty part that was on the inside of the brush. I mailed it in on last Friday, so I have to wait for it to return. Pretty good deal, lifetime warranty, just pay for shipping both ways!  I'll probably have the C-47 I've started, ready to be painted by the time it gets back, who knows


  • Member since
    August 2009
  • From: Borlando Fla home of the rat
Posted by TREYZX10R on Sunday, March 16, 2014 9:42 PM

My apologies for the long delay in updates. Finally finished up this project,hope it was worth the wait.

Thanks for all the support and patience

Cheers Trey

  • Member since
    December 2002
  • From: Bury St Edmunds, Suffolk, England
Posted by Bish on Monday, March 17, 2014 3:13 AM

Great looking build TREY, and good to see you back.

I am a Norfolk man and i glory in being so


On the bench: Airfix 1/72nd Harrier GR.3/Fujimi 1/72nd Ju 87D-3

JOIN OUR COMMUNITY!

Our community is FREE to join. To participate you must either login or register for an account.

SEARCH FORUMS
FREE NEWSLETTER
By signing up you may also receive reader surveys and occasional special offers. We do not sell, rent or trade our email lists. View our Privacy Policy.