SEARCH FINESCALE.COM

Enter keywords or a search phrase below:

Reich Defenders IV Group Build: Strike From Above

54575 views
513 replies
1 rating 2 rating 3 rating 4 rating 5 rating
  • Member since
    December 2003
  • From: Charleston, SC
Posted by sanderson_91 on Friday, January 24, 2014 9:55 PM

Mike - I found this useful link for Tamiya mixes.  I use this for a base and adjust to my own liking.  For example, for the RLM 65 I had to get creative since I don't have a bottle of XF23 yet.  

www.network54.com/.../Tamiya+paint+mixing+chart

Steve


  • Member since
    December 2003
  • From: Charleston, SC
Posted by sanderson_91 on Friday, January 24, 2014 9:50 PM

Thanks Mike and Spartan!  

I have to say that the RLM 65 looks lighter in the pictures than it really is and the RLM 71 is darker than it looks in the pictures.  Here are the ratios I used:

RLM 65 - XF2:9 + XF5:1 + XF8:1 + XF21:1.  I usualy use 1-2 drops of  91% Isopropyl alcohol for every 3 drops of paint and spray at around 15psi.  (XF2=flat white / XF5=flat green / XF8=blue / XF21=sky)

RLM 71 - XF67:9 + XF49:1 + XF62:1 + XF2:2 + XF5:1.  

(XF67=nato green / XF49=khaki / XF62=olive drab / XF2=flat white / XF5=flat green)

I've also made a mixture of Sky after reading and seeing how lawdog made his mix.  My ratio is Sky XF21:4-5 + Flat Yellow XF3:1 plus the 1-2 drops of 91% for every 3 drops of paint.

My camera is on it's last legs, plus I really don't know much about photography or lighting.  I'm looking at getting a new camera in the near future so I hope to be able to post some better photos.

Steve


  • Member since
    April 2005
Posted by Thunderbolt379 on Friday, January 24, 2014 7:39 PM

Steve, very good! The 65 looks excellent! I wonder if you could post the ratios you use? I use the MM Acryls for these shades and while they are excellent paints they tip dry so badly that I can't use Acryls in warm weather. Knowing mixing ratios for Tamiya would be handy! For instance, I have long mixed my own RLM 76 using their recommended ratio, which if I remember correctly is XF-2 (7) : XF-20 (2) : XF-23 (1). Similarly a corrected RAF Sky I mix using Tamiya's Sky at 1:1 with white.

Cheers, Mike/TB379

http://worldinminiature.blogspot.com/

  • Member since
    April 2013
Posted by SchattenSpartan on Friday, January 24, 2014 7:33 PM

Thanks Steve!

Your Ju 88 looks great! The RLM 65 looks good to me, but the 71 seems to be a bit too light. I wouldn't worry too much about colors though the paint on those aircraft faded quite a lot, so no two aircraft looked exactly the same if they weren't coming right from the factory.

  • Member since
    December 2003
  • From: Charleston, SC
Posted by sanderson_91 on Friday, January 24, 2014 7:25 PM

Hey guys, here are more photos of the Ju88.  I have recently switched from enamel paint to Tamiya acrylics.  I have the RLM 65 coat down which is my own mix of Tamiya XF2, XF5, XF8 and XF21.  The Yellow is Tamiya XF3 with a bit of XF7 (thank you Lawdog!).  The RLM 71 is another mix of Tamiya paint which is XF67, XF49, XF62, XF2 and XF5.  For the 65 and 71 I tried to match my mixes to the colors I have in Model Master enamels.  I think I got them pretty close.  I hope to get the splinter scheme of RLM 70 on this weekend.  I'm still debating on using the kit decals or spraying on the markings.  I recently bought some Maketar masks that I want to try out.  Then I need to decide if I want to try doing the winter whitewash scheme or not.  Anyway, here are some photos:


I'd like to know what you guys think about the colors.  I'm liking mixing my own, but don't know how close I am with them or not.  Thanks!

Steve


  • Member since
    December 2003
  • From: Charleston, SC
Posted by sanderson_91 on Friday, January 24, 2014 7:09 PM

Clemens, great work on the P-47!  

Spartan - great photos!  Have definitely never seen those before!

Steve


  • Member since
    April 2013
Posted by SchattenSpartan on Friday, January 24, 2014 4:05 PM

Thanks a lot, Mike!

All the pictures except the one taken in the hangar show the Jug I'm building: T9 + FK.

If you look at the pics you notice a few things:

  1. The Thunderbolt is a HUGE aircraft (jsut look at the pic of it standing in the hangar with that guy standing next to it.
  2. The Germans didn't keep their captured Jugs very clean. That means a lot of weathering for me.
  3. The last 3 pics show T9 + FK with wing pylons attached, which means that I have photographic evidence of them still being in place. I can't wait to attach those German 500kg bombs to them... 

  • Member since
    April 2005
Posted by Thunderbolt379 on Friday, January 24, 2014 4:02 PM

Thanks for the research photos too, I think a few folks will be saving those for future application!

M/TB379

http://worldinminiature.blogspot.com/

  • Member since
    April 2005
Posted by Thunderbolt379 on Friday, January 24, 2014 3:56 PM

Marvellous progress, Clemens! You're making a real dive at this one and it'll be great to see it come to completion!

Cheers, Mike/TB379

http://worldinminiature.blogspot.com/

  • Member since
    April 2013
Posted by SchattenSpartan on Friday, January 24, 2014 3:56 PM

I also found a lot of pictures of my Thunderbolt and her sister (another captured P-47). That came as quite a surprise because I never thought of finding a lot of info on this particular bird.


  • Member since
    April 2013
Posted by SchattenSpartan on Friday, January 24, 2014 3:52 PM

I finally managed to make some progress:

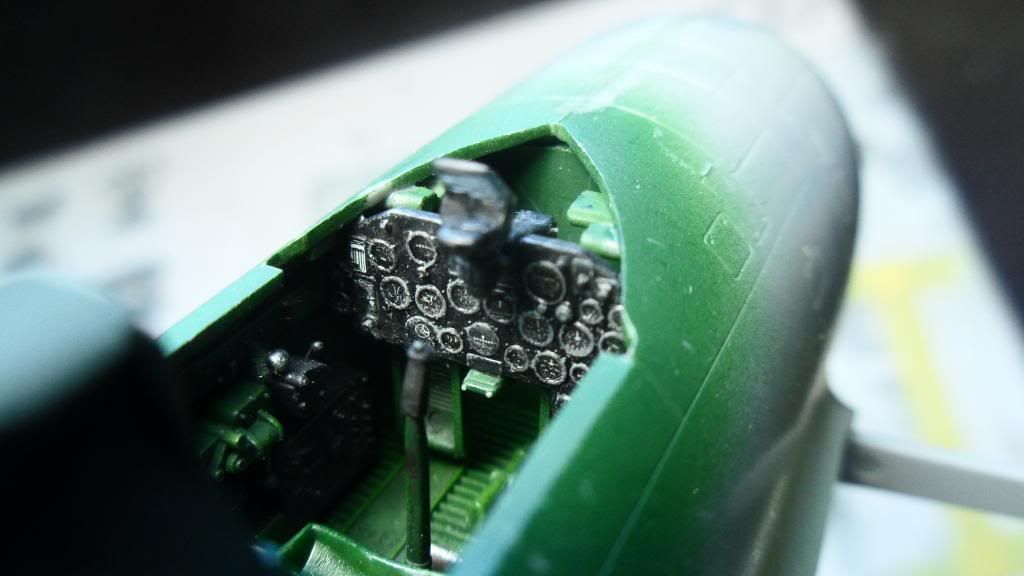
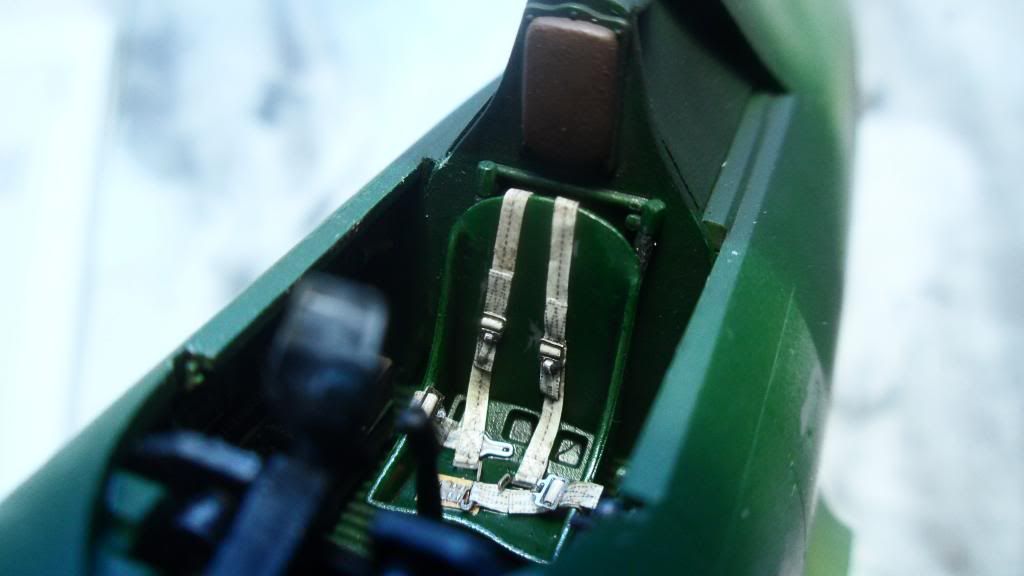
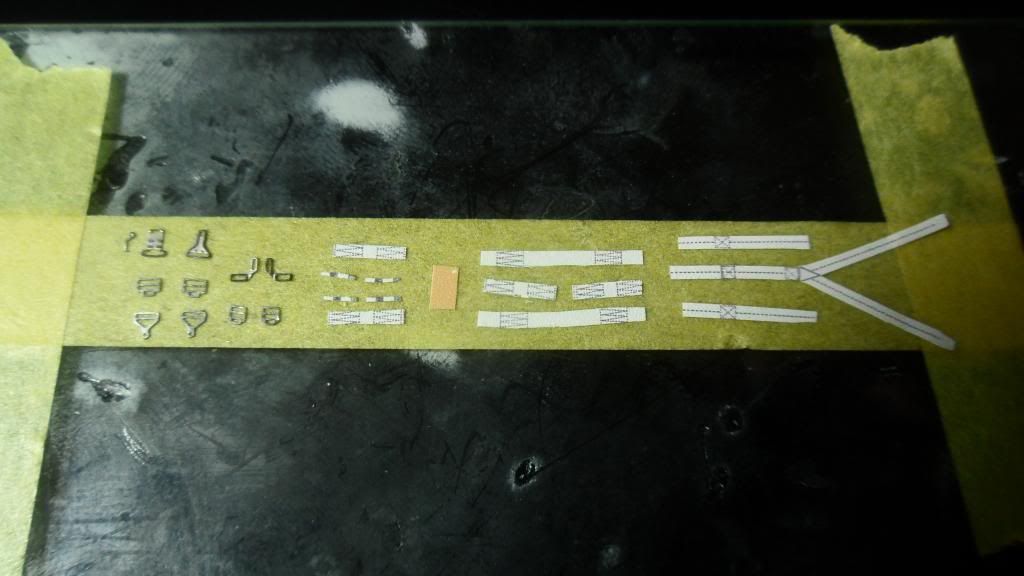
First things first. I got those HGW belts (lovely little things) assembled and placed inside the cockpit:
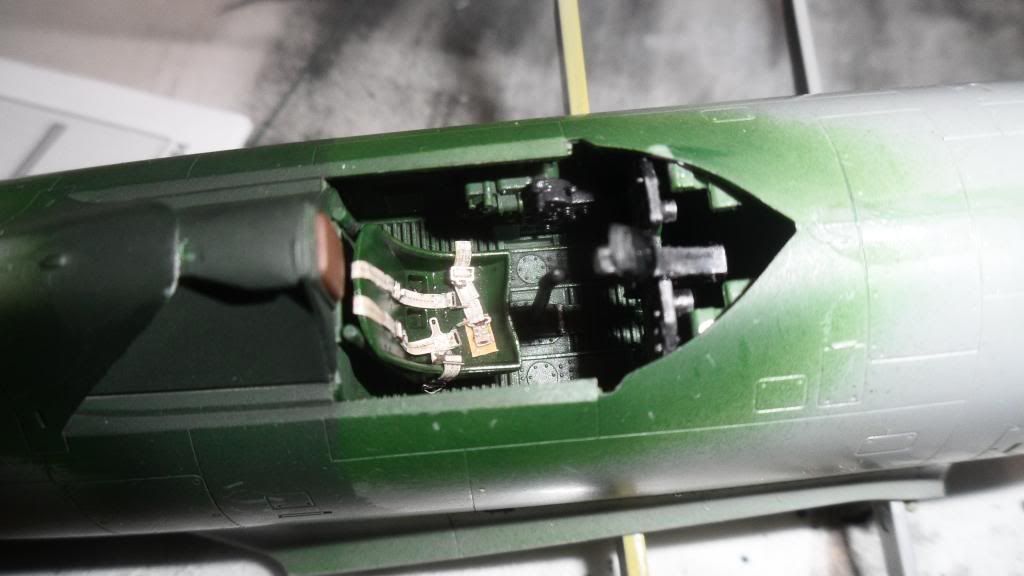
Then I closed everything up by glueing the canopy in place and putting the Eduard masks to good use (I don't know what I'd do without them):
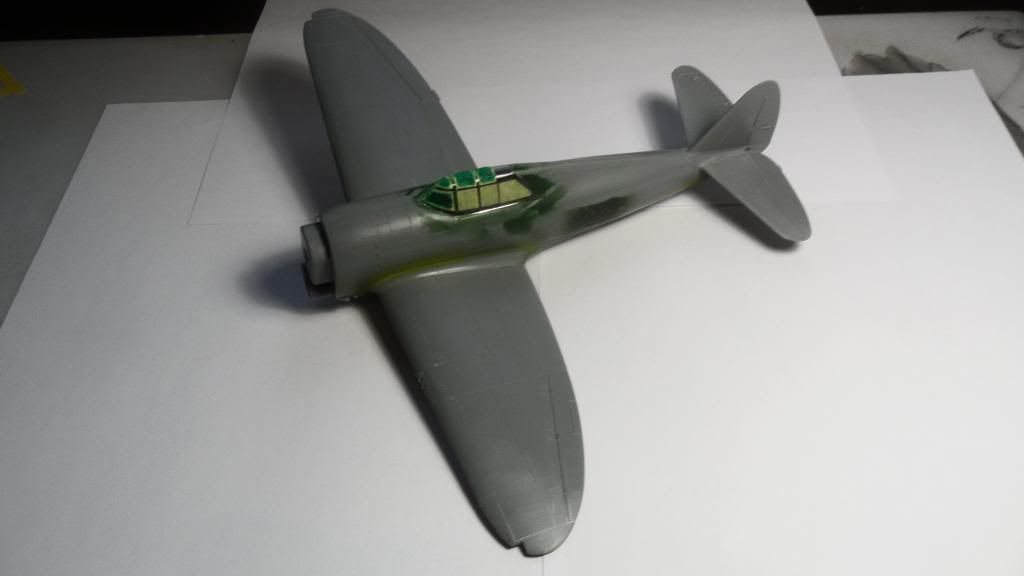
I had to fill some sink marks on both wingtips (top and bottom on each side):
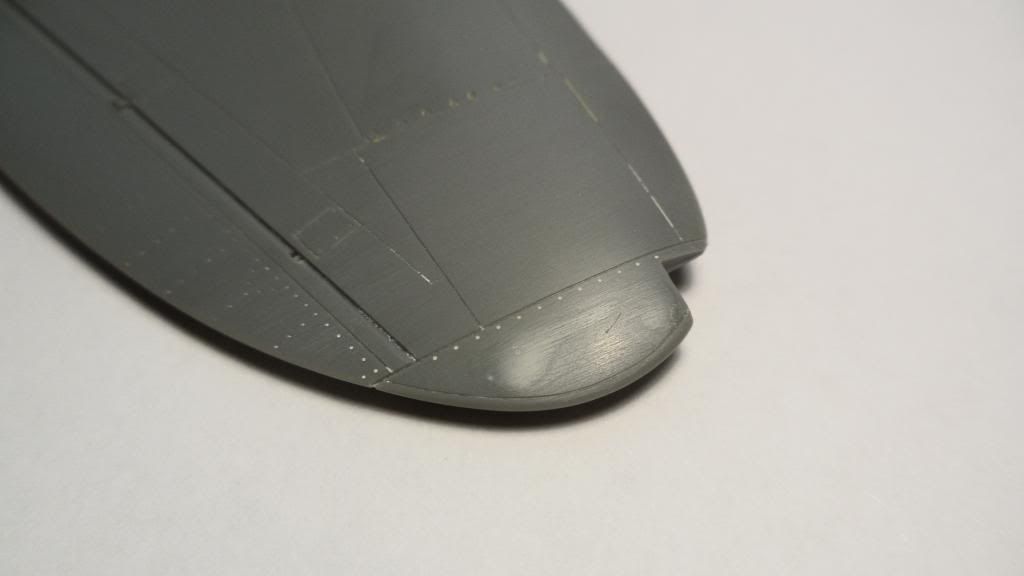
Then I filled the additional holes I made by accident with Evergreen plastic profiles (I wanted to drill those needed for the pylons but made the ones for the rocket launchers instead):
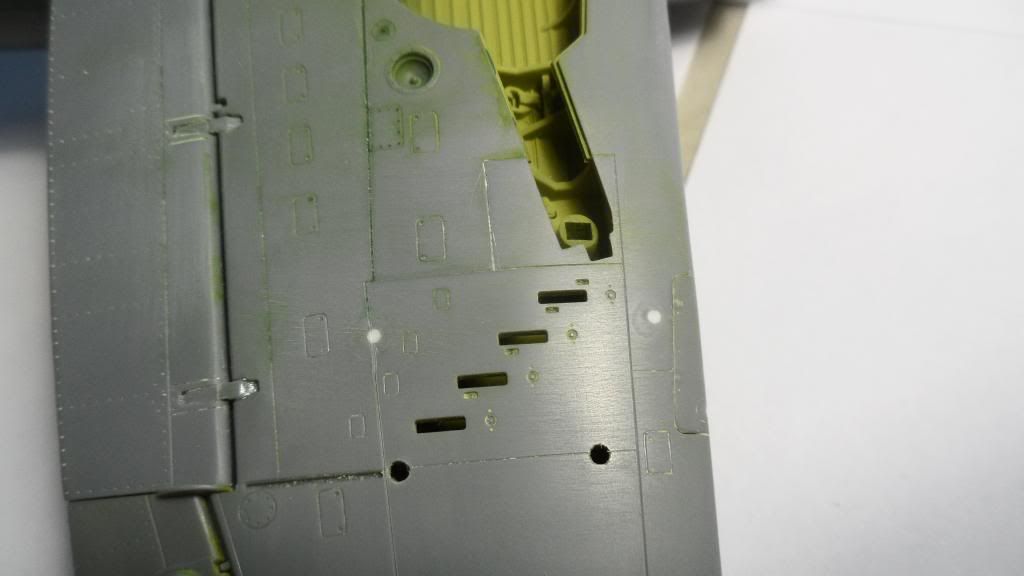
Next task was to mask the cowling. I used some cardstock cut to shape:
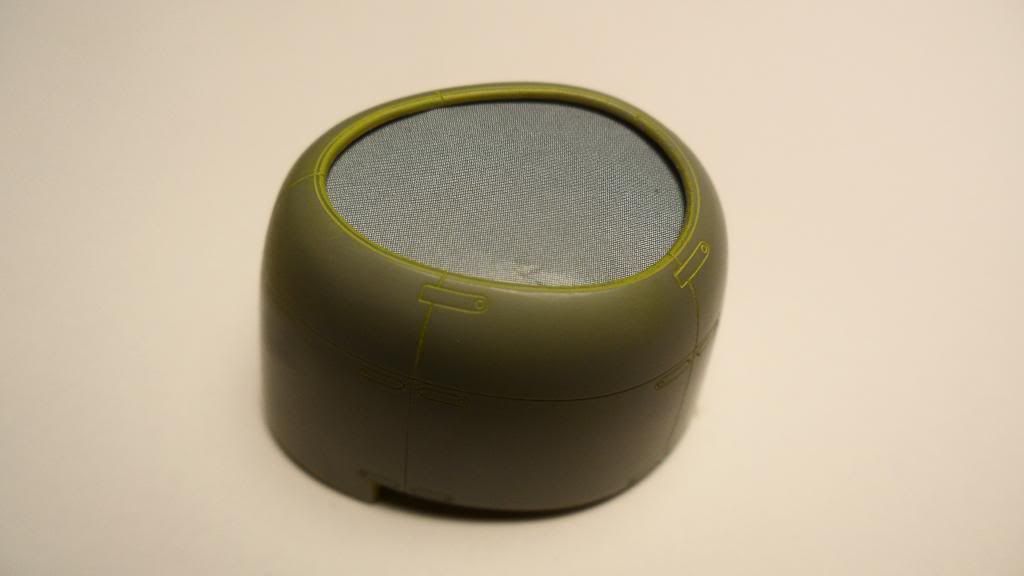
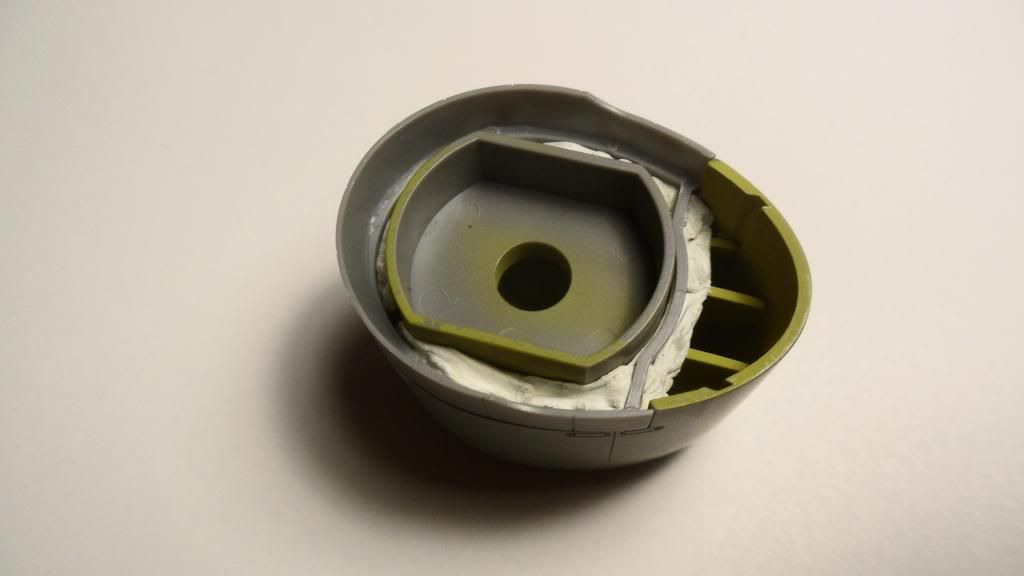
The engine firewall is robbed from another Thunderbolt kit (I have plenty of them) because using the plate with the resin engine makes masking a royal pain. Everything is held together with poster-tack to allow me to remove the cowling, insert the engine and put it back together after painting:
Then I sprayed the canopy dark green so the framework has the right color on the inside. I used the green paint that was left in my AB to check for seams and rough spots:
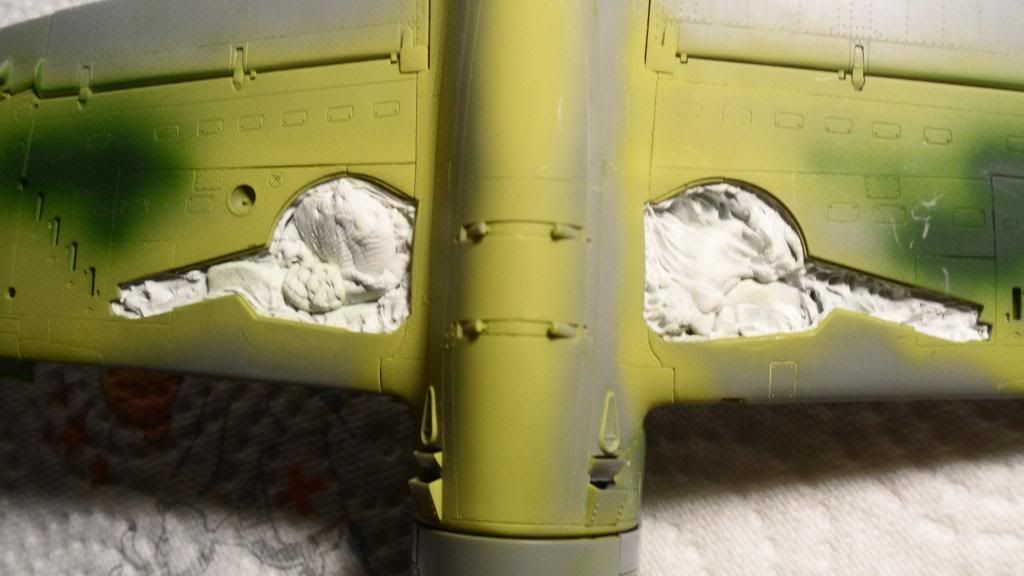
After touching up the wheel wells (and checking the lower surfaces as well) I masked everything that needs to be zinc chromate:
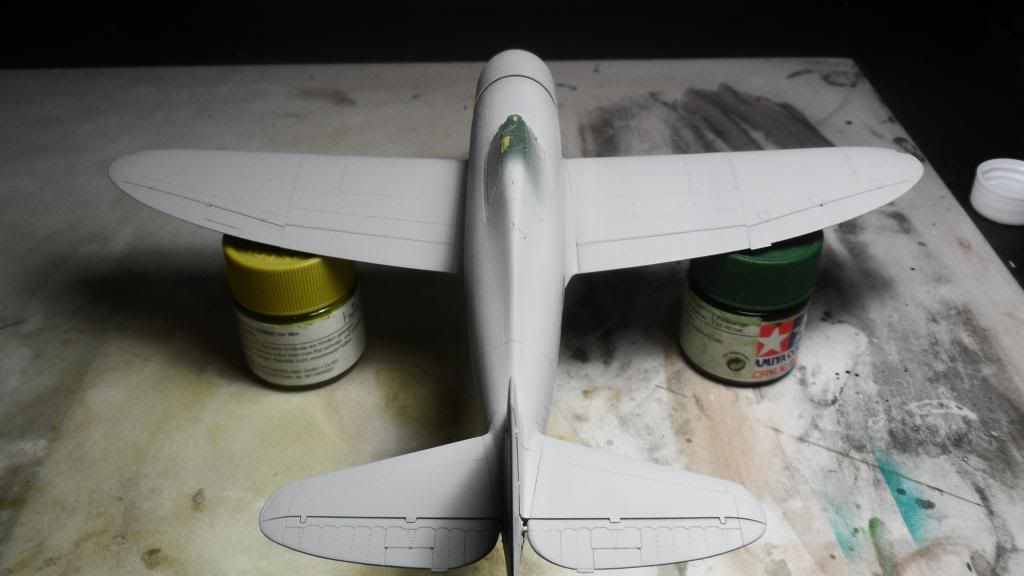
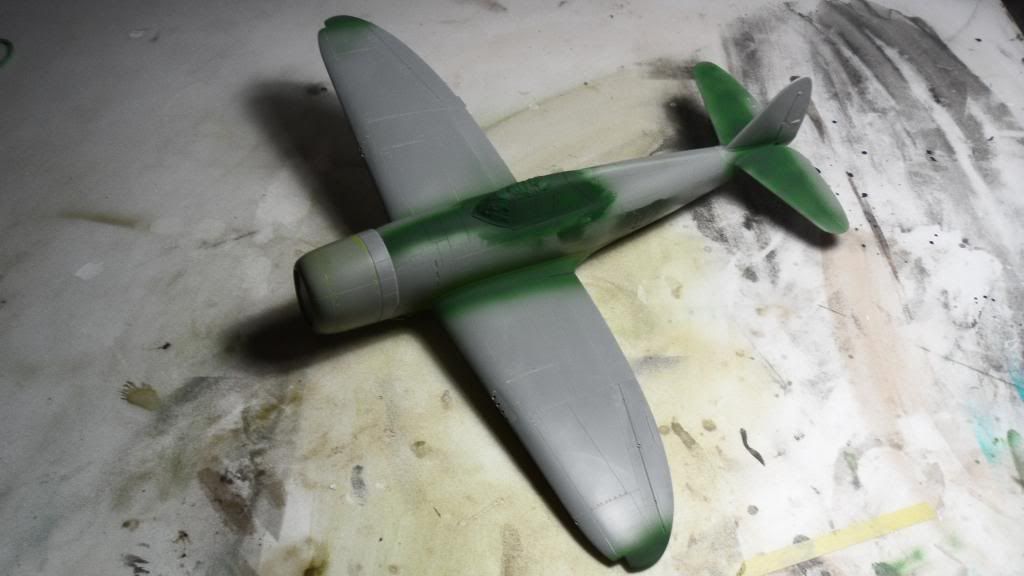
Then she was ready for some primer. This was the first time I used Gunze's Mr.Surfacer 1200 and I really like the way it sprays. The paint lays down pretty smooth and covers with a single coat:
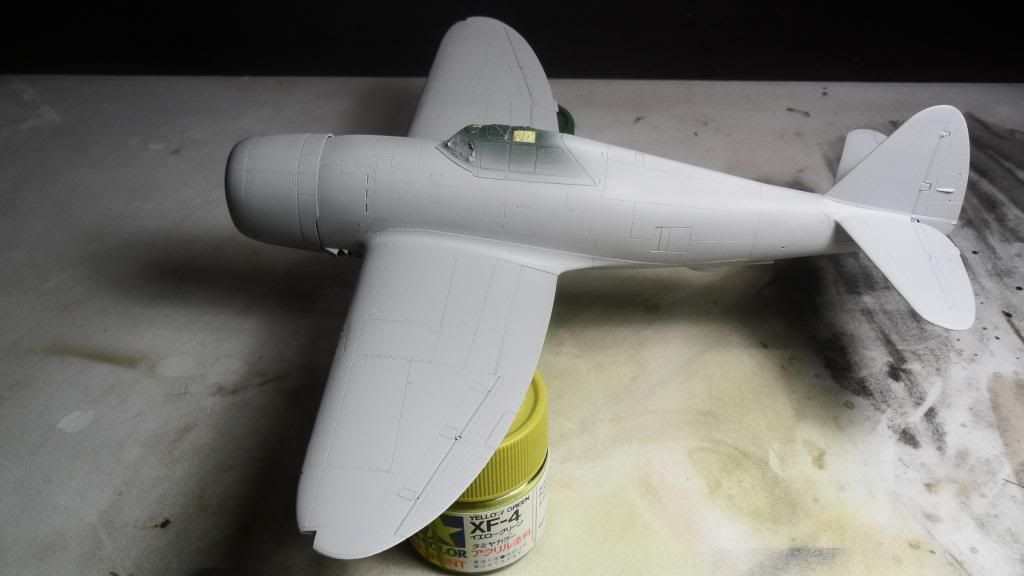
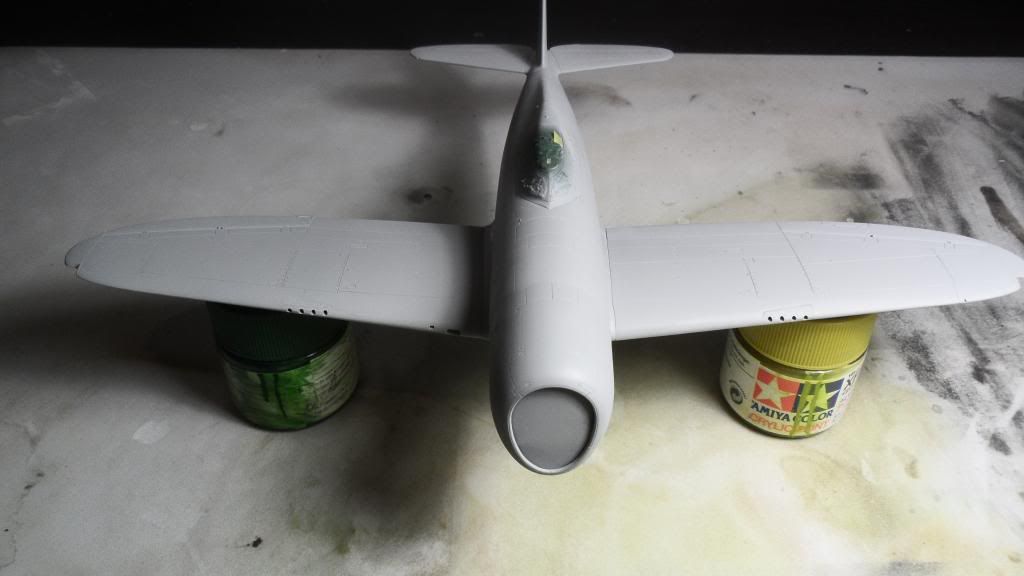
  

I never seem to have a painting session without a little mishap:
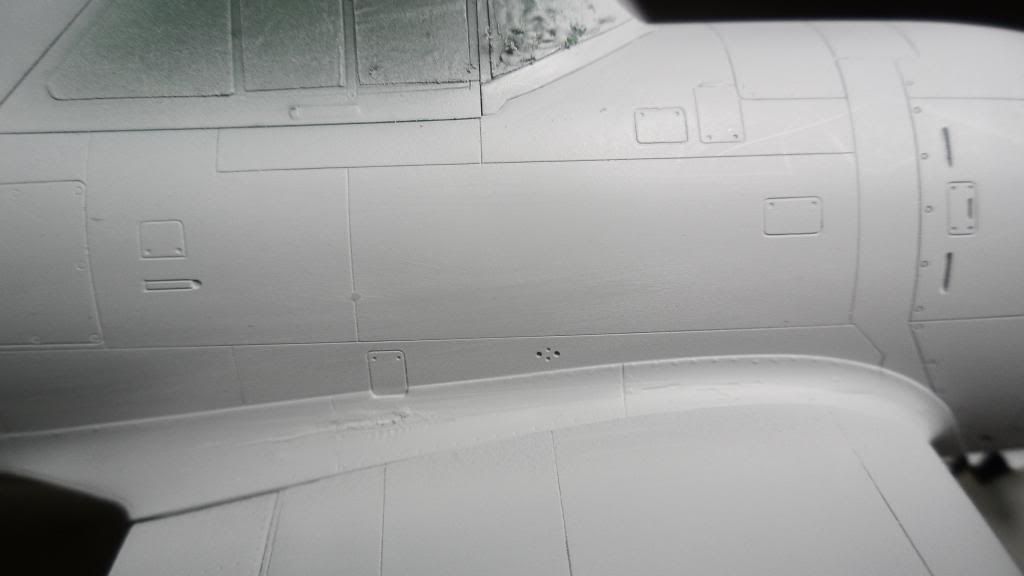
I sprayed the primer with too much pressure and got some "dusting" on the wing roots. When I tried to sand it I realized that the primer wasn't completely dry yet. Bang Head I'll have to sand that area down to the bare plastic and spray another layer of primer on top. Maybe I'll give it a coat of Alclad microfiller first to get it flat again.

One thing I noteced was that the Razorback Jug looks quite sleek (and sexy too if you ask me) as soon as that cowling is on. I think all the Thunderbolts look very sexy though and I'm sure most of you won't agree with me on that one Wink:

I hope you like it.

Cheers, Clemens

  • Member since
    April 2013
Posted by SchattenSpartan on Friday, January 24, 2014 3:44 PM

Photobucket screwed up again. The update is in the next post

  • Member since
    April 2005
Posted by Thunderbolt379 on Friday, January 24, 2014 6:12 AM

We have two great looking Hs-129s in progress here! The end date is a week away, but as always I'm happy to extend, it's better to get models built than not, so anyone still working is more than welcome to finish their projects within the terms of the GB.

Cheers,

Mike/TB379

http://worldinminiature.blogspot.com/

  • Member since
    November 2003
  • From: Naples, FL
Posted by tempestjohnny on Friday, January 24, 2014 5:56 AM

Oh why do I wait til the last minute. Going camping this weekend with boy scouts. Will be finishing up 129 early next week


  • Member since
    April 2013
Posted by SchattenSpartan on Monday, January 20, 2014 1:19 PM

Joh, Tony: Really nice work, guys!

I think I can finish my Jug in time. I'll post some WIP pics this weekend (maybe even earlier)...

  • Member since
    December 2003
  • From: Charleston, SC
Posted by sanderson_91 on Sunday, January 19, 2014 7:38 PM

Looks great Tony!


  • Member since
    November 2003
  • From: Naples, FL
Posted by tempestjohnny on Sunday, January 19, 2014 6:12 PM

Hasegawa Hs-129B-1 1/48


  • Member since
    December 2002
  • From: Bury St Edmunds, Suffolk, England
Posted by Bish on Sunday, January 12, 2014 3:16 AM

That's looking good Tony, can't wait to see the rest of the paint in it.

I am a Norfolk man and i glory in being so


On the bench: Airfix 1/72nd Harrier GR.3/Fujimi 1/72nd Ju 87D-3

  • Member since
    April 2005
Posted by Thunderbolt379 on Sunday, January 12, 2014 2:26 AM

Getting there, Tony! She'll be a beauty!

Mike/TB379

http://worldinminiature.blogspot.com/

  • Member since
    April 2005
  • From: Australia
Posted by taxtp on Sunday, January 12, 2014 1:36 AM

Looks really good Steve, interesting subject too.

Here's some more of my Henschel 129.

Cheers

Tony

I'm just taking it one GB at a time.

  • Member since
    December 2002
  • From: Bury St Edmunds, Suffolk, England
Posted by Bish on Saturday, January 4, 2014 5:12 PM

That is looking nice Steve. Can't wait to see more.

I am a Norfolk man and i glory in being so


On the bench: Airfix 1/72nd Harrier GR.3/Fujimi 1/72nd Ju 87D-3

  • Member since
    April 2005
Posted by Thunderbolt379 on Saturday, January 4, 2014 5:06 PM

Great progress, Steve, can't wait to see it with the colors going on! That looks a nice, smooth primer coat.

Cheers, M/TB379

http://worldinminiature.blogspot.com/

  • Member since
    December 2003
  • From: Charleston, SC
Posted by sanderson_91 on Saturday, January 4, 2014 5:02 PM

Here's a quick update.  Still deciding on the paint scheme - winter white or not? 

Cockpit shots:

I'm hoping to pre-shade tonight and see if I can get the undersides painted as well.  My camera is on it's last legs so if I can get it to work I will see about posting more pics soon. 

Steve


  • Member since
    December 2002
  • From: Bury St Edmunds, Suffolk, England
Posted by Bish on Wednesday, January 1, 2014 4:20 PM

Nice looking build there John.

I am a Norfolk man and i glory in being so


On the bench: Airfix 1/72nd Harrier GR.3/Fujimi 1/72nd Ju 87D-3

  • Member since
    November 2003
  • From: Naples, FL
Posted by tempestjohnny on Sunday, December 29, 2013 10:31 AM

I built the Italeri B-3 a few years ago.  This was an awesome kit. 


  • Member since
    April 2005
Posted by Thunderbolt379 on Saturday, December 28, 2013 4:08 PM

Great to see this tank buster happening, Tony! Great start!

Mike/TB379

http://worldinminiature.blogspot.com/

  • Member since
    December 2002
  • From: Bury St Edmunds, Suffolk, England
Posted by Bish on Saturday, December 28, 2013 3:57 PM

That's come along very nicely.

Sound slike an interesting trio you have planned.

I am a Norfolk man and i glory in being so


On the bench: Airfix 1/72nd Harrier GR.3/Fujimi 1/72nd Ju 87D-3

  • Member since
    April 2005
  • From: Australia
Posted by taxtp on Saturday, December 28, 2013 2:55 PM

I've had a thought about building a Stuka in Hungarian service Bish, in fact I have a decal sheet that covers it, together with a 109 and 190. You might even see all three throughout 2014.

Anyways, here is the progress on my Henschel 129. It will get some primer this morning. I only added some P/E Extratech harnesses, as I think it's too obvious if they are missing.

Cheers

Tony

I'm just taking it one GB at a time.

  • Member since
    December 2002
  • From: Bury St Edmunds, Suffolk, England
Posted by Bish on Tuesday, December 24, 2013 2:30 PM

I might be building the second one, the D-3 variant with the markings on the box, for the Stuka GB, after the A-2.

I will make a note of it. I would like to think I would not miss it, but I wouldn't put it past me.

I am a Norfolk man and i glory in being so


On the bench: Airfix 1/72nd Harrier GR.3/Fujimi 1/72nd Ju 87D-3

  • Member since
    April 2005
  • From: Australia
Posted by taxtp on Saturday, December 21, 2013 11:28 PM

Bish, they're both "D's. I've got the 'White Milk' and 'Dora' releases.

First tip on the 129, you need to shave off the ejector pin marks on the inside of the wing lower surfaces to get a good join on the wing trailing edge. But you'd do that anyway, I'm sure.

Cheers

Tony

I'm just taking it one GB at a time.

JOIN OUR COMMUNITY!

Our community is FREE to join. To participate you must either login or register for an account.

SEARCH FORUMS
FREE NEWSLETTER
By signing up you may also receive reader surveys and occasional special offers. We do not sell, rent or trade our email lists. View our Privacy Policy.