OK, so finally some pics of my progress. As I've said, I'm nibbling around the edges of the build while my brain chews on my next move with the figure proper.
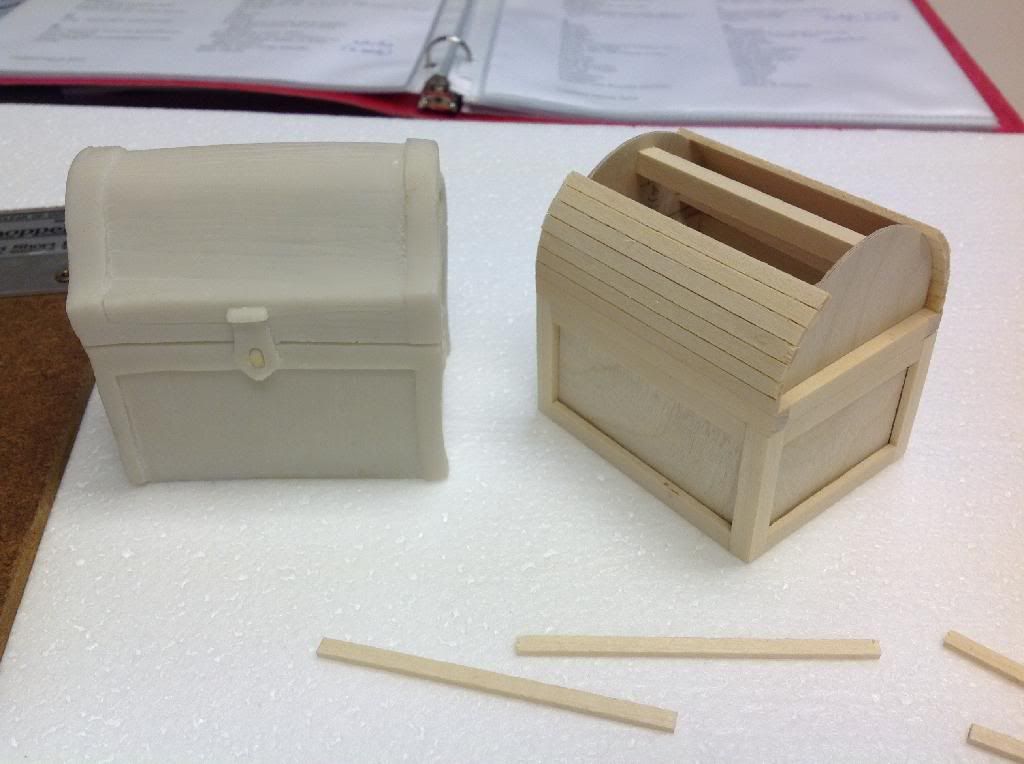
You all remember the chest. Here it is with the top nearly complete. I used 1/16" x 3/16" basswood strips and cut them to length using a Northwest Chopper.
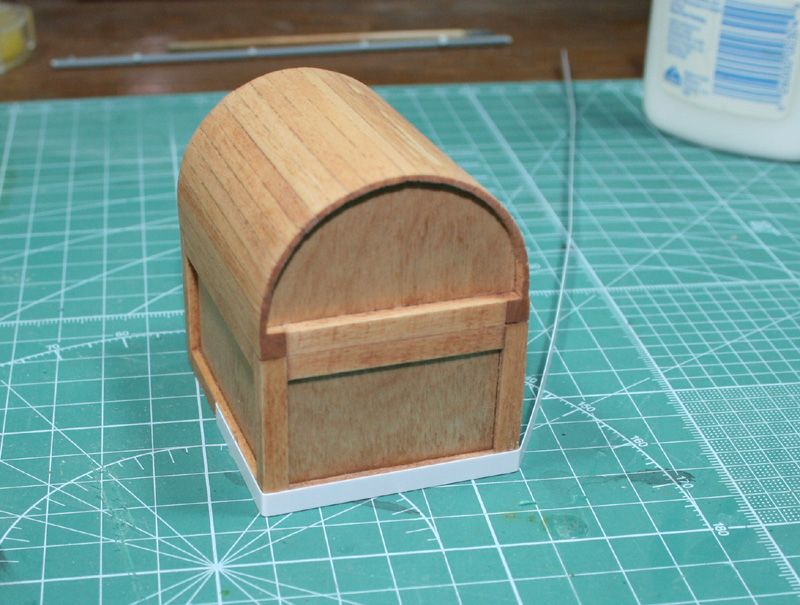
I finished the top, sanded it smooth and evened up the edges with sides, and stained the whole thing with Minwax Ipswich pine. To represent iron bands, I super glued .010" styrene strip around the base and top of the chest and the base of the chest lid. I also ran two strips over the lid front to back.
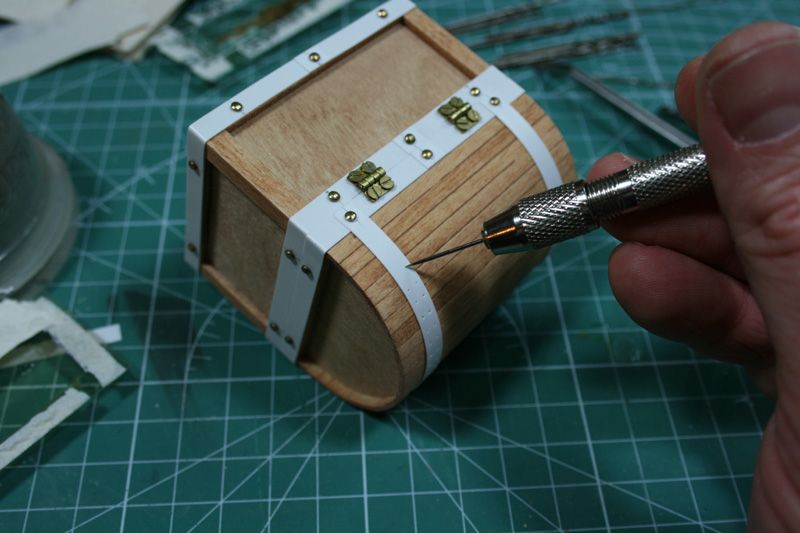
Once the bands were on, I drilled holes for large rivets with a micro-bit chucked in a pin vise. The rivets are dollhouse cabinet pull-knobs. I super glued the hinges in place then drilled pilot holes for the screws. Last, I punched rivet holes in the lid's bands with a sewing needle. Then I dipped the needle in white glue and dabbed little rivet heads over each hole.
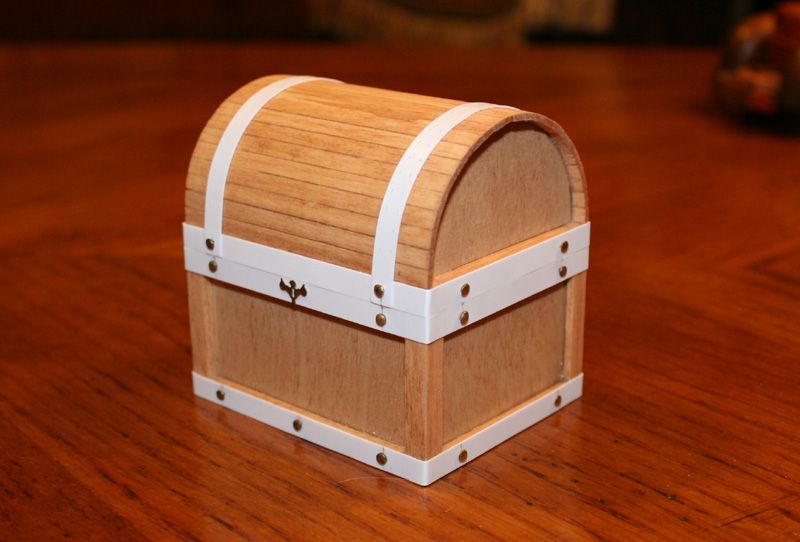
The key plate is from the same set as the door pulls I used for the large rivets. Where the bands overlap, I used Tamiya extra thin plastic cement. It melts the plastic and make it pliable. I was able to make the plastic look like worked metal, I think.
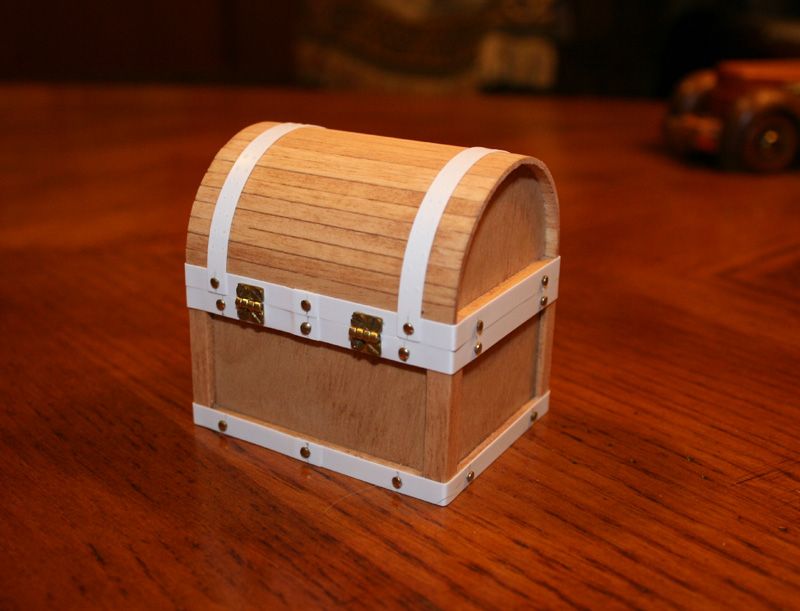
Here's the back of the treasure chest.
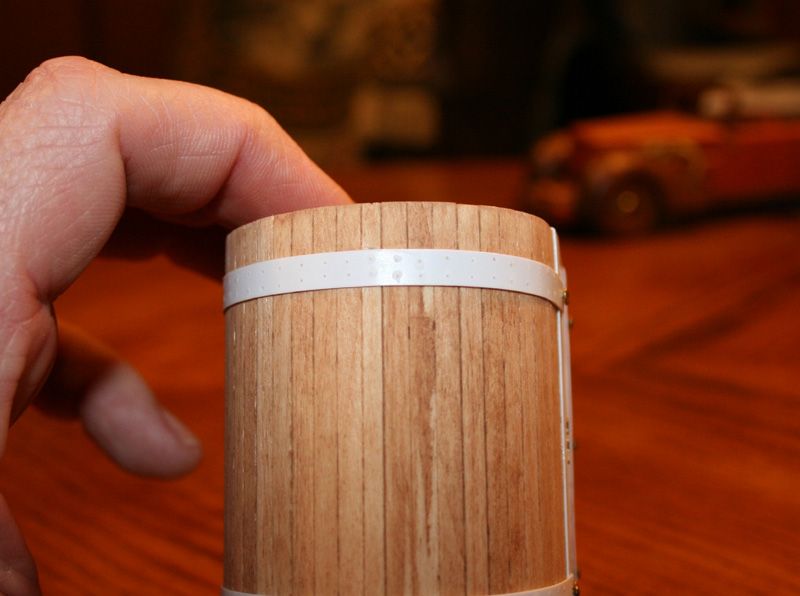
Here's a better shot of the white-glue rivet heads. I wasn't worried about getting them perfect, since they'd have been smacked in hot and I figured they'd be a little disfigured from the process. With painting highlights, I'll be able to fool the eye a if I want to clean them up a bit.
Next, I'll mask off the wood and paint the the bands, but that won't happen until I start painting everything. The last thing that will have to happen is handles on the sides. I have some narrow leather strap that I think I'll use for those.