SEARCH FINESCALE.COM

Enter keywords or a search phrase below:

The Mustang and Corvette Group Build

38959 views
354 replies
1 rating 2 rating 3 rating 4 rating 5 rating
  • Member since
    November 2013
  • From: Jerseyville, ON
Posted by elass0wyp0 on Thursday, November 14, 2013 9:08 AM

Hey.  Thanks for the encouraging words of welcome.  

I have 2 days in a row off this weekend so I should be able to complete the zero and begin making some sort of mess of the vette by then.  I'll be sure to snap and share the pics.  

I was able to get my brother to send me reference pics of his 1:1 car.  It's in fairly 'used' condition which might end up being a fun challenge.  He really liked the idea of it being a replica, faded paint and all.  It might be a bit much for my skills just yet but time will tell.

One thing is for sure, he's getting headers made of solder. :)  

Thanks guys,

Gord

  • Member since
    April 2005
  • From: Australia
Posted by taxtp on Thursday, November 14, 2013 8:05 PM

Hi Gord,

My sincere apologies for missing your post earlier. I'm really glad to see that you've chosen that  kit, because I had some thought of doing one myself one day, and I want to see what it's like. I hope you enjoy the GB. I've added you to the build roster on page 1.

Cheers

Tony

I'm just taking it one GB at a time.

  • Member since
    April 2005
  • From: Australia
Posted by taxtp on Thursday, November 14, 2013 8:13 PM

Your work looks outstanding rommel. Shame to here that you dropped it. I'm having a few stuff ups myself lately. I wanted to spray some zinc chromate green on an aircraft, should be simple right ?

Thinned some Gunze acrylic, the last I had, decided to add some buff to lighten it a shade, oops too much, ruining it. Had to tip it out.

Since I didn't have any more acrylic, I turned to Humbrol enamel. Used a pipette to put some thinner into a mixing jar, but didn't clean the pipette properly, so lumps of crud in it. Had to tip it out.

Then I  Thinned some #80 and was about to start spraying. Hang on, that looks too green, actually the Humbrol match is #81. Had to tip it out.

Went to bed...

Next morning, found some MM zinc chromate green at the back of the drawer, must have been there unopened for a decade at least, it seemed ok so I finally got the job done.

It never used to be that hard. :)

Cheers

Tony

I'm just taking it one GB at a time.

  • Member since
    March 2011
Posted by ewheeler454 on Thursday, November 14, 2013 9:09 PM

Rommel,

I had it pretty wet, but the decal I was putting on has 4 thin strips that run front and back Augh!

Hopefully I win the auction and get the new set. If not I'll contact MPC and see what it will take to get some new ones. TAMIYA sent me a set free for a motorcycle I built. I think I'm going to set the funny car aside for a bit and work on the 67 Vette. I decided I want to do a little more detailing to it so I need to do some research and then collect the materials hehehehe. Plus I need a cooling down period before I try the decals again hehehehehe.

Tony,

Seems I'm having quite a few days like that here recently hehehehe. I bought a bottle of that zinc chromate a few months ago. Is it a flat color? I bought it because it looked a little like sea foam green in the bottle. Does it look that color when it's painted? I have a 55 Bel Air I was going to use it on.

Thanks,

Eric.

  • Member since
    April 2005
  • From: Australia
Posted by taxtp on Thursday, November 14, 2013 9:48 PM

Hi Eric,

It's flat, but not VERY flat. I think you could add some clear gloss to it to bring it up.

I'm not familiar with Sea Foam green, but it doesn't really change colour wet t odry, so it looks like it does in the bottle.

Actually a little too bright for my purposes, might dull it down some.

Cheers

Tony

I'm just taking it one GB at a time.

  • Member since
    March 2011
Posted by ewheeler454 on Thursday, November 14, 2013 10:01 PM

Thanks Tony.

Seafoam green is the light green used back in the 50's. I think will be close enough. Hey, that gives me an idea for your next group build when this one finishes hehehehehe.

L8TR,

Eric.

  • Member since
    March 2011
Posted by ewheeler454 on Friday, November 15, 2013 9:40 PM

Made a little progress on the vette. Man this thing has a gazillion parts.

I got the engine welded together.

Once I finish sanding the seam will be gone. It's barely noticeable now.

Got the body shot in primer. I used red primer this time to darken the color I'm using. I was going to paint it cherry red but I think it will look better yellow.Also got all the detail stuff sanded off.

The photo etch stuff I ordered came in the mail today.

I also got a few parts cleaned up. The valve covers even have the wire looms molded in. :)

L8TR,

Eric

  • Member since
    April 2005
  • From: Australia
Posted by taxtp on Saturday, November 16, 2013 4:26 AM

Nice work again Eric. I'm intrigued to see how yellow will look over that undercoat. Another lesson to learn.

Cheers

Tony

I'm just taking it one GB at a time.

  • Member since
    February 2013
  • From: Podunkville, USA
Posted by rommelkiste on Saturday, November 16, 2013 2:49 PM

Ok guys, here is the SECOND paint job on the Vette.  I thought about super gluing the stand to my hand so I wouldn't drop this one.  I am not going to TOUCH it for at least 3 days just to be safe.  I pulled the nozzle out of the Testors Dk. Blue and swapped it for one from a can of clear.  It seemed to spray a finer pattern than the one I had.  This paint is a little smoother than the first so I think I will be happy when I get it foiled and rubbed out.  Back to the bench to finish all the other little parts!

Nothing ever fits……..and when it does, its the wrong scale.

To make mistakes is human.  To blame it on someone else shows management potential. 


  • Member since
    March 2011
Posted by ewheeler454 on Saturday, November 16, 2013 5:04 PM

That looks sharp Rommel.

I went to the model convention in Murfeesborro TN today. They had a lot of good deals. I was expecting a lot more models in the contest though.

L8TR,

Eric

  • Member since
    February 2013
  • From: Podunkville, USA
Posted by rommelkiste on Sunday, November 17, 2013 9:16 AM

Hey guys, just a note here on the Sunoco Corvette build I have going.  I had my nose back in Mark Donohues' book this weekend digging for a little research and thought I would correct myself.  After reading a little closer this time I found this car is the Guldstrand version, Mark Donohue didn't drive this one.  It first raced the Daytona 24 hr. painted red and then the Sebring race in its blue and yellow Sunoco colors.  The team was Guldstrand, Wintersteen, Moore.  This really doesn't have anything to do with the construction of my project but I have the title incorrect.  Just wanted to clear this up as I didn't want to look like a total Meathead.  In 1966 Mark was racing the MK II GT 40 at Daytona and Sebring, the Sunoco Lola t-70 for Penske in Can AM and a Ford GT 350 Stang in SCCA.  I might barf up the build but at least I have the history right!

Nothing ever fits……..and when it does, its the wrong scale.

To make mistakes is human.  To blame it on someone else shows management potential. 


  • Member since
    February 2005
  • From: Proctor. MN
Posted by 65ss on Sunday, November 17, 2013 2:13 PM

Looking good Eric, and Rommel!Smile Have no progress to show this week.Sad Worked overtime all week except for Wed when I bowled. Then I came down with a chest cold on Thurs, and didn't want to cough all over the model. The cough seems like its starting to settle down so I might try starting to detail paint the interior after lunch.Eats

Dale

  • Member since
    January 2005
  • From: Portland, Oregon
Posted by fantacmet on Monday, November 18, 2013 12:28 PM

I picked up the 93 Mustang SVT Cobra this weekend for this.  Got a decent start on it as well.  Got all the paint on the body, most of the interior painted up, even have the floor mats printed out and glued in.  I know I'm a Vette and Chevy guy but there were no Vette kits there I liked.  Progress pics soon.


  • Member since
    February 2013
  • From: Podunkville, USA
Posted by rommelkiste on Monday, November 18, 2013 9:41 PM

OK, did a quick mock up to see if everything is gonna line up and I guess I can be happy with this.  Now its time for a little rubbing, foiling, decals and trim.  With a little adjusting the stance worked out like the photos of the 1:1.  This is not a bad kit for being an old tool, it just lacks the detail of todays stuff.  If you want a pretty good shelf model and don't want to deal with a million and one parts, try this kit.  If your looking for lots of detail, check out a Revell Grand Sport kit.

Nothing ever fits……..and when it does, its the wrong scale.

To make mistakes is human.  To blame it on someone else shows management potential. 


  • Member since
    April 2005
  • From: Australia
Posted by taxtp on Monday, November 18, 2013 9:58 PM

Great work Rommel. It does look sharp, as Eric said. Love the color.

fantacmet - I've updated the build roster for you. Welcome aboard !

Cheers

Tony

I'm just taking it one GB at a time.

  • Member since
    March 2011
Posted by ewheeler454 on Monday, November 18, 2013 10:29 PM

Rommel,

That's looking great.

I sprayed the first coat of paint today. It was cold and it didn't spray quite right so I have a little smoothing I have to do before the next coat. At least no runs.

Tony, I had to go with the Cherry Red. I mentioned to my other half that I was going to paint it yellow and her exact words were "Yellow? That's just boring". She normally doesn't say things like that so I about lost it hehehehe.

Here's a shot of the first coat. I'm thinking I may spray over it with some clear red to give it a candy effect before shooting the clear. I will experiment first though hehehehe.

Eric,

  • Member since
    February 2013
  • From: Podunkville, USA
Posted by rommelkiste on Monday, November 18, 2013 11:09 PM

Eric, I hope you don't have as much trouble with the paint as I did!  I like that color just as it is and I like that kit.  I may have to try one later.  I think that is gonna look killer with the Minilite Mags.  good job dealing with the "other half". Remember, Love is a divine gift………that can easily transform into a punishment!  Hehehe.   Der Rommel

Nothing ever fits……..and when it does, its the wrong scale.

To make mistakes is human.  To blame it on someone else shows management potential. 


  • Member since
    August 2013
Posted by Ktkrow on Tuesday, November 19, 2013 5:48 PM

Hello All!!!  Sorry I haven't posted in a week!  I have been following, but haven't had any time to build/post/comment.

First off:

Gord - Welcome!!!  This is my first GB too, and I am loving it.  These guys are a wealth of knowledge, and I am learning a lot.  I look forward to your build(s) also.

 Everyone else, the builds are looking terrific.

I got a bit done today.  a lot of tedious work that gave me a crick in the neck!!!

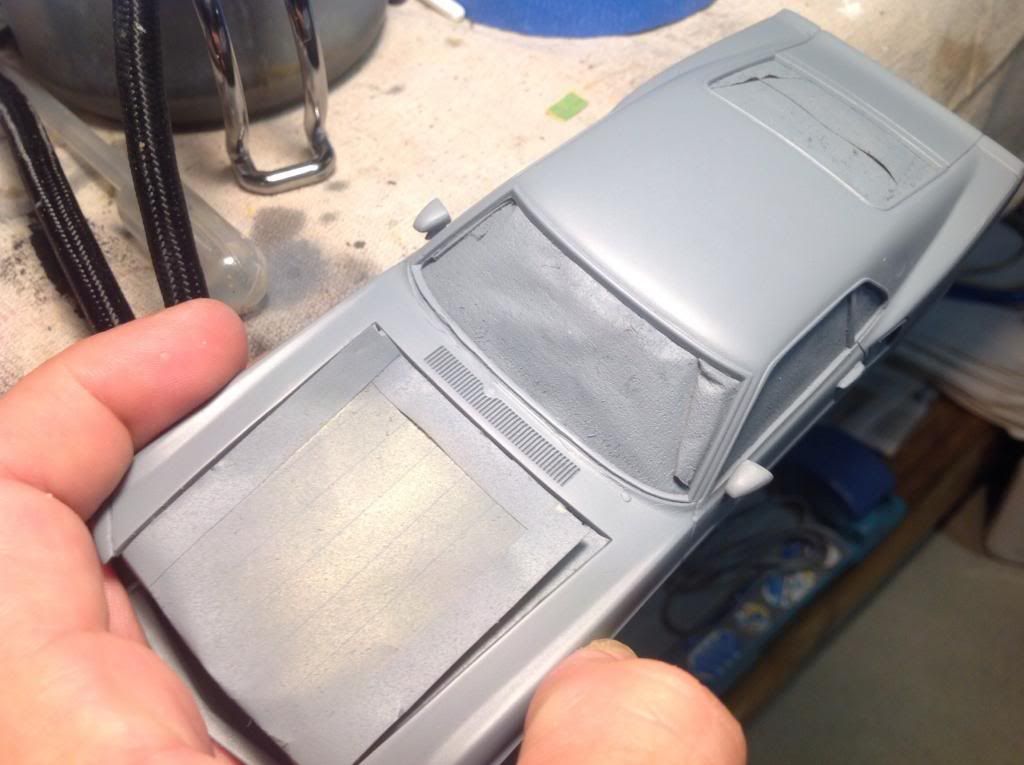
I predrilled the holes to mount the side view mirrors:
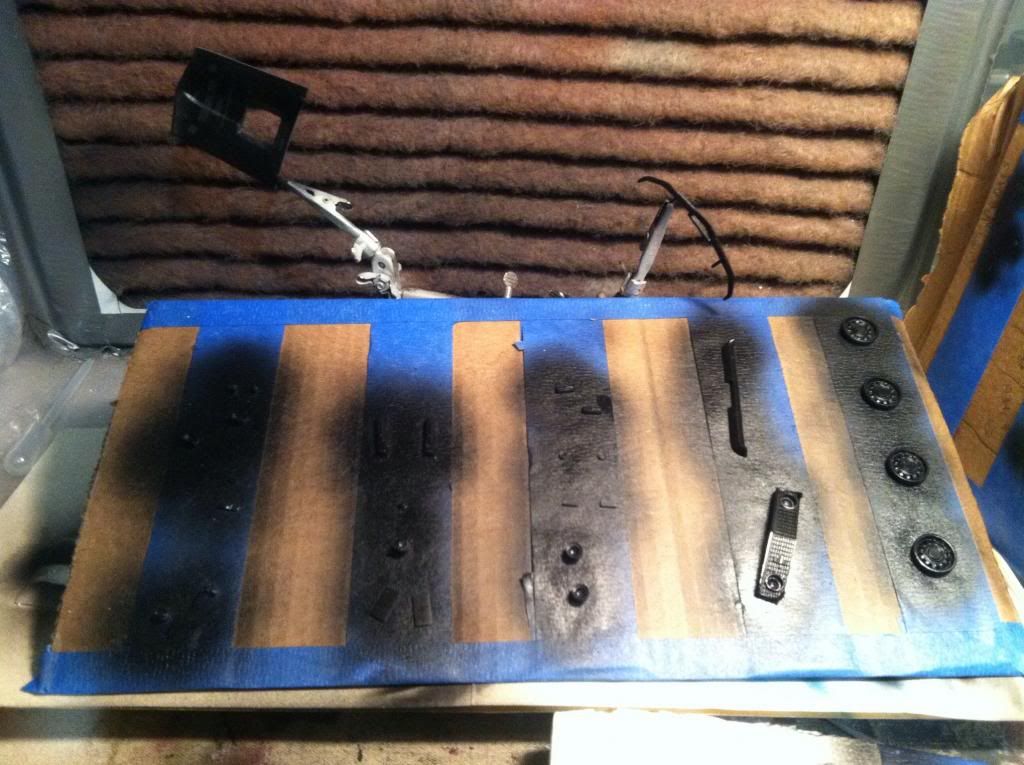
I got all the chrome parts laid out and glossed black and am hoping to chrome them later (we'll see how my neck feels):
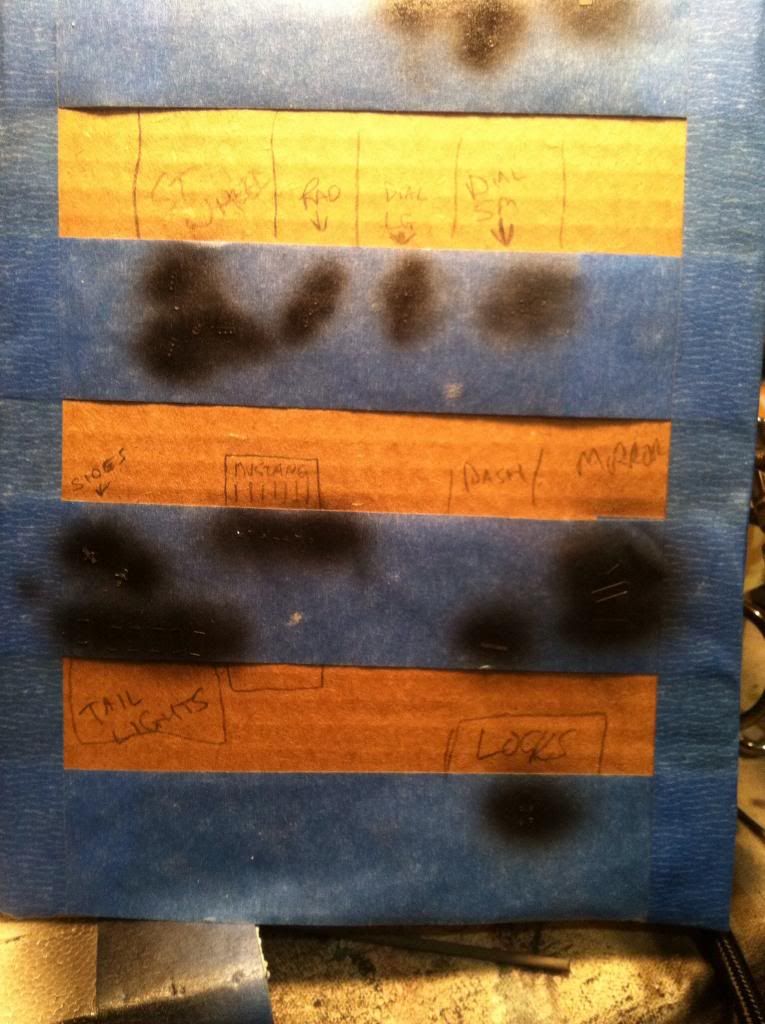
I got the PE details glossed black that will be chrome (not sure you can make any out in the pic - they are wicked small as they say here in New England).
I have done some of the detail painting on the engine parts and am going to work them up and wire next.  I don't have pics yet, but will post as soon as I do.

ALSO, I plan to get to detailing the dash and interior, as the chrome parts and PE are on the way.

I'll google this, but maybe one of you can give me the quick answer:

What do you all suggest to thin the Alclad II chrome?

Again, keep up the great work everyone.  

Ken

On the bench: Dragon's 1/35 M1A1 AIM   &    Revell '69 Ford Mustang Mach I Cobra Jet

  • Member since
    April 2005
  • From: Australia
Posted by taxtp on Tuesday, November 19, 2013 6:39 PM

Eric, the red looks gorgeous. Candy would be nice.

Ken - good progress. I've never had to thin Alclad II, mine was OK straight from the bottle. Sorry I can't advise you from experience. Your body and general progress looks good.

I've just bought some gauge faces for my '53 Corvette off ebay, I'll await delivery before starting the dash.

Cheers

Tony

I'm just taking it one GB at a time.

  • Member since
    August 2013
Posted by Ktkrow on Tuesday, November 19, 2013 7:58 PM

It looked thin enough to spray when I bought it.

I think that's the right answer, but I'll let you know if I find anything contrary to that.

Ken

On the bench: Dragon's 1/35 M1A1 AIM   &    Revell '69 Ford Mustang Mach I Cobra Jet

  • Member since
    March 2011
Posted by ewheeler454 on Tuesday, November 19, 2013 8:30 PM

Hi all,

I got the first coat smoothed out and sprayed the second coat. I did some reading last night and found out that candy paint has to be painted over a bright color like silver or gold metallic flake to get the candy effect. Oh well, now that I know how to do it I will do one later hehehehe. So, Rommel I'm going to leave it this color. Spraying it over the red primer makes it almost a blood red. The flash from the camera lightens it up some. I'll call it Wild Cherry! OH YEAH hehehehe.

Ken,

You do not need to thin the Alclad. Also remember to spray at about 8-10 psi, any higher and you run the risk of the air pushing it around after you spray it on. You only want to mist it on. Spray the first coat light and wait a few minutes to let it settle before spraying the second. You can actually see it settle and spread out.  It also seems to lay better when you spray it at an angle. On the second coat, mist it on until you don't see much black but you still see shine. Too much and it will go dull. After you do it a few times you will be able to tell when it's enough.

Also, on the  PE, most times you can take a little metal polishing cream and polish it to look like chrome without painting. It's also a good idea to wash it before painting or gluing to make sure all the etching stuff is off or may be difficult to paint.

L8TR,

Eric

  • Member since
    August 2013
Posted by Ktkrow on Wednesday, November 20, 2013 12:04 AM

Eric, thanks for the tip. I thought about not painting some of the PE at all, but I never thought of the metal polish.  I will try that next time.

Thanks Tony and Eric for the Alclad info.

I got some more done, but I am stopping as it is late and I feel tired.

Engine:

Note above and below, the complexity of the headers, especially the right side.  I opted to use the kit pieces because of this and I was happy with the look after painting them steel.

I started putting the plug wires on the distributor, but since I don't have the chrome pieces done, I am done with it for now.

I also started interior detailing.  I still have the dials and chrome trim pieces to do, but this is what I finished tonight.  Also note that I chiseled out the pedals, so I will add the PE pedals under dash later.

Wood panels came out good for my first time EVER doing that.

That's it for today.  Thanks again everyone.

Ken

On the bench: Dragon's 1/35 M1A1 AIM   &    Revell '69 Ford Mustang Mach I Cobra Jet

  • Member since
    April 2005
  • From: Australia
Posted by taxtp on Wednesday, November 20, 2013 5:34 AM

Looks like excellent work Ken. I agree with you on the woodgrain effect, but the rest is good too.

Cheers

Tony

I'm just taking it one GB at a time.

  • Member since
    February 2013
  • From: Podunkville, USA
Posted by rommelkiste on Wednesday, November 20, 2013 5:35 AM

Kt Ken, your interior looks really great.  For a first time at wood grain, you nailed it, it makes things pop.  The floor mats are a nice touch and when you get the PE stuff added it will be a shame to hide all of it in the completed model.  Very good job sir.   Wheeler, I think your Wild Cherry Vette is gonna KICK!  Keep going with it.  

Ken, I have never painted PE.  I have just polished it while still on the fret or sanded it depending on the look I was going for.

Here is update pics on the Vette.  All that is left is to attach the driving lights, tail lights and windshield retainer clips and I'm calling this one done.  This kit looks nice even though it only contains 80 parts.  The detail engraving is a little shallow on most parts and the headers don't really fit the engine very well and it is highlighted against the grey engine. The only thing I added was some engine wiring and a bracket for the Alt.  Otherwise its right out of the box.  It makes a good display model for the shelf and represents the 1:1 prototype pretty well.

   Tony, this is the next one I will be starting, or should I say it will be the base kit for my project.  I picked this one because it has the racing headers, windscreen and dash I can use and it was open.  I have collected up a pile of parts from other kits for the build and will point them out during the build.  This will be a full competition road racing roadster I have been thinking about for a while and this group build gives me a good excuse to finally start it.  I guess you can call it an SCCA Racing Corvette to give it a name.  I hope all my kit bashing and scratch ideas work!  All you guys are doing some great work so keep glooin' !!

Nothing ever fits……..and when it does, its the wrong scale.

To make mistakes is human.  To blame it on someone else shows management potential. 


  • Member since
    August 2013
Posted by Ktkrow on Wednesday, November 20, 2013 12:13 PM

Thanks Rom - the Vette looks incredible. Factory smooth finish.  Looking forward to the next.  I am definitely going to try the polish on the PE next time.  I think they turned out ok with the chrome paint.

Thanks Tony.  The Alclad lays down nice.  I really enjoyed working with it.

Eric - Your cherry red does look great.  Is the funny car on hold until your ebay auction goes through?  did you win?

I guess I caught everyone else's case of the dropsies!!!  I knocked my a/b off the stand and put a minor bend in the very tip.  I think I repaired it well as it was VERY minor.  I'll find out next time I spray Sad

As I mentioned before, I think the Alclad is awesome.  I did spray this morning.  Waiting for the tackiness to go away and will re-evaluate the coat tonight before posting pics.  I really am most interested in the engine pieces so I can get that component done.

Another BIG update is that I ordered 2 Vette kits.  the '62 convertible.  I am considering doing some customer mods/scratch built pieces to make it like Lola from S.H.I.E.L.D.  It would be a huge undertaking, but the GB has inspired me to go out on a limb.

My 2nd choice is a Vette I stumbled upon by accident while looking for Lola.  It's a 62 Vette Gasser.  It just looks super fun.

I'm not sure which yet, but I won't decide until I am closer to completion on my Stang.  No need to update the roster just yet.

Of course, if any of you have XP with either of these kits or just like 1 vs the other, I am open to feedback.

Ken

On the bench: Dragon's 1/35 M1A1 AIM   &    Revell '69 Ford Mustang Mach I Cobra Jet

  • Member since
    February 2013
  • From: Podunkville, USA
Posted by rommelkiste on Wednesday, November 20, 2013 12:24 PM

Ken, I don't have either kit yet but I read all the reviews from Tim Boyd.  The Gasser kit is a modified version of the other kit without the stock or custom parts.  It comes with a straight axle for the front and a modified crossmember for the frame and all the other drag racer stuff.  Its a new tool and from what I am hearing everyone that has one is very happy.  I say go for either one or better, both!!!!!

Nothing ever fits……..and when it does, its the wrong scale.

To make mistakes is human.  To blame it on someone else shows management potential. 


  • Member since
    August 2013
Posted by Ktkrow on Wednesday, November 20, 2013 12:28 PM

I'm so non-committal. Lol. I think there is enough time for both but we shall see what the holidays bring!

Thanks Rom!

Ken

On the bench: Dragon's 1/35 M1A1 AIM   &    Revell '69 Ford Mustang Mach I Cobra Jet

  • Member since
    November 2013
  • From: Jerseyville, ON
Posted by elass0wyp0 on Wednesday, November 20, 2013 1:07 PM

Well done guys.  Everyone's progress is looking great.  It's great to read the progress from everybody this morning.

I don't have much to report.  I got some engine detailing done, lots of sanding on the body.  It has some weird mold lines.  I coated up the interior pieces and stripped some other chrome pieces.  I keep forgetting to snap a pic here and there.

I did get a PE kit of Edelbrock valve covers and some other tiny little do-dads.  I've never done PE before so this should be interesting.

Is Alclad what is commonly used to create a more authentic appearing chrome?  I typically just use steel or aluminum paint-whatever I have.  It never really looks that good.  Fortunately the vette doesn't have much.

I'll post up some pics if I find something interesting enough.  :)  So far, so good!

Gord

  • Member since
    November 2013
  • From: Jerseyville, ON
Posted by elass0wyp0 on Wednesday, November 20, 2013 1:33 PM

My vote goes to the gasser.  That thing looks awesome.

  • Member since
    August 2013
Posted by Ktkrow on Wednesday, November 20, 2013 2:45 PM

Gord, I had the same question early on in this GB.

Yes, Alclad II Chrome is what I find most builders on the forums are using because it's really great stuff.

The biggest reason for stripping and re-painting the chrome is to get rid of the unsightly white cut marks when removing the piece from the sprue.

I've only seen posts of people who airbrush it on to get a great finish but I'm sure there is a master or 2 who can brush it on although I'd love to see the work of someone that good.

The guys also advised spraying over gloss black.  I followed their advise and it turned out pretty good.

I am letting it dry right now, and pics are difficult due to lighting in the man cave.

I'll post some of the piece work as I build it in.

Ken

On the bench: Dragon's 1/35 M1A1 AIM   &    Revell '69 Ford Mustang Mach I Cobra Jet

JOIN OUR COMMUNITY!

Our community is FREE to join. To participate you must either login or register for an account.

SEARCH FORUMS
FREE NEWSLETTER
By signing up you may also receive reader surveys and occasional special offers. We do not sell, rent or trade our email lists. View our Privacy Policy.