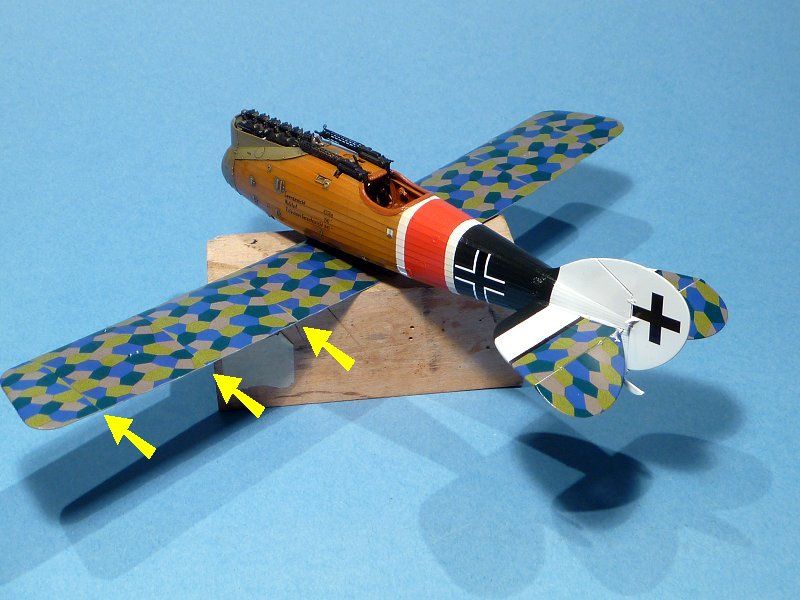
Rigid... That's some cool striping.
Falcon... looking really nice.
Rob... The fuselage is just awesome. I just read the part about the large size of the wing decals giving you fits. Sorry that I am too late with this to do any good now but you'll have it for the next one.
The WNW lozenge decals are printed the same way the real fabric was in a long continuous bolt of cloth. The cloth was cut in lengths equal to the chord of the wing. The chord is the distance from the leading edge to the trailing edge. These panels were turned 90 degrees and sewn together. So there would be a seam every few feet along the wing. And there would be a mismatch of the pattern at these seems. The same needs to be done with the WNW decals. This not only gives you the correct orientation of the pattern, you are dealing with smaller squares of the decals instead of 1 huge, long decals.
Here's the lower wing of the Roland I built a few years ago. Same aircraft but I opted for the red band. Note the mismatch at the seams. Click the pic for a larger view.

1 thing has to be done to the strip before you cut it into smaller panels. There is a barely perceptible dark line at the long edges of each strip. A thin silver needs to be trimmed from both edge before cut into the smaller panels. If you don't, that line is double in size when the panels are rotated and butted together making an obvious dark line between each panels.
I had a few spots that didn't want to snuggle down over some small details. Poking with the point of a sharp blade and applying some Solva-Set and when just about dry light pressure with a q-tip pushed it all down tight. If you never used Solva-Set this stuff is really aggressive. This stuff compared to Micro-Sol is like comparing a nuke to a hand grenade. Do not touch it at all until near dry or your decals will smear like wet paint.
Lastly, a tip for getting the decal around the control horns without any need for patching. Trim the decal to the rough shape you need as usual. Before you dip it in the water position it on the elevator, for example, correct from side to side and slide it forward so it buts up to the controls horn. Mark the spot and make a tiny still in the decal. When soaked and moved into position the control horn slips right into the slot and a little decal solution gets the side the settle down around it without leaving a mark or gap
Sorry for the long winded post but now this is REALLY the last thing. Stick with the rib tape decals. Tedious? Yes indeed. But the thought of tape pulling up the lozenge decals is sending shivers down my spine. I also think it will be less tedious than taping all that and getting them all the exact same width.