A bit of WIP tonight.
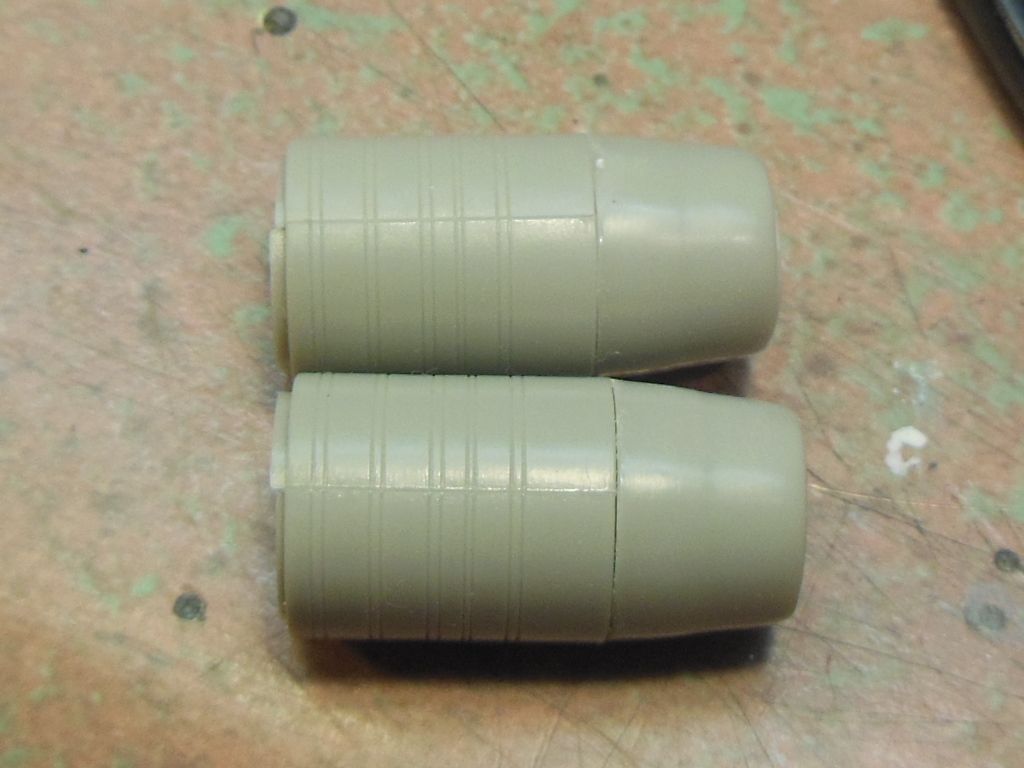
Cementing up the after-burners-I had to work carefully to actually preserve the seams down the center. The photos I have seen of the 1:1 version, there is a visible seam showing on the cans. I applied the cement carefully and did not squeeze, so I wouldn't force out that bead of molten plastic.
The nozzles are not cemented yet, just being used to hold everything in alignment. I need to tweak the fit on the lower one.

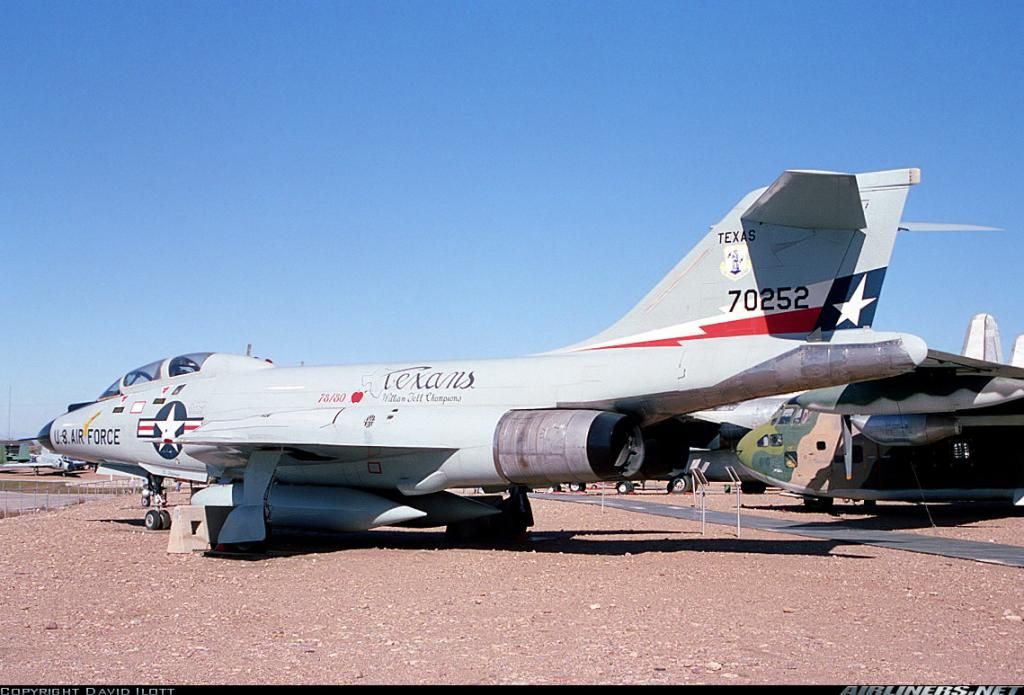
Interestingly enough, I was trying to find a photo to illustrate, and ran across this. It's the same squadron my kit is modeling. with a different tail number. I'm printing this one out for my own reference. I just hope my project can come close to looking like this....

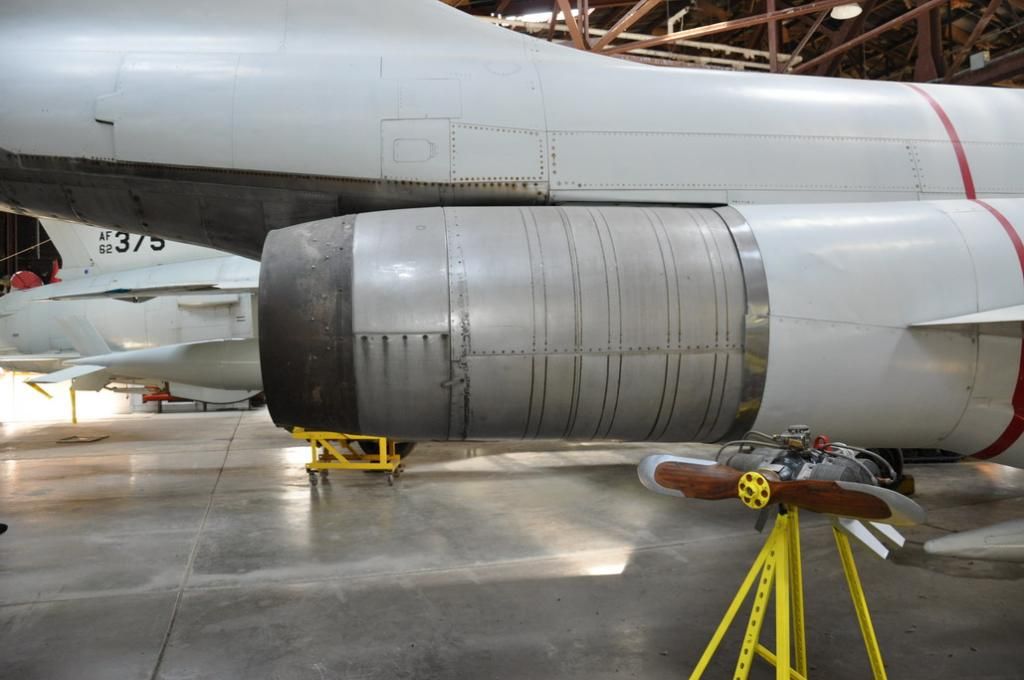
Hard to see in this photo, but it looks like a row of rivets follows that seam. Don't think I want to go to that level.
Here's the photo I was looking for. Hmmmm...there is an offset seam on the nozzle. Might have to try and scribe one......

I'm printing this one out too for reference.
Seems like when you search for images, you get a lot of other people's model builds and museum pieces that the burner cans have been replaced with fakes. Some are decent and some look....fake!
Ken, here is a website for you:
VOODOO!
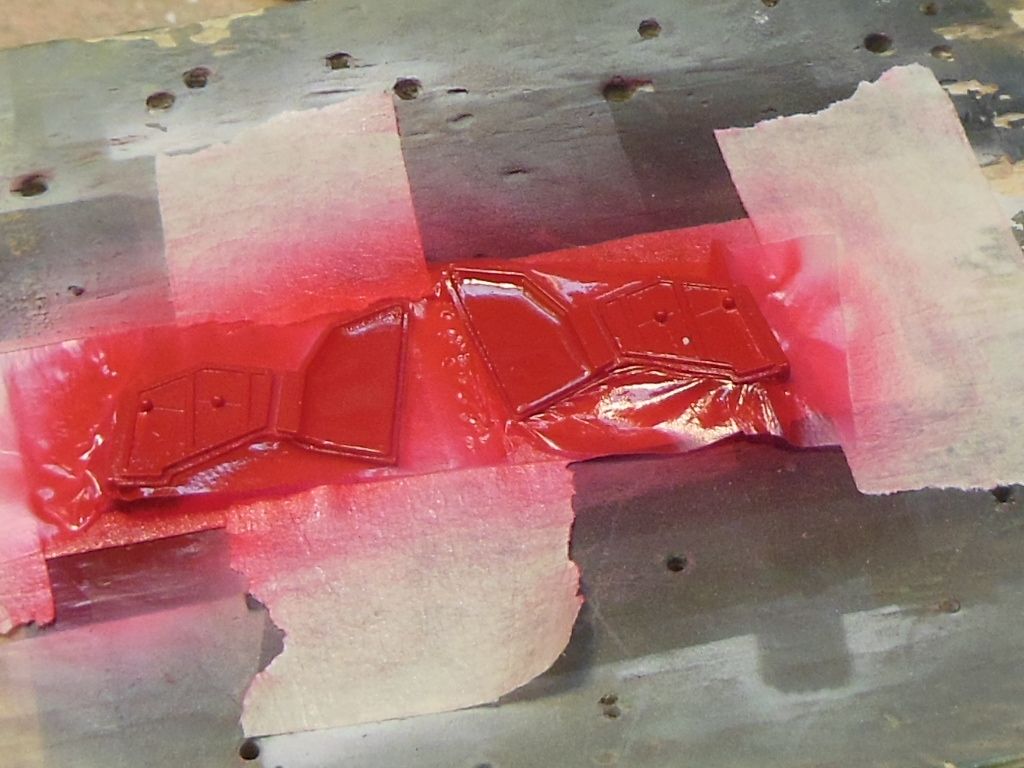
Lastly, repainting the inside gear doors. As before, I'm using the Testors Dark Red in the little square bottles. It's a gloss, but I will tone it down a bit with some dullcoat as it looks too shiny right now. Glossy is good for now as the masking film sticks pretty good when I go to do (the voodoo, that I do) on the outside of the doors

Jim