Darn!! It was 08 March since my last post with progress of my F-100D. Sorry about that, folks!
I finally got some paint on her yesterday. Sprayed a couple of coats of Alclad Gloss Coat on her today, waited a few hours for that to dry, then applied decals tonight. Let me say this about the Monogram decals that came with this kit - POS!!!!!! I have NEVER, in my modeling life, had this many problems with a set of decals. I wanted to set my F-100D up as a wing commander's plane (lots of colors), but none of those decals wanted to lay down correctly (many, many wrap-around decals on the intake and noses of the drop tanks). Ok, no biggie there. It was good that I started with those "wrap-arounds" first instead of last - that made it easy to change decal schemes early in decaling session. I decided to go with the other scheme on the kit decal sheet. Not as colorful (mainly yellow lightning bolts), but no wrap-around decals, either. But those didn't want to perform well at all - many of them broke apart while attempting to slide them from the backing paper. Some broke apart so badly that they were unusable, so I left them off. A good example of those were the wing-walk outlines - they broke into multiple pieces that went in the garbage. IF (and that's a BIG if) I ever build another of these models, I will definitely buy an aftermarket set of decals for it.
Anyways, below are some pictures of the almost-completed project, with commentary........
.
.

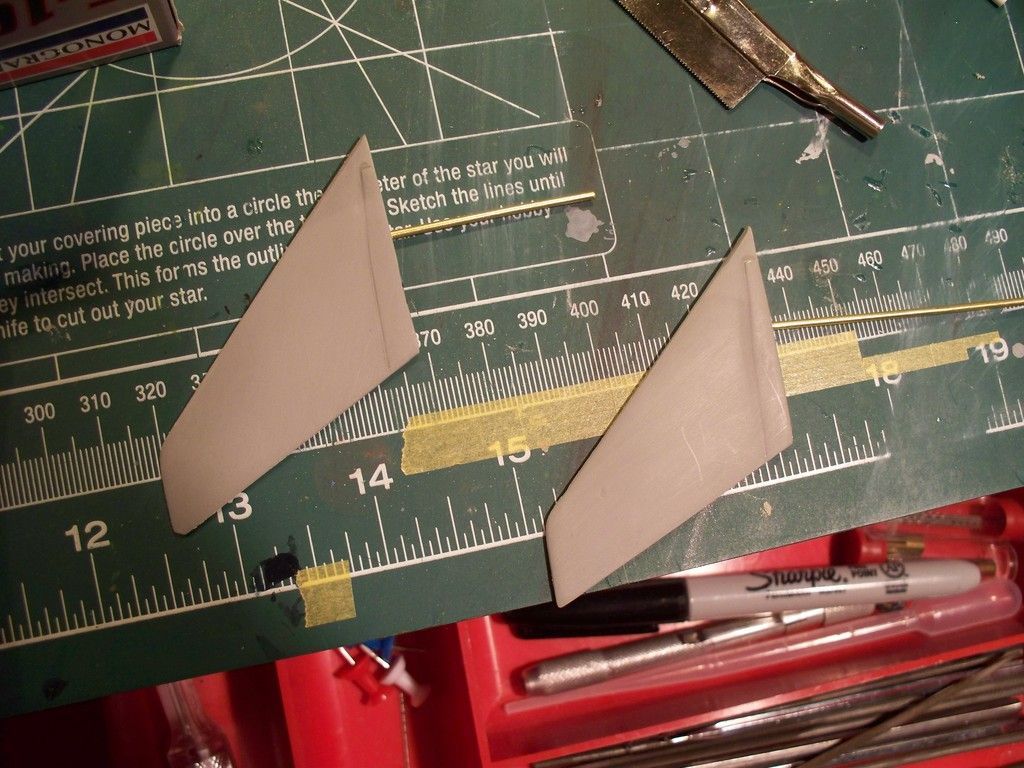
I decided to insert some brass rod in the horizontal stabilizers to remount them once I'm done with the painting and decaling. The short rod will be used to go all the way through the fuselage to the other stabilizer so that they will both move together when mounted. It's already super-glued in to the right stabilizer. The left stabilizer has a long piece of rod just to hold it while I was spraying paint.
.
.

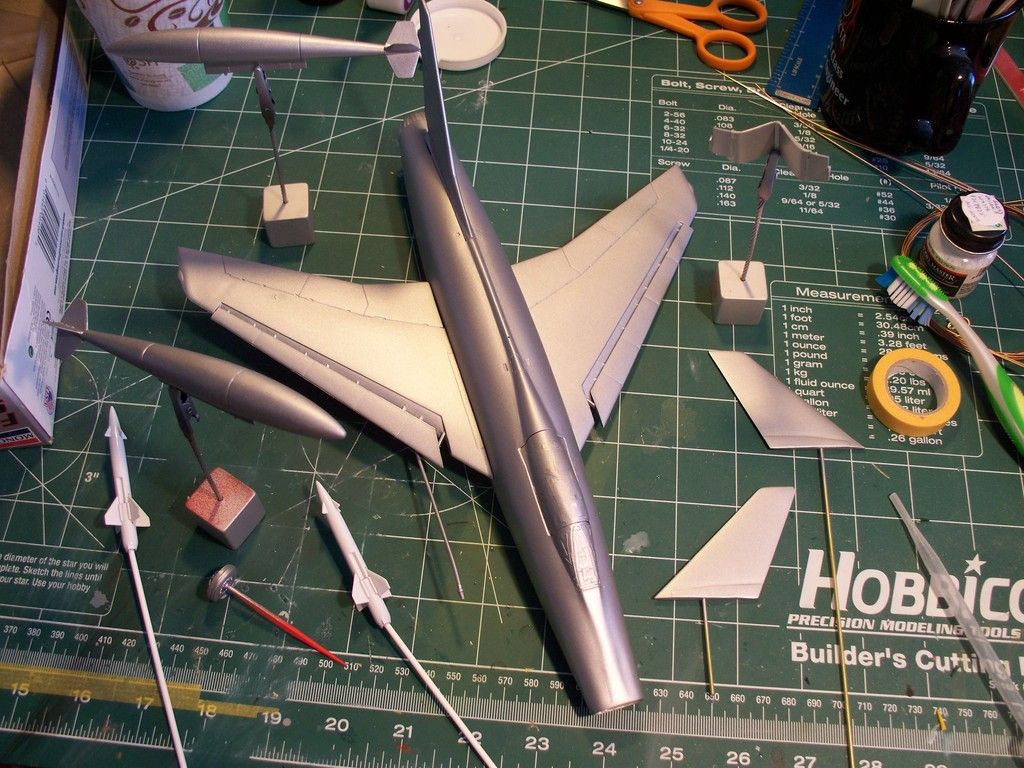
Here she is with paint. It's just good old monotone Model Master Aluminum. Some reference pictures show the multi-shaded bare metal panels on the Super Sabre, and there are some pictures showing them painted in a monotone silver lacquer finish. Guess which scheme I chose...... I didn't paint the burnt afterburner area of the rear fuselage in the burnt metal colors that are commonly seen on the F-100. I just wanted to get this sucker finished. Not sure if I'll use the Bullpups. No decals whatsoever in the decal set for them. All the pictures that I've seen of the Bullpups show them with lots of stenciling. I'll have to see what I can find in my spare decals. If I can find something worthy, the Bullpups might get mounted on the pylons.
.
.

Here she is with decals applied. I applied a coat of Micro Sol to each and every one of 'em. Letting her sit overnight, then she'll get a couple of coats of Alclad Gloss Coat again tomorrow. After that dries, all the landing gear, gear doors, pylons, drop tanks, and pitot tube get mounted. The drop tanks show the lightning bolts that were for the other scheme I tried first. They went on too well and laid down too well to remove them, soooo, even though they aren't historically correct, they sure look good with the yellow lightning bolts on the fuselage and tail. Showed all of this to my wife after the decals were applied, but before the Micro Sol. She was impressed. But, then again, she ain't a modeler, so she doesn't see all the imperfections that I do. Maybe I'll build only for her from now on.....
.
.
Well, folks, let me know whatcha think. I hope to have the finished product up here by tomorrow night. I'm on vacation until 22 June, so I just be able to accomplish that small goal.