Toshi, a really fine job on the interior, and the good work continues on the exterior. Look forward to more on the catalina.
Hunter, good work on the interior, solid work applying the paint.
Scott , yeah those kind of kits can be a bear to take on, but are that much more rewarding when completed.
---------------------------------------------------
Thanks Steve, BrandonK, Hunter, Scott,
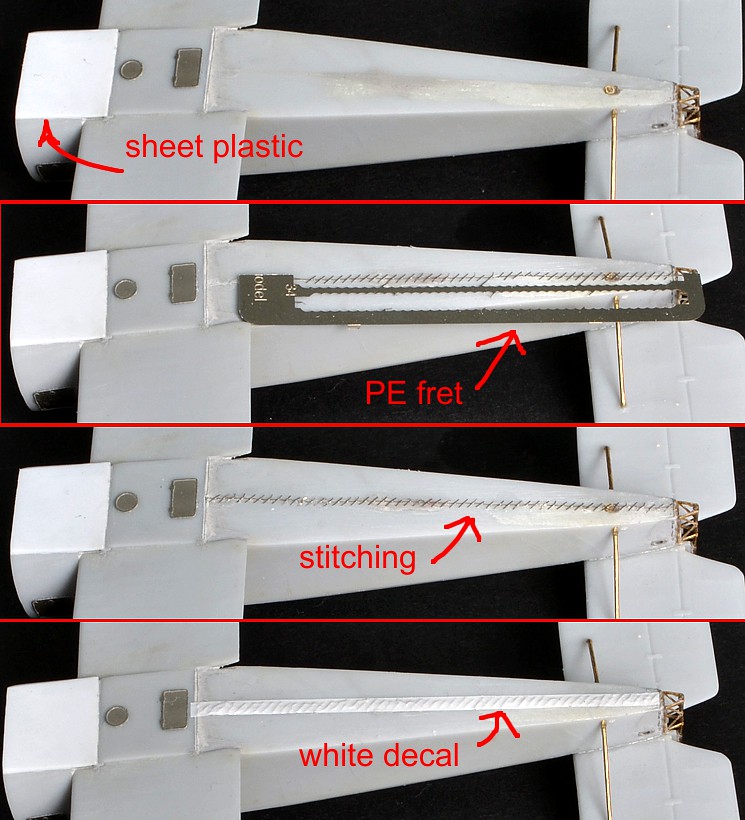
One final bit of detail on the tail end before going forward.

The PE was a one piece affair that wrapped around a vertical brass rod. This gives a solid construction, but is not completely accurate. So the green sections were removed, ending up with two sections.
Next came the stitching on the underside of the fuselage. Current photos of the Hanriots don't show any sign of this detail. At best there looks to be a length of fabric tape covering the area.

It took two tries to super glue the stitching in place. On the 2nd attempt, it was easier to just leave this flimsy piece attached to one side of the fret, and once glued in place, some deft cuts to set it free. A strip of white decal film was laid over top to represent the possible fabric covering.
Up next were the cabane struts. Picture from a Belgium Hanriot;
.JPG)
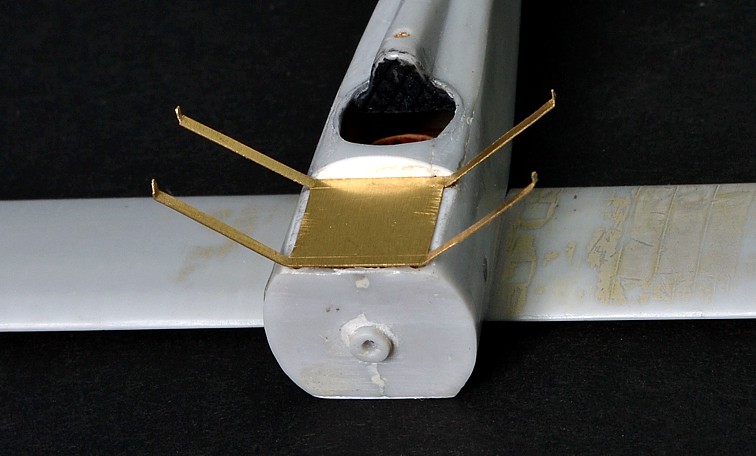
The kit provides these as individual lengths of plastic. This leaves way too much guess work in arriving at a proper angle and fit. A good week was spent figuring out how to approach this, but finally arrived at a solution.

It starts with a section of brass sheet 0.12mm thick, with dimensions 9mm x 31mm. I relied on the PE scissor tool to cut, knife and ruler just didn't work.
Here is the first set test fit in place.

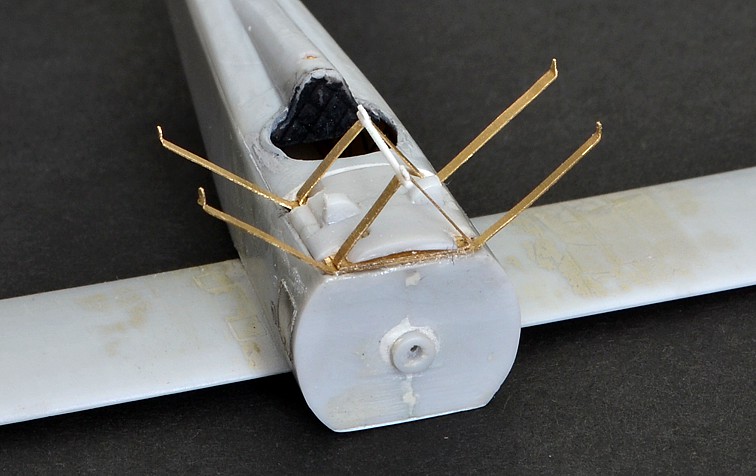
Now a second pair of cabane struts were constructed the same way, but these have the struts angled inward ...

The center section also had a 0.5mm plastic rod attached with a pair of tabs - these fit in between the two wings, which are actually separate on the real bird.
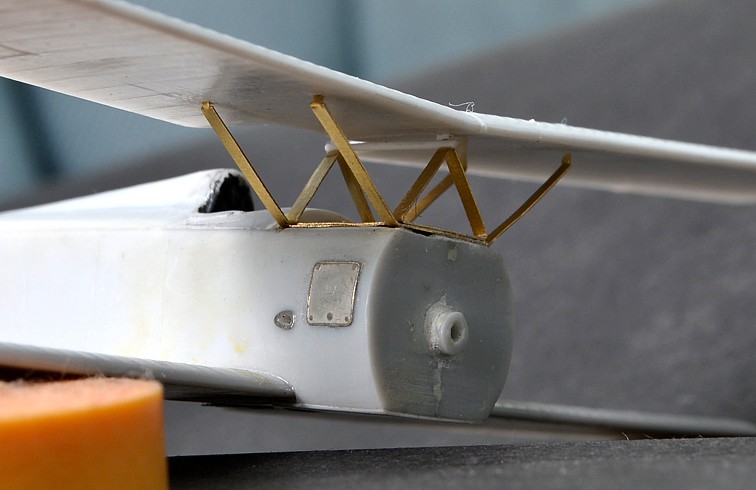
Another shot of the detail with decking in place...

... and one final of top wing fit:

regards,
Jack