Ok, so the one thing other than rigging that has always made me stay away from WWI models is replicating the look of the laminated wood propeller by painting.
So I decided to tackle the prop on my F.2B while I await the decals to arrive from the Czech Republic.
Looking from the top, the lines in the propeller should be parrallel, and looking from the front, they do some crazy twisty-turny patterns due to the shape of the prop.
I saw a guy on Facebook who carved his own, so I decided to try that out.
I started with thin walnut veneer I picked up at a local woodworking shop. $11 got me enough sheets to make about 36 1/48 walnut props, so it's pretty cost-effective.
I bought some Truebond Original wood glue at the clerk's recommendation, and I went home and cut strips of veneer with my X-acto knife.

The above strips are actually not what I ended up with, as the lighter ones were a different wood that didn't work out. Since this is an allied prop, and they didn't see the big contrast in wood types that Central Powers props did, I used all walnut (top, middle and bottom of the above). I ended up using 6 strips in the final prop.
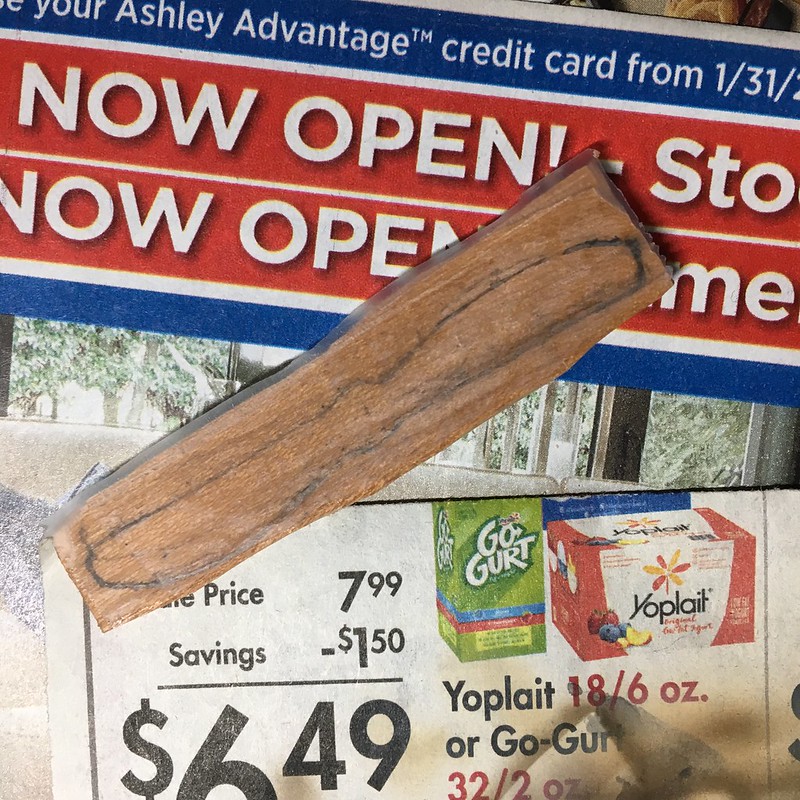
I glued them and clamped them in a vise, then drew a rough outline of the prop on the top with pencil.

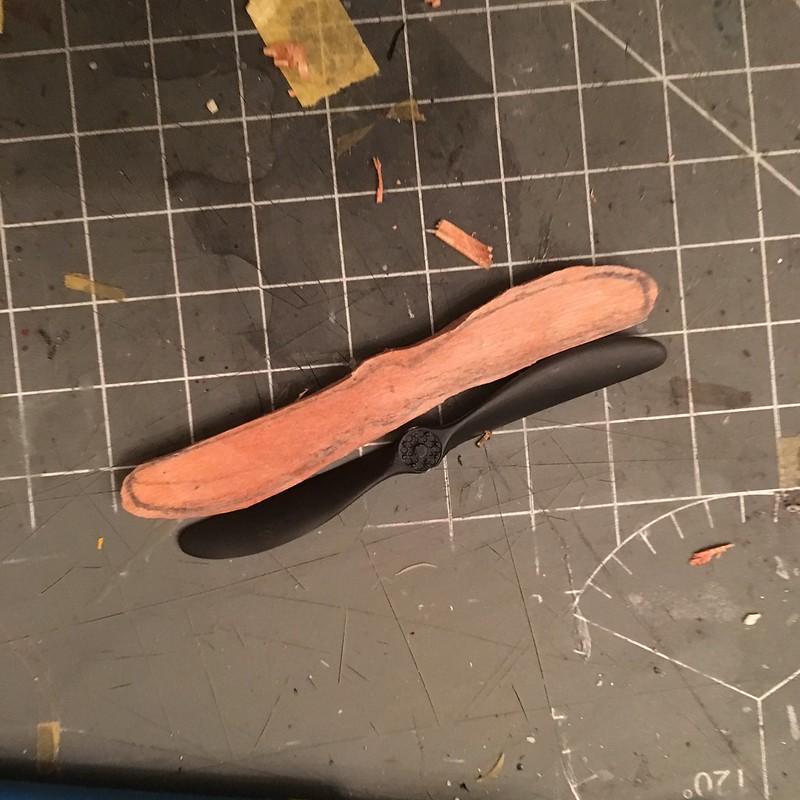
That was easy enough, so I cut it down with a razor saw and X-acto knife to get it roughly right, but still oversized.

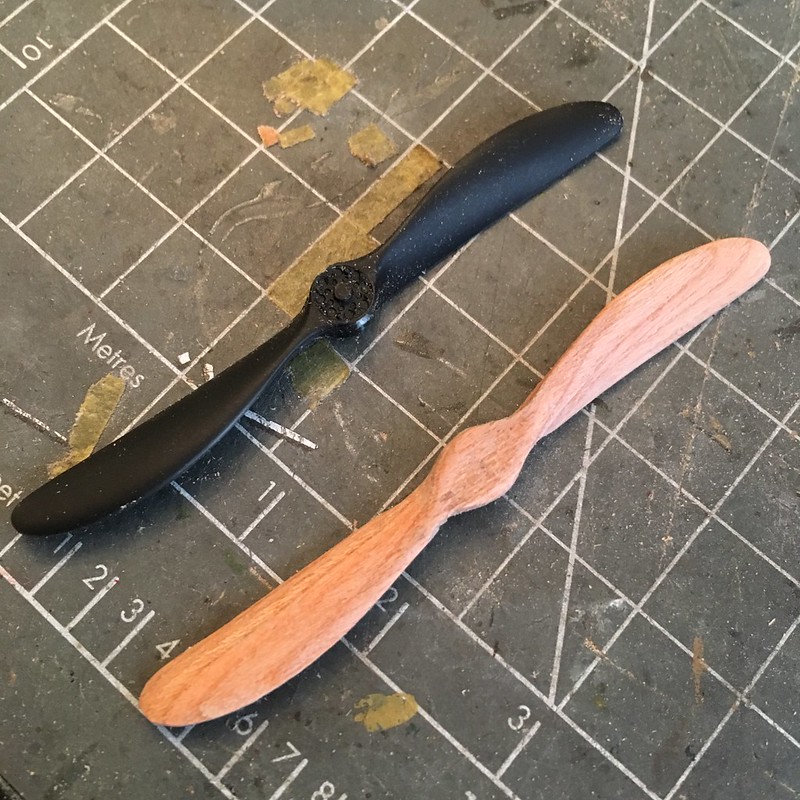
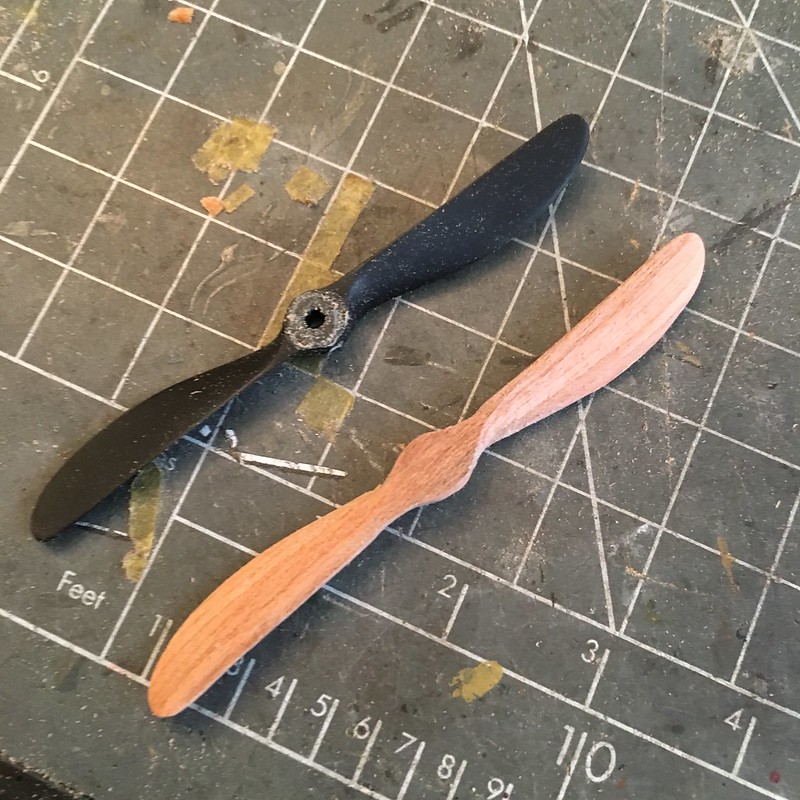
Next, I used flat, half-round and round files to shape it, then, when I had it where I wanted it, I used 600-grit sandpaper to smooth it out.


I ordered a set of Copper State Models photoetched prop bosses from Sprue Brothers just now, so I'll add that when they arrive. In the meantime, I'll spray this with Tamiya clear orange and clear yellow mixed to where I want it, drill the mounting hole and get back to the aircraft work so I'm ready to move forward when decals arrive.
-BD-