SEARCH FINESCALE.COM

Enter keywords or a search phrase below:

Weekend GB: See you in November!

15659 views
403 replies
1 rating 2 rating 3 rating 4 rating 5 rating
  • Member since
    March 2008
Posted by Caveman on Friday, January 18, 2019 4:55 AM

After some head scratching it looks like a Hasegawa 1/48 A-4.  Just hoping the decals hold up this time.  Anyone else joining me this weekend?


  • Member since
    November 2004
  • From: Galloway,Ohio
Posted by Daddyman on Friday, January 18, 2019 10:05 AM

It looks like you're on your own. I was wanting to do another kit but I can't find the kit in my stash that I wanted to do, even after doing a physical inventory, and life keeps getting in the way to disrupt my plans. With the storm coming tomorrow, this weekend would be perfect but work is taking up my time.

Good Luck. I'll be watching.

Bill B 2.0

  • Member since
    July 2006
  • From: San Francisco Bay Area
Posted by bufflehead on Friday, January 18, 2019 9:23 PM

Hey Caveman, I'll be joining you this weekend!  I'm getting everything prepped tonight so that I can start tomorrow morning. 

lewbud, my last entries for the GB will be a braille scale double:

AND

These Hobby Boss Easy Assembly kits are pretty simple with very low parts count so I decided to challenge myself and build 2 in 48!  Cross your fingers! 

I'll post starting pics in the AM!

Ernest

Last Armor Build - 1/35 Dragon M-26A1, 1/35 Emhar Mk.IV Female


Last Aircraft Builds - Hobby Boss 1/72 F4F Wildcat & FW-190A8


  • Member since
    March 2008
Posted by Caveman on Friday, January 18, 2019 10:17 PM

Great!   Misery loves company.   Good luck with the twofer.  Looks like I may also have to postpone until tomorrow morning.  My damn power went out and my air tanks are empty.  Lack of air really throws off my plan so I will have to wait it out.


  • Member since
    June 2008
Posted by lewbud on Saturday, January 19, 2019 6:54 AM

Caveman, Ernest,

I've updated the frontpage with your builds. Goodluck Gentlemen!

I had planned to start my F-104 yesterday, but fiddled around and ended up getting called into work on my day off. I will start when I get home this afternoon.

Buddy- Those who say there are no stupid questions have never worked in customer service.

  • Member since
    July 2006
  • From: San Francisco Bay Area
Posted by bufflehead on Saturday, January 19, 2019 11:22 AM

And we're off!

Proof of unstartedness.  Even though the official end time is 9:00 AM PST on Monday, I'll need to get it done by Sunday night before bed! 

Ernest

Last Armor Build - 1/35 Dragon M-26A1, 1/35 Emhar Mk.IV Female


Last Aircraft Builds - Hobby Boss 1/72 F4F Wildcat & FW-190A8


  • Member since
    July 2006
  • From: San Francisco Bay Area
Posted by bufflehead on Saturday, January 19, 2019 2:36 PM

3 hr update.

Assembly of the P-40 is almost done.  Need to do some putty work, add the exhausts, mask the canopy and do some detail work in the cockpit and she'll be ready for primer tonight. 

Only mods I made to the Hawk was to drill out the cowling intake and the MG ports.  I think I'll add some styrene rods for the MGs. 

Next up is the MiG-3


Ernest

Last Armor Build - 1/35 Dragon M-26A1, 1/35 Emhar Mk.IV Female


Last Aircraft Builds - Hobby Boss 1/72 F4F Wildcat & FW-190A8


  • Member since
    March 2008
Posted by Caveman on Saturday, January 19, 2019 4:33 PM

That's alot of work for 3 hours.  You are well on your way.

I have spent the morning digging out from the storm.  Can't complain, it is January after all.  Was finally able to start at 4.

 P1191895 by Tim Bowers, on Flickr

 P1191896 by Tim Bowers, on Flickr

Proof of unstartedness.  I still am worried about these decals holding up, but I will find out soon enough.

After an hour or so I have the pit together and some of the subassemblies necessary to close up the fuse.  I also fitted the problematic intake assemblies.  I knew this would be a make or break part of the build and I am happy with the way they went on.  Anyone who has built this kit is well aware of what I was concerned about.

 P1191897 by Tim Bowers, on Flickr

 P1191898 by Tim Bowers, on Flickr

Need to leave things for an hour or so to harden up a bit, then I can press on.


  • Member since
    March 2008
Posted by Caveman on Saturday, January 19, 2019 9:42 PM

Just a quick update.   Six hours or so in.  Need to let some white glue harden up a bit then I'm ready to close up the fuselage.  Wish I had taken better pics. of the pit but forgot in the rush to get things together.  Simple grey base with black panels and dials with a few blobs of color to break things up.  The seat is a joke but I can pick away at that as I continue with the rest of the kit.

 P1191899 by Tim Bowers, on Flickr

 P1191901 by Tim Bowers, on Flickr

 P1191906 by Tim Bowers, on Flickr

 P1191907 by Tim Bowers, on Flickr

I also have started getting the wings together so by the next post I should have all the big parts together and it will start looking like a Scooter.


  • Member since
    July 2006
  • From: San Francisco Bay Area
Posted by bufflehead on Saturday, January 19, 2019 10:19 PM

Looking real good Caveman.  That kit is definitely more complex than my little fighters!  I noticed that fishing sinker that you glued to the interior of the nose! Yes  As an armor modeler, adding weight like that to an aircraft is something I don't typically think about until its too late!!

The MiG-3 assembly is now almost done.  Here she is with the landing gear and prop/spinner dry-fitted.

Running a little behind schedule...had to take a break for a couple of hours as my neck/back was killing me!Dead


Ernest

Last Armor Build - 1/35 Dragon M-26A1, 1/35 Emhar Mk.IV Female


Last Aircraft Builds - Hobby Boss 1/72 F4F Wildcat & FW-190A8


  • Member since
    March 2008
Posted by Caveman on Saturday, January 19, 2019 11:07 PM

You got this.  Most of your assembly done by the looks of it.  Can't beat fishing sinkers for counterweights.  A few bucks at the local dollar store gets you a few packs with various sizes and shapes and already contoured to fit the nose!


  • Member since
    March 2008
Posted by Caveman on Sunday, January 20, 2019 2:52 PM

Well, about halfway in and some progress has been made.  Starting to look like a jet now.  I hope to finish within 8 or 9 hours.  As per usual, need to let things dry for a bit before I can press on.

 P1201908 by Tim Bowers, on Flickr

 P1201909 by Tim Bowers, on Flickr

I am deviating from the instructions a bit.  I am adding the cannons even though the instructions say not to.  Simply because I think they look better.  If I have time I will be raiding the spares box for some ordinance but I don't mind the clean look either.....


  • Member since
    June 2008
Posted by lewbud on Sunday, January 20, 2019 4:13 PM

Looking good Tim and Ernest!

Buddy- Those who say there are no stupid questions have never worked in customer service.

  • Member since
    November 2004
  • From: Galloway,Ohio
Posted by Daddyman on Sunday, January 20, 2019 4:27 PM

Bufflehead and Caveman, you're both making great progress on those kits. Can't wait to see how they turn out.

Bill B 2.0

  • Member since
    March 2008
Posted by Caveman on Sunday, January 20, 2019 8:45 PM

My fears were realized.  The decals are too old to go on smoothly.  Most have shattered at some point.  I may get some generic markings on her if I can find any but I don't want to ruin the kit.  I may need to source some aftermarket decals so I fear a DNF is on the way.  I still have a lot of time but I do need to work in the morning.  If I can get anything on her by 4 tomorrow I will post again.

Here is how it sits so far.  Done except the slats and two gear doors.

 P1201910 by Tim Bowers, on Flickr

 P1201911 by Tim Bowers, on Flickr

 P1201912 by Tim Bowers, on Flickr


  • Member since
    July 2006
  • From: San Francisco Bay Area
Posted by bufflehead on Monday, January 21, 2019 2:59 AM

Whoa!!  Too bad about those decals Caveman, hopefully you can figure something out to still get the A-4 done in time!Yes

Even though my 48 hr deadline for the 2fer is 9 AM Monday, I wanted to get these both done by 12 AM last night (Sunday) as I have to work tomorrow.  Ah well, it took a half hour longer than planned! Geeked  Finished at 12:30 AM this morning with proof of deadline completion:

Both are 1/72 Hobby Boss Easy Assembly kits.  Yeah, easy assembly...PIA painting and decals!

And, of course, The Celebratory Libation Pic!

Basil Hayden bourbon (the bottle is too tall for the pic!)


Lewbud, thanks again for another great Weekend Madness GB!!  It's always a blast to see if we can do these quick builds!  I'll be back later this year for the next round!


Ernest

Last Armor Build - 1/35 Dragon M-26A1, 1/35 Emhar Mk.IV Female


Last Aircraft Builds - Hobby Boss 1/72 F4F Wildcat & FW-190A8


  • Member since
    November 2004
  • From: Galloway,Ohio
Posted by Daddyman on Monday, January 21, 2019 10:32 AM

Caveman, that bites about the decals. Hope you can finish in time.

Bufflehead, those are both real gems you got there. I know what you mean about the decals being a PIA but you made it work. Well done.

Bill B 2.0

  • Member since
    June 2008
Posted by lewbud on Monday, January 21, 2019 7:32 PM

Tim,

That sucks about the decals. Hopefully you can find a work around.

Ernest,

Congratulations on completing the double! They look great! The frontpage will be updated shortly.

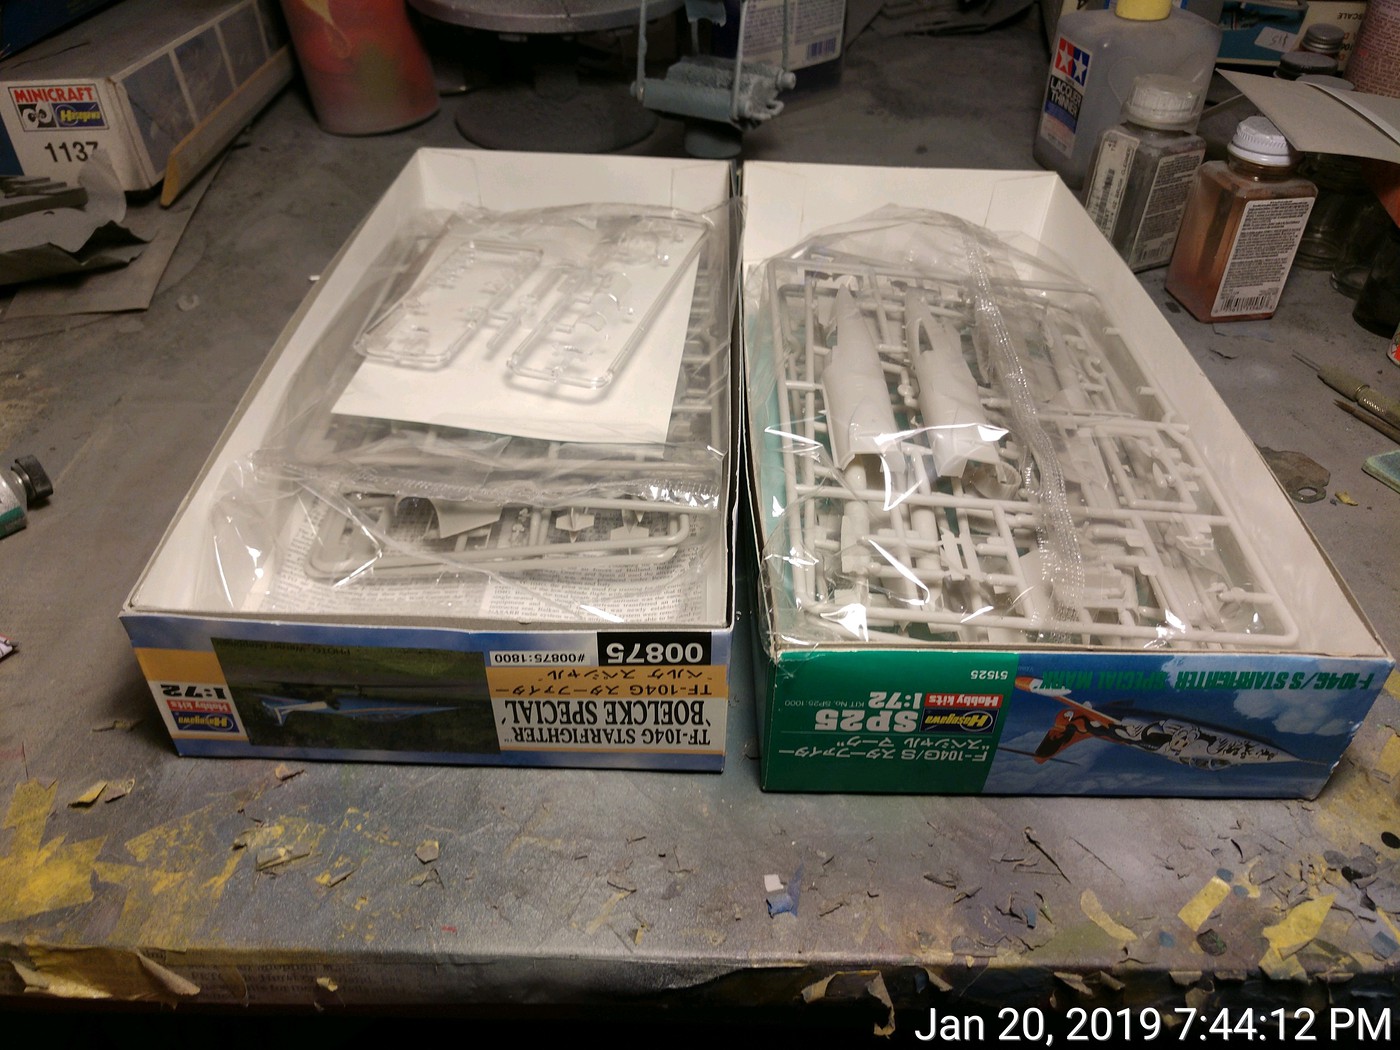
Now for my adventure. I originally started to do a double, but as I was working on one, decided to go with one build instead. The kit in question is Hasegawa's 1/72 F-104G/S Starfigher with special markings. You have a choice of three specials, an Italian bird with standard camo on one side and a cat chasing mice on an orange and white background on the other, a German blue and white bird, and a red Canadian special with white markings. I elected to go with the blue and white German bird.

Proof of unstartedness:
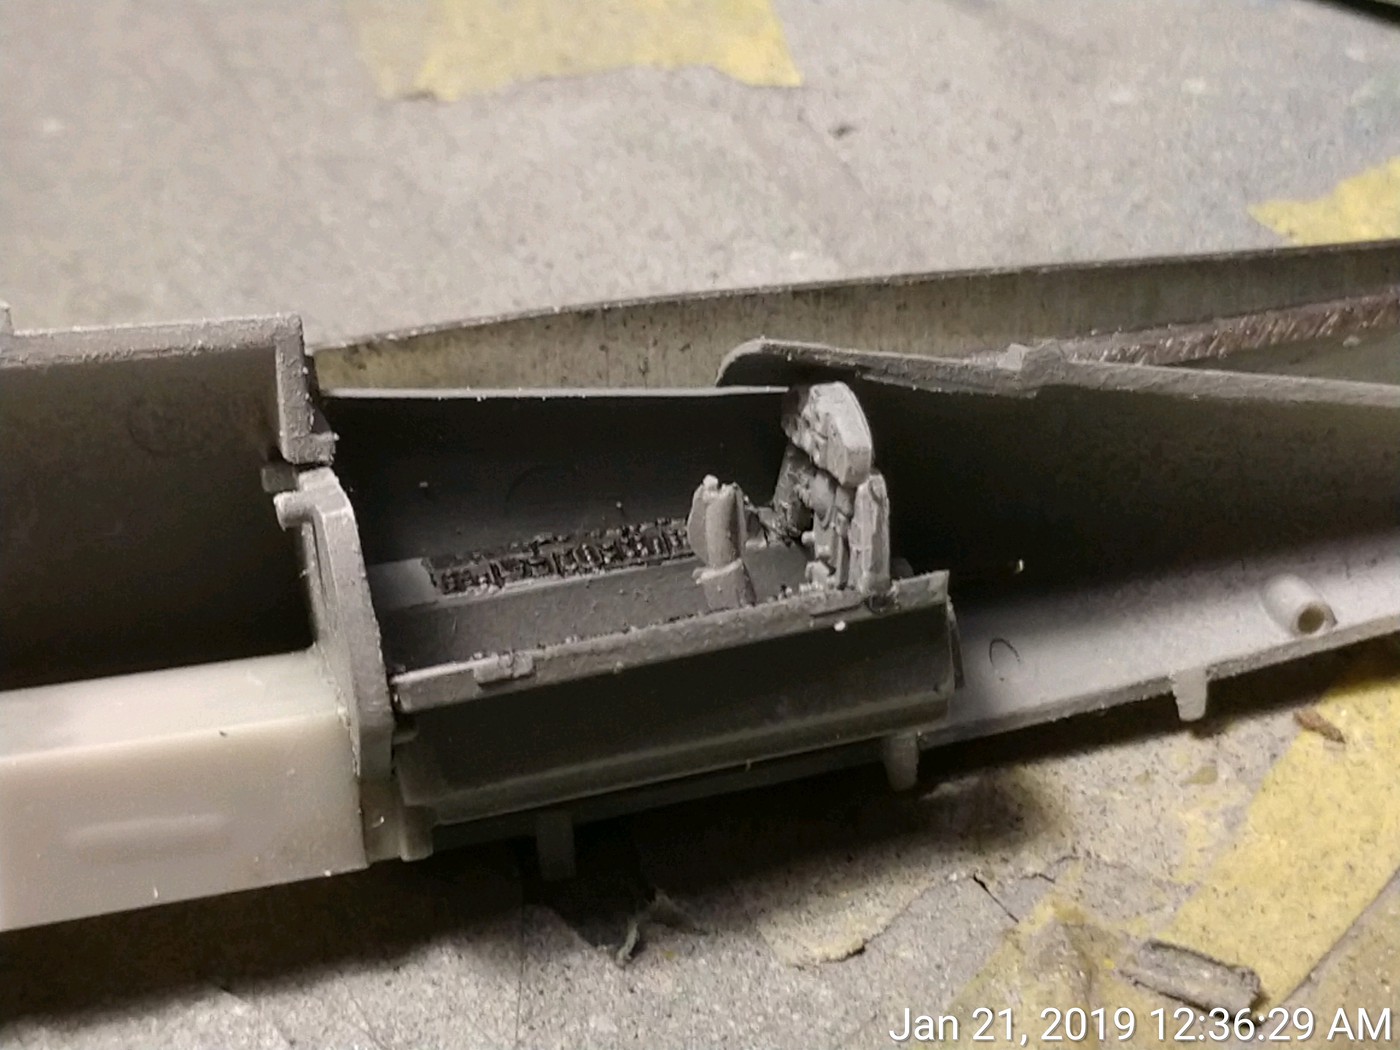
The cockpit is installed.
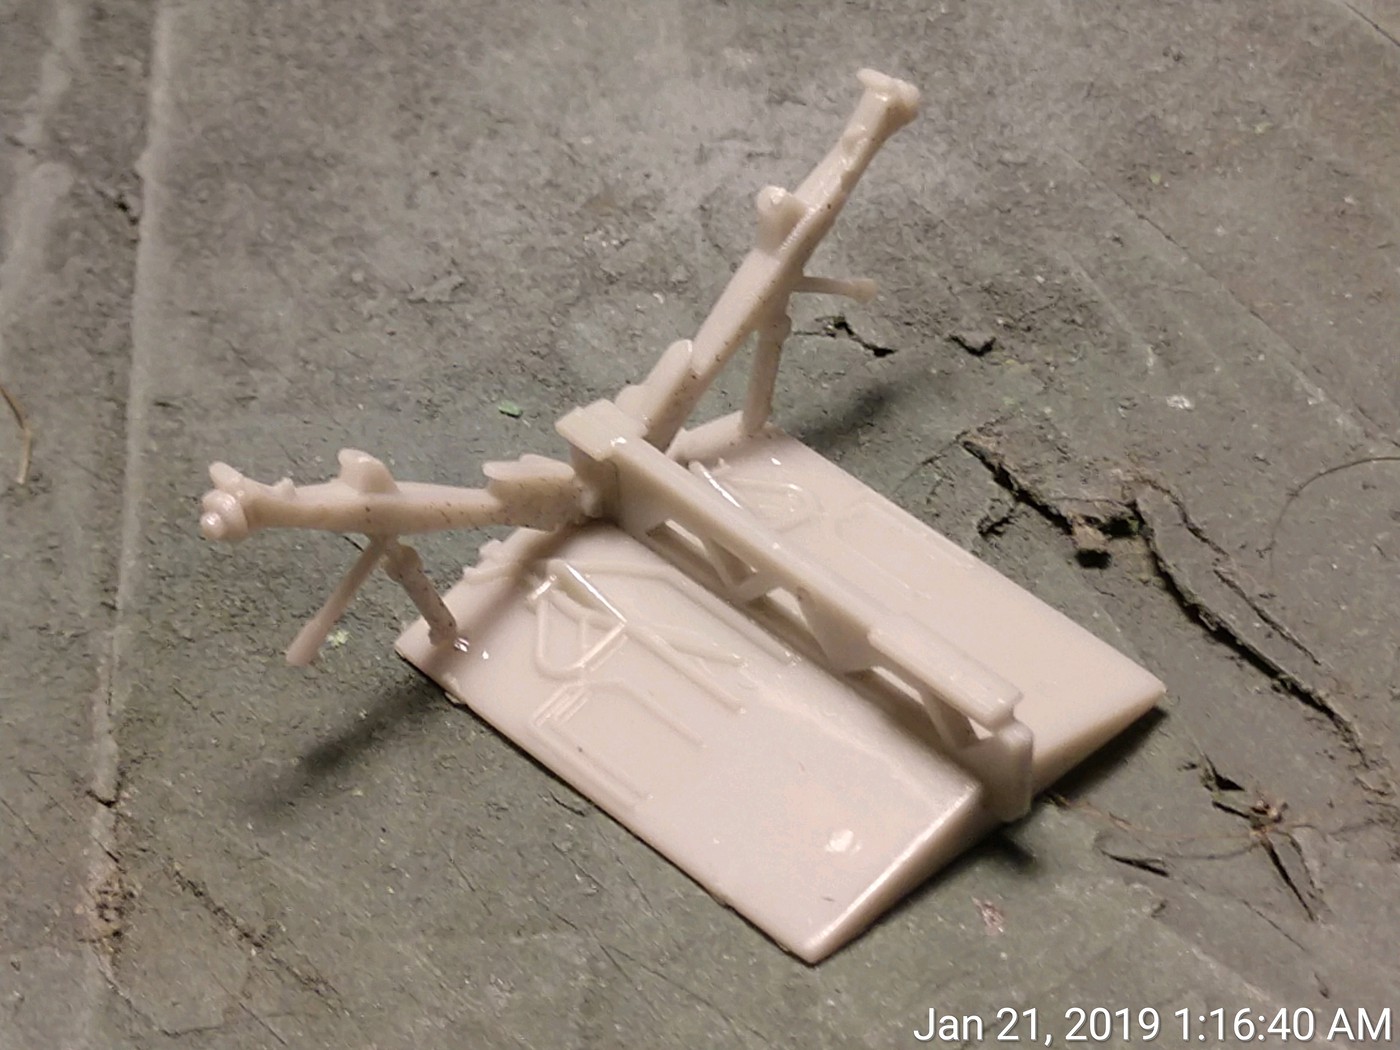
The main landing gear.
The rear half of the fuselage.
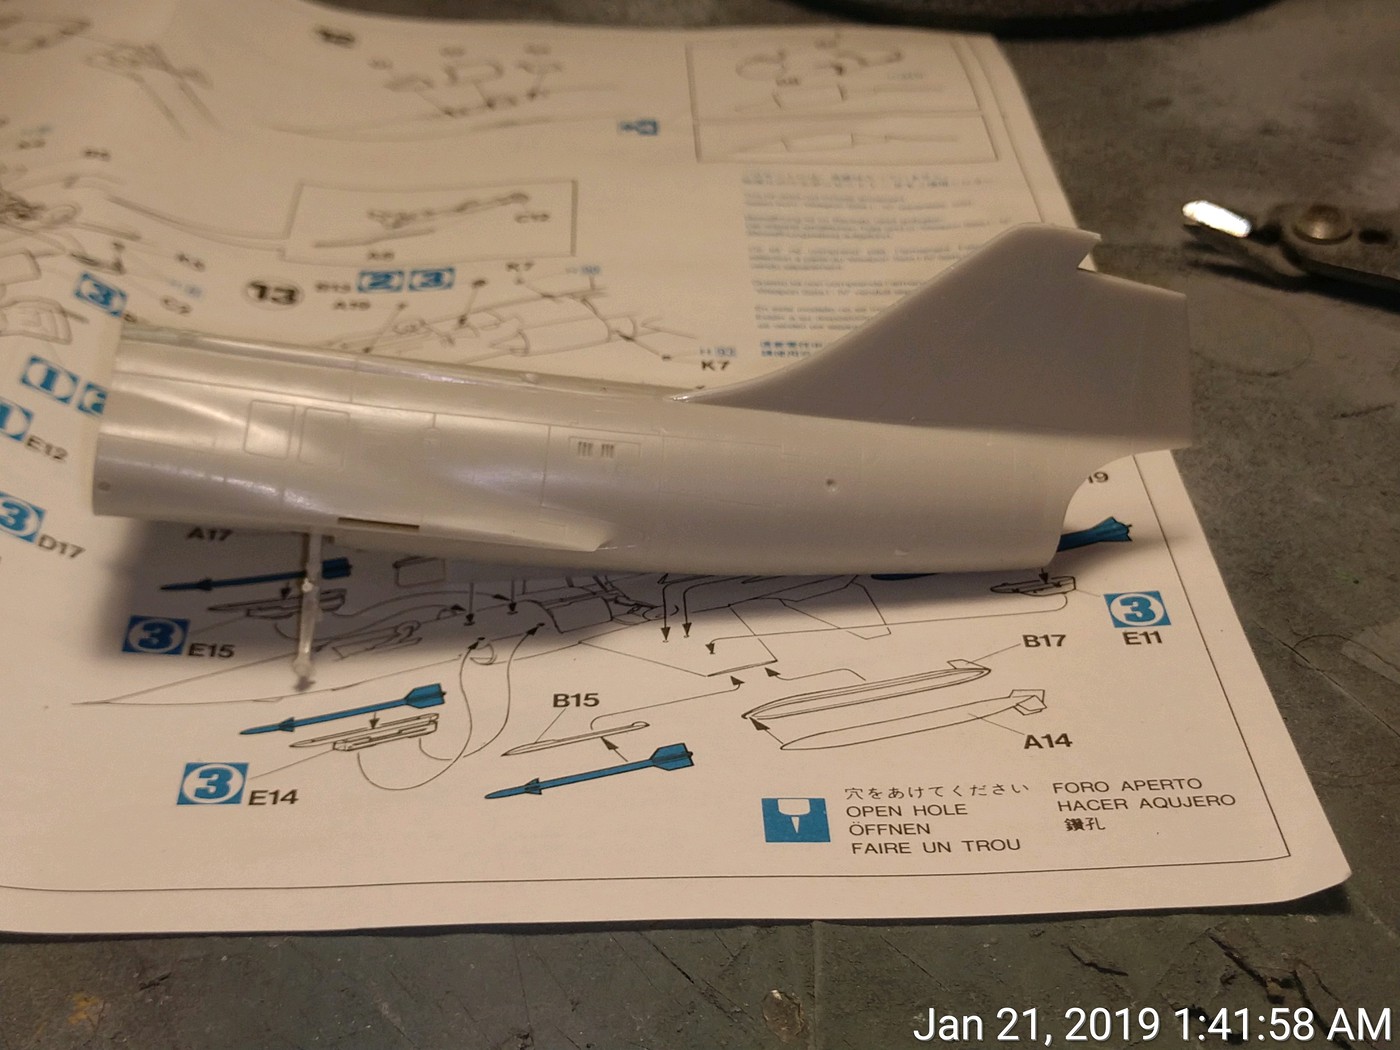
The front half of the fuselage. This is done so they can share molds with the TF-104G.
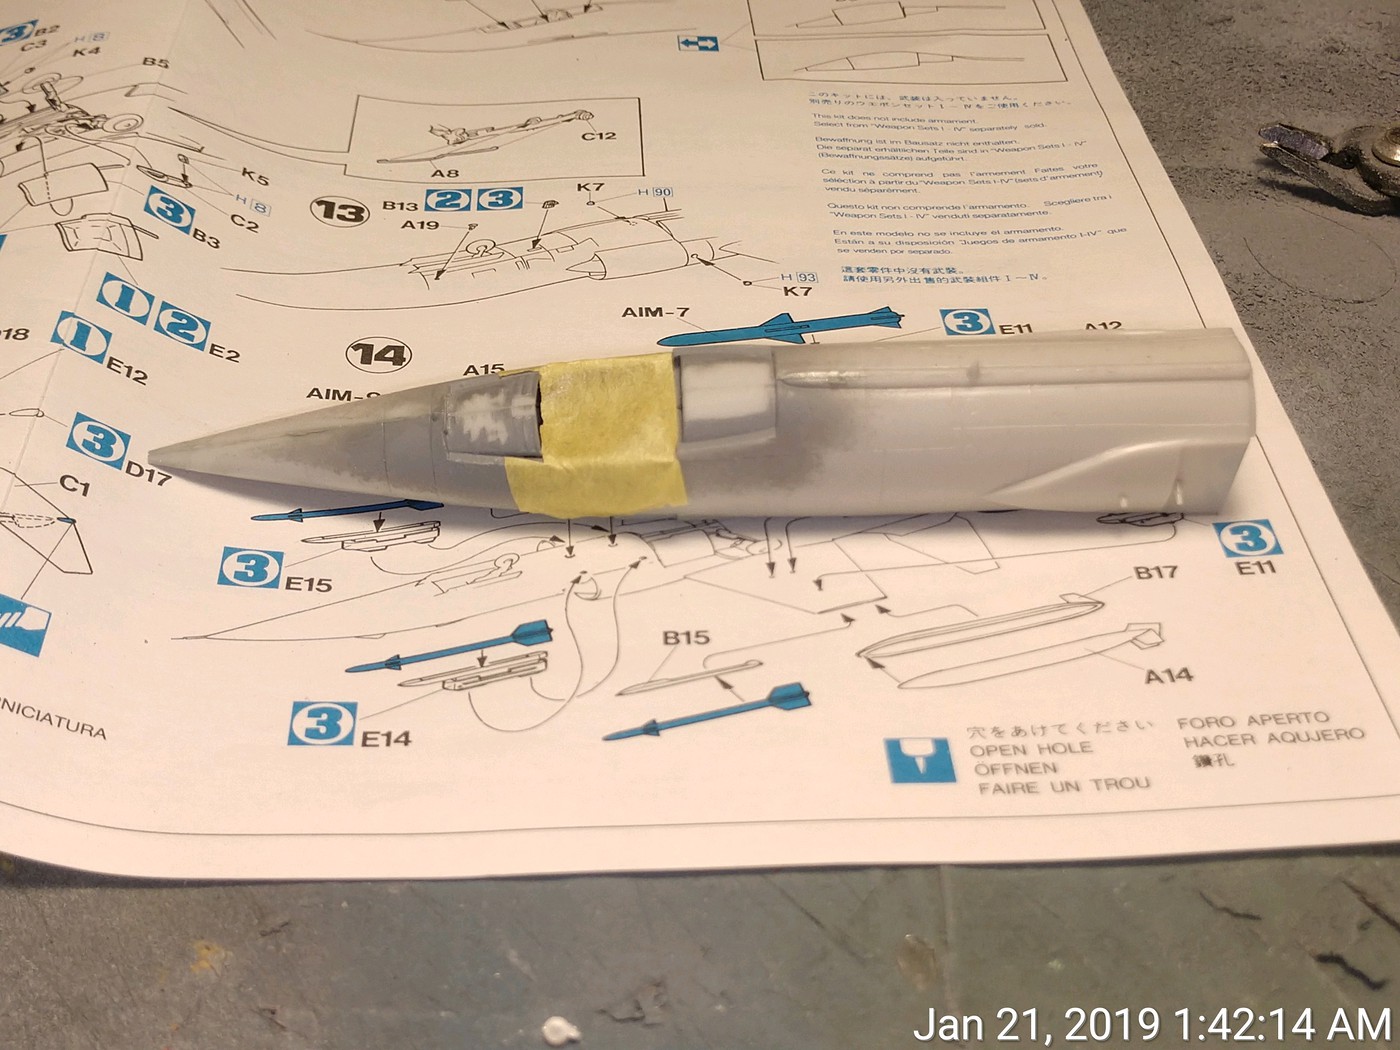
The fuselage together.
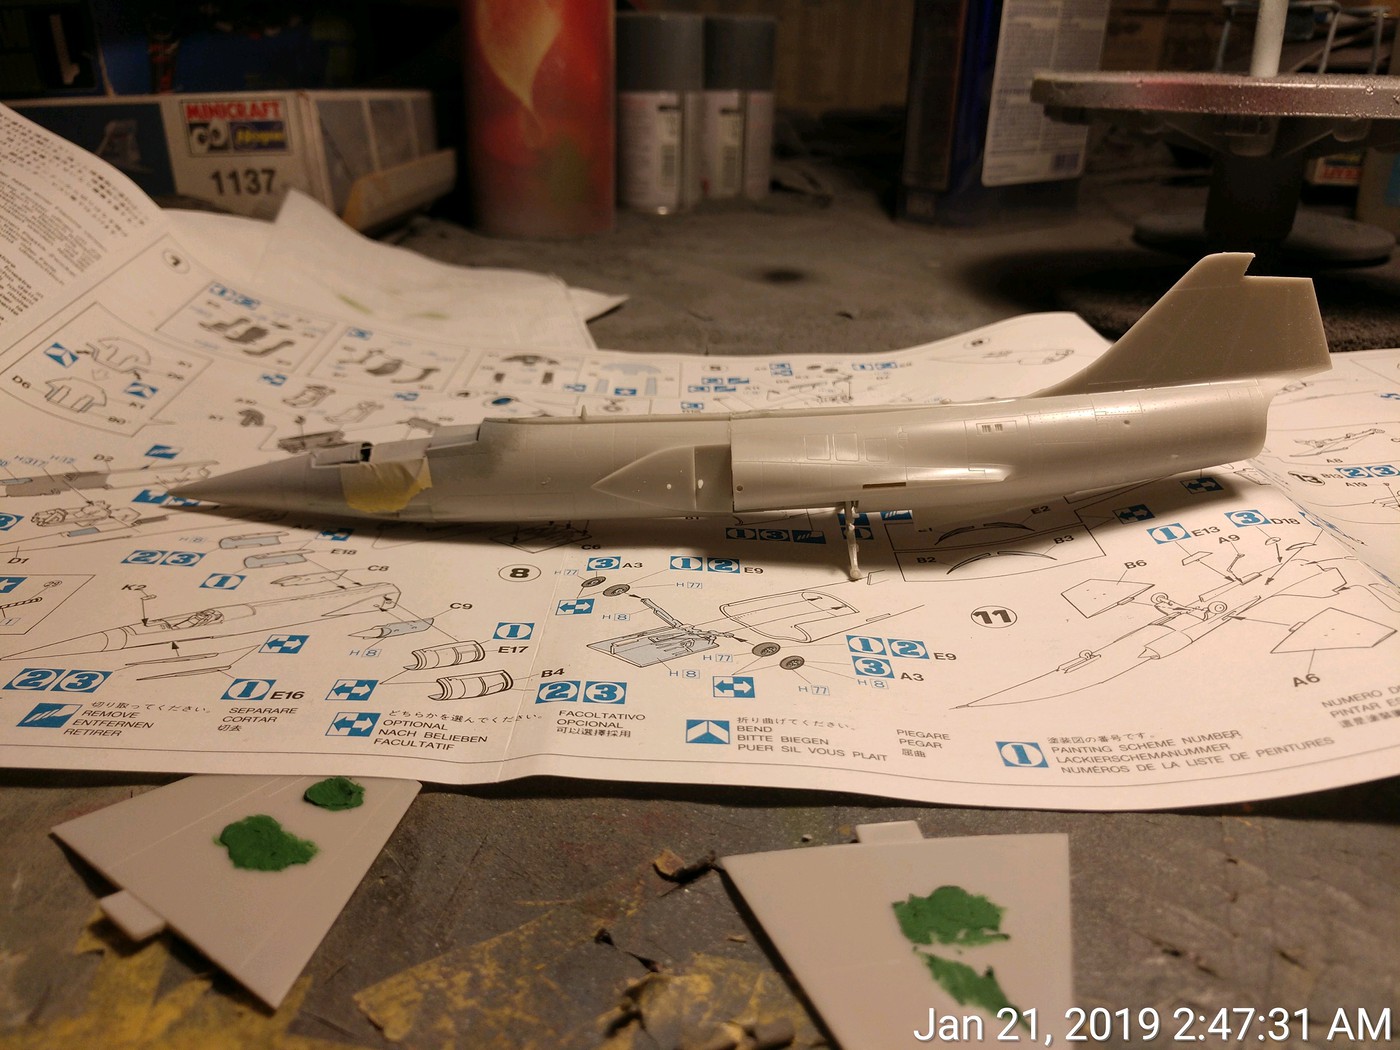
Now we have something that looks like an airplane.
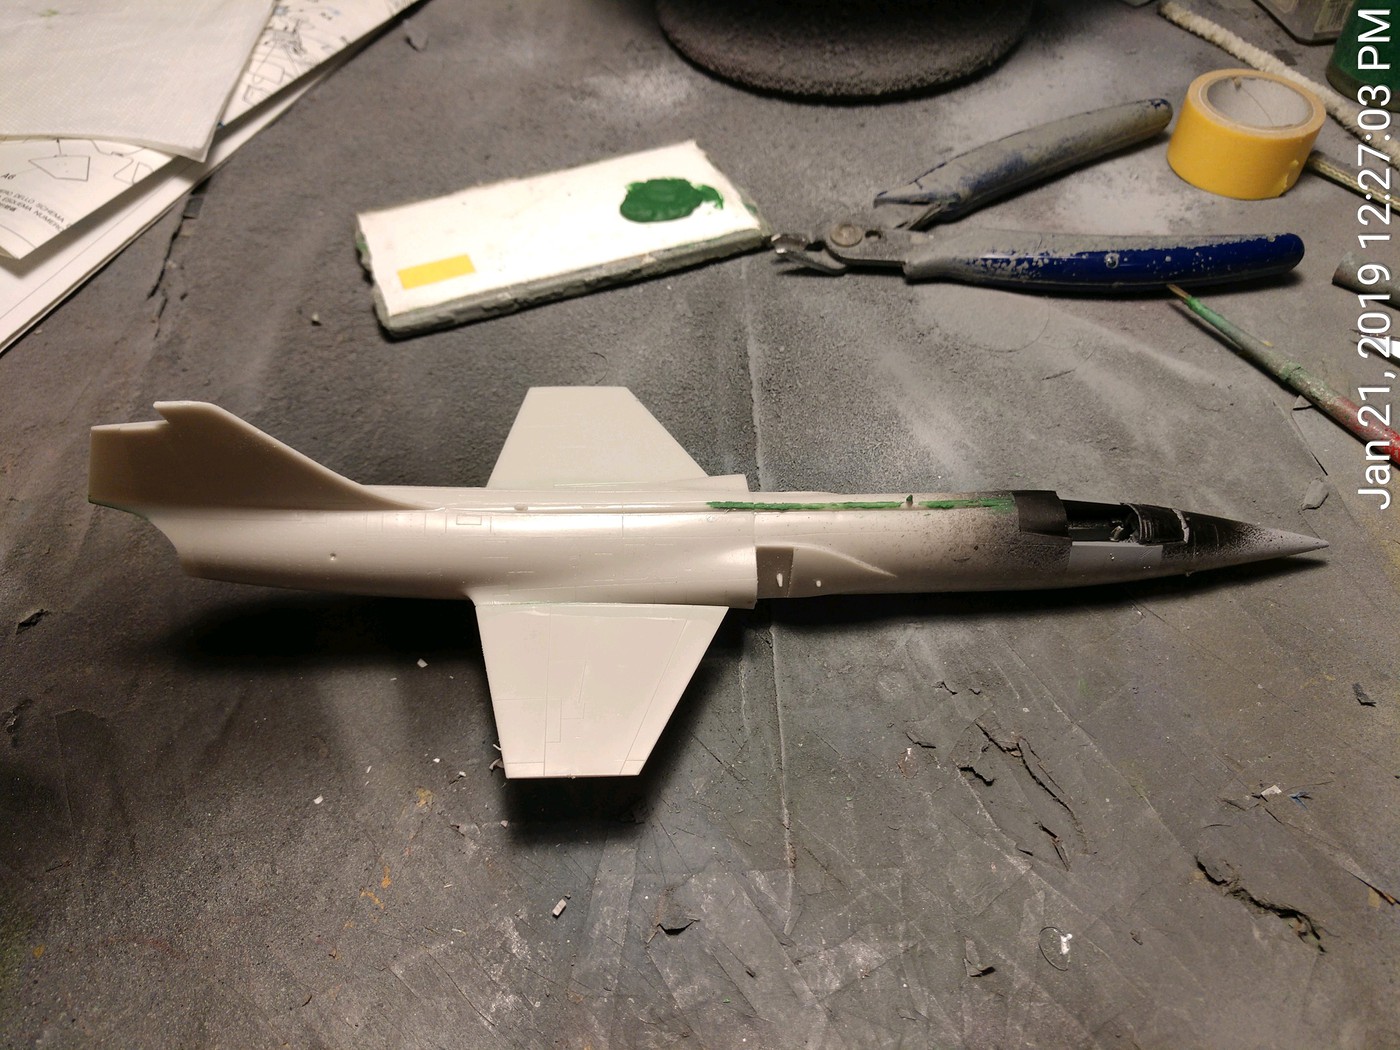
Now the fun begins. I've got another one of these under construction and I had very little trouble getting the fuselage lined up right, the wings to fit, etc. I was originally going to do the German scheme on that build, but I attached the T-tail and I needed it left off to apply some decals to the vertical stablizer. So, it will become the Canadian F-104G instead. As I said, I had no problem attaching the wings to that build, other than the fact that it might have too much anhedral for the wings. On this one, no such luck.  Although it's not visible in the pic, there is a step on the left side of the fuselage where the front and back halves meet. I don't know if something got misaligned in construction, but something's wrong there. I also had a problem attaching the wings. The right wing refused to even try to fit good. I thought I might have gotten something in the way of the mounting tab so I trimmed it down and the wing still wouldn't fit. So I trimmed some more until there was almost nothing left and it still wouldn't fit. I grabbed a right wing out of my TF-104G, and it fit somewhat better, but there is still a good sized gap to take care of when I get home tonight. I might try some strip stock or gap filling superglue to fill the gap. You don't even want to see the wing alignment.

The right side.
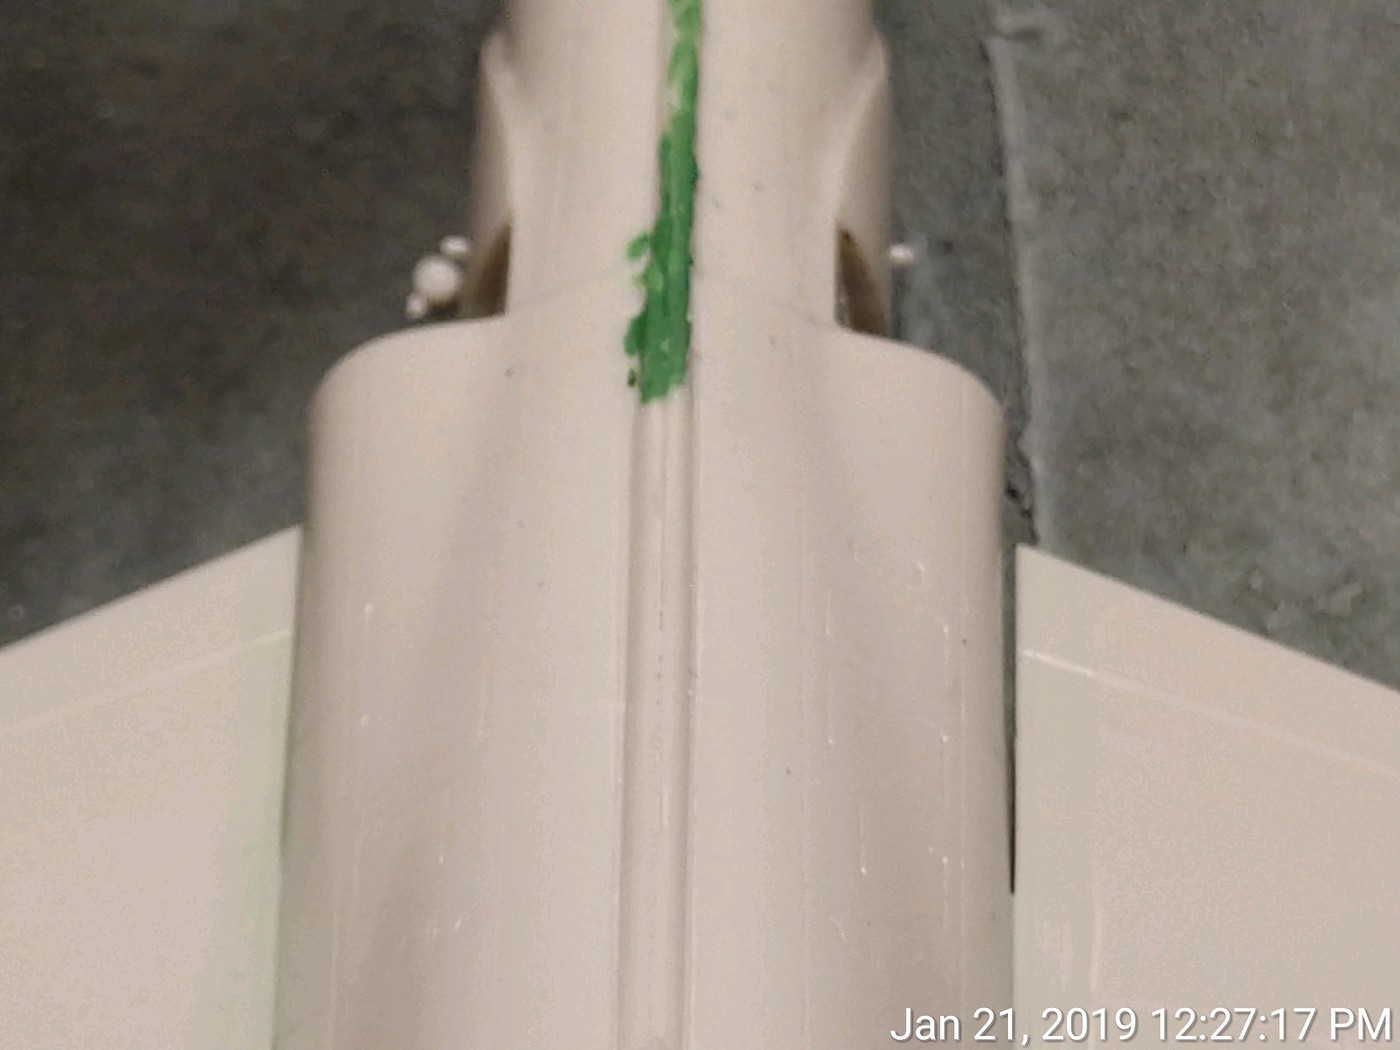
The left side. Not much better.
Right now I'm thinking about hitting them with some gap filling superglue then zapping it to cure it quickly. The only problem with doing that is that it after a certain time (usually about an hour) it gets too hard to sand. One thing I did learn from my earlier build was that canopy masks are a must as I couldn't pick out the canopy frames under my Tamiya tape masking attempt. If I can get her into primer before I hit the sack tonight, I think I'll be golden. You still have a few weeks to get a build completed before this thing of ours ends.

Buddy- Those who say there are no stupid questions have never worked in customer service.

  • Member since
    February 2010
  • From: New Jersey
Posted by 68GT on Monday, January 21, 2019 7:41 PM

Nice job Ernest!

On Ed's bench, ???


  • Member since
    June 2008
Posted by lewbud on Monday, January 21, 2019 7:44 PM

Front page is updated! A total of 20 models have been completed so far. Not bad gents, not bad at all.

Buddy- Those who say there are no stupid questions have never worked in customer service.

  • Member since
    June 2008
Posted by lewbud on Wednesday, January 23, 2019 1:55 AM

I got home last night after work and started on the wing gap problem. Since there were other problems with this build and it will only see the light of day in the back of Buddy's Used Airplane Lot, I used gap filling superglue to fix the problem. I applied the superglue from the underside, which minimized the amount of sanding (there was still a good deal of it) on the visible top.  Once that was done, I installed the bang seat, masked the canopies, primered it and went to bed. When I got up, I applied the base coat of Tamiya gloss white, and waited for that to dry. About 45 minutes after the last coat, I masked off the top half of the fuselage so I could paint the light blue lower.

Crappy phone pic follows.

After about 45 minutes to an hour, I pulled the tape off and was rewarded with this.

As I was touching up the blue underbelly, the can of air ran out leaving me with the intakes and landing gear doors left to paint. Will pickup a can this weekend. Since I was at an impass regarding paint, I started to add the decals. I don't understand how Hasegawa had a problem with the color white on decals, but they do (or at least did in this case and in many others in my stash).

In the morning I'll trim the decals, add the horizontal stabilizer, wheels and nose gear. Hopefully will be done by the weekend.


Buddy- Those who say there are no stupid questions have never worked in customer service.

  • Member since
    February 2010
  • From: New Jersey
Posted by 68GT on Thursday, January 24, 2019 6:37 AM

Nice, I have decals of this subject in 1/48 but havnt found a suitable kit on the cheap for them.

On Ed's bench, ???


  • Member since
    June 2008
Posted by lewbud on Saturday, January 26, 2019 6:54 PM

Thanks Ed.  Been offline for a couple of days. 

Buddy- Those who say there are no stupid questions have never worked in customer service.

  • Member since
    April 2014
  • From: Australia
Posted by lostagain on Tuesday, January 29, 2019 5:51 AM

Great painting Bud, the white on blue has come up a treat.

Don't know if they shared moulds, but the old Heller TF/F 104 had the same break up of the fuselage to do both variants.

How do you get to be masking off gloss white an hour after the last coat? Takes me hours before I can even look at it, masking takes a couple of days...

  • Member since
    June 2008
Posted by lewbud on Wednesday, January 30, 2019 10:46 PM

Thanks Lost.

The Hasegawa kit is it's own mold. While it's an efficient way to do different variants, it does pose some problems. As for the paint, it's Tamiya Lacquer out of the rattle can, virtually idiot proof. It's dry to the touch in about 15-20 minutes and ready for masking in about an hour. If memory serves, there are about 5 coats of white on the airframe. Three or four mist coats and then one or two wet coats for a smooth glossy surface. Something I learned while painting cars. The blue is Mr. Color and looks to be a dead ringer for NASA blue should I ever find those decals. I left off the intakes for painting purposes and that was a mistake as they don't fit well and there will be an UGLY join to the fuselage. I wish Hasegawa had made an A/C variant, but they did G's, J's and S's only.

Buddy- Those who say there are no stupid questions have never worked in customer service.

  • Member since
    March 2008
Posted by Caveman on Wednesday, February 13, 2019 3:11 PM

Bump.

We still going?  Never saw an official close for this one.  Long weekend approching and nothing better to do.......


  • Member since
    June 2008
Posted by lewbud on Wednesday, February 13, 2019 7:26 PM

Caveman,

It's still going. German Armor said he was waiting on parts for his BA-64 to arrive sometime this month so I told him I'd keep it open for him. If you're up for it, go for it! 

Buddy- Those who say there are no stupid questions have never worked in customer service.

  • Member since
    February 2016
  • From: Ice coated north 40 saskatchewan
Posted by German Armour on Wednesday, February 13, 2019 7:41 PM

Well, I have the parts! Just have to finish up my SSGB model.Wink

 Never give up, never quit, never stop modelling.Idea


  • Member since
    June 2008
Posted by lewbud on Monday, February 25, 2019 5:33 PM

Alright gents, this thing of ours has run its course  This build will officially close at 0001 Monday 3/4/19. If you haven't started your last gasp build by midnight Sunday 3/3/19, it will have to wait until next time.  If you're like me and have unfinished builds, keep at them and post them when they are done.

Buddy- Those who say there are no stupid questions have never worked in customer service.

  • Member since
    April 2015
Posted by Mopar Madness on Monday, February 25, 2019 7:09 PM

I think this is the longest running Weekend GB!  Nicely done Buddy!

Chad

God, Family, Models...

At the plate: 1/48 Airfix Bf109 & 1/35 Tamiya Famo

On deck: Who knows!

JOIN OUR COMMUNITY!

Our community is FREE to join. To participate you must either login or register for an account.

SEARCH FORUMS
FREE NEWSLETTER
By signing up you may also receive reader surveys and occasional special offers. We do not sell, rent or trade our email lists. View our Privacy Policy.