Yawn? Where'd everybody go? Sunday Night no-joy? The Luxery Cruise to Canada musta been too much for everyone except Boba Fett! Good job lad! Keep us from running aground!
Right back to business. I have been scratching this bomb bay for the Ventura for days it seems. Think I can call it nearly wrapped up. At least bombbay wise.
Two reasons I chose to do this was one it has a really cool bomb bay that is kinda odd to me and two a lot of people think this Aircraft was a recon or runabout transport. Not so this was a beast of a combat aircraft that served as a Medium Bomber, Nightfighter, anti-sub and even an escort for the failed remote controlled Liberator Bomber that flopped killing President Kennedy's oldest brother who was the pilot.
Ok refs are hard to get so I based an awful lot on pictures of the Harpoon that I had access too. Figured it has to be close. Also found an old add that had a picture of a 1/72 scale Photo etch set for a PV-1 Ventura Bombbay. How accurate is it? I dunno but better than nothing right?
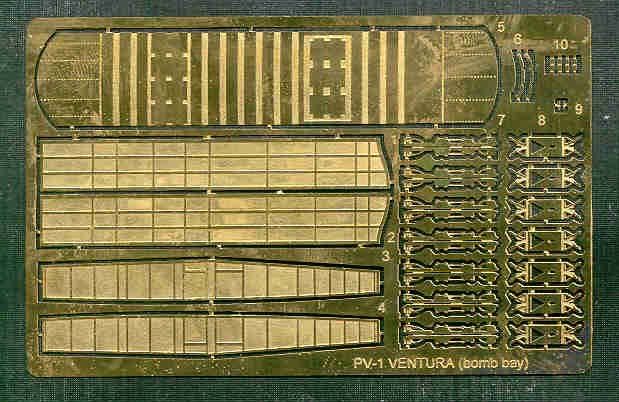
Good picture so I simply blew it up to 1/48 scale or close enough to fit the FM Ventura. Used metal shears and scrap PE frets to cut parts using this as a pattern and create a 1/48 PE Bomb bay for my model. One of a kind I guarantee it! ![Thumbs Up [tup]](/emoticons/icon_smile_thumbsup.gif)
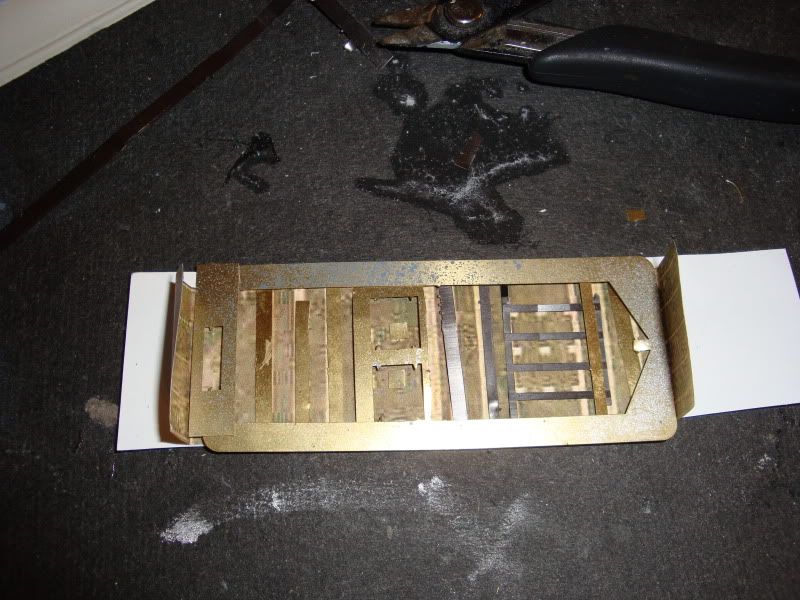
Lots of work and made a lot of sharp little brass spinters in the process so be careful if you try it! Owie!
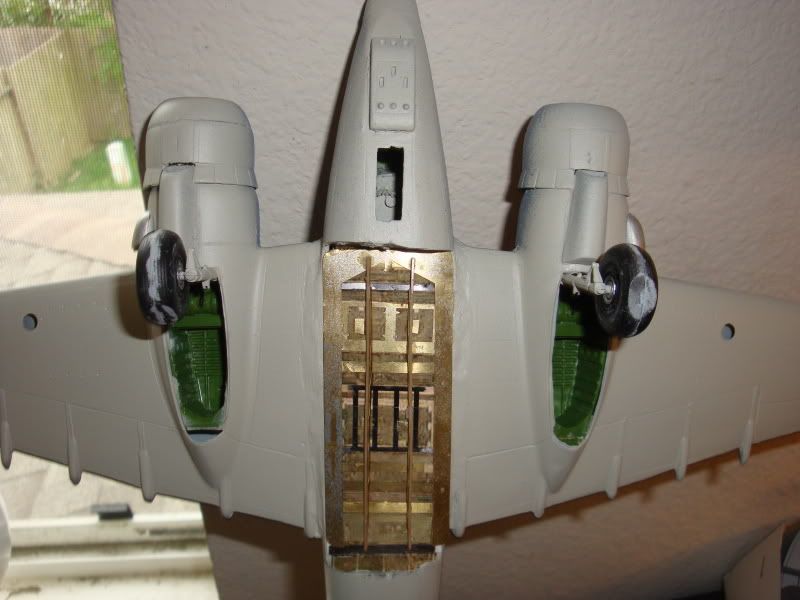
The doors were cut and details added much the same way. Small higes of Tamiya Tape were made so they could be positioned. Had to make things temporarily moveable to get everything into a correct position.
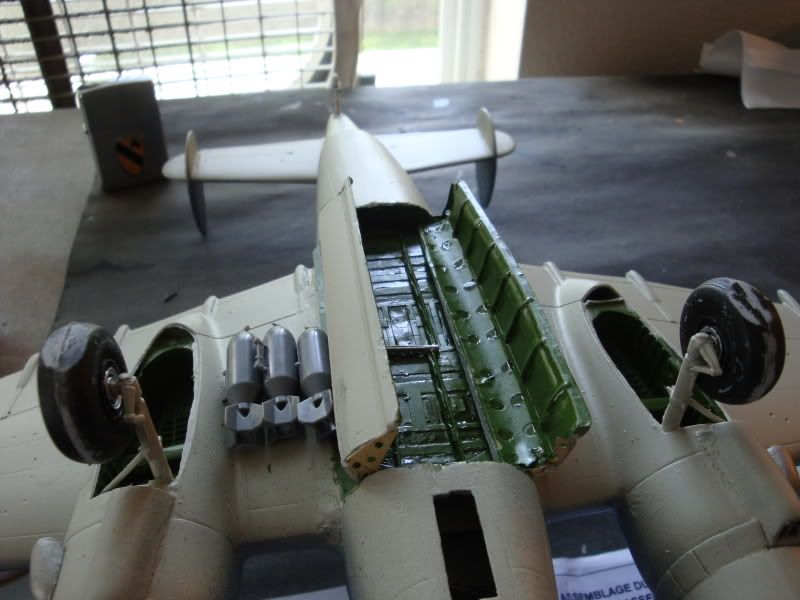
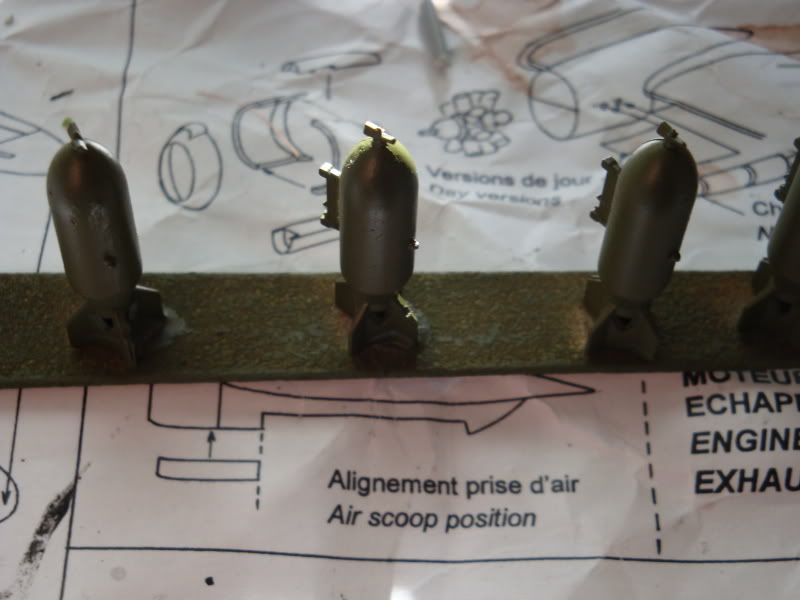
I decided to arm this newly created hole with 4 500lb GP bombs from the Academy 1/48 Armament set. I liked the detail and size of them. Tacked them to one of the many worn out emery boards and gave them a squirt or 2 of Olive Drab!
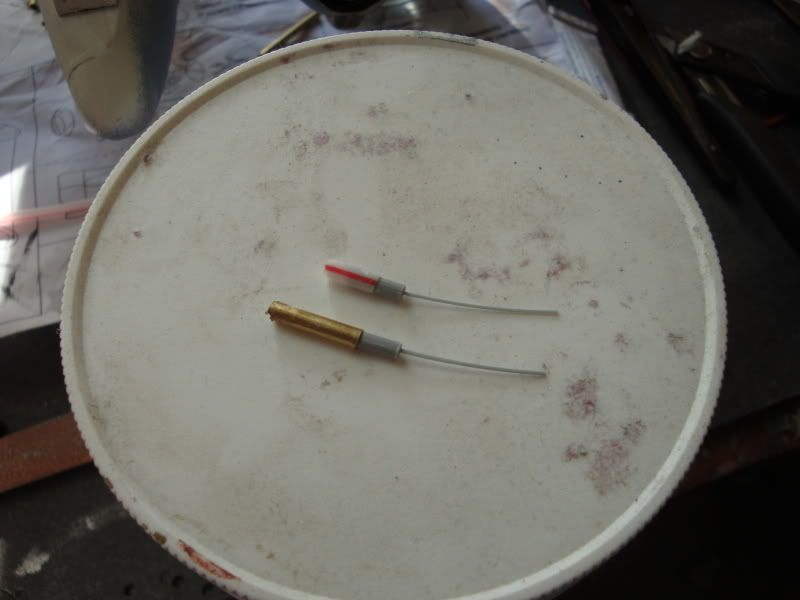
To open and close the doors in the real thing was a pair of hydralic pistons attached to hinged braces. Well where am I getting those. I made them from brass tube some sprue that was the right diameter and stretched sprue linkage. They also move in and out for positioning. A must!
Put it all together and it looks like this.
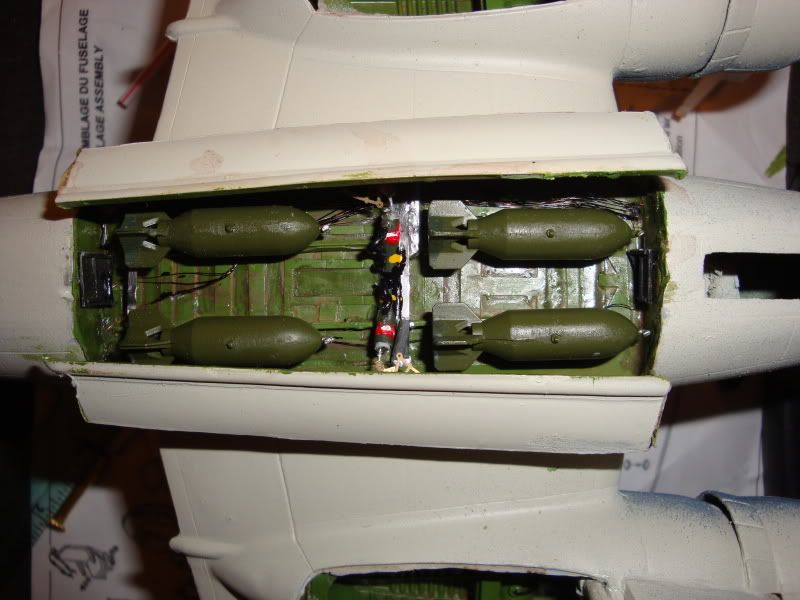
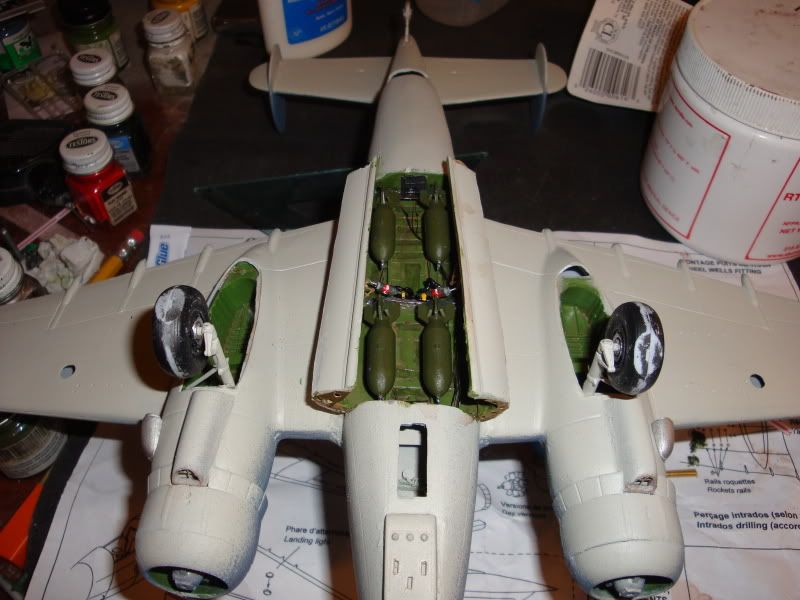
Not too shabby considering what was there before was just molded in recessed lines representing doors! All it needs is 4 pieces of stretched sprue or wire from the tips of the doors to the front and back bay wall and then some touch up paint.
Whats next? Probably the Vacuform clear parts! EEKS! At least the future is dry by now!
Whatcha think any better?
BTW who's turn was it to watch me and stop me from doing this crazy stuff! ![Mischief [:-,]](/emoticons/icon_smile_mischief.gif)
You all know better than to leave me unsupervised! ![Banged Head [banghead]](/emoticons/icon_smile_banghead.gif)