![Thumbs Up [tup]](/emoticons/icon_smile_thumbsup.gif) Now there is a Helicopter you don't see everyday Aaron! I have spent what free time I could muster today on bodywork. Lots of bodywork! Some detailing but mostly bodywork!
Now there is a Helicopter you don't see everyday Aaron! I have spent what free time I could muster today on bodywork. Lots of bodywork! Some detailing but mostly bodywork!
The engine cowling fit along with the air intake and oil coolers are real fine examples of poo! I know you all are tired of my B$*&hing so Ill just say it is tough to make something out of SH&T! So that means get out the TP!
The tail basically has to be recarved just to set on top the Fuselage then there is this big step in it.
When you look at a picture of the real McCoy you can see it is above the fuse but has a curved taper and not a hard step which makes sense aerodynamically.
This 1st one is a Harpoon which was later. It has a bit of a step the Venturas don't.
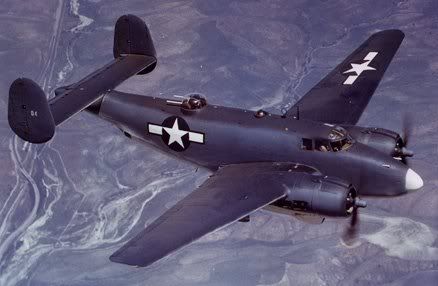
See? ![Banged Head [banghead]](/emoticons/icon_smile_banghead.gif)
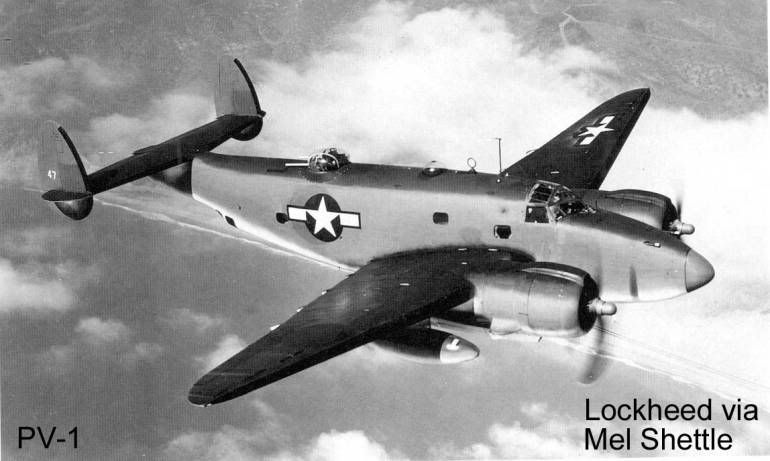
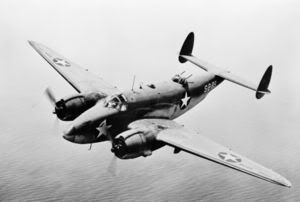
Sorry I didn't take a picture but it looked like a 2 by 4 board across the top. To fix this sanding is out as you couldn't get the right shape even if the plastic held together. Putty? White out? Mr Surfacer ? Gosh that would take forever and be real brittle. CA would run all over and look bad. So my solution to this poopey problem was Toilet paper! Yep!
I made a big mushy gushy spit wad outta TP and water. I mean I remeber them things being stuck on the school walls for years! I used water though gotta be sanitary if not sane right? Then mushed and roughly shaped it to form. Stuck just like I remembered. Then I let it dry.
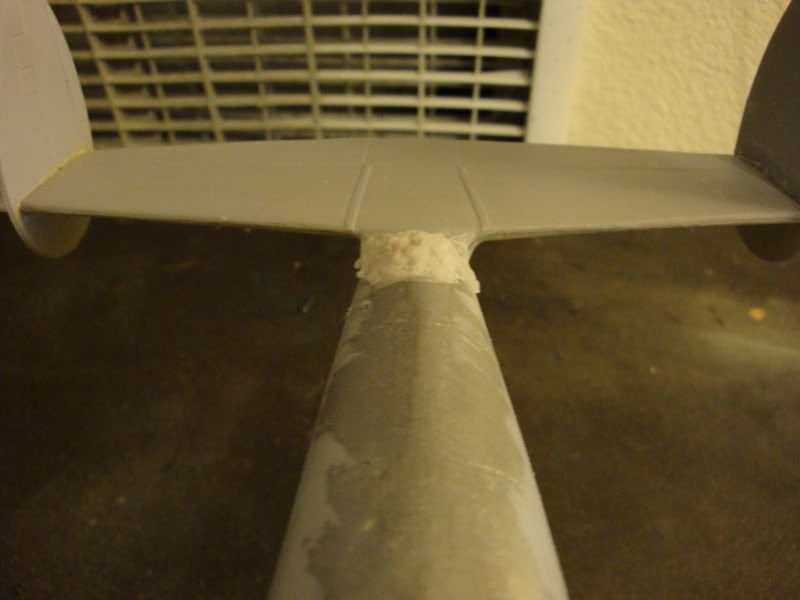
Sound crazy? Well when it was dry I then simply squirted CA superglue all over it. It absorbed the glue thirstily and held it in place. No runs no drips. When I used acclerater on it it really just allowed the CA to permiate clean down to the plastic. It made a kind of fiberglass body filler if you will.
Then I simply sanded it smooth. It sands really well and gets surprisingly smooth.
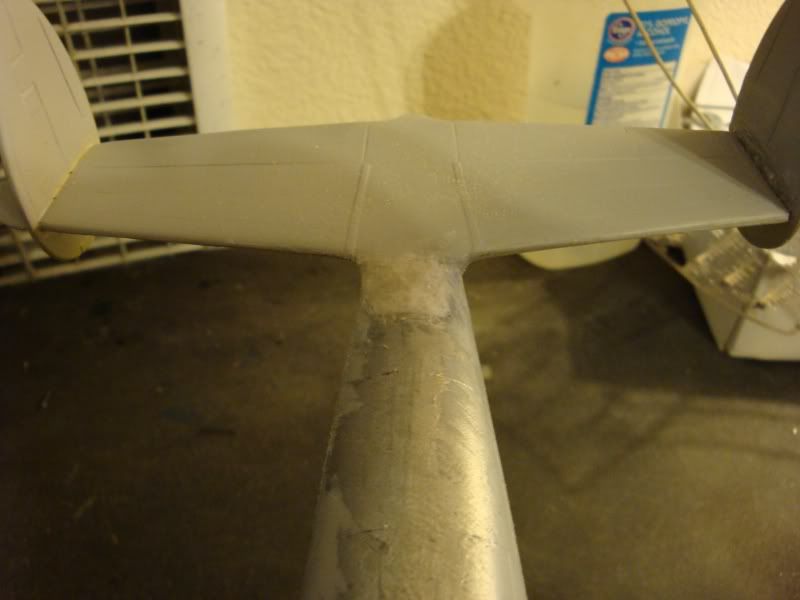
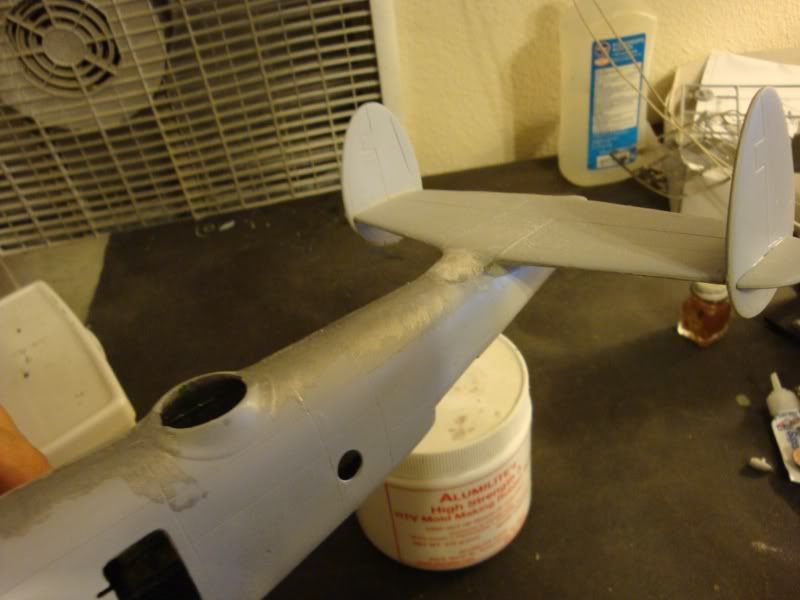
Smooth and hard enough to where an easy coat of Mr Surfacer hides the truth beneath. Don't have to worry about crumbling either like with putty! This stuff will out live the Dinosaurs... er well ( Insert proper catchy phrase here) It's midnight what do you want from me LOL! I am modeling with Charmen for Pete's sake!
This was really faster and easier than appling coat after coat of filler to build it up or make a plastic glue mush. I used that on the wing gaps and wished I had discovered the TP method before.
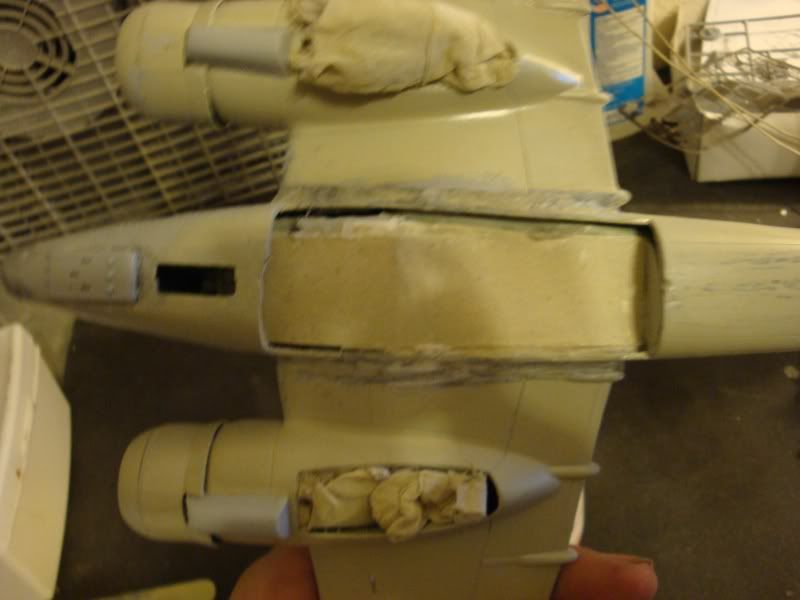
Lots of hard sanding and retouching to get a good flat seamless look. Over and over.
Anywho in between the filler drying phases I attached the engines and cursed at the Oil cooler and intake parts. I cut out the flash that was as thick as most parts from the air intake holes and added a streched sprue actuator and louvers from cut spare PE fret. Better than an open hole or sunk melted flash blob! On the Air Intake there looked like the openings had melted plasti mushed in to fill sink holes and gaps from where the plastic hadn't reached in the molding process. I shaped them as well as I could with a sharp knife and dremel but the insides looked awful. Right on top where they could be a real eye sore! I took some spare PE Screen used for covering 1/35 scale tank Vents and cut it to shape and covered them. Perfect? Maybe not but looks much better.
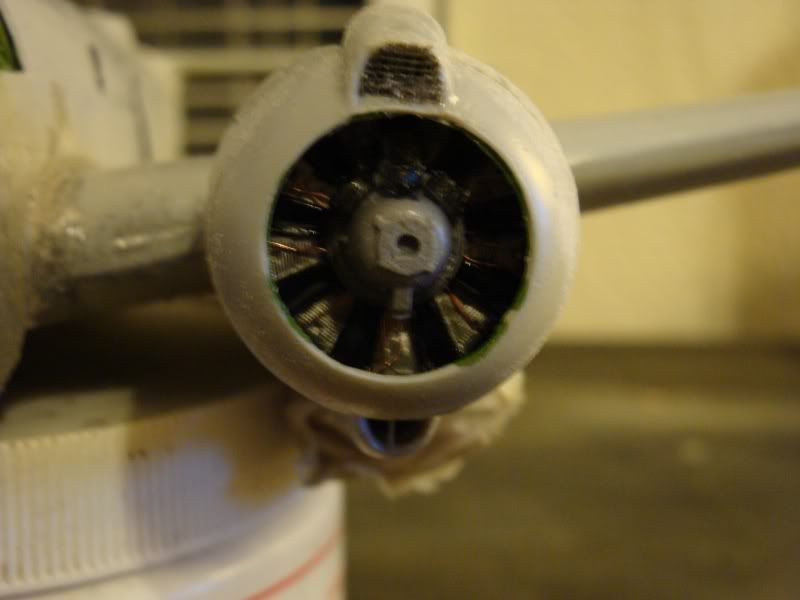
The camera zoom can be cruel but just holding and looking at the model it looks fine. Even kinda nice.
Last thing I did was cover all the seam work with Mr Surfacer 500 and will let it dry and see what it looks like in the light of day tomorrow! I am going to get this beast together even if I have to wrestle Mr Whipple for his last Roll! ![Laugh [(-D]](/emoticons/icon_smile_newlaugh.gif)
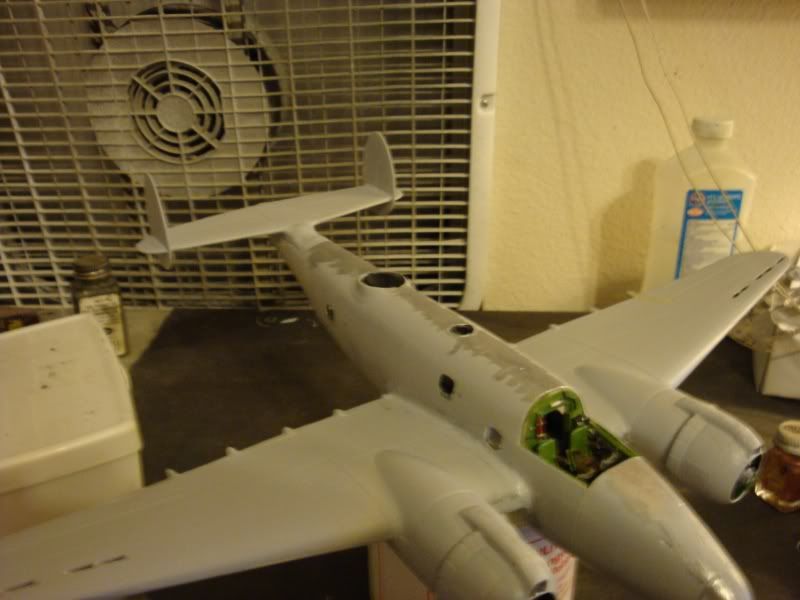
Just a quick side note.The cowlings took hours to get to look like that. The fron'ts were both to large and too small depending on whether it was top or bottom. I turned the engine covers upside down which switched some usless locating holes but allowed it to be shaped and sanded and still at least resemble a cowling. Just wanted to throw that out there in case anyone may have one of these beauties in the stash! ![Whistling [:-^]](/emoticons/icon_smile_whistling.gif)