Hey!!!
Model is DONE!!! Jippi! And I'll repost the last post with functional pictures.. I have uploaded pictures to another Photobucket I have.
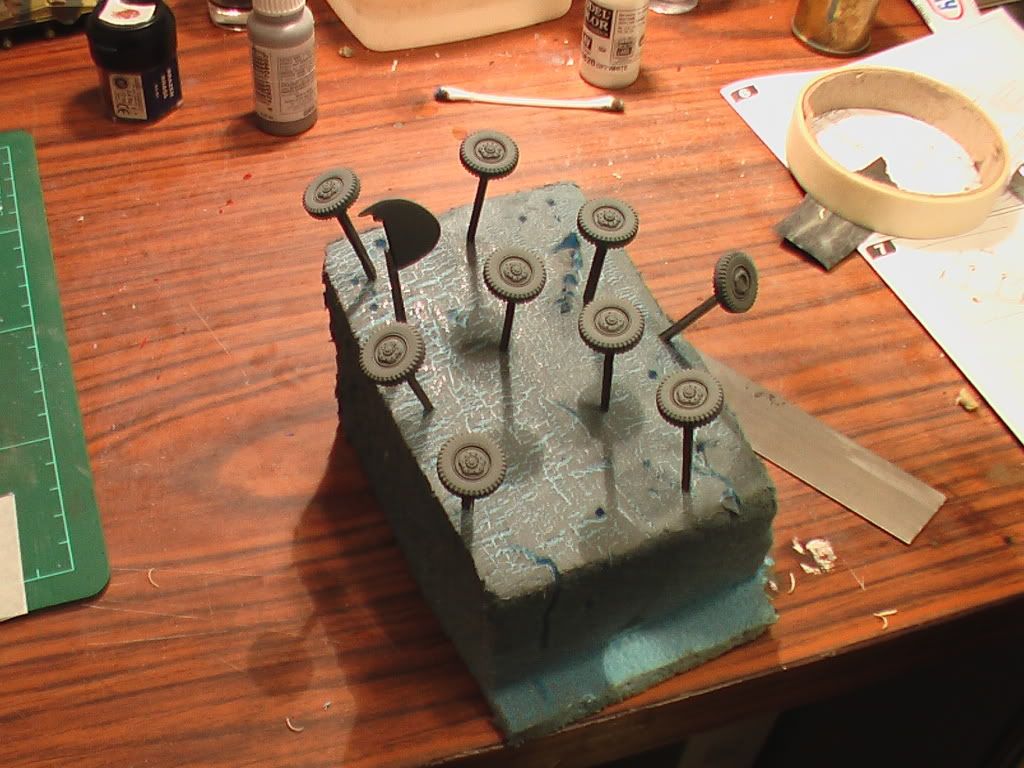
I started the wheels.. First step, trim wodden sticks, superglue wheels to wooden sticks, stick wooden sticks in a piece of blue insulation foam, prime. Don't mind the rudder. It's for the Norway WWII GB that I host:
Then brushpaint black:
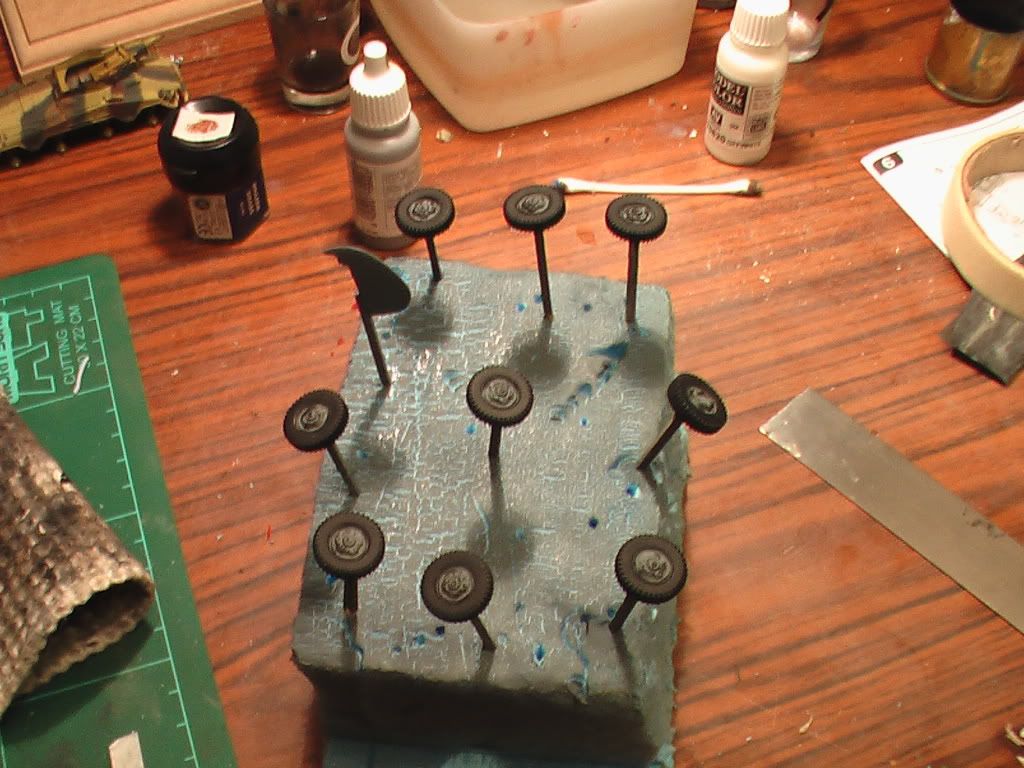
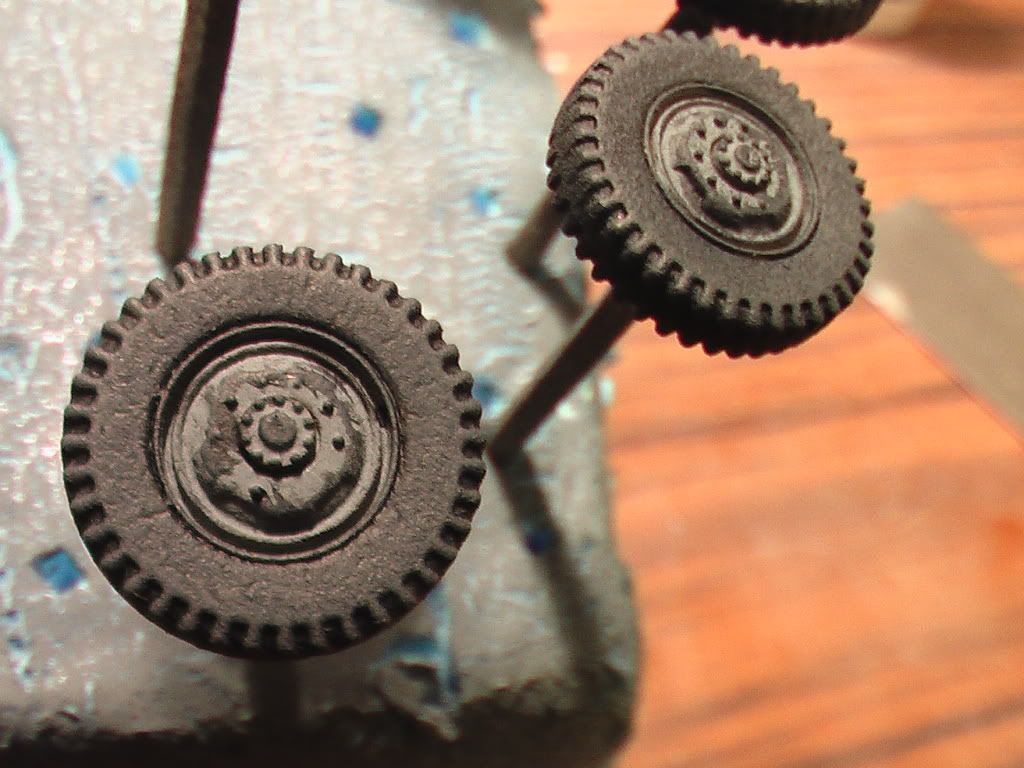
Then I am finish with the tires. Two higlights upon the black. I think it looks delicious! Now I have to figure out if I shal paint the wheel hubs sith a solid dünkelgelb or with solid camo colours.. hmmm..
Well, here the tires are finished:
-------------------------------
Ok.. let's countinue here..
A slightly scary view approached me early a march day here..
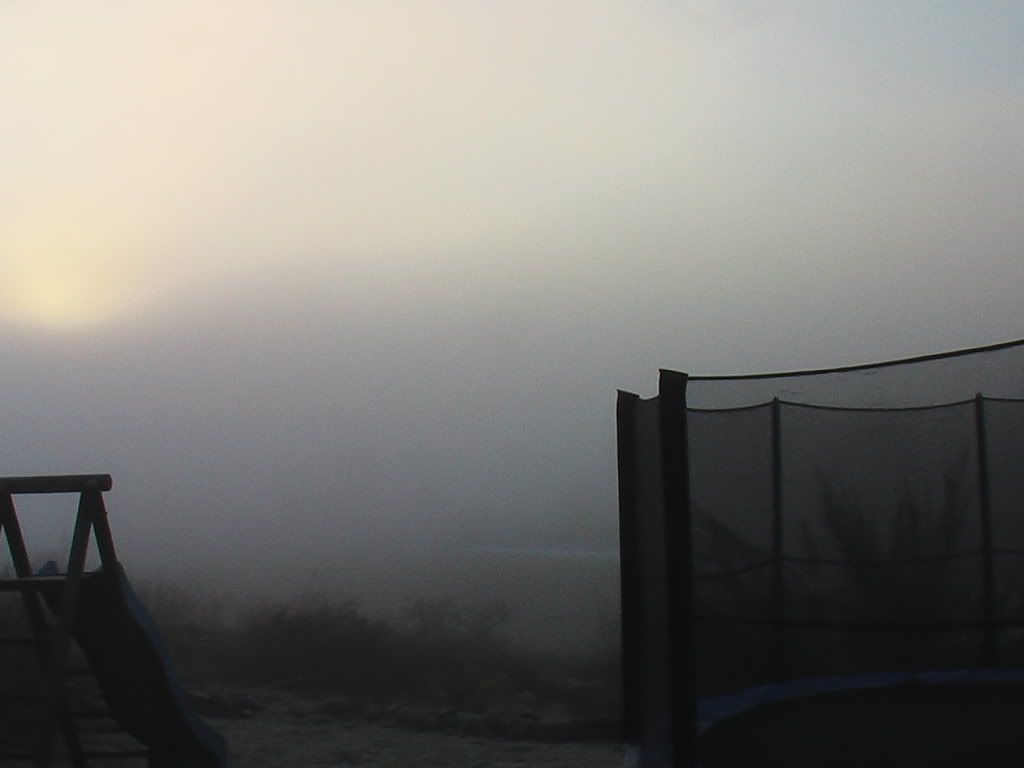
But we keep modeling eventho'! ![Big Smile [:D]](/emoticons/icon_smile_big.gif)
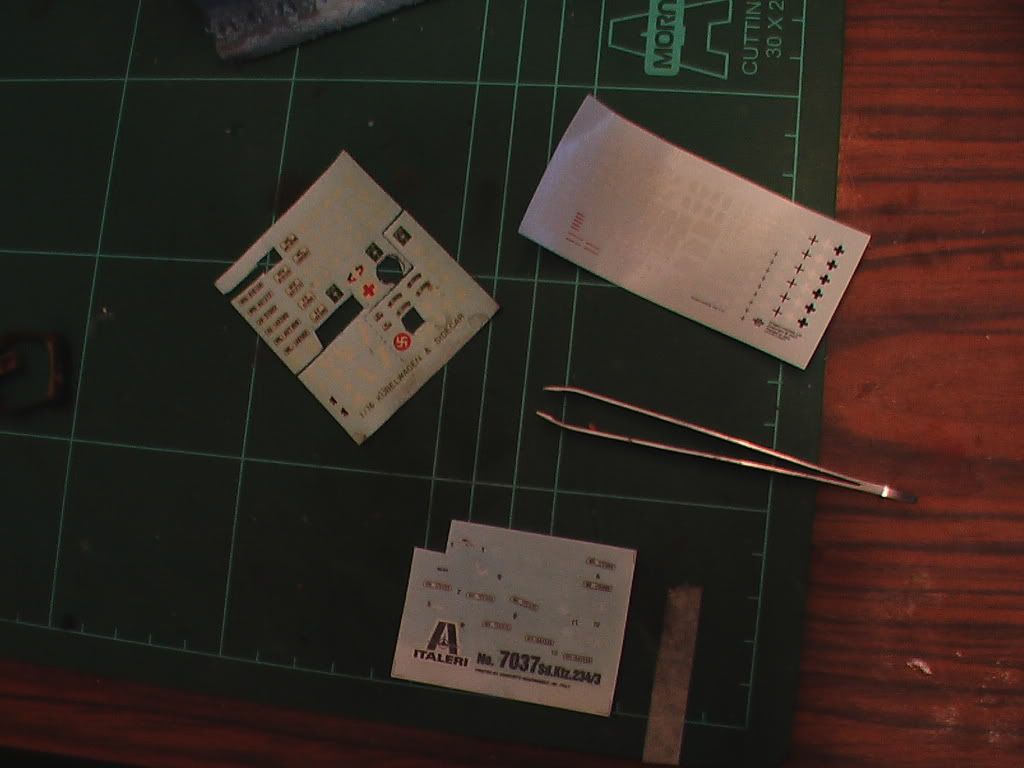
I managed to spill some Mircoscale MicroSol on the decals supplied with the kits. And I was stupid enough to TOUCH the decals I needed.. So that was that for those decals.
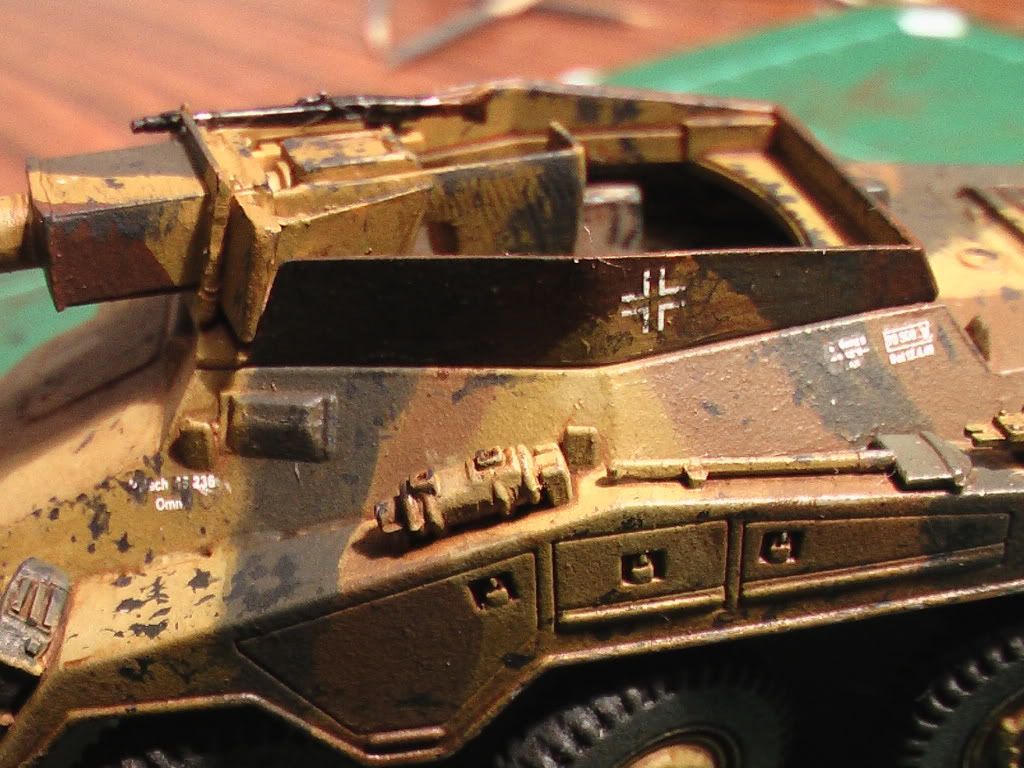
Digging in the decal spare box gave me one old sheet from Fujimi for the plates. They turned out to be SS, something I was actually looking for. 1/76 scale, but it works excellent! The other sheet was from a 1/144 DML train kit of some sort. Tons of stenciling for railwaycars and some iron crosses for identification. The crosses were not like the ones supplied with the kit, but they are authentic nontheless. The stenciling is wrong, but it works sooo good anyways! ![Big Smile [:D]](/emoticons/icon_smile_big.gif)
Underside had a nice treatment of oil wash and "SOME" chipping.

And.. DISASTER.. yes.. disaster..
The panel inside (of course the one hardest to reach) fell off. Badly glued.

So there I was.. Tweezers and glue for 2-3 hours. But I got it back in! A little bit crocked, but not too much! Had to stuff the backside with paper and glue in a bracket first though.. But it IS there now!
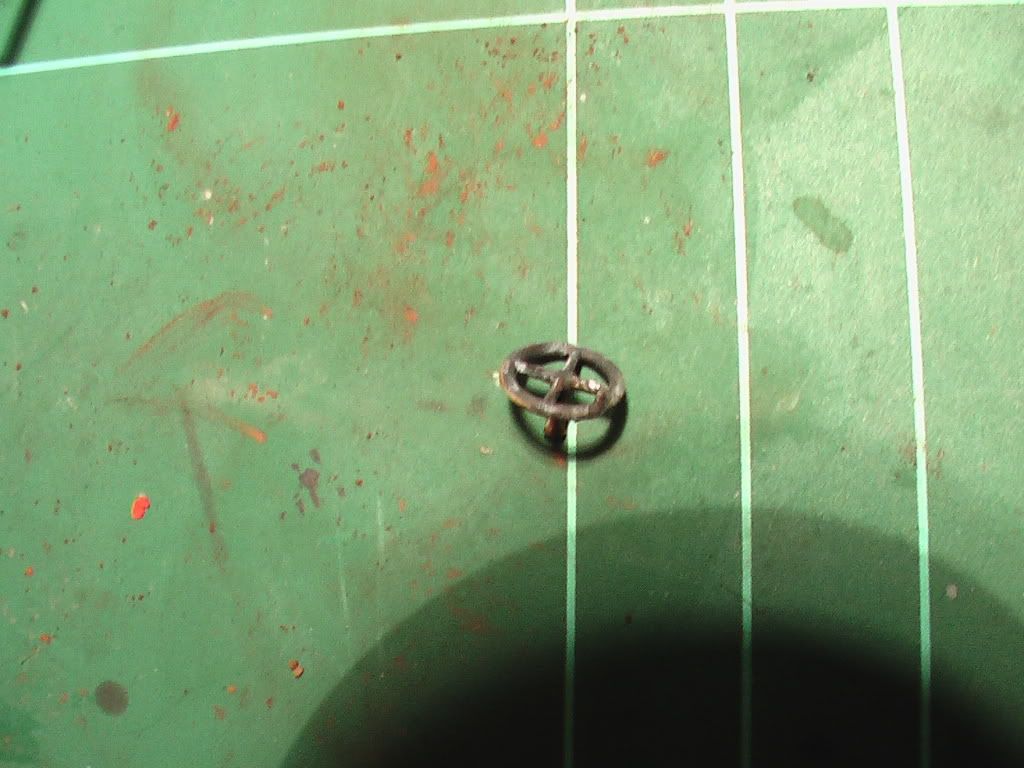
Oh, the steeringwheel fell off in the process. I didn't want to risk knocking out the panel again, so one steeringwheel to the spare parts box:
And everywhere is finished oilwashed and chipped.
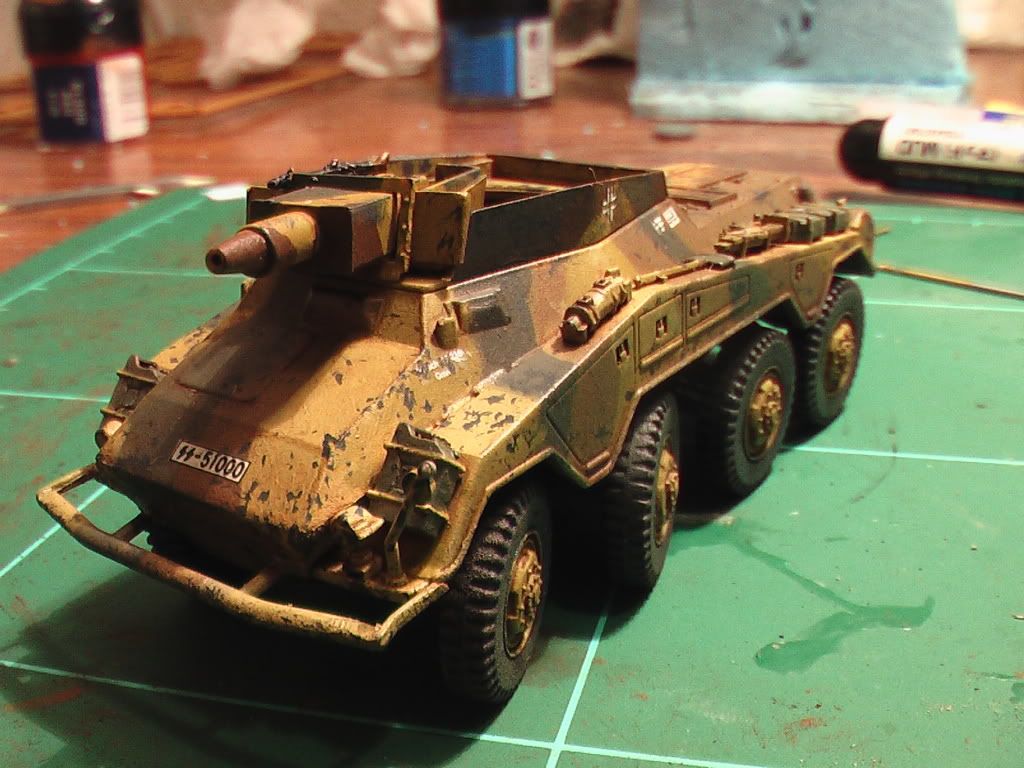
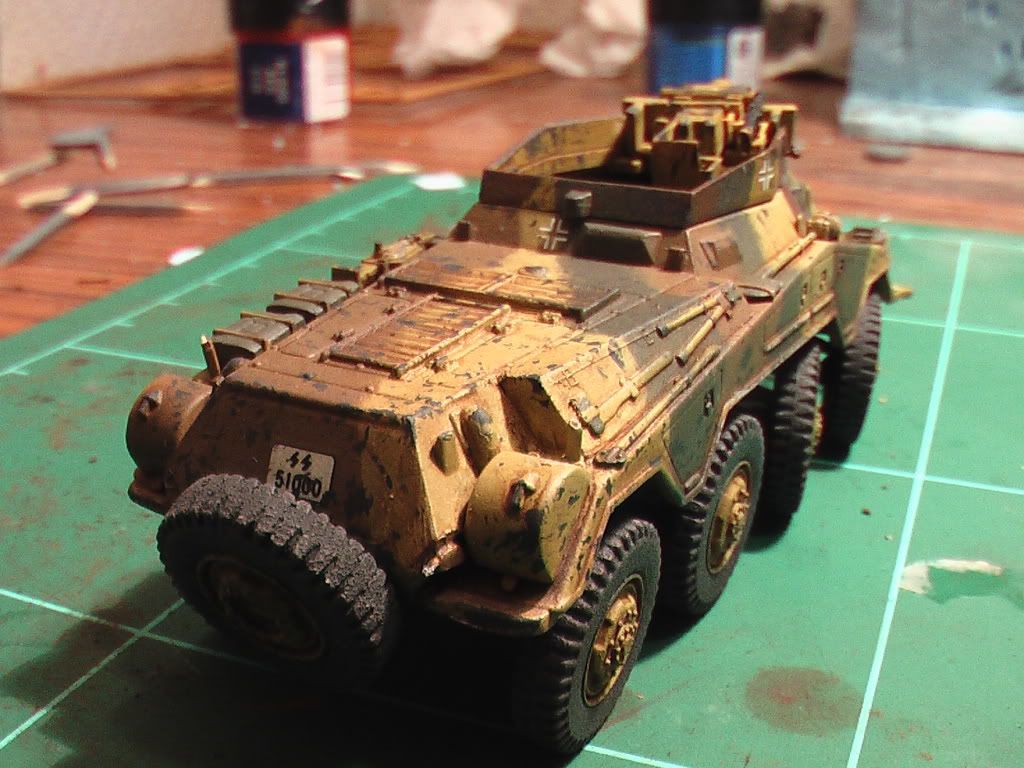
Close up on decals:
Underside after Tamiya weathering stick (applied with knife for most of the part) and MIG Pigments:

Detail on the breech. Notice the MG42. And it's wooden stock.

Ok.. See this tiny rear mirror? I drilled it out (yes.. I actually did that...) and painted it silver:
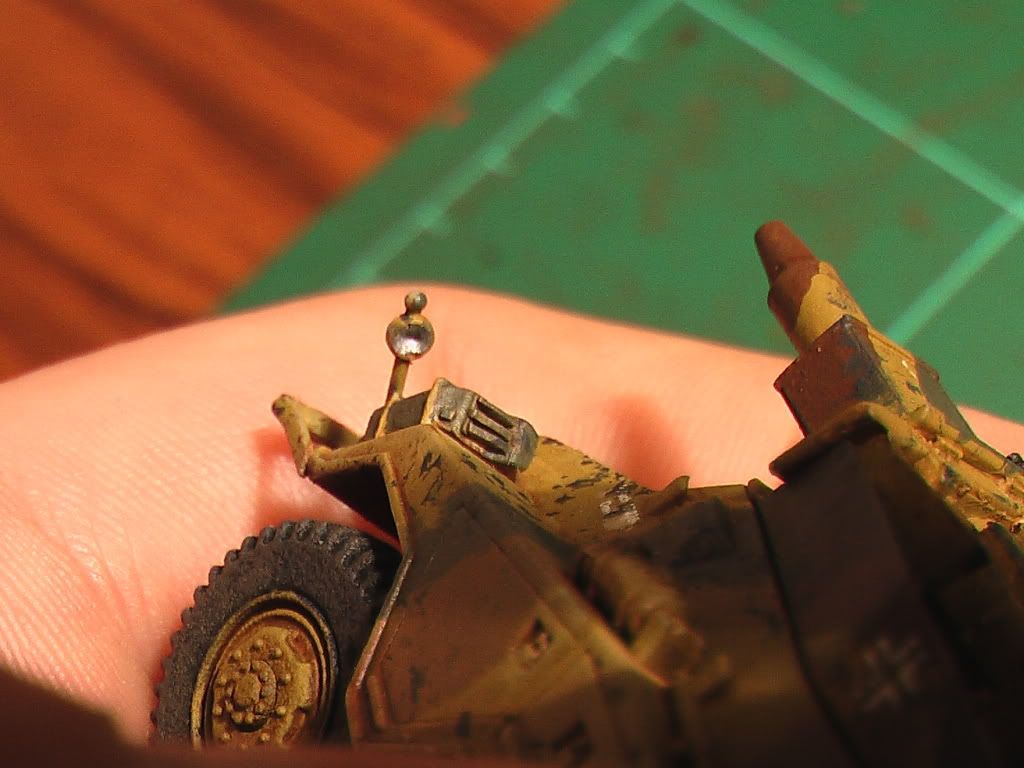
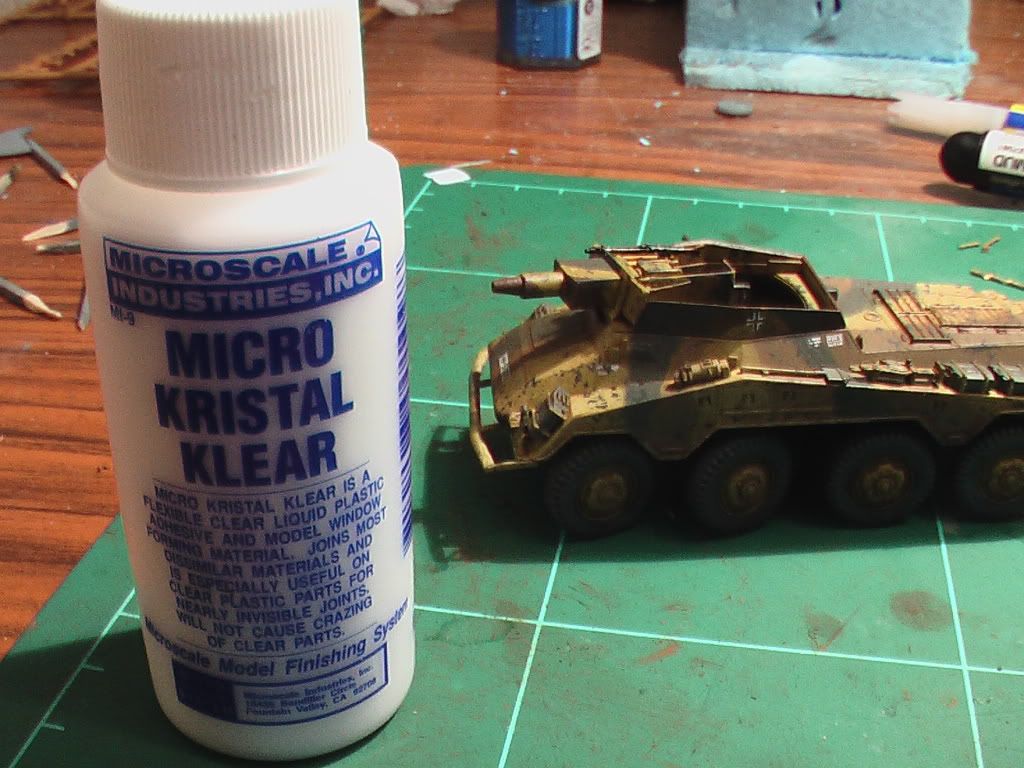
Then I applied a drop of Microscale Kristal Klear. Hey.. notice that Teeny tiny armoured car? ![Smile,Wink, & Grin [swg]](/emoticons/icon_smile_swg.gif)
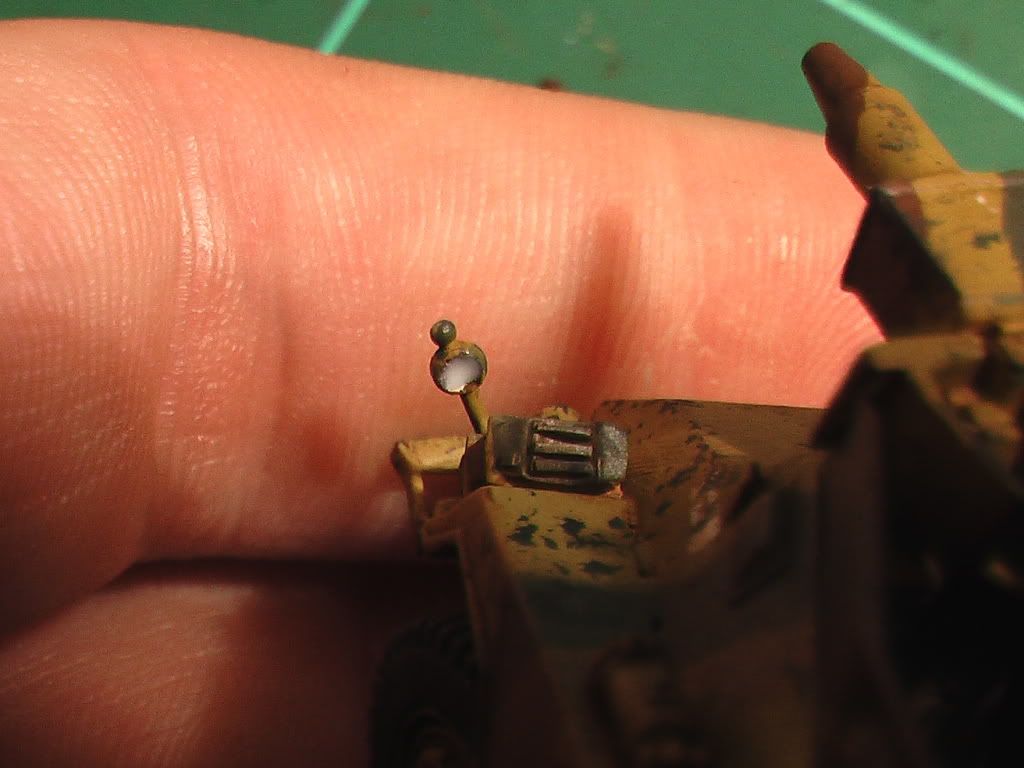
And the result:
And that's all the WIP's I had.. Questions are ALWAYS welcome. Welcome very much! So is comments and critisism..
Oh, you wanted to see the completed model aswell??
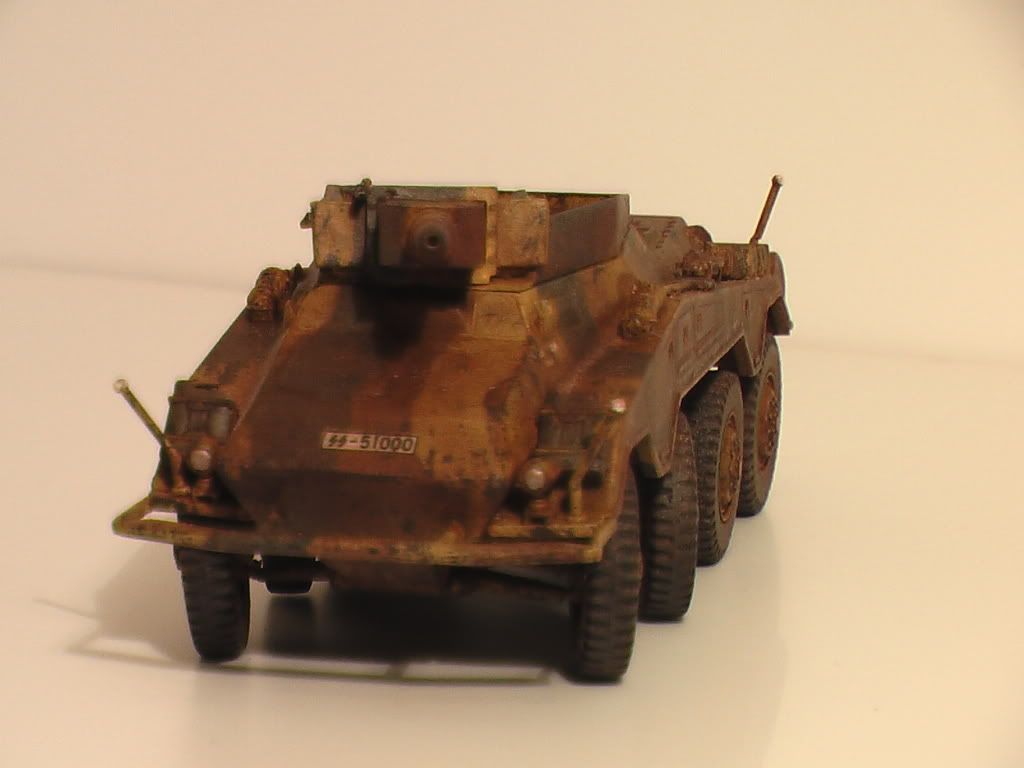
There.. I'll post waaay more pictures over at the Armour forum in the near future. (1 day probably). I'll give you a note here when it's up...
Then I just add that badge to my signature then! Or, I'll do that tomorrow.. Otherwise I'll drool over it all night and wont sleep.. Comeon, My SECOND GB badge!! ![Party [party]](/emoticons/icon_smile_party.gif)
-Lasse!