OK, guys-here we go with a weathering update.
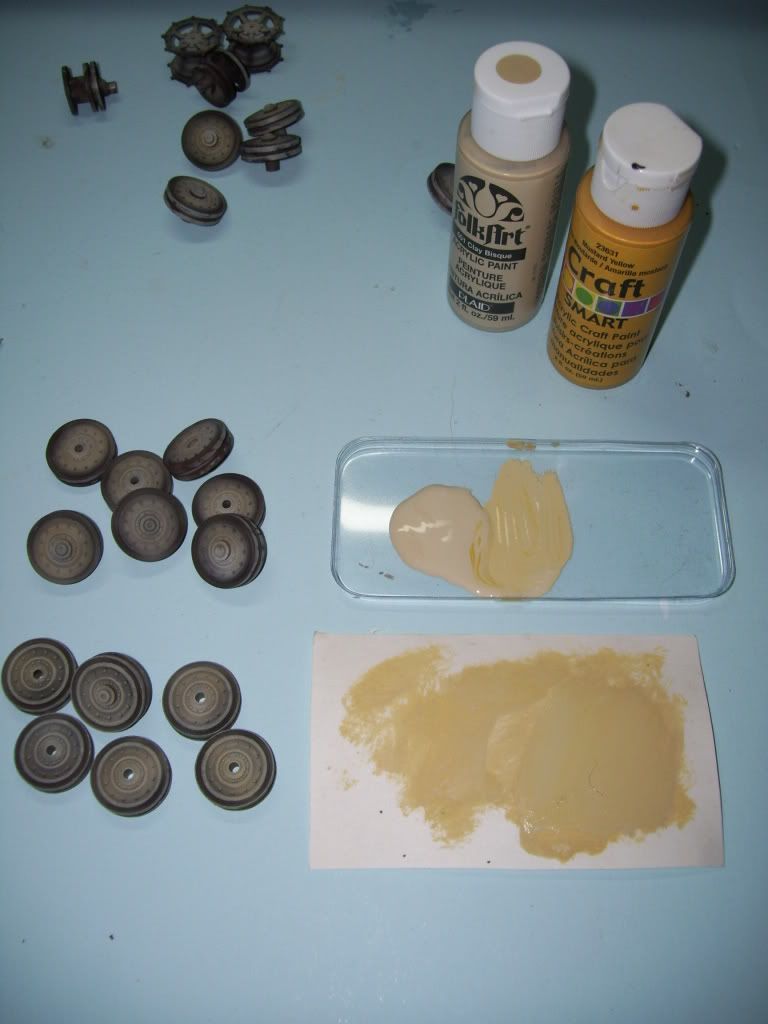
As I stated before, I'm committed to using MIG Products exclusively for the weathering of this beast, where applicable. But for the first step, of bringing out some detail here on the whels, I've mixed up a blend of craft paints to drybrush the wheels--Folk Art Clay Beige, and Craft SmartMustard Yellow. I drybrushed this over the wheels, to bring out a little detail.
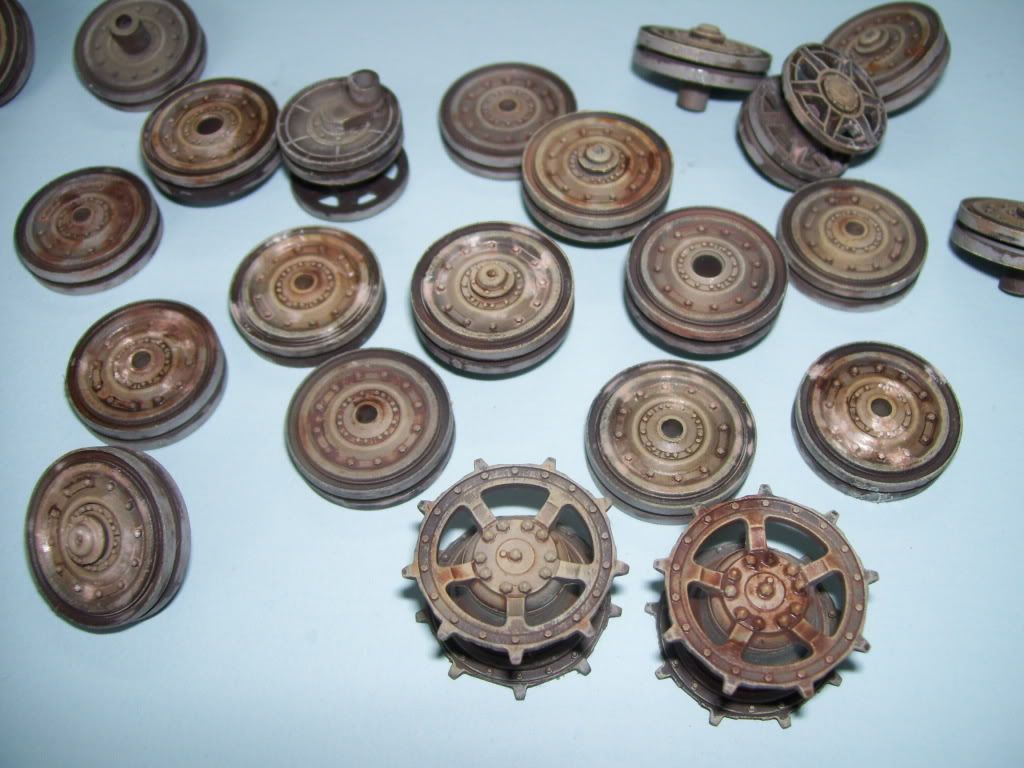
I then applied some washes of MIG's "502 Abteilung" oils, of 093 Basic Earth, 080 Wash Brown, and 001 Snow White, and set them aside to dry.
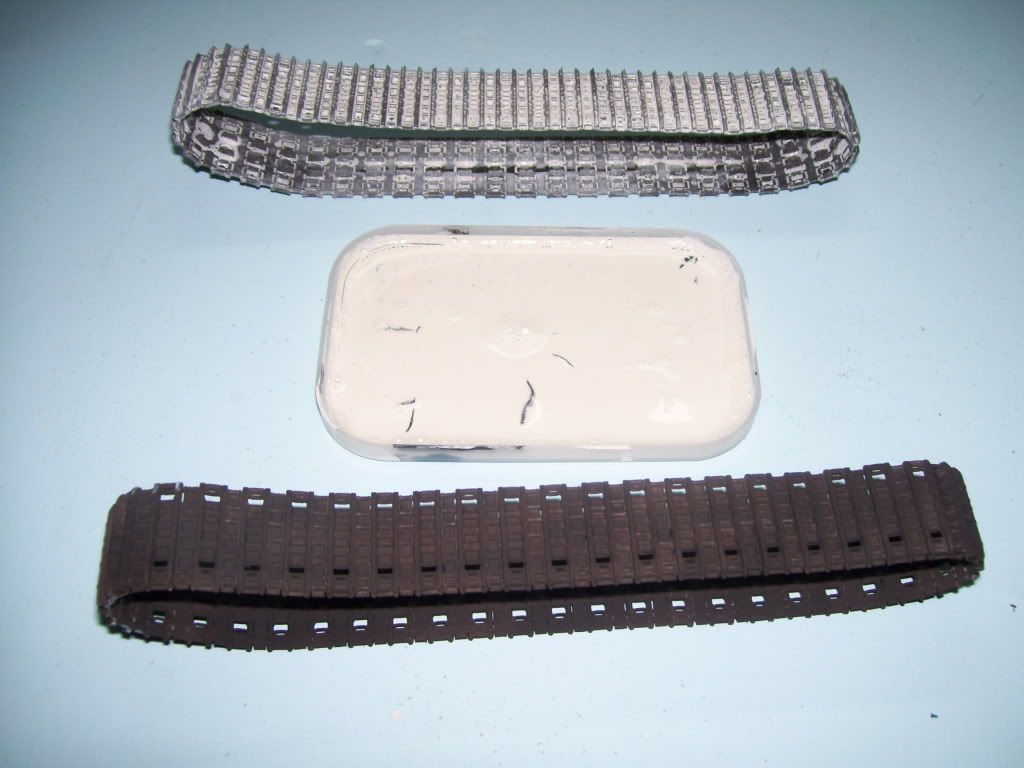
I also used some thinned white craft paint with a dab of dishwashing liquid to thin it and help it flow over the sprayed-on Tamiya mixture that I used on the hull.
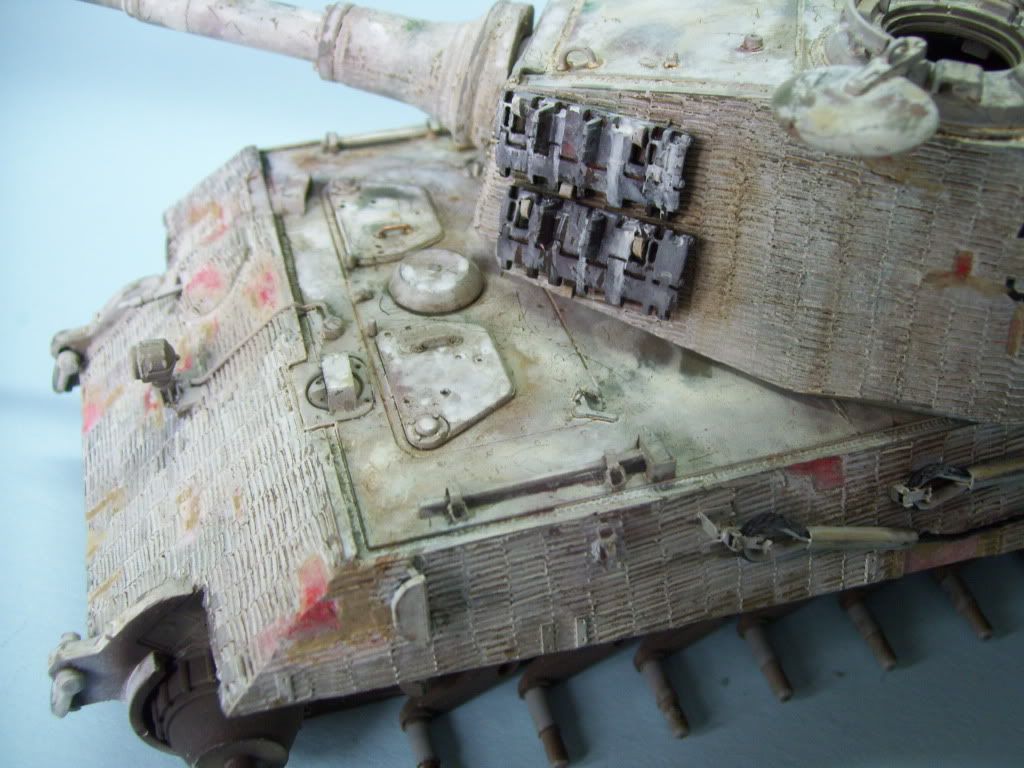
OK, now turning to the hull. I first washes the whole hull in MIG's "Neutral Wash". This actually is an enamel wash, and goes on somewhat dark, but it's a perfect, grimy gray-brown color for white finishes. It flows perfectly, and is easily thinned by either regular mineral spirits or MIG's own "Thinner for Washes". I then painted the hull chippped zimm sections in 502 oil color # 120 Primer Red. This is a somewhat brighter color than I'm used to, but pretty close to what I've seen in person in the unrestored Fort Knox StuG IIIG interior, of which I had the pleasure to crawl around inside.
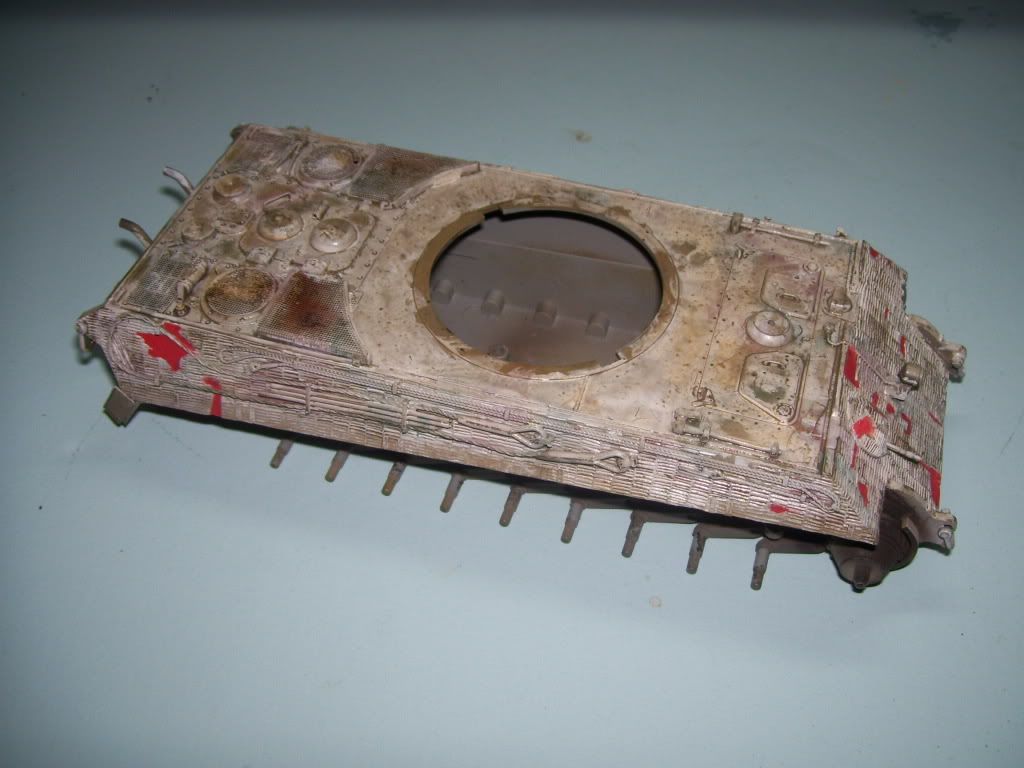
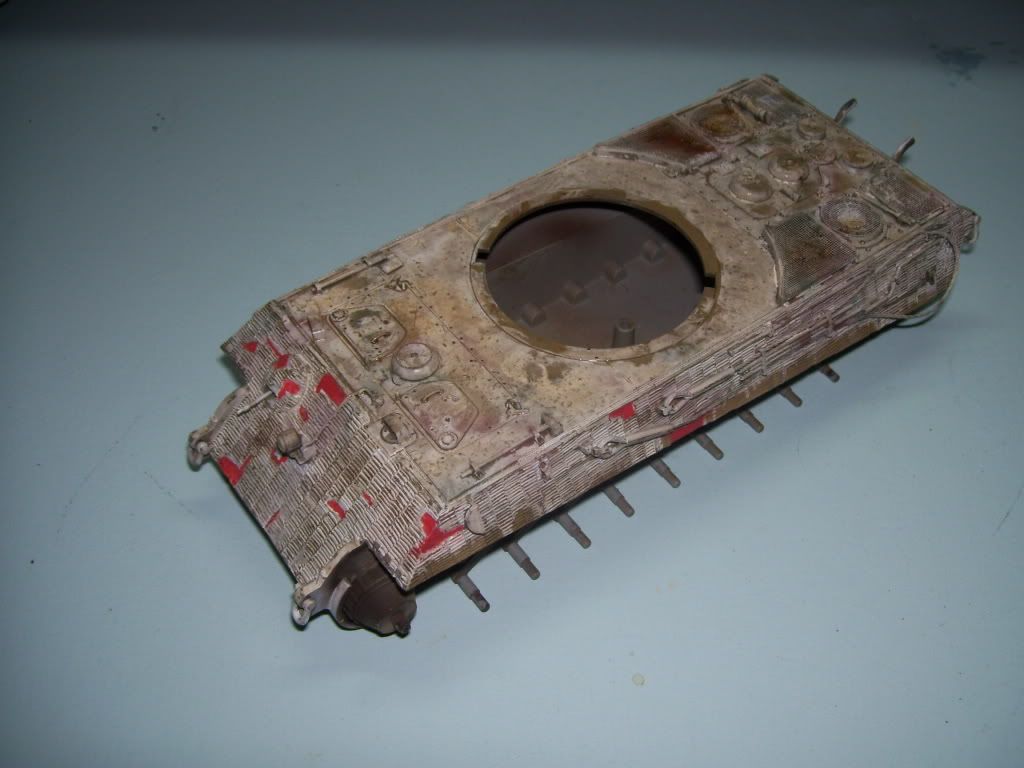
I then took some of the 502 oils--the Wash Brown, Basic Earth, 010 Luftwaffe Yellow, 040 Faded Green, White, and 035 Buff, and started "Color Modulating". I admit; I stole some of this idea from Adam Wilder--if you haven't seen some of his finishes using this subtle technique, you're really missing out!
I applied small "spot filters" here and there, in different shades of white, tan, green, etc--just going for different shades of the basic colors, adding subtle layers on top of the basic base coat. The difficulty of this technique was magnified, I believe, by the desire to NOT cover up some of the effects of the "Hairspray" technique. OH well--this build is an experiment and a learning experience for me, so I fearlessly soldier on!
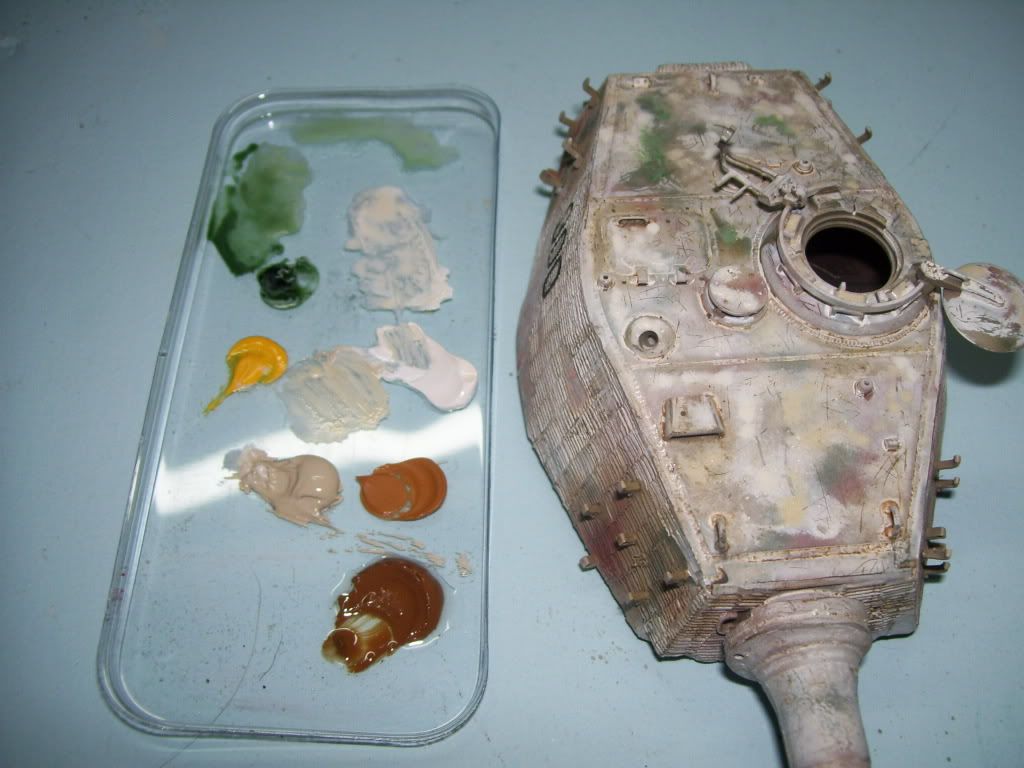
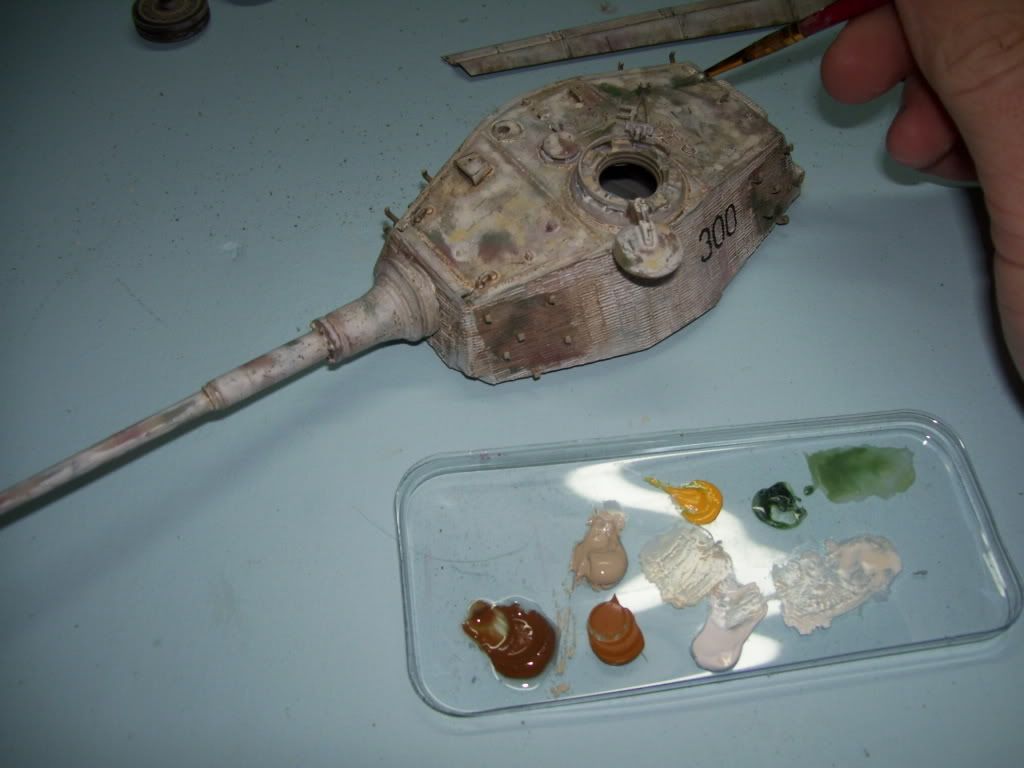
To tone down the bright red primer, I applied some powder--037 Gulf War Sand--to the still-wet oil, and then drybrushed--no; more "stippled" a always-varying combination of acrylic craft paint in tan/yellow/white, just going for various shades. I just kept monkeying with it, adding some, stepping back, looking at it again....
Here's where I am so far...long way to go yet...
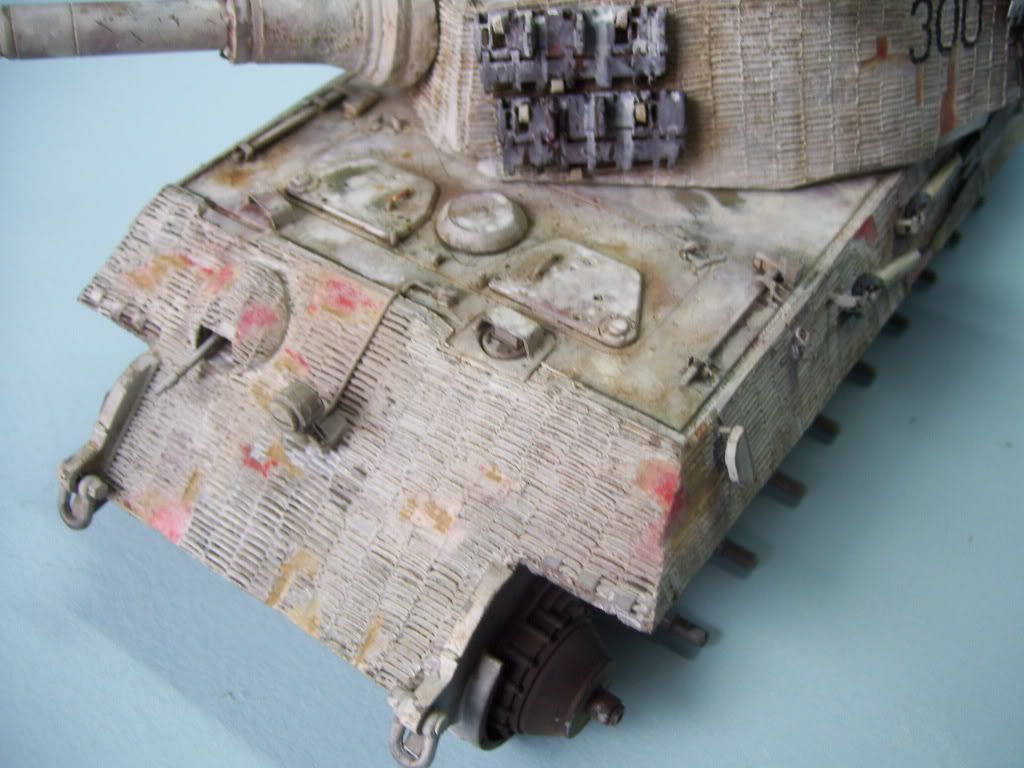
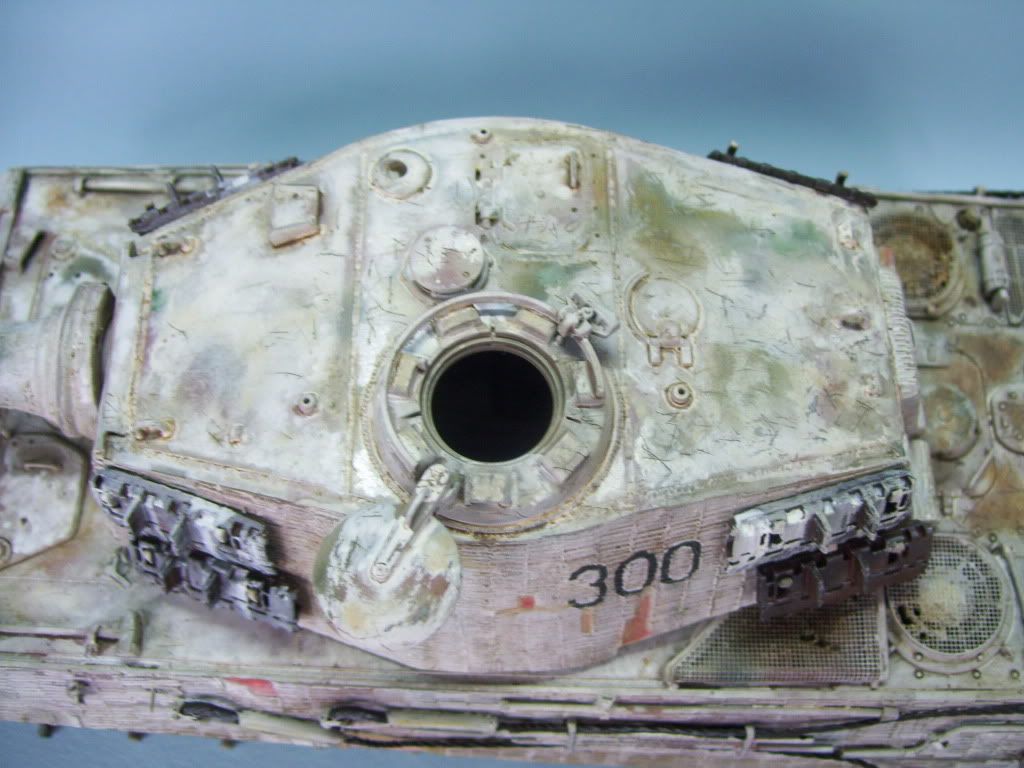
I applied some of the Basic Earth oil to the rear to simulate mud on the hull.
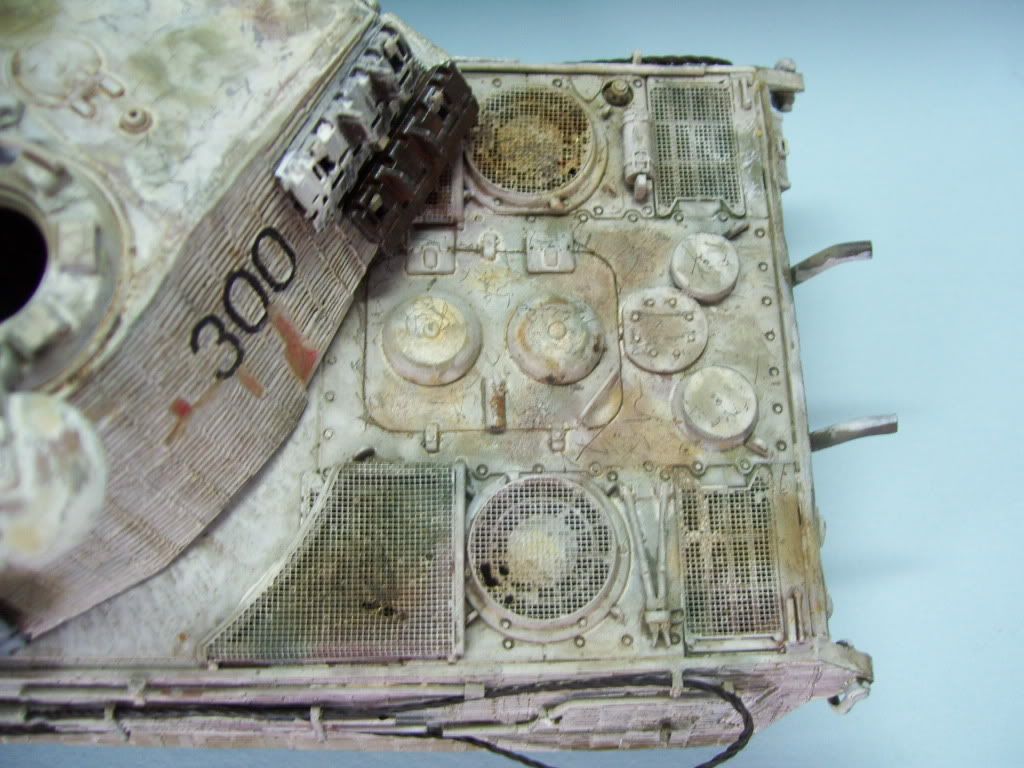
And I wish I could change this--I chipped too much here. Before I decided to actually model #300, I chipped this big chip; I wish I could change it back. I'm thinking that I will whitewash it, over the bulletholes which I put un there to justify the chipping in this area. That way it will look like it was a pre-winter wound, and not be so glaring. Notice how the paint shows through where the track links were; I like this effect!
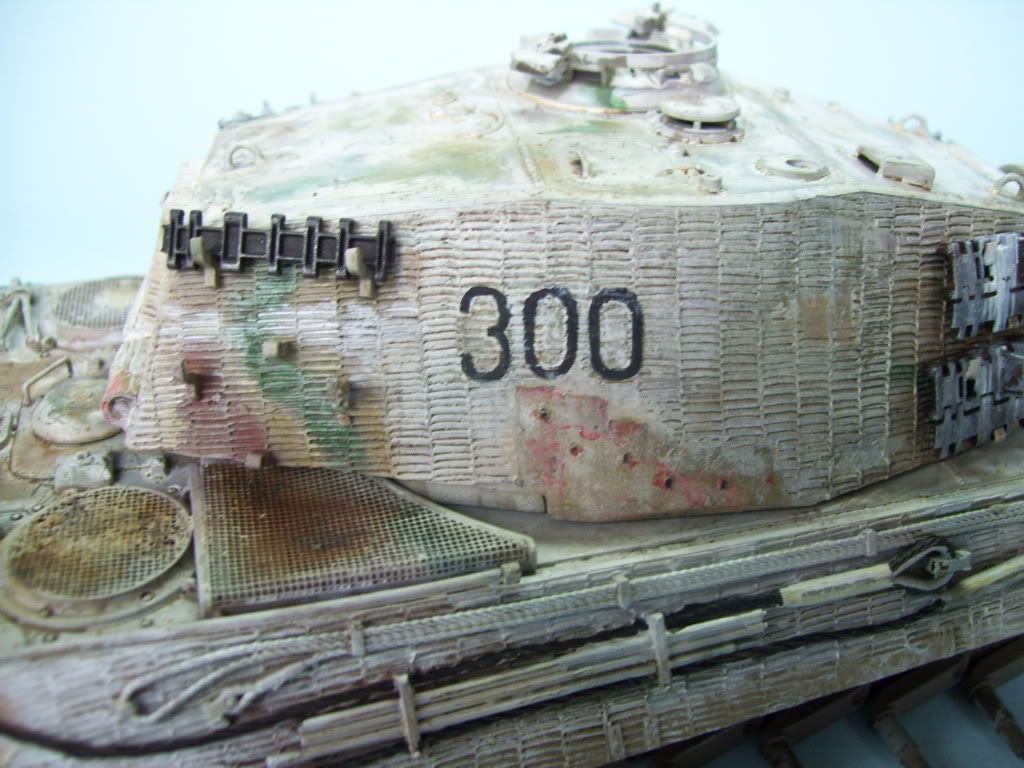
An overall side view so far...
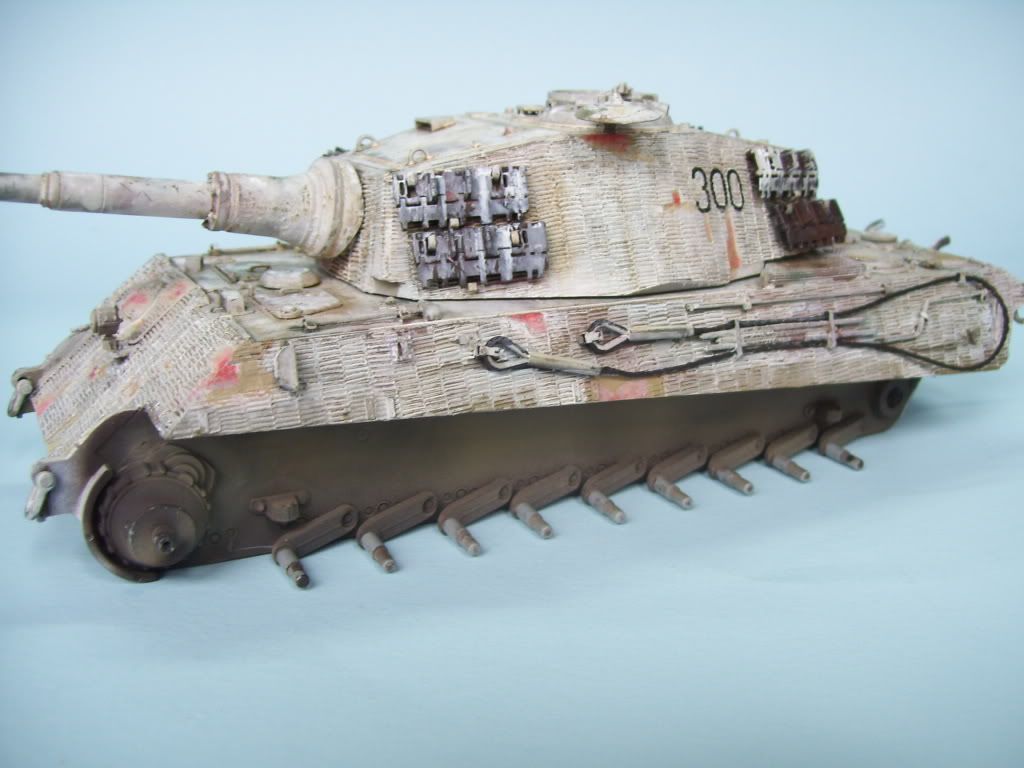
Well, I stil have a long way to go. A lot of detail painting, and I still haven't even started pin washes. The tracks and wheels will be a powdering challenge--lots of mud to be mixed up!
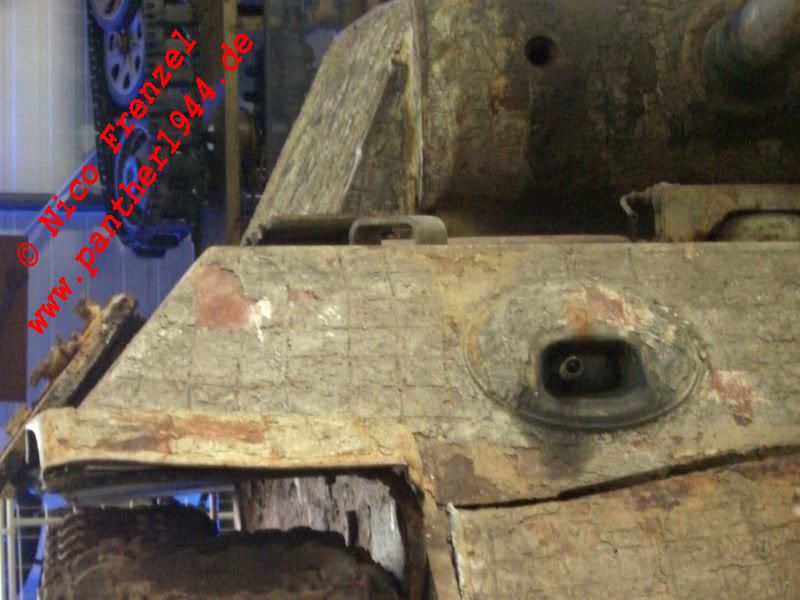
By the way--anyone doubting the "accuracy" of the primer red showing through like that, check out these two color photos-one of a PZ IV in Italy, and the other a Panther recovered from the Demyansk pocket...posted here for reference only; thanks to Nico Frenzel for use of this photo.

So let's hear it with the critiques or questions!All opinions welcomed! ![Big Smile [:D]](/emoticons/icon_smile_big.gif)