OK, guys--here's a weathering update. I took my Tigger out to brap around in some mud and snow!
Here's the stuff I used to make a mud mixture. What I'm going to do is to go for a two-layer look to the mud--a lighter "dried" mud first, then a "wet" darker mud. First I used a combination of MIG Powders "Light Dust" and "Dried Mud", and mixed in about 30% powders, with 30% plaster (in the cup lower right), and 30% MIG Acrylic Resin. The other 10% was added real dirt and leaf litter for texture.
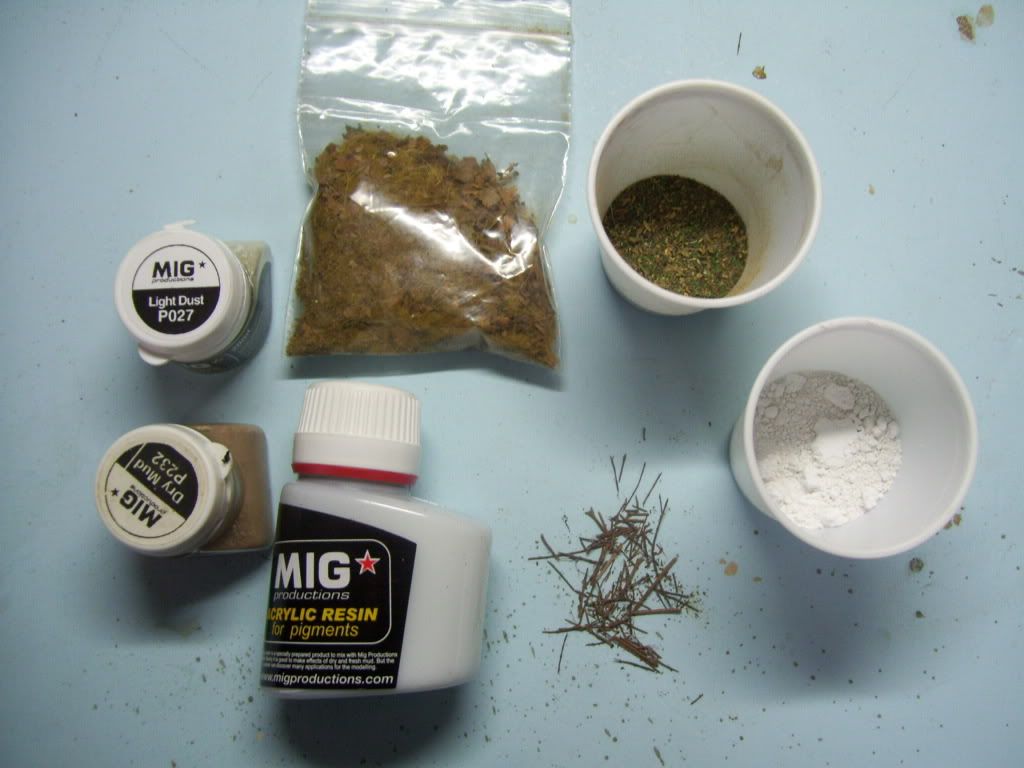
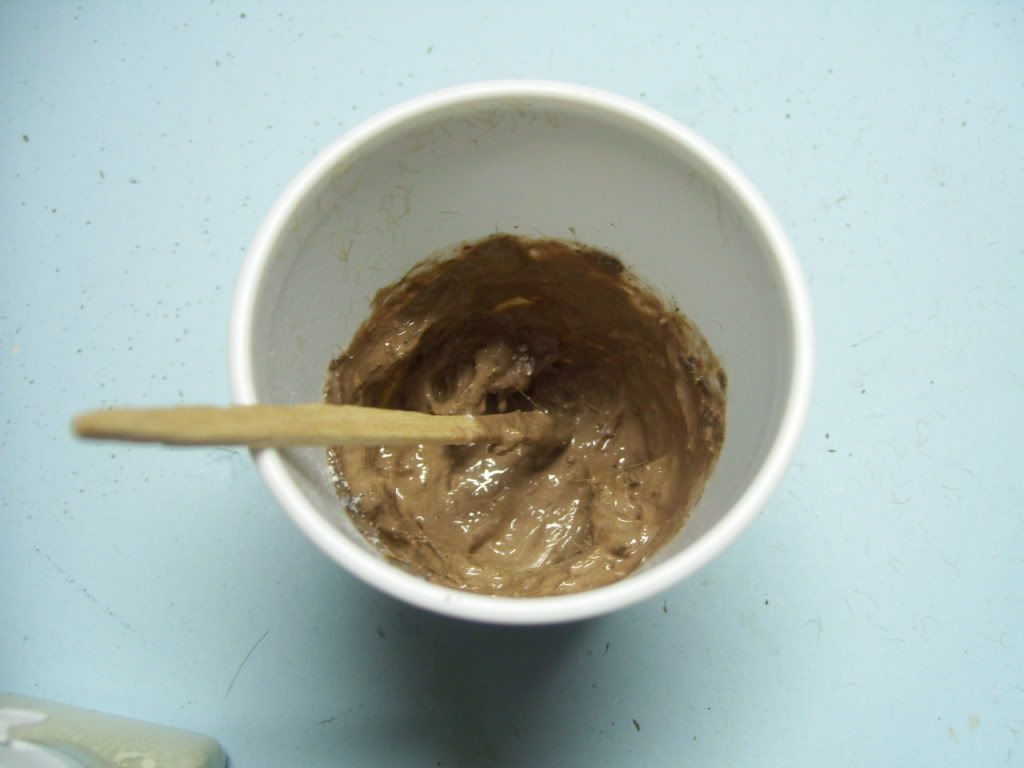
The Acrylic Resin is interesting stuff. It's white, thick, and "oozy", and looks like the glazing sugar icing that you would get in a package of Apple Turnovers or something. Alternately, it kinda looks like, well...."baby batter"! ![Whistling [:-^]](/emoticons/icon_smile_whistling.gif) . When I mixed everything up, I added a little drop of water slightly thin it, and here's what it looked like....
. When I mixed everything up, I added a little drop of water slightly thin it, and here's what it looked like....
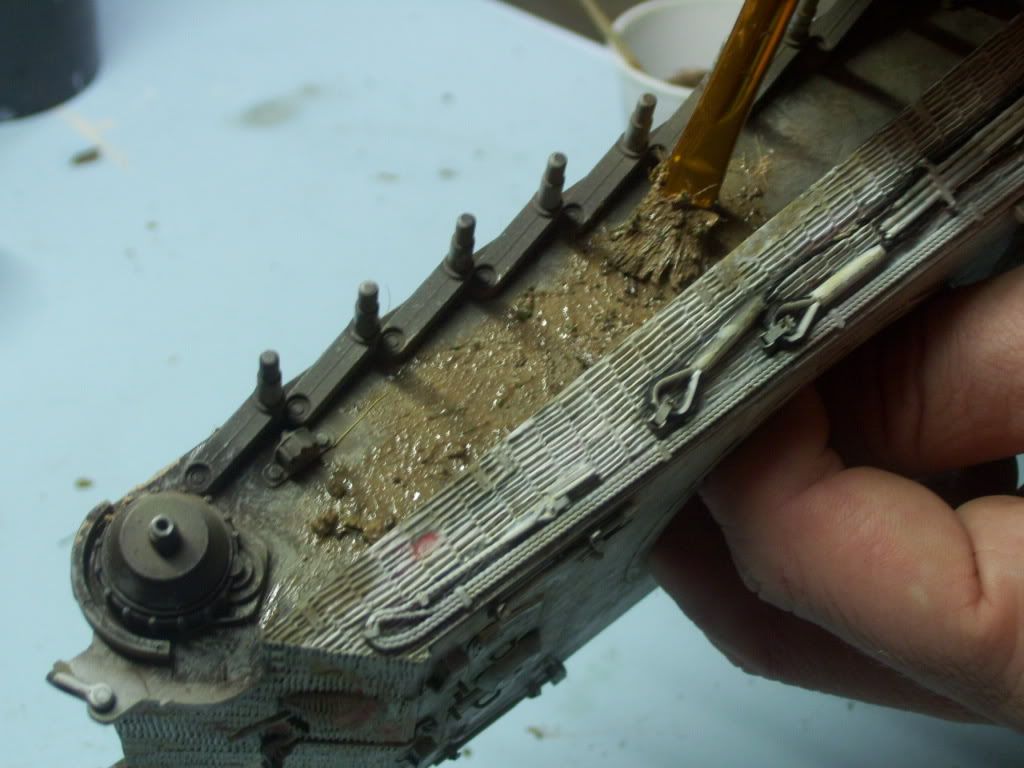
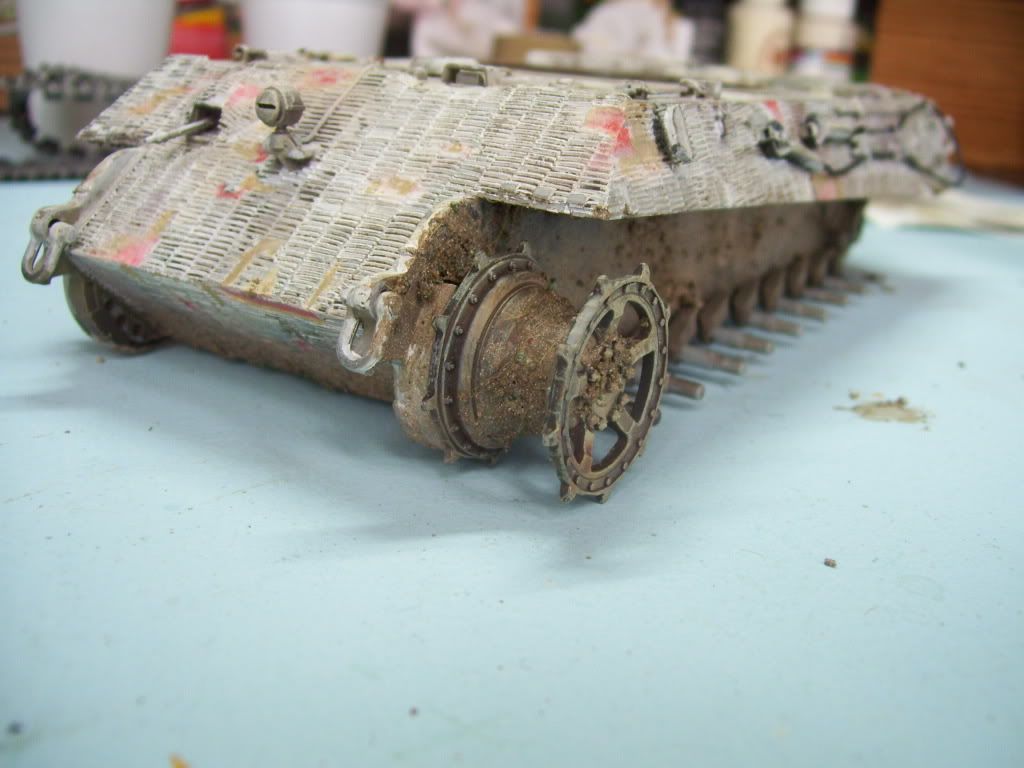
Taking an mid-sized paint brush, I start slopping it on....Now, you mightnotice that I'm working on a hull that is already somewhat "dirty"--this was my layer of "painted dirt". I used acrylic craft paints to stipple on a coating of "paint-only" dirt, in a two-color random layer. I used like, a dark brown, and a lighter tan-colored brown, and just mixed them "on the brush", stabbing at, and stippling the bottom of the model to provide a chromatic base. In retrospect, I'm not even sure if this was necessary, but it's still a "remnant" of my "old" weathering method.
Here;s what it looks like after a bit of work...I have to say; this is some cool stuff! What's nice about it is that it dries fast! No having to wait overnight for the celuclay mix to dry!
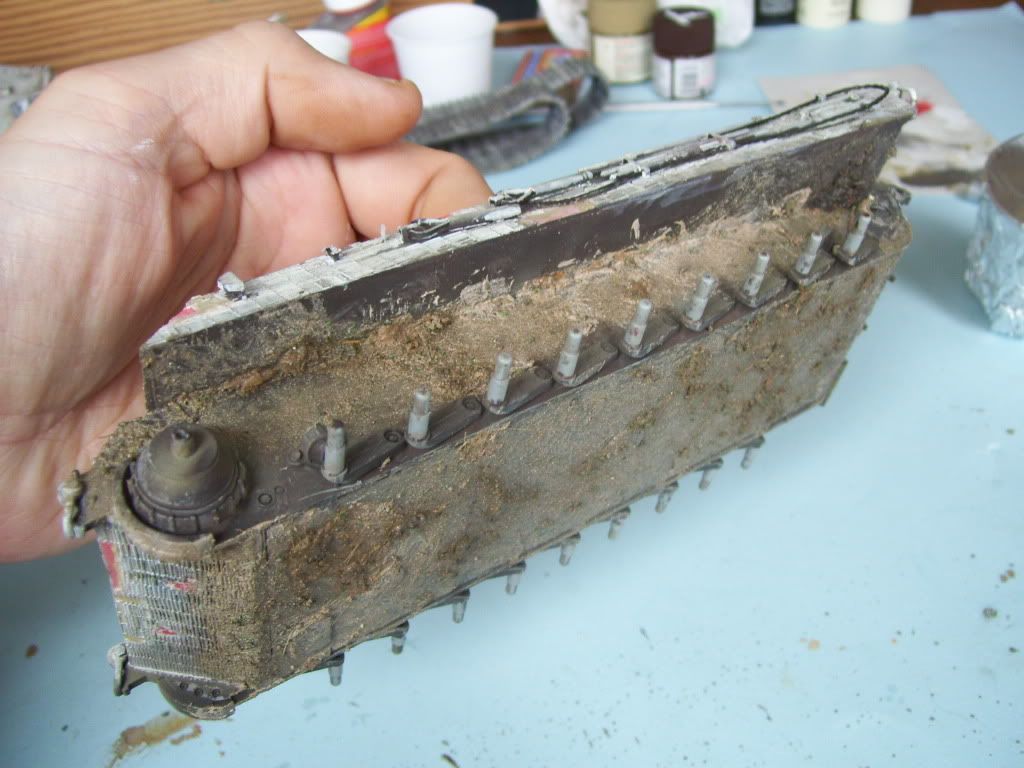
I even put a little in the sprockets, where you'd expect it...
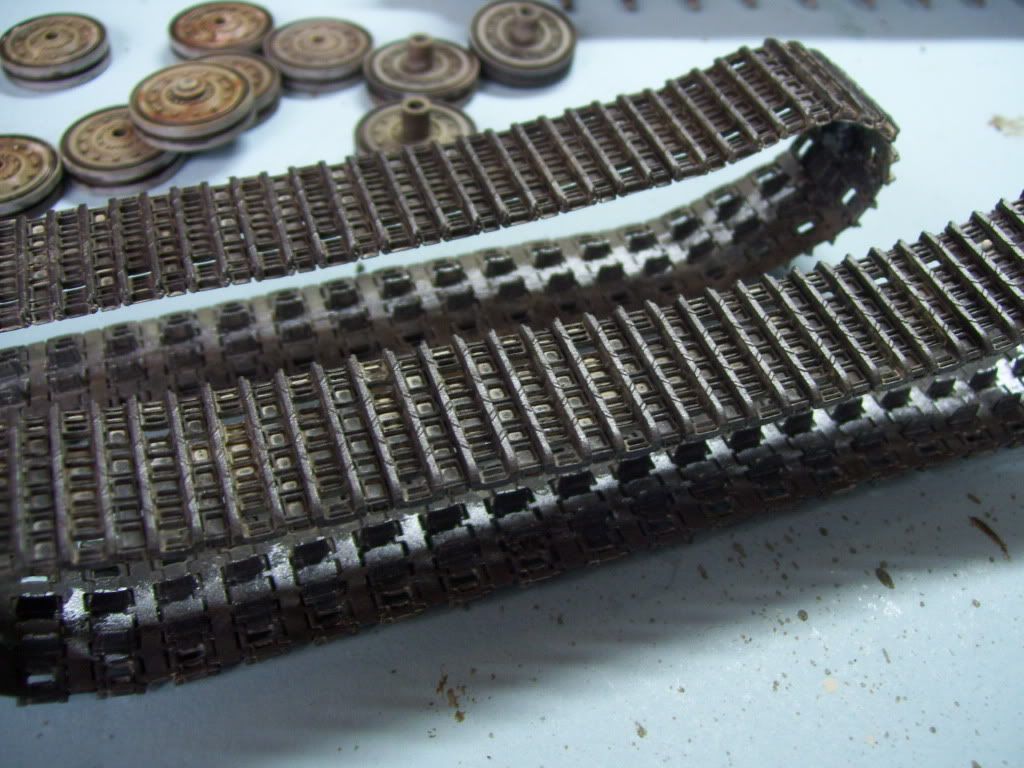
The tracks have been given a wash of 502 Abteilung #060 Light Rust Brown, and then an application of metallic grey over the tops, and also in the middle of the teeth where the wheels would be rolling. Then a final light drybrushing of pure silver.
One thing to know is that I have been experimenting with the MIG Thinner vs regular mineral spirits. If you use the MIG thinner, it seems to be of a linseed-oil quality, or perhaps some sort of enamel base? It takes a much longer time to dry. This could be very advantageous for applying certain techniques, perhaps like the oil dot method? Or for using filters? But I have found that for a quick, perfunctory wash, I prefer the standard mineral spiritssimply for the faster drying time.
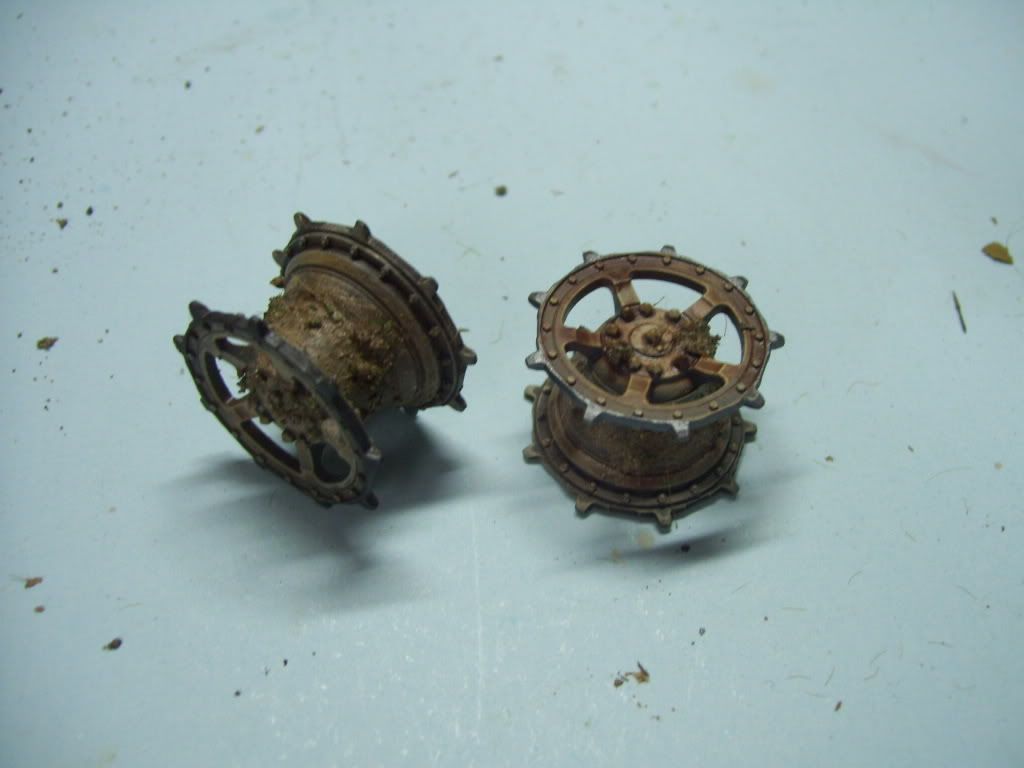
The sprockets were goven the same treatment.
Now, to do the "wet" mud, I added i some MIG "Russian Earth" powders, which darkened the olor considerably, and then I also added some acrylic gloss from Model Master, to give it a "wet" look when it dries.
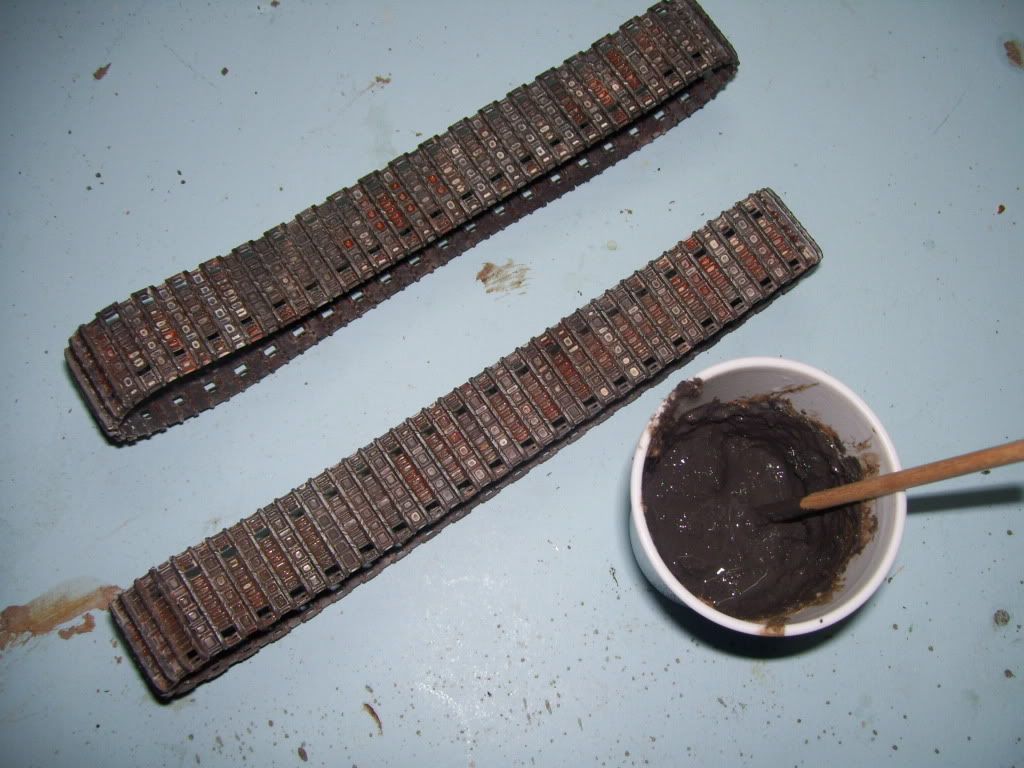
Patiently, I start applying it in between the links...
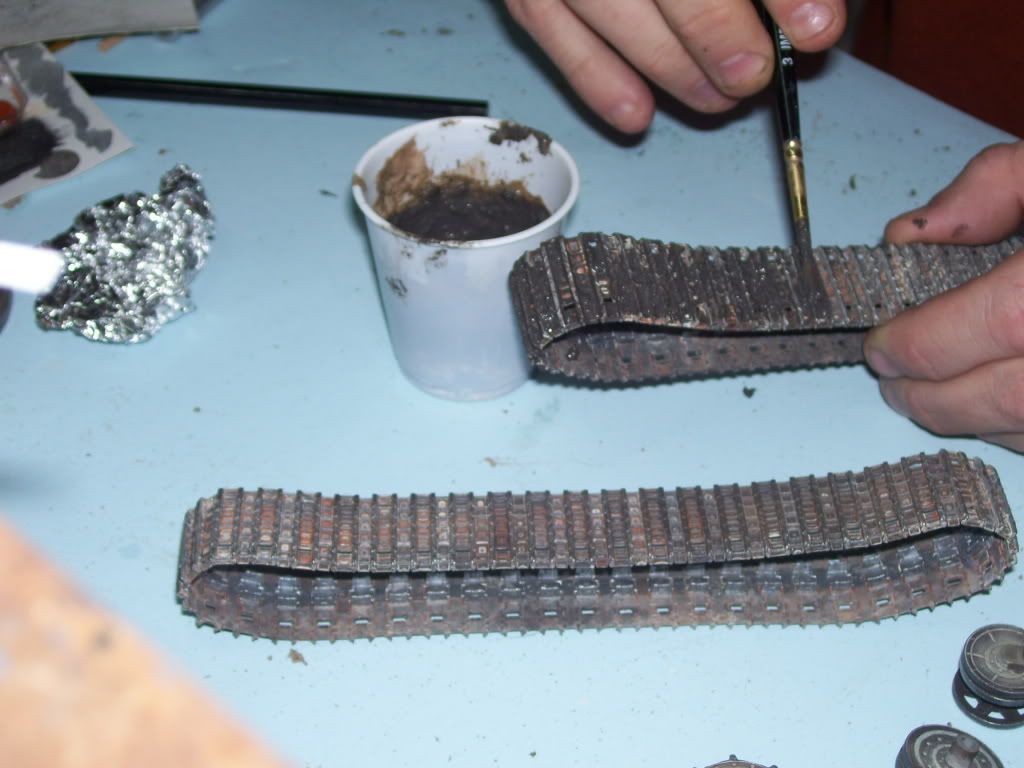
...and then, in order to show the track faces and the highlights of metallic grey, I simply brushed my thumb across the faces, wiping away the mud mixture. Simple. Easy. Effective. I'm turning into Private Pyle! ![Shock [:O]](/emoticons/icon_smile_shock.gif)
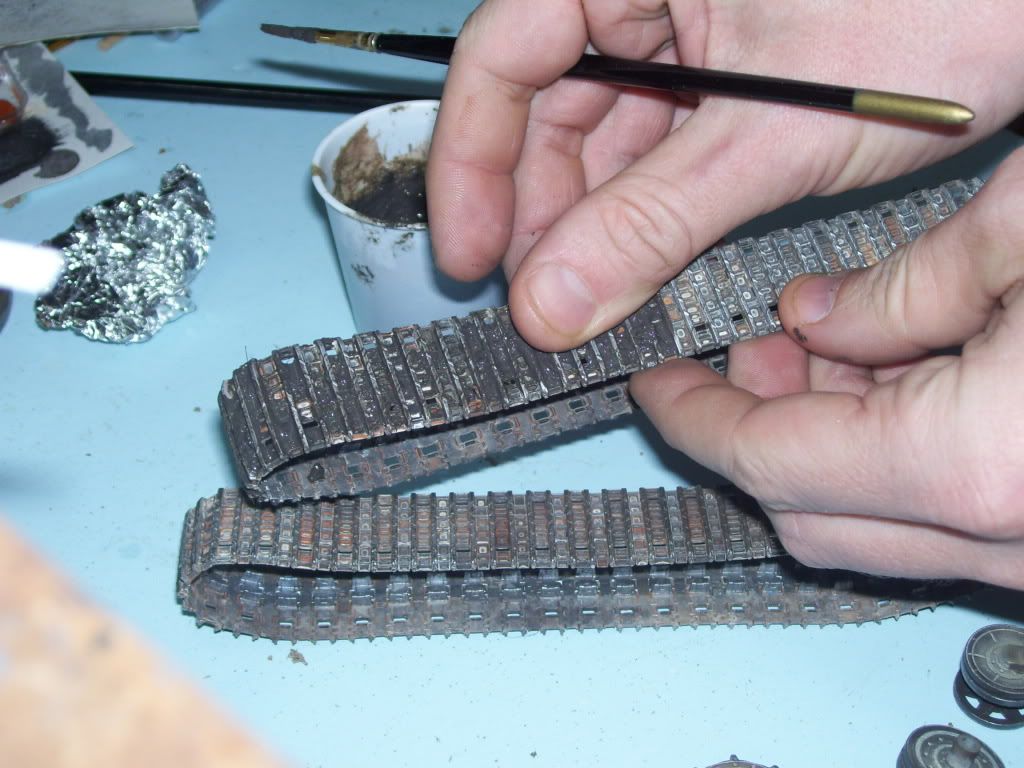
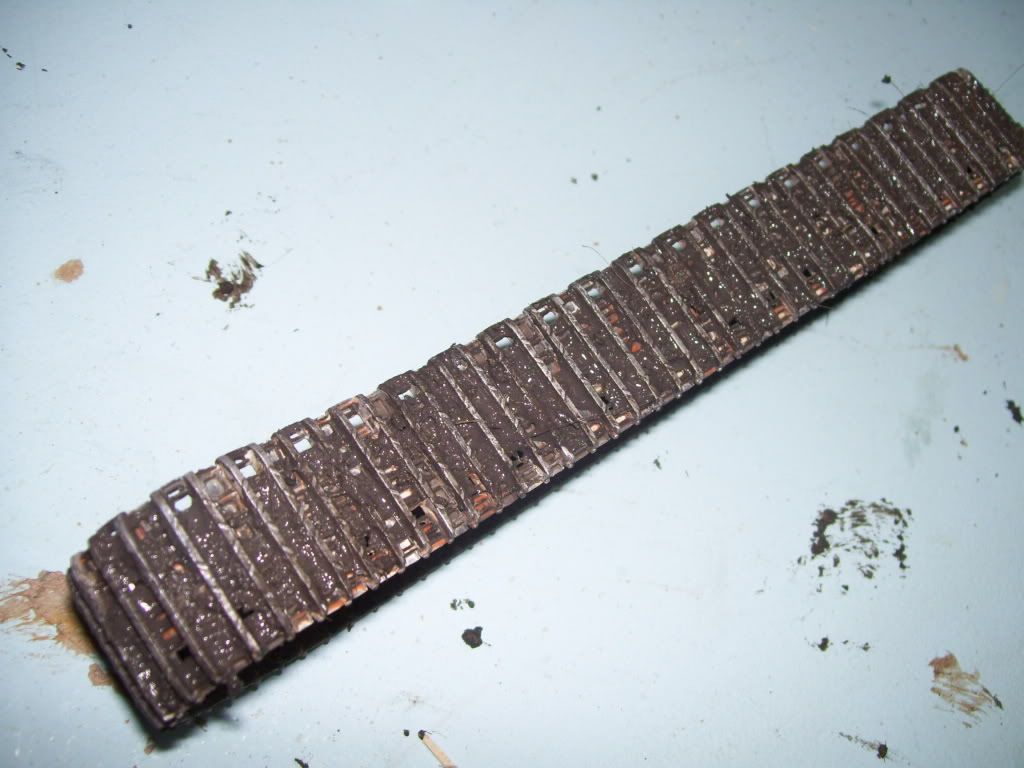
Here it is mudded on th etop of the track...(I'll do the bottom after I get all the wheels on...)
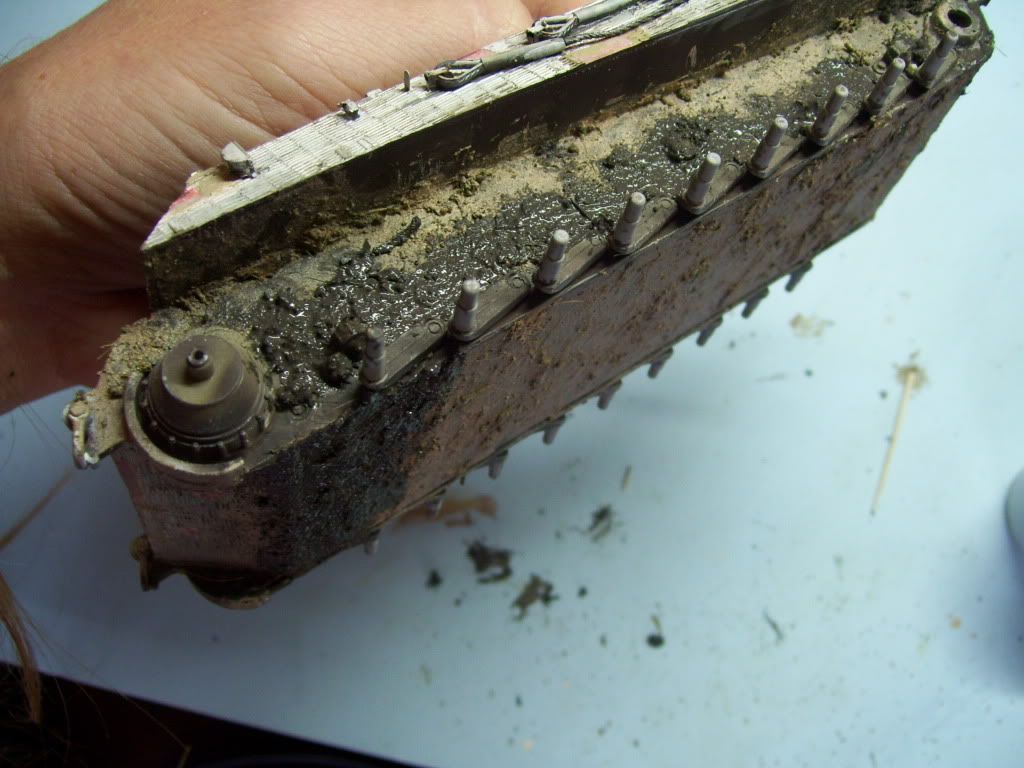
I slap....sorry--"brap" some of it on the hull--note how it now sets itself off from the "dry" mud...
And finally, since my Tigger was brappin' in the snow, I'll add some Woodland Sceneics Snow, shaken from a cup, on the hull and tracks...
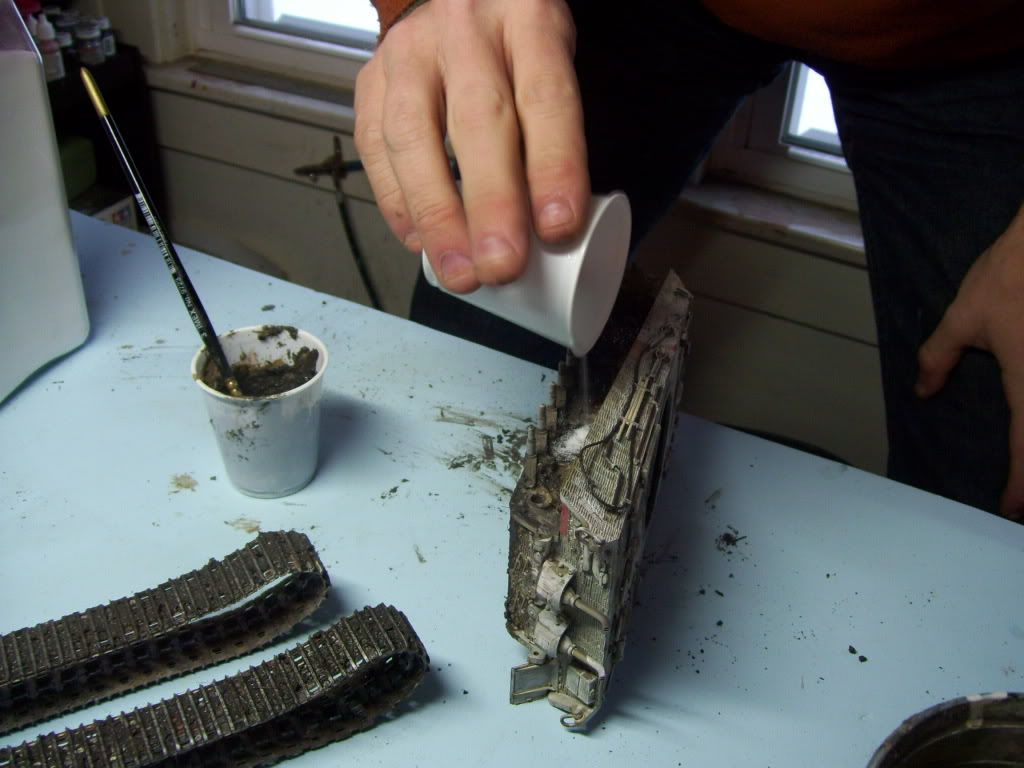
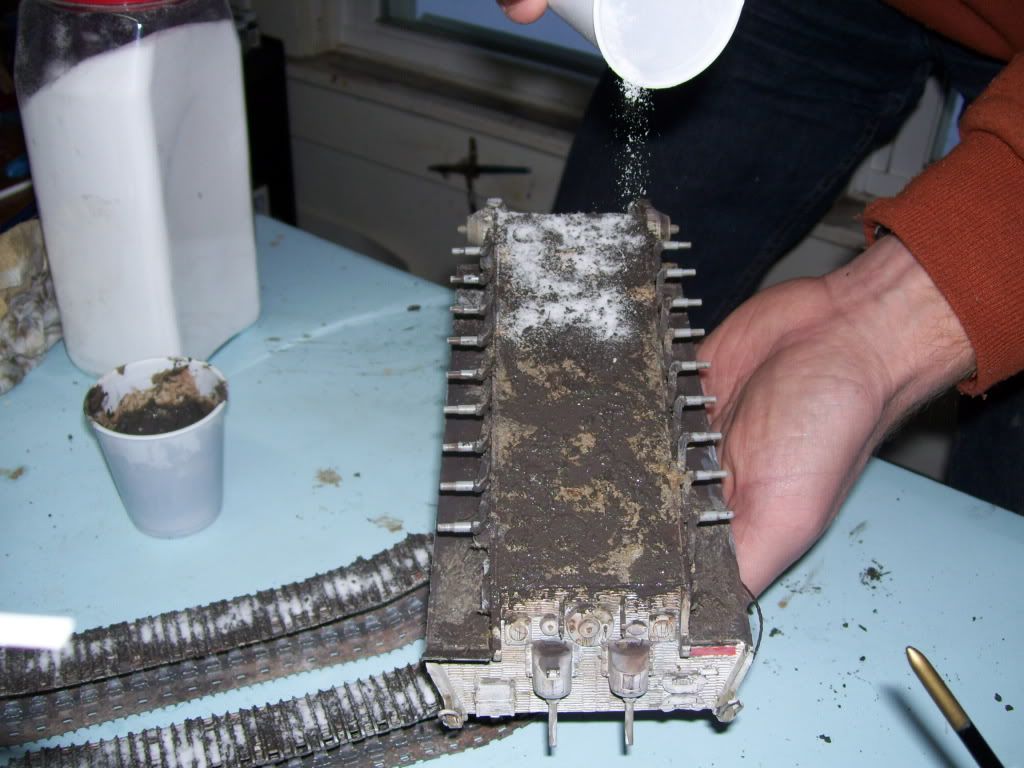
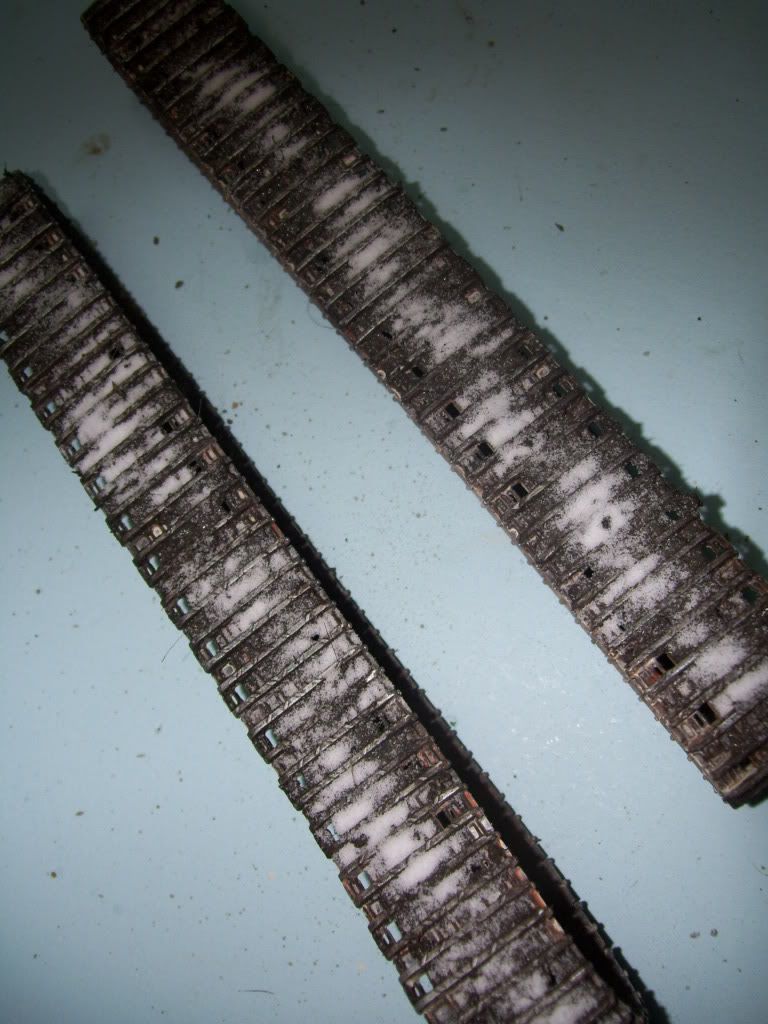
Now, I'm curious to see if that WS Snow will show up on the mud, or will it sink in, and need some other application? I also hit a small section of it with MIG Pigment Fixer, to see if that will affect it? If it does, I'll try using MIG Snow powder--I think I have an "Ashes White" in the stash here....right now I'm waiting on it drying, so I'll post an update tomorrow if I can!
To be continued....! ![Big Smile [:D]](/emoticons/icon_smile_big.gif)