Hi Guys,
Well, I'm at the painting stage. First, I painted the whole thing in a mix of Tamiya Flat Brown+Black. I'm not worried too much about getting an opaque coat--this is going to be followed by two or three more coats anyway.
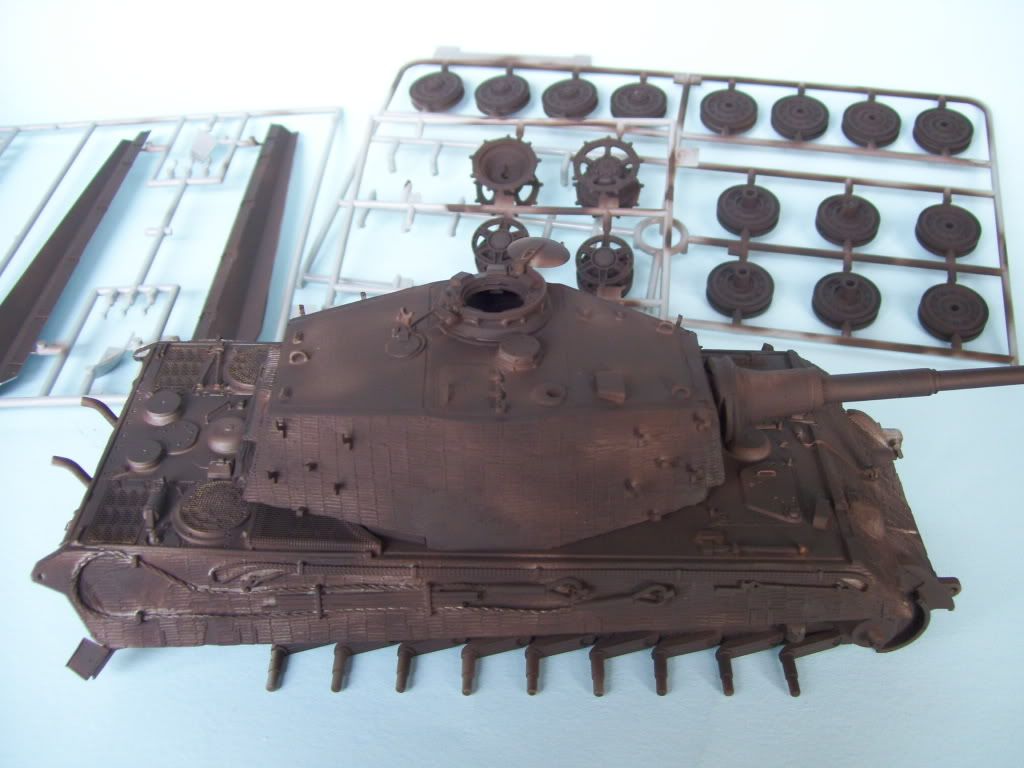
And then a coat of Tamiya UN-lightened Dark Yellow. I actualy painted it without the spare tracks on it. The wheels all got a coating on the insides.
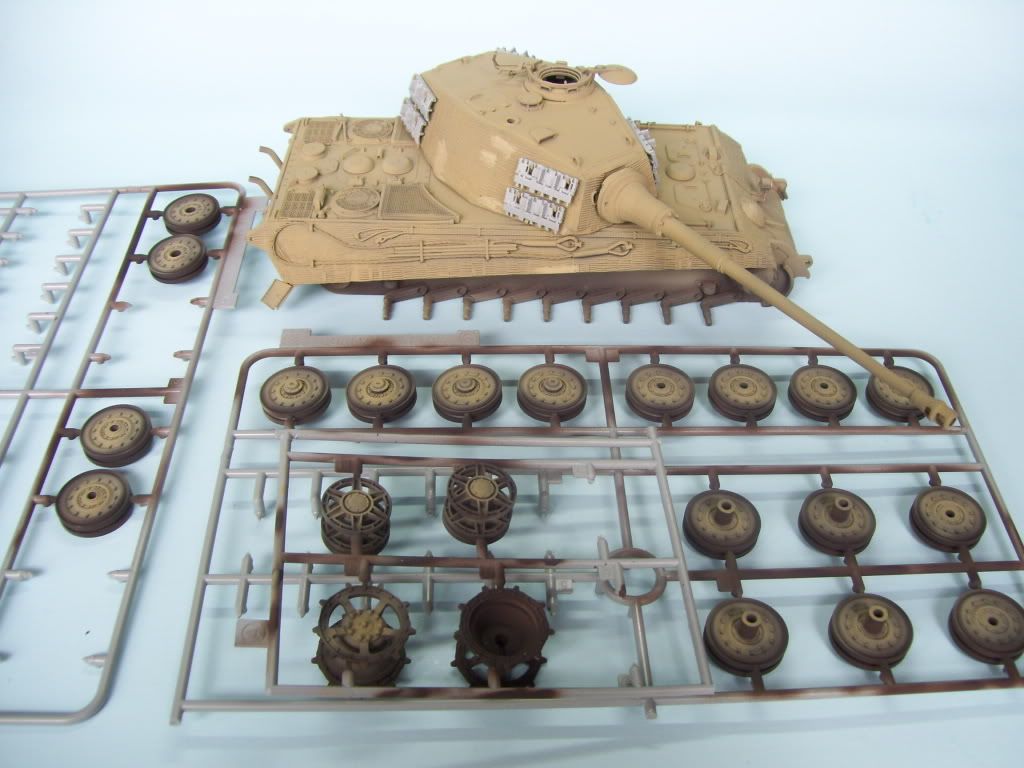
And then a lightened coat of nearly-white Dark Yellow...I also painted the highlighted coat WITH the spare tracks on the turret, so that the fresh base coat underneath would be visible when I model some of the tracks missing.
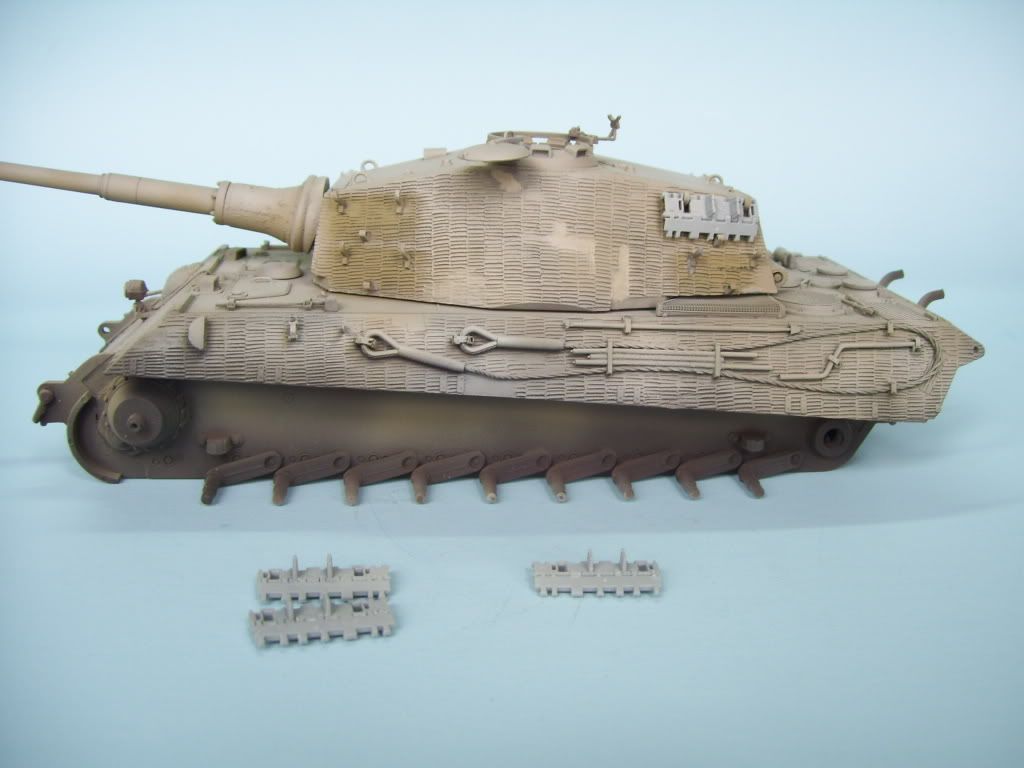
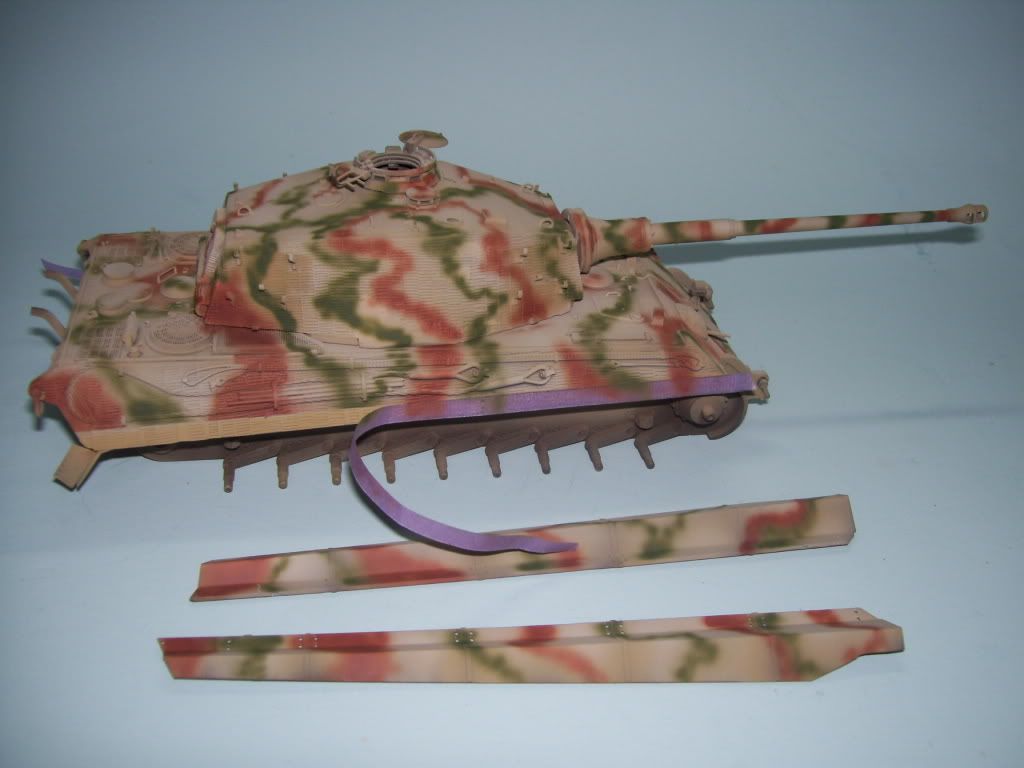
ANd then a camo coat of the Tamiya Red Brown and Tamiya Khahki Drab+Dark Green applied freehand...this was painted without the spare links, so that the missing links would show that the tank was painted without them on it, as one would expect.
Now, I really don't really consider this to be a start to the "weathering" yet, but I gave the top of the model a coat of AQUA NET Super Extra Heavy Duty Hold, and then started to apply the winter whitewash, using standard Apple Barrel White craft paint, thinned about 40%, and just slopped on, as it would have been.
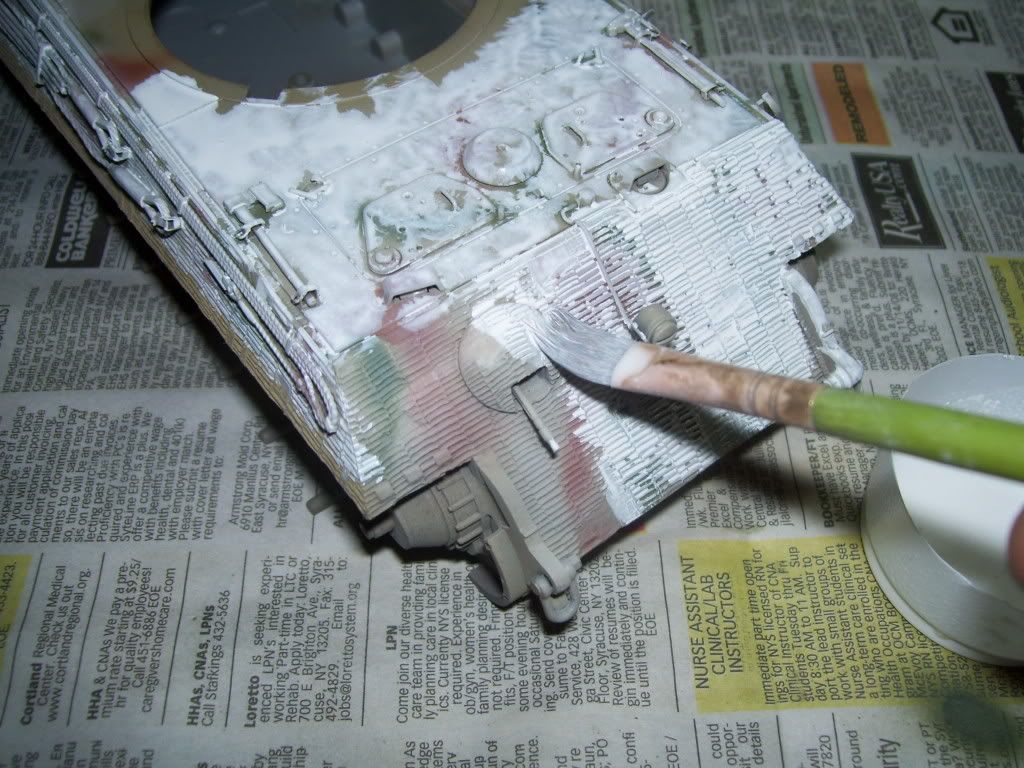
Here it is, still drying...
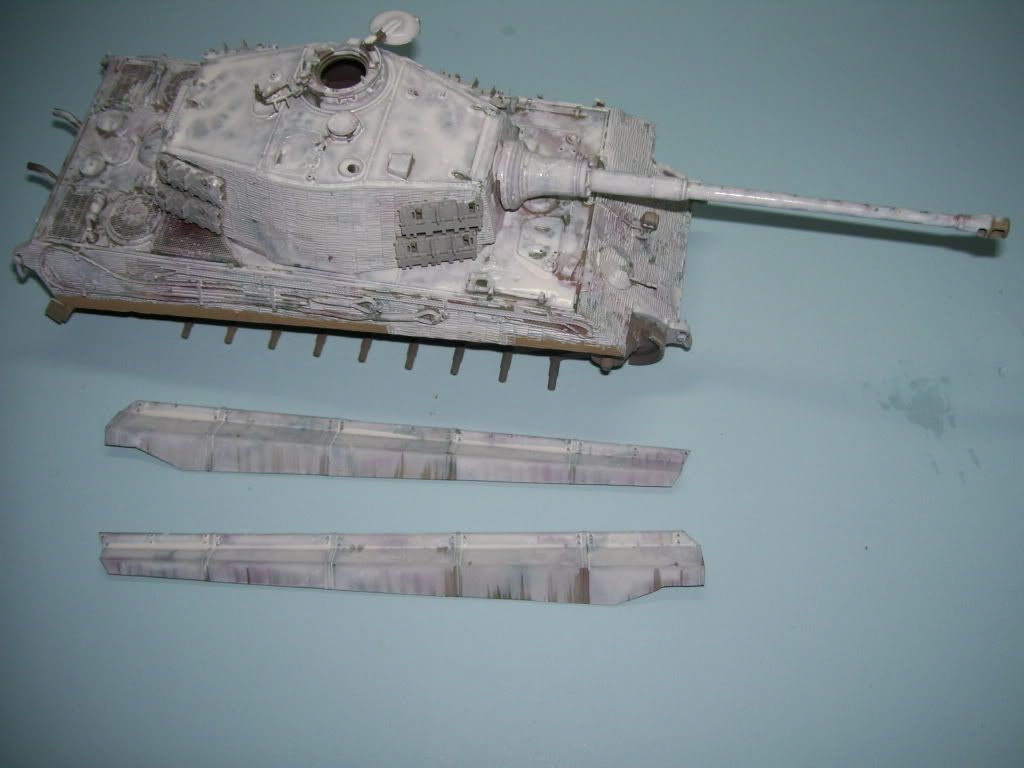
Notice how the spare tracks areas are now showing the regular paint underneath...
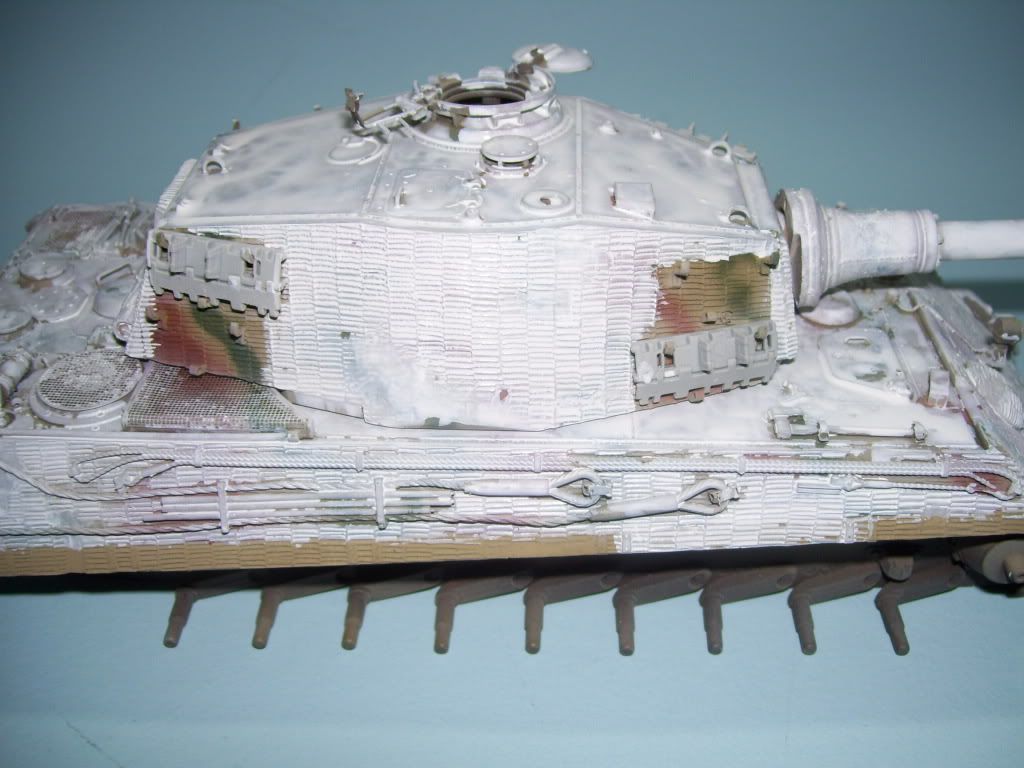
Now, I started attacking the paint with a stiff-bristle brush, dissolving the hair spray underneath which carries off the paint on top of it....
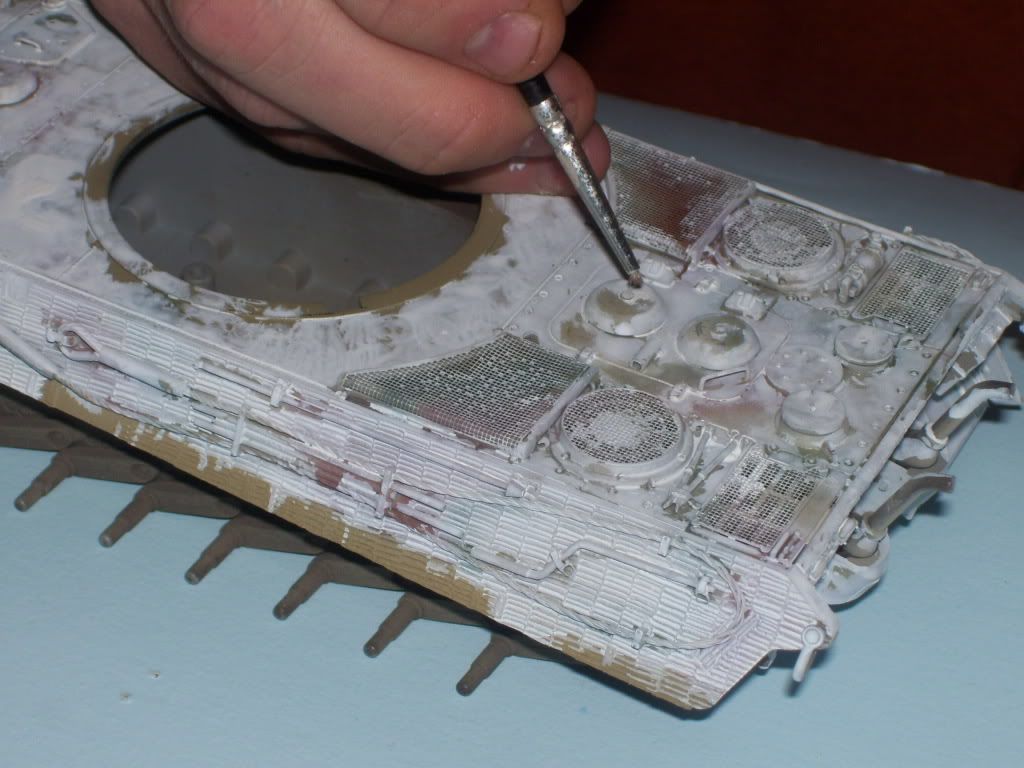
...which is then dabbed away with a tissue...
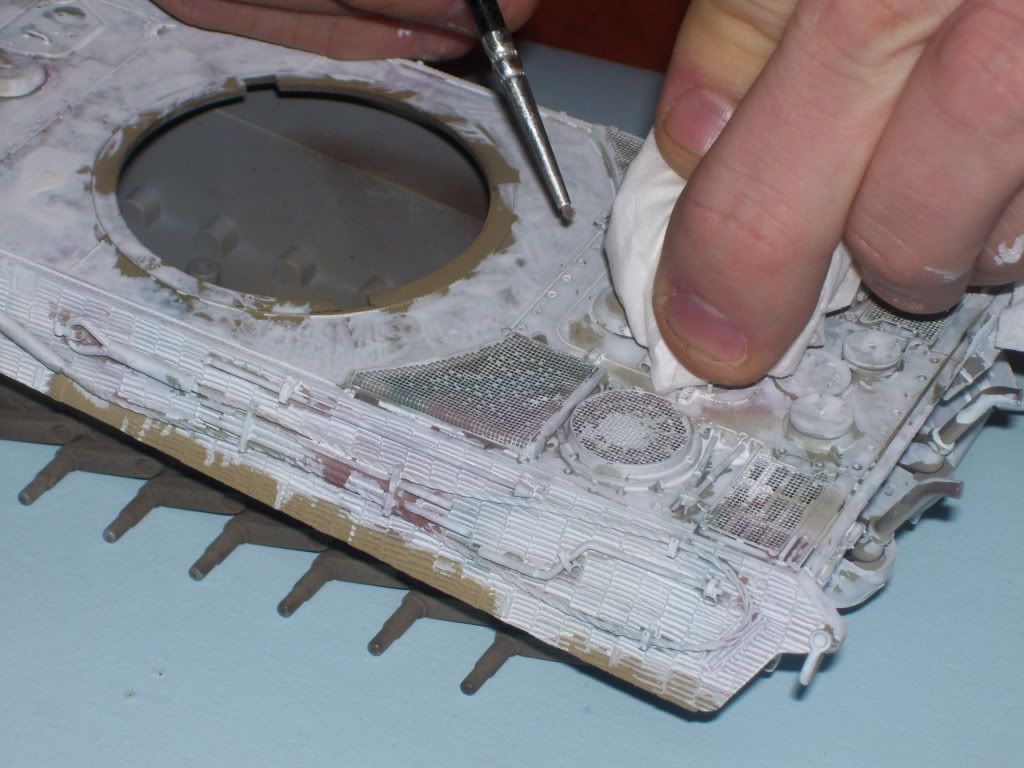
The turret got the same treatment...
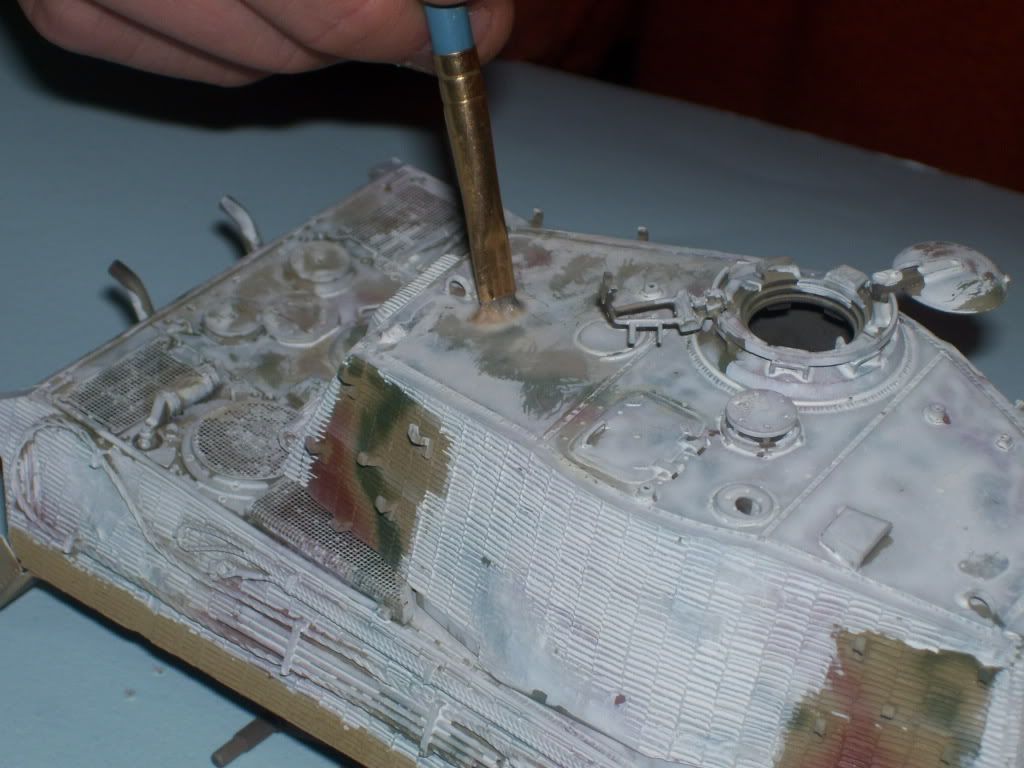
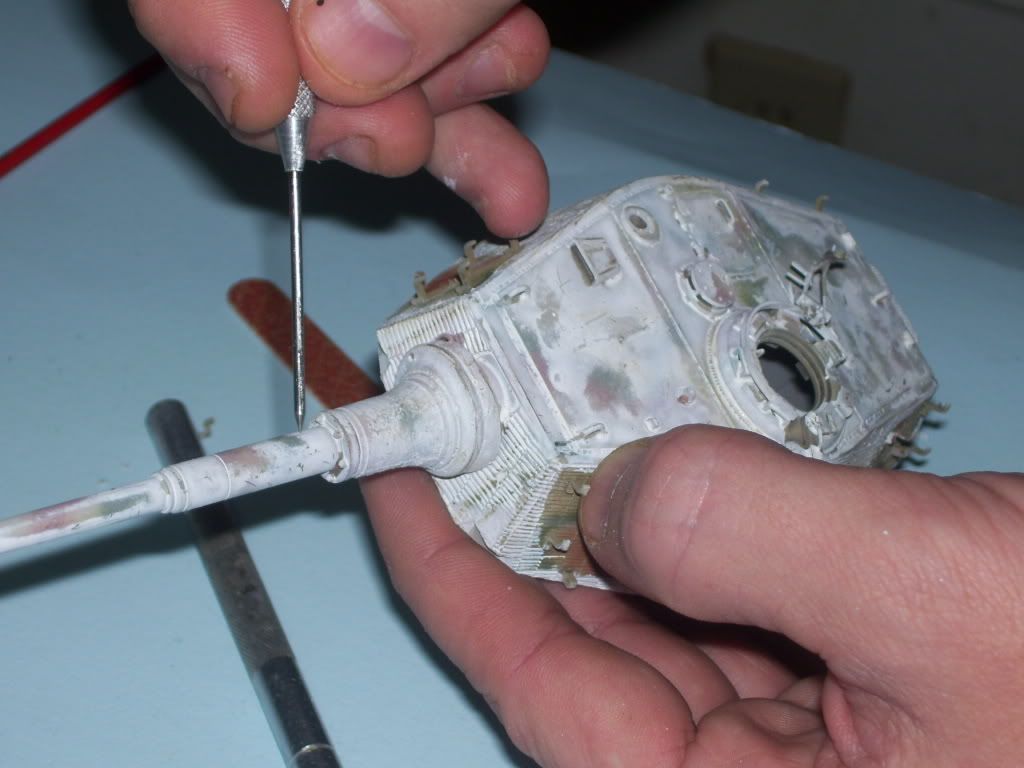
Then I used this pick to scrape and poke, and chip away some of the whitewash...
I also used an emery board to scrape the whitewash away from the top ridges of the zimmerit...
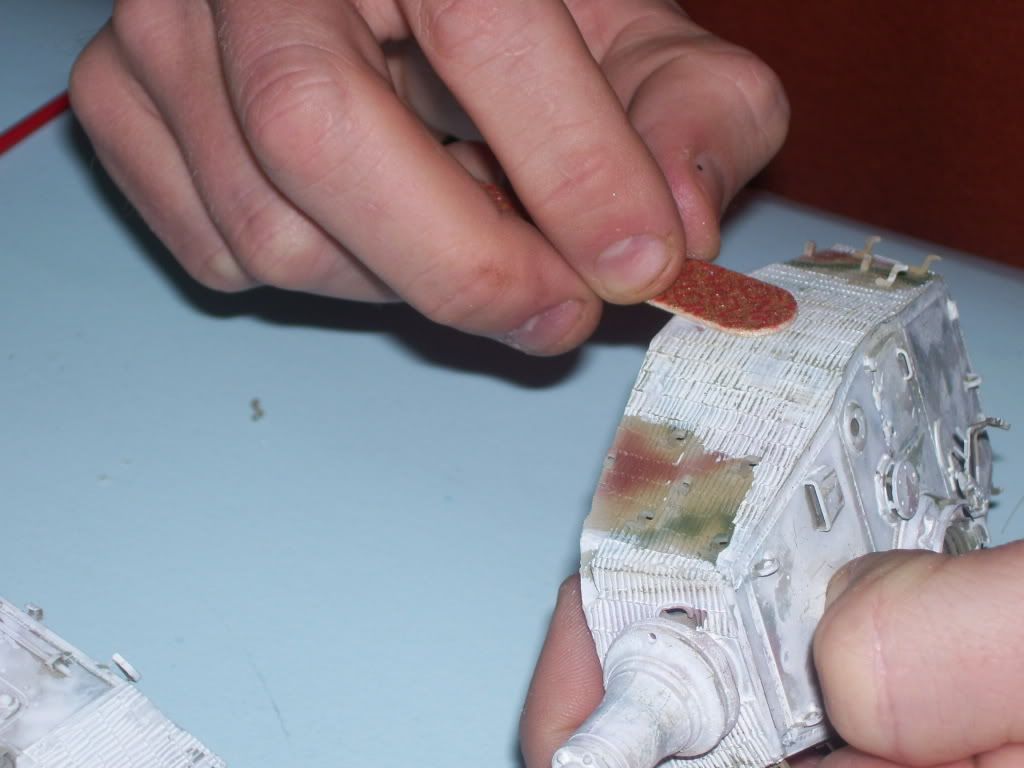
Here's what it looks like...
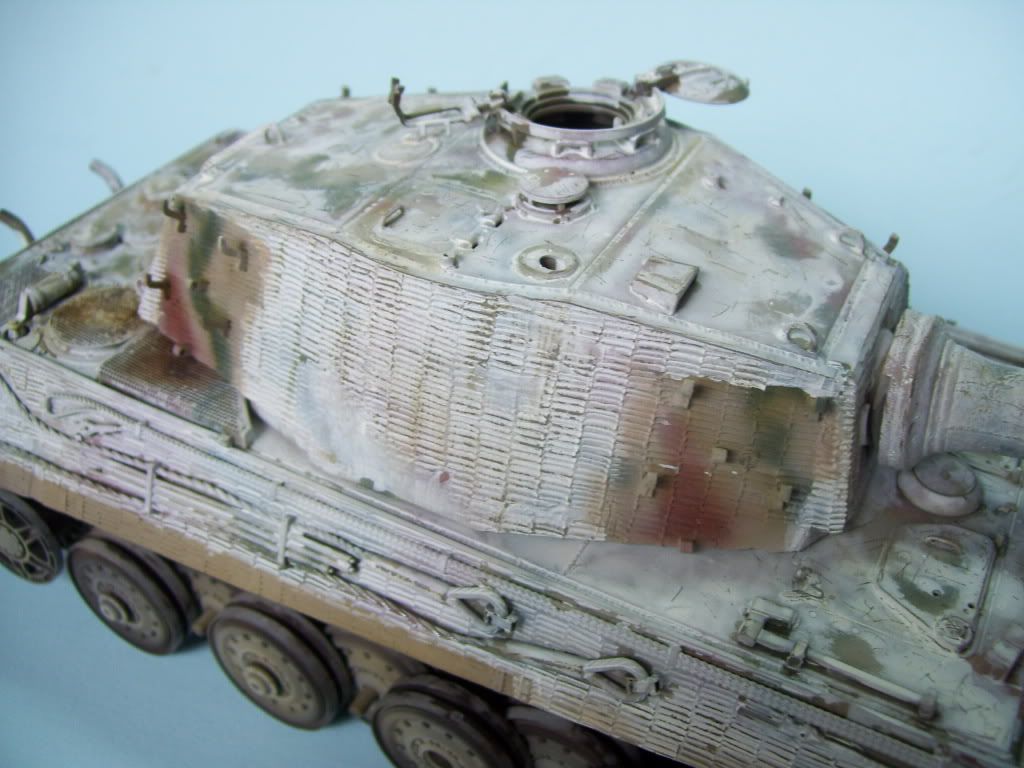
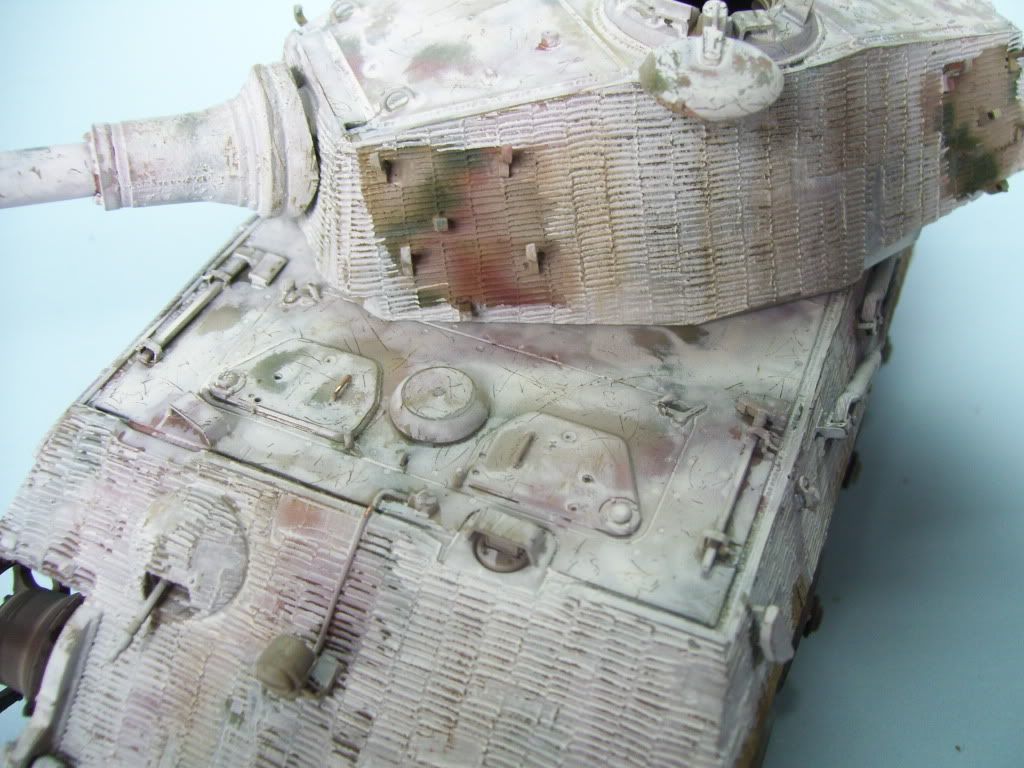
I then applied some decals -- I screwed up the first set of standard "300" when I got a phone call just after aplying the Solvaset, which crumpled them in my inattentiveness! So I applied some red ones, and then painted them over. I also have applied the tracks here, and they are solidifying. I have NOT attached the wheels yet, as I need to remove them to start the weathering.
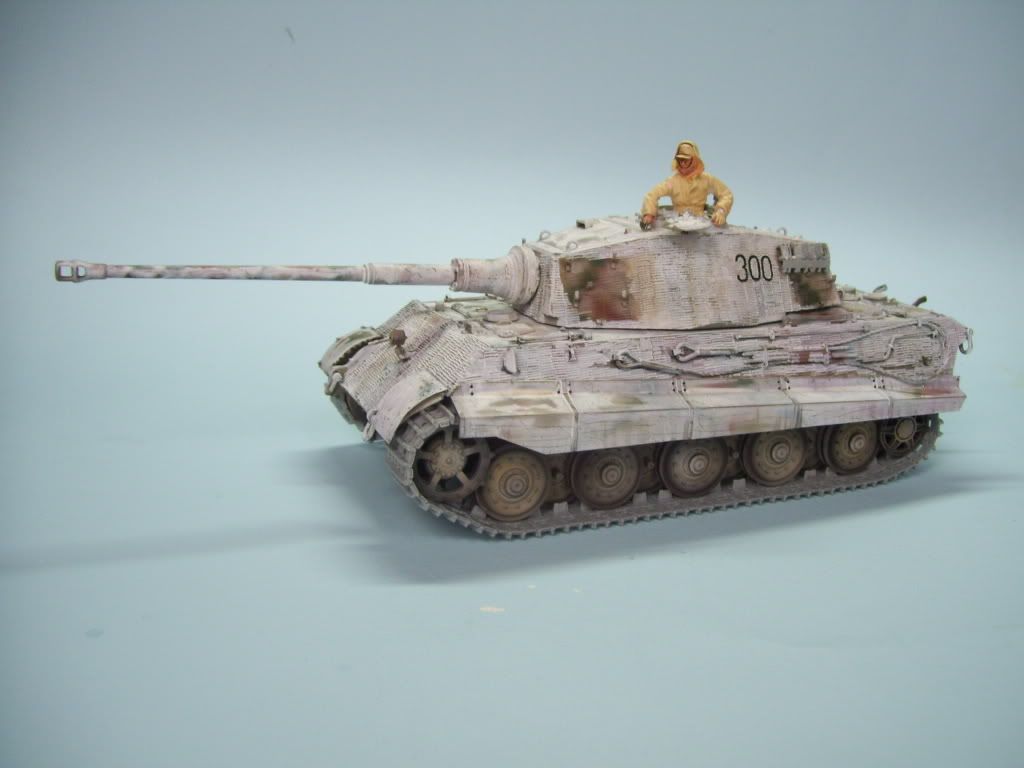
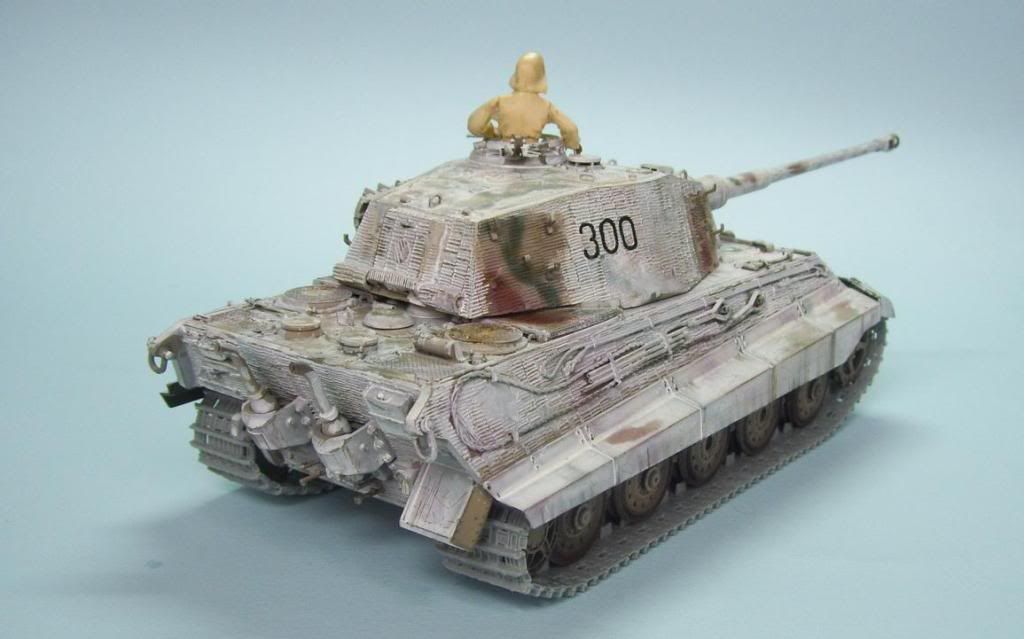
King Tiger # 300 was part of "Operation South Wind"--the attack on the Soviet bridgehead on the western flank of the Gran RIver in Hungary. Jochen Peiper's 1st SS PanzerKorps led the attack. Here it was photographed 45 miles from Budapest.This photo is from the excellent J. Fedorowicz book "SS Armor on the Eastern Front" by Velimir Vuksic. You can see that it still has the AA ring around the commander's cupola--surprising, as I would have thought it to have been a "final model" KT. You can also see the base coat where the missing links are on the turret.

A WORD OF THANKS TO MIG PRODUCTIONS
A few weeks ago, we had a thread going here about MIG pre-mixed washes and weathering products . It got strong opinions on both sides, and I had asked Adam Wilder and Rick Lawler exactly what would make a modeler buy their pre-mixed products when most people would mix their own.
To make a long story short, Adam Wilder contacted me a little later, and said that MIG Productions would like to send me some of their products to test out. So for the rest of this model's weatherin, I will be forgoing my "usual" routine of weathering products, and instead using the supplied MIG products exclusively. I am eager to see what results I can achieve here! A big "THANKS!!!" to Adam, RIck, and all at MIG Productions!
Stay tuned for some more updates after I make a little progress here! Now the fun begins!
Questions and comments welcomed!