WIP BLOG and Finish photos are here: https://imgur.com/a/2GfFk
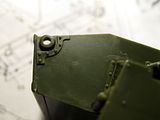
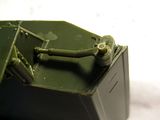
Back to the lower hull, idler wheel mount parts. The opening in the hull had to be enlarged to accept the peg on part L2, both sides
BRIDGE ASSEMBLY
The bridge assembly was surprisingly well designed for assembly and fit.
surprisingly because of all the parts that had to line up and fit together, which they did
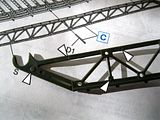
The girder truss parts of the bridge had ejector pin and other molding flaws on one side of each of the ten identical parts.
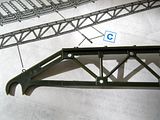
I didn't want to clean up all of this so I flipped the three of these with the clean side facing outward and two facing inward.
their final position is close enough to hide the flaws
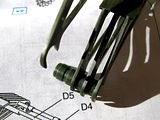
Starting with the half tubular end spacer pieces (parts D3), I began assembly with plastic liquid cement.
Once five were lined up and in place, I ran the brush charged with liquid cement across the top along the line where each were butted against each other.
I assembled both bridge subassembly sides at the same time
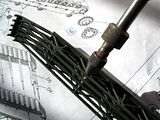
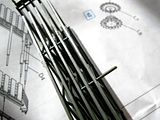
Next, each of the holes where the smaller poles (parts D1) were to be inserted had to be drilled out again.
This created an easy lined up fit. After all of the 24 were installed and equal spacing was 'eyeballed'.
Liquid cement was then touched to each contact point.
WIP BLOG and Finish photos are here: https://imgur.com/a/2GfFk
The flat plate (part D2) was too thick to insert through all five slots and I found it too difficult to either sand evenly thinner or to enlarge the slots evenly
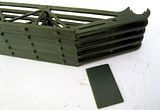
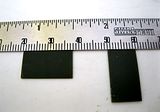
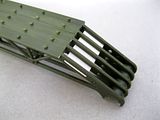
new parts (4X) were scratchbuilt to replace the kit parts. The kit parts were first measured, then duplicated with .023" styrene sheet material

once each side was completed, the larger poles (parts D4, D5, D6) mated both sides then liquid cement touch at each contact point.
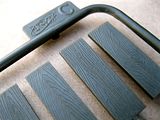
These holes had to be re-drilled too. At 15" (38 cm) in length, the bridge assembly is complete with exception to the wood boards that line up across the top of both sides.
Some little parts here and there needed a little putty or super glue fill but again, the design of assembly and fit of this model kit is very good
WIP BLOG and Finish photos are here: https://imgur.com/a/2GfFk