SEARCH FINESCALE.COM

Enter keywords or a search phrase below:

Tamiya Flakpanzer IV Mobelwagen (quad 38) WIP

16824 views
36 replies
1 rating 2 rating 3 rating 4 rating 5 rating
  • Member since
    October 2009
Posted by PANZERWAFFE on Sunday, November 18, 2012 8:19 AM

Hey Clint, how are things progressing on this build?  Your getting close to the finish and I'm looking forward to seeing it Yes

Rob

  • Member since
    July 2004
  • From: Texas
Posted by wbill76 on Friday, November 9, 2012 10:36 AM

Glad to be of assistance Clint! It's always a trial-and-error thing when it comes to weathering and nothing ventured, nothing gained!

In terms of lighting when you get to building your own model room, the best thing you can do is use a light tent...sounds complicated but really isn't, check out this link on how to build one yourself easily and cheaply. digital-photography-school.com/how-to-make-a-inexpensive-light-tent

  • Member since
    August 2012
  • From: Parker City, IN.
Posted by Rambo on Thursday, November 8, 2012 9:13 PM

Thanks for the input Bill I've got the barrel ends painted back and I am going to try to tone down the rust color some. I've been fighting lighting issues in my model room for awhile but we have are entire downstairs tore out and are remodeling after I get my wife her new kitchen all in I'm going to build me a new model room with every thing i need with lighting being number one. I've  also been reading alot of your build logs and I can't tell you how much help they have been thank you.

Clint

  • Member since
    July 2004
  • From: Texas
Posted by wbill76 on Thursday, November 8, 2012 10:59 AM

Clint,

The temptation to use rust heavily with armored vehicles is always a strong one but it's something that can be overdone depending on the circumstances you're looking to depict. Considering that this vehicle was in-service and not a wreck, I would suggest replacing rust as a weathering approach with a darker color like burnt umber for dirt/streaking or chipping effects. At a minimum I would suggest toning down the rust effect you have on the spare track run, in the lighting you have for the photos it appears very orange.

The last pic also seems to show that your barrel ends on the Flakvierling aren't painted but you may already be aware of that from you comment about paint chipping off.

Overall it looks good, can see a progression in your technique for sure! Yes

  • Member since
    August 2012
  • From: Parker City, IN.
Posted by Rambo on Thursday, November 8, 2012 5:17 AM

shes about done just some fine tuning left to go.

Put a flat coat on then pigment weathered with some med, dirt and some dark and light shades of rust here's what she looks like right now

Like I said have to fine tune some things like the storage and hit some spots that the paint has chipped off and whatever else I can find in the next few days

any input is welcome

Thanks for looking

Clint

  • Member since
    August 2012
  • From: Parker City, IN.
Posted by Rambo on Monday, November 5, 2012 3:58 PM

hey guys thanks for the input I am planing on adding a dark wash maybe a dark brown or burnt umber not sure right now. The pencil rub on the fighting compartment floor was something I was throwing around in my head wasn't sure if it would be too stark or not I will try it out and it could always be erased lol I will post pics of how it turns out.

Thanks for stopping in.

Clint

  • Member since
    July 2004
  • From: Texas
Posted by wbill76 on Monday, November 5, 2012 11:16 AM

Looks like the layering is producing some good results Clint. I agree with Rob, if you're planning to apply a pin wash that will help some of the detail 'pop' and provide some more depth to the finish.

  • Member since
    October 2009
Posted by PANZERWAFFE on Sunday, November 4, 2012 6:14 PM

Hi Clint,

Your moving along nicely.  I like how the interior came out and the last dry brush really did pull things together.  It has a very unique look to it with your pre-shade and with your washes, looks good.  My suggestion now would be to dry-brush or use a #2 pencil to highlight a few spots of the raised deck plate pattern.  Would not do the whole thing just places you think the crew would be at a lot.

Now on another note, I'm still unsure about the green pre-shade on the outer part of the vehicle.  Not saying that to be ugly, just my opinion.  I think it is to light for a pre-shade but you still can add a dark pin wash and see how it looks?

Keep at her and I'll be looking for your next update Beer

Rob

  • Member since
    August 2012
  • From: Parker City, IN.
Posted by Rambo on Sunday, November 4, 2012 4:19 PM

Taken advantage of the extra hour I got a few more things done

Took Bills advice and did some dry brushing inside the fighting compartment

I also added a slight filter normally I use oil paint but thought this time I might try enamel again after seeing the effect that Bill can get with them

some other effects that have been added is some Tamiya hull red using a sponge to show paint chips Also not sure if i mentioned it but the gunsight has been drilled out and the crosshairs replaced with a strand of hair. The markings added are from the 1st SS Panzer Div. and the Tactical Mark is for a 20mm Quad AAS P. Gun

Clint

  • Member since
    August 2012
  • From: Parker City, IN.
Posted by Rambo on Sunday, November 4, 2012 3:20 PM

Thanks Bill I think that is exactly what it needs in the pics it was still a bit wet and thought it might flatten out a bit more but a nice dry brushing of dark yellow would tie it in nicely

Clint

  • Member since
    July 2004
  • From: Texas
Posted by wbill76 on Sunday, November 4, 2012 9:35 AM

Making good progress with this one Clint! As a small suggestion, you might want to dry-brush some of the DY color over the washes you've applied on the interior to blend that in and tone it down a bit depending on how you plan to show the rest of the vehicle. Beer

  • Member since
    August 2012
  • From: Parker City, IN.
Posted by Rambo on Saturday, November 3, 2012 8:25 PM

Hey everyone thought I would share what I have done since last time

Got all the tracks drilled out put together primed and painted MM metalizer gun metal. Then went and hit all the high spots with some sandpaper and to tie them together a wash with burnt sienna to give them a rusty look

Since there was only a few decals I didn't spray any future on just brushed some on where needed.

also since I had the wash made up I went and hit the whole model with it and also started some weathering on the fighting area

Thanks for looking as always any input is welcome 

Clint

  • Member since
    October 2009
Posted by PANZERWAFFE on Monday, October 29, 2012 11:12 AM

I agree with Bill to go camo if you put it "in service" but I think I would leave it all dunkelgelb as it was.  Either way would look good so go with what makes you happy.

Rob

  • Member since
    July 2004
  • From: Texas
Posted by wbill76 on Monday, October 29, 2012 10:50 AM

Interesting approach with the green as a pre-shade. In terms of whether to go with the camo or not, that depends on whether you want to show it as 'in service' or still a 'prototype demo' finish. Camo's a must if you go the 'in service' route IMHO. Either way it ought to look good in the end! Beer

  • Member since
    August 2012
  • From: Parker City, IN.
Posted by Rambo on Sunday, October 28, 2012 6:44 PM

Got all the tracks drilled out and started on putting them together gona have to either thin some of the teeth on the drive wheels or remove them where they touch the track 

Got her primed and pre shaded with olive green think it looks a little too much right now but that should blend in better after weathering also not sure if I should leave it all dark yellow or add some camo to it.. any ideas?

any Ideas or thoughts to make her better are welcome 

Thanks for looking

Clint

  • Member since
    August 2012
  • From: Parker City, IN.
Posted by Rambo on Friday, October 26, 2012 8:49 PM

I've only got a few things done since last time mainly I got her all primed and also I bought a set of Friulmodel tracks for her I've been busy drilling out the holes on them I thought they came pre drilled but o well they look really really good (instead of digging out the camera and everything heres a pic from spruebrothers)

Clint

  • Member since
    April 2005
  • From: Gothenburg
Posted by JohanT on Wednesday, October 17, 2012 3:04 PM

Wow, this is a blast from the past...

I am fairly sure I did this in 1/32 by Monogram 38 years ago.

So unhappy at the time that the to makers could not agree on a common scale and with the kits in the collection already all in 1/35.

It cold have been the other way arround as well...

Never mind...

Wish you luck on this one - you are off to a good start :)

Thank you for sharing.

Very Best Regards

Johan

  • Member since
    July 2004
  • From: Texas
Posted by wbill76 on Saturday, October 13, 2012 3:43 PM

Doing a good job on this one Clint, the ejector marks are a pain on this one because of the slab sides and you've dealt with them in short order! Wink

  • Member since
    August 2012
  • From: Parker City, IN.
Posted by Rambo on Saturday, October 13, 2012 5:18 AM

Got some work done on the ole Mobelwagen here

not sure why but the flak gun was all warped and twisted but I had got another flak gun at hobby lobby a few years back and its the same kit as what comes with the mobelwagen so its a easy sub

Also after looking at them the kit guns had a lot more detail than the resin ones so I used them with the metal from the resin kit 

Got some knock out holes filled and sanded also plugged the motorization holes on the bottom side of her too

thats about it so far also got the crew started but they look more like infantry then a tank crew that will change later tho

Clint

  • Member since
    August 2012
  • From: Parker City, IN.
Posted by Rambo on Tuesday, October 9, 2012 6:56 PM

Thanks Roy I will do some more research on the hatches

Clint

  • Member since
    December 2002
  • From: Bury St Edmunds, Suffolk, England
Posted by Bish on Tuesday, October 9, 2012 1:07 PM

Nice work Rambo, some nice details being added there.

I am a Norfolk man and i glory in being so


On the bench: Airfix 1/72nd Harrier GR.3/Fujimi 1/72nd Ju 87D-3

  • Member since
    November 2005
Posted by T26E4 on Tuesday, October 9, 2012 8:07 AM

Rambo: regarding adding hinges to the drivers' hatches -- with the folding armor plates of the fighting compartment, the normal flip-type hatches would have gotten in the way.   Therefore, the Pz IV hulls used for Mobelwagen were fitted with sliding hatches.  HTH

Roy Chow 

Join AMPS!

http://www.amps-armor.org


  • Member since
    August 2012
  • From: Parker City, IN.
Posted by Rambo on Monday, October 8, 2012 7:20 PM

So it's funny how life gets in the way of building lol but heres what I have got done since last time

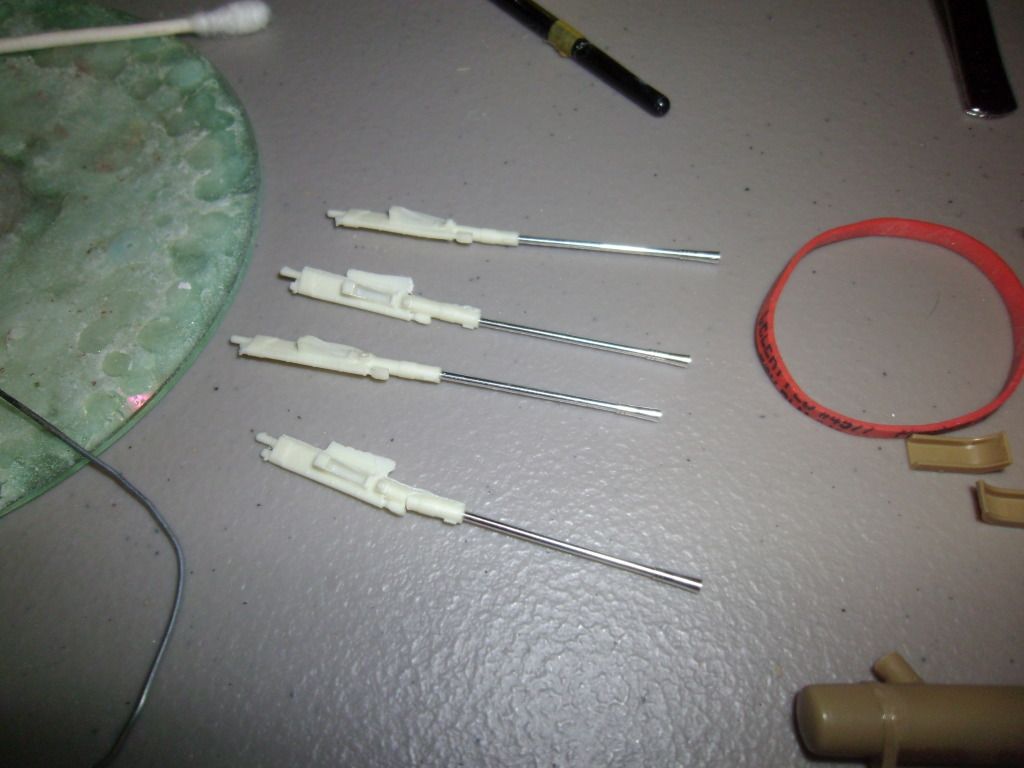
Got the resin guns drilled out somehow snapped one drilling it out but figure i can fix it later 
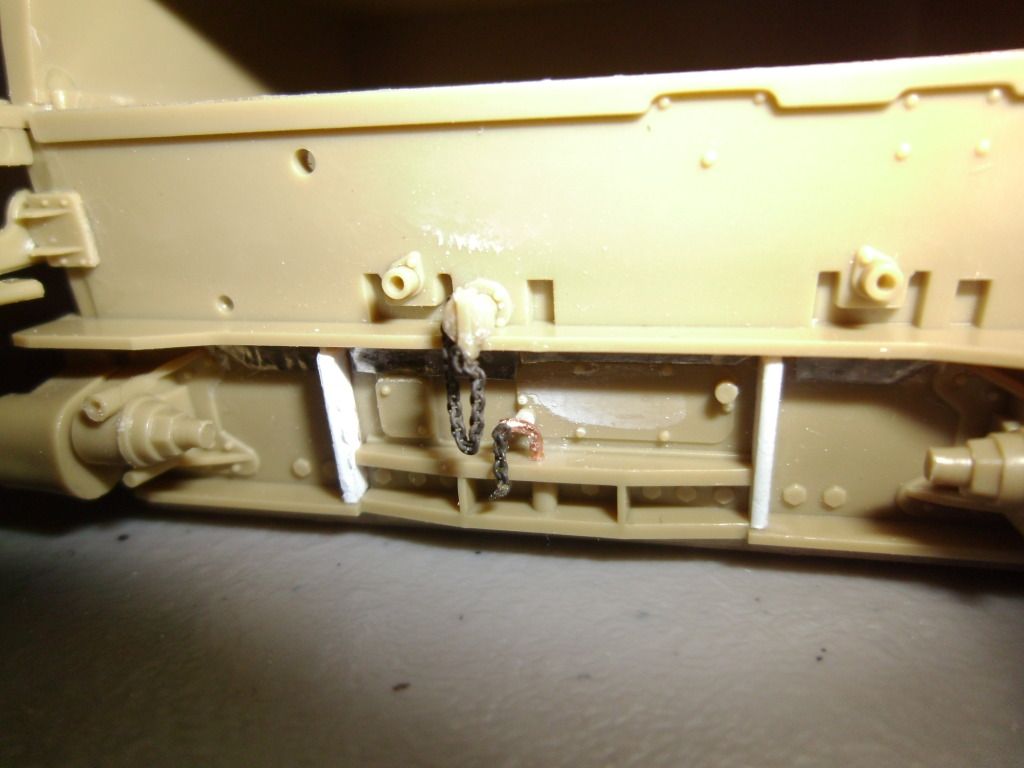
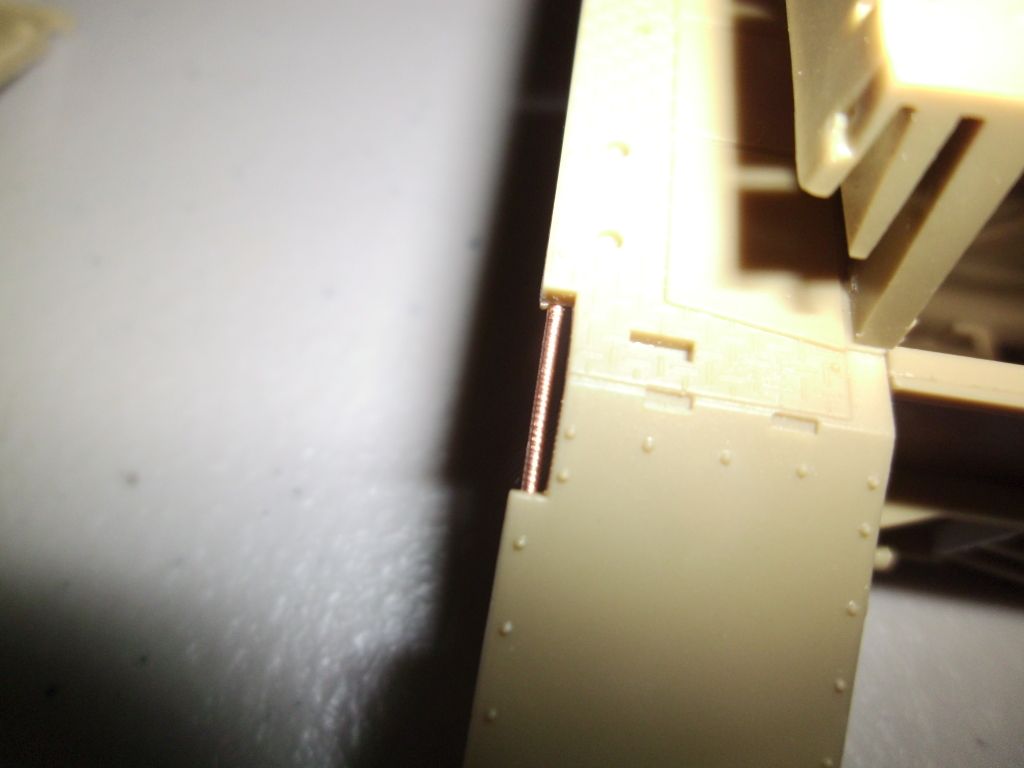
 Also added some bolt detail with a pin vice was going to use archer rivits but they are one the same order as the tracks for this from squadron who knows when they are coming in. Added pieces of wire along the mud flaps to show the bar that would hold them onto the hinges
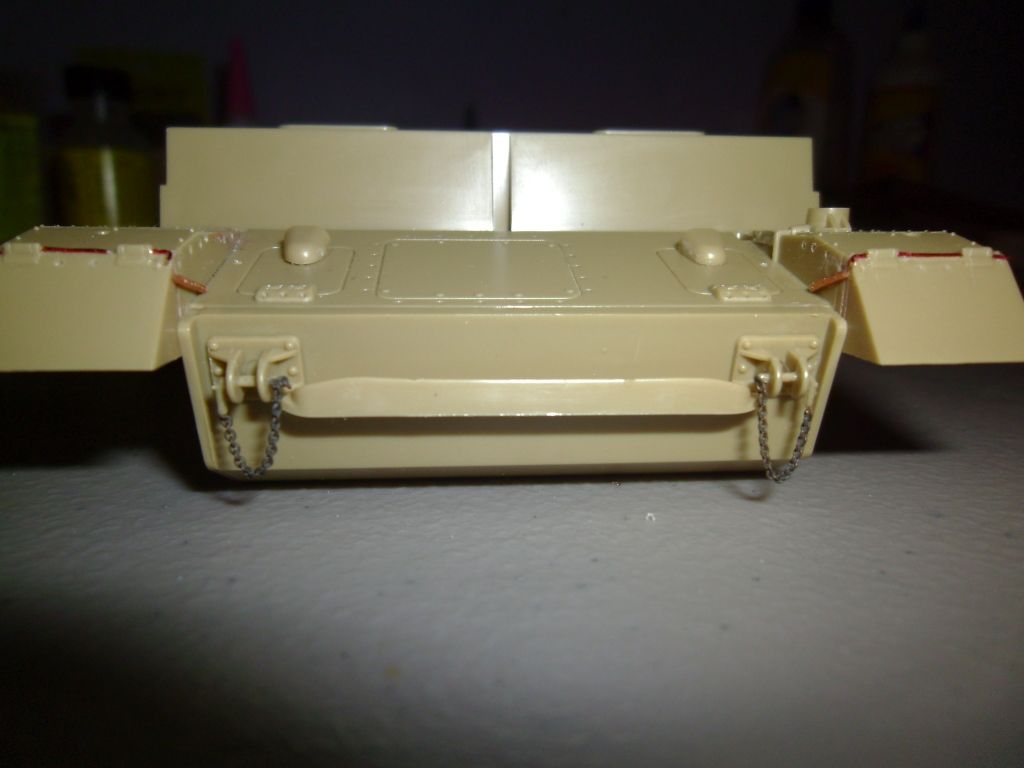
made springs from wire scored with my knife for front and back mudflaps also added chain to the front and rear since the LHS finaly got more chain instock 
Think that is it for right now I have to be running to work so any input or ideas to make it better are welcome.

Thanks for looking

Clint

  • Member since
    July 2004
  • From: Texas
Posted by wbill76 on Sunday, September 30, 2012 7:40 PM

Any progress is good progress! Off to a good start.

  • Member since
    August 2012
  • From: Parker City, IN.
Posted by Rambo on Sunday, September 30, 2012 6:58 PM

Well didn't get much done this weekend due mostly because of the sound of Borderlands 2 begging to be played lol. But I did get a few things done 

Funny thing the muffler has tabs in it to make sure its lined up so I got it all glued and sanded down to see that the attach points are way out of line?? so i had to go back in cut the tabs out and glue everything back in straight not sure how that happened they can only go on one way also added some missing detail to the rear end and  thin wire twisted then flattend to look like chain for the filler cap under the muffler. Will post more tomorrow the batts in the cam died and also have to leave for work here in about 15 min so thanks for looking and any input is welcomed

Clint

  • Member since
    March 2003
  • From: Rain USA, Vancouver WA
Posted by tigerman on Thursday, September 27, 2012 1:29 AM

The AM barrels will be a very visual improvement over the kits. Sometimes you just have to do things like that.

   http://i7.photobucket.com/albums/y269/wing_nut_5o/PANZERJAGERGB.jpg

 Eric 

  • Member since
    August 2012
  • From: Parker City, IN.
Posted by Rambo on Wednesday, September 26, 2012 4:45 PM

Thanks guys could i still add the hinges to the hatches or was they all internal then? I probably will build it up to be in service since I don't like a clean looking tank.

Clay I paid a visit to your shermanville just a while ago looks like your knee deep in them

Clint

  • Member since
    December 2004
  • From: ohio
Posted by vonryan on Wednesday, September 26, 2012 1:32 PM

very cool Rambo. i have the kit and bought the very hard barrels for it. so  i'll be keeping an eye on this one. can't wait. BUTT i'll be watching from shermanvilleSad 

Clay 

  • Member since
    December 2002
  • From: Bury St Edmunds, Suffolk, England
Posted by Bish on Wednesday, September 26, 2012 12:13 PM

The first time i built this i did it as though it entered service. That was destroyed and i have another and will be doing the same. Nothing wrong with a what if. Look forward to seeing this come along.

I am a Norfolk man and i glory in being so


On the bench: Airfix 1/72nd Harrier GR.3/Fujimi 1/72nd Ju 87D-3

JOIN OUR COMMUNITY!

Our community is FREE to join. To participate you must either login or register for an account.

SEARCH FORUMS
FREE NEWSLETTER
By signing up you may also receive reader surveys and occasional special offers. We do not sell, rent or trade our email lists. View our Privacy Policy.