Made some solid headway on the remaining details on the pocket Tiger, although as usual I thought I would get further along than I did because this little kit is deceptive in the amount of time it takes to assemble all the little detail parts and get things just so. Part of that is the need to assemble a little bit, let the glue set, then come back and assemble some more. It means a lot of jumping around to different areas and I'm rapidly running out of those, so there was more 'wait' than 'hurry' this time around.
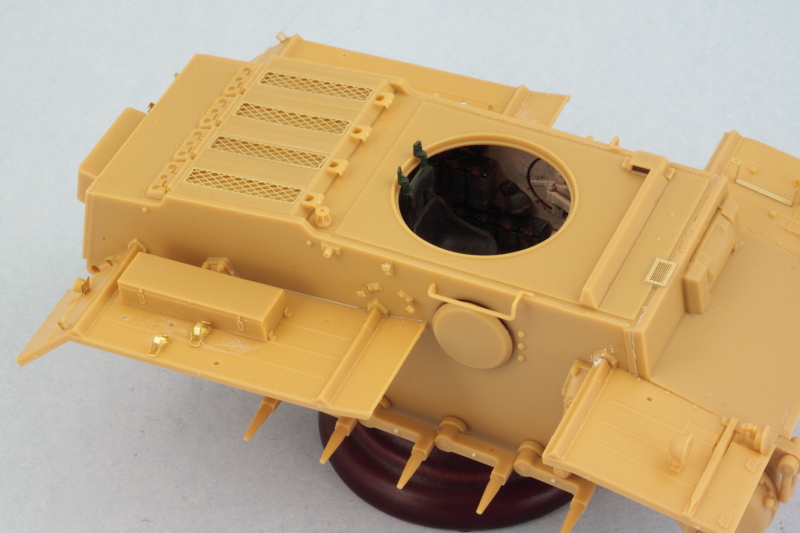
On to the fun! Progress continued on the fenders, I cleaned up all the necessary tools, assembled the boxes, and the jack. Bronco has you assemble two stowage boxes out of 6 parts each...4 sides, top, and bottom, and have to say I'm not a fan of that approach. I got the large one together pretty easily but the smaller one didn't play nice at all...and after checking references, it doesn't appear either of those boxes were commonly used in the field and only show up on the 'factory yard' photos...so I ditched them. This has the added benefit of also showing off the tools on the left side which otherwise would've been covered up by the larger box. The tools fit very tightly together on the left fender so I used the Bronco-supplied PE clamp handles and didn't replace the clamps completely as test fits showed that my Griffon clamps were larger and wouldn't work in the space available on this fender. Some putty filled the mount hole for the smaller box that I'm not using. Tools are only dry-fit for now and will be detailed separately.
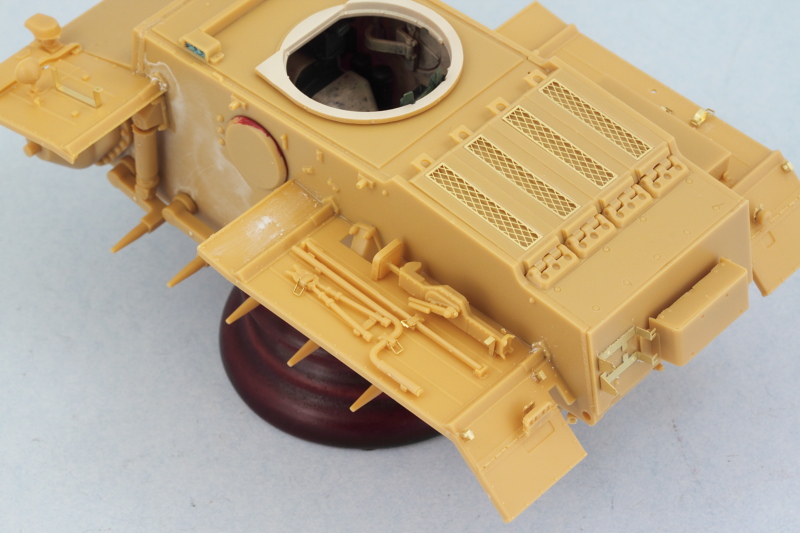
The right side fender got more attention. Bronco has the clamp for the shovel in the wrong spot according to the layout shown in Panzer Tracts 1-2, so I shaved down both it and the axe and replaced their clamps with Griffon PE clamps. The clamps are closed and the handles of both tools can be carefully slid in and out, so I can detail the tools separately off the vehicle and install permanently later.
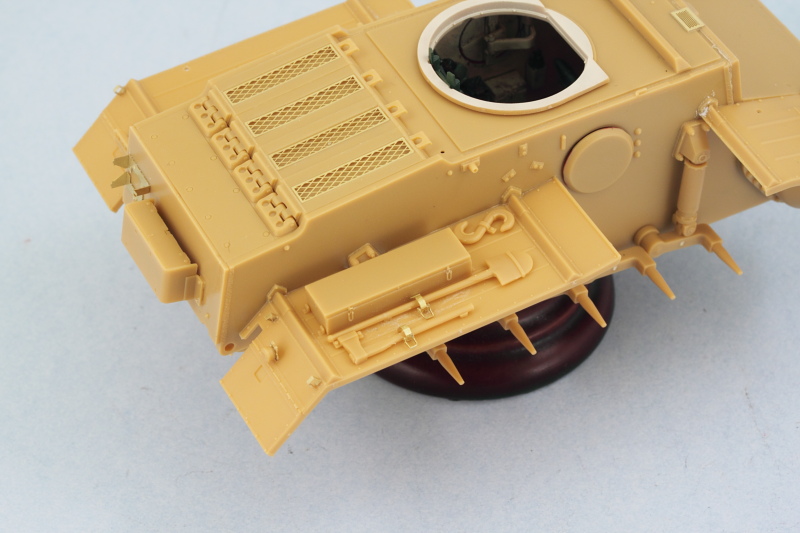
The last little remaining details for the hull were added in the form of the PE hooks for the tow cable mounts, the side hatch grab handles, and the antenna base. The antenna base was drilled out to prep it for an RB brass antenna later on, the kit supplied item is too short for a standard German antenna. I had planned to fit tow cables since the kit doesn't provide them but the PE hooks don't appear to be sturdy enough for me to carry through on that. In hindsight, these would've been better off removed and some strip brass used to create a stronger hook but once the fenders were fitted, getting at the molded on ones to remove them is near impossible...so no cables for this baby.
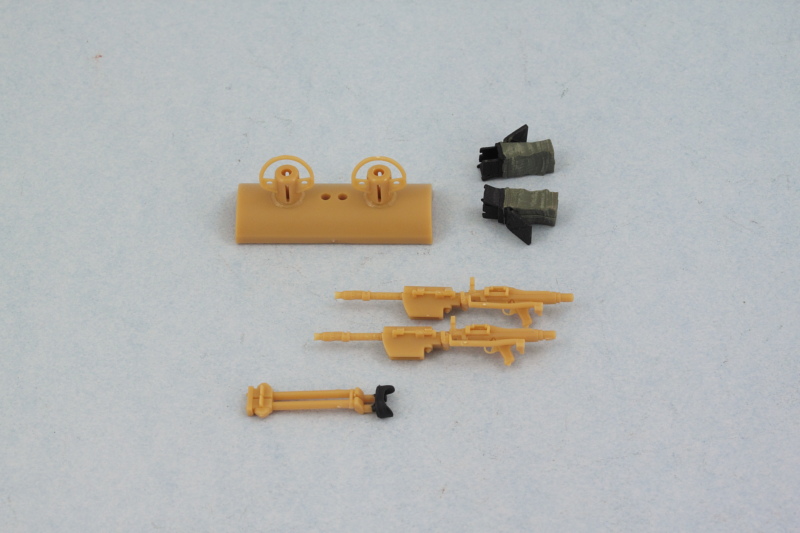
Attention also turned to the turret details, I assembled the external mantlet's MG sleeves and their little guards. The kit instructions would have you add the guards to the sleeves first and then install the sleeves to the mantlet but I did the opposite to avoid damaging them as they are a little fragile until the glue sets up. The MGs were assembled and these babies are very nicely detailed...but that also means lots of little parts for them, so these were done in stages. The instructions would have you add the ammo bags to the guns and then install the guns into the mantlet from inside the turret, but after doing some tests it's possible to install the guns into the mantlet first, then install the mantlet and guns to the turret, and then add the ammo bags from below, so that's the way I will do it.
Last but not least for the day, the turret was weathered and the commander's periscopes detailed and installed.
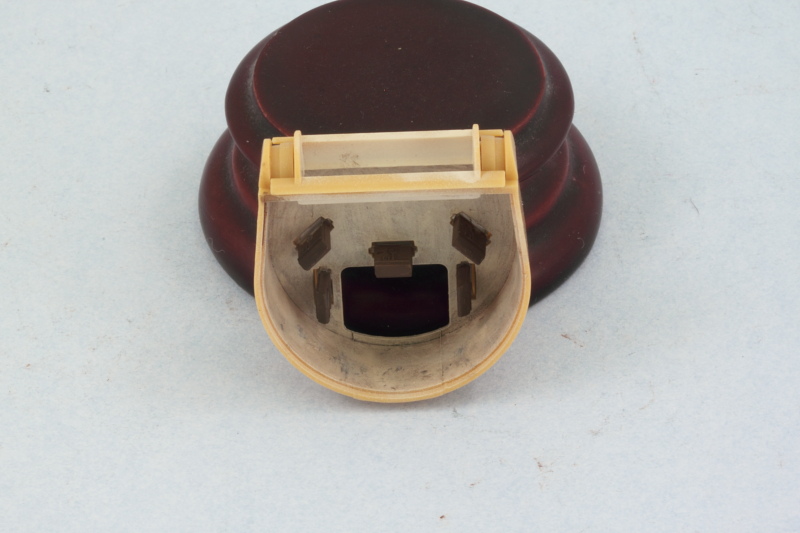
Next up will be finishing the details on the guns and the turret bottom and then getting the turret together so exterior painting can commence.