After a long hiatus, four years (so far) of Army service and a few quick weekend projects that turned into month long builds, I decided to start a month long build that will no doubt take me quite some time to complete.
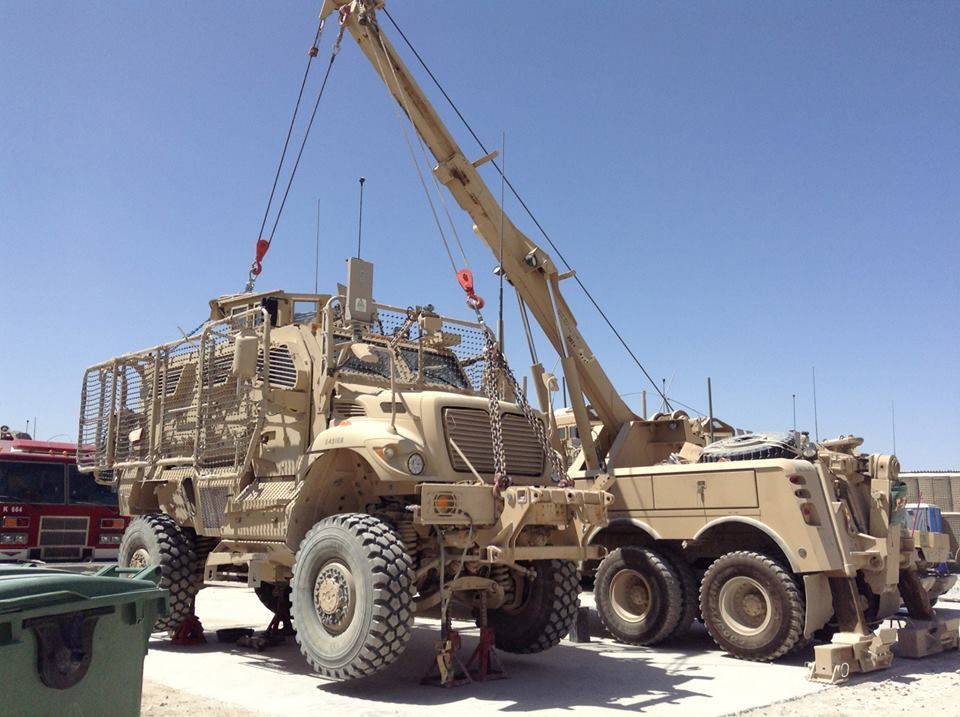
I've deployed twice to Afghanistan with the biggest benefit being plenty of reference pictures and the layout of vehicles/equipment forever burned into my brain. With all this knowledge, I decided I should build a vehicle that I lived in for a few months overseas. The International MaxxPro MRAP. Very close to my heart 
Kinetic makes a decent kit but it's either based on one of the early 2007 models or it's some kind of export model of the MaxxPro. I say this because 1) the version I manned the turret in had some pretty serious differences but 2) I saw this version Kinetic modeled their kit after in service as late as 2014 (maybe still?) with the Romanian Army. So depending on what you want to build, this may very well be a nice kit right out of the box.
I did invest in the Voyager PE set as well (mainly for the sake of the rear ramp stairs. The kit stairs are garbage but we'll get to that one of these days).

The first challenge I knew I was going to have to overcome (and what has prevented me from starting this sooner) was not only the aforementioned fact that Kinetic's MaxxPro is of the wrong vintage, but more importantly- every vehicle I saw on Highway 1 (with the exception of some REMF vics that had to eventually be pulled off of FOBs after years of hibernation with the rest of the war effort as we shut the country down last year) had some kind of RPG netting or cage device attached to it.

As I have never seen anyone build an MRAP with such a net, I knew there was likely no AM parts, which meant I'd have to do it on my own.
I thought this meant I would have to try and work with styrene pipe or rod or some kind of mess that no doubt would take too long for the glue to set, would snap when bent or melt if I tried to heat it up, I don't know, basically I'm not too hot when it comes to scratch building with styrene. It's too soft and too malleable and I'm just not patient enough.
Then I had an epiphany... why not use brass rod and just solder it in place? Oh right Chris, because the last thing you soldered was some copper plumbing with a blow torch and your Dad's supervision in the year 2000. At best. But eh... how hard could it be?
And sure enough, here we are...

Shown on a 1/35 (roughly) scale blow up of the MaxxPro diagram from the Kinetic instruction to help give me a basis to bend/cut brass rod- and some of the RPG netting structure already completed. There was a pretty decent learning curve but I think for the most part I've figured it out. The actual netting is going to wind up being something like cheese cloth unless someone chimes in with a better idea.
Here's my workbench by the way

And what I resort to when the "helping hands" aren't up to the task.

Just some cork board, not trying to burn up my barracks room furniture...
Here's some progress on the actual kit itself.

First major attempted fix to the kit (unsuccessful representation, but better than nothing?)


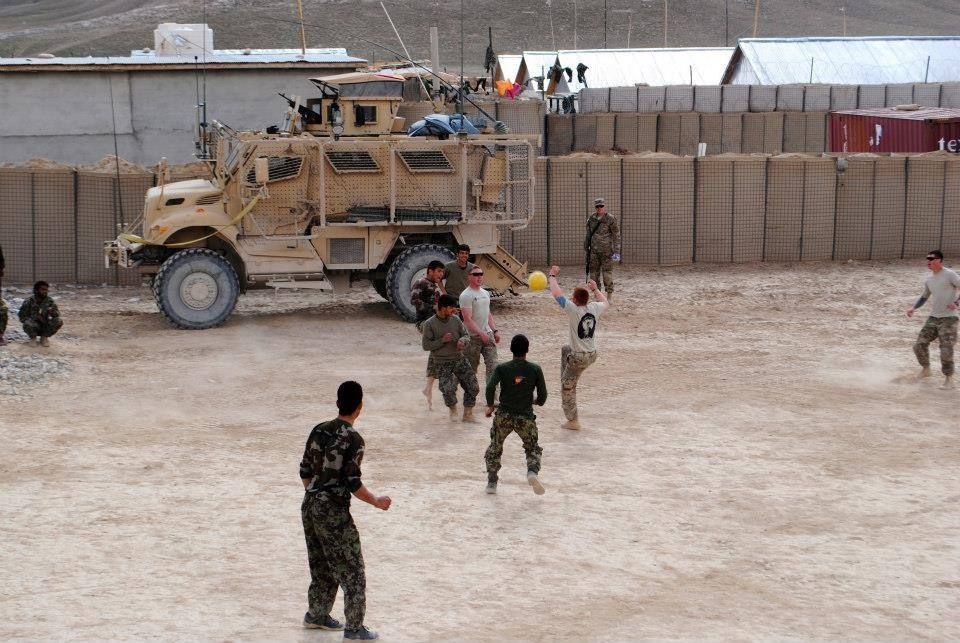
I tried to get the turret to sit flush on the roof, the kit (and the other version of the MaxxPro) had a box elevated off the roof about 4 to 6" (in 1/1 scale) that the turret sat on top of. Almost like the whole turret was an after thought when they designed it, so they just plopped it down on top. The version I had was flush, this isn't a great picture, but you can see just how low the turret sits compared to how the MaxxPro looks on the box art.

Also, you'll get to see me (the one with the blue colored 1/2 sleeve) playing soccer with the ANA in the foreground.
By the way, unless otherwise noted, all these reference pictures are my own property. Either taken by myself or my coworkers.