Hey guys, thanks for all the nice comments, and Rich, thanks for that "to do" list. I hope I"m doing it proud on this update..!
Well I've been working away on the Leopard 1. Wow, what an ancient kit! It really shows its age! I can't believe I built two of these in the past "as is"!
The first step is to seal all the motorization holes. Quite a bit of work here.
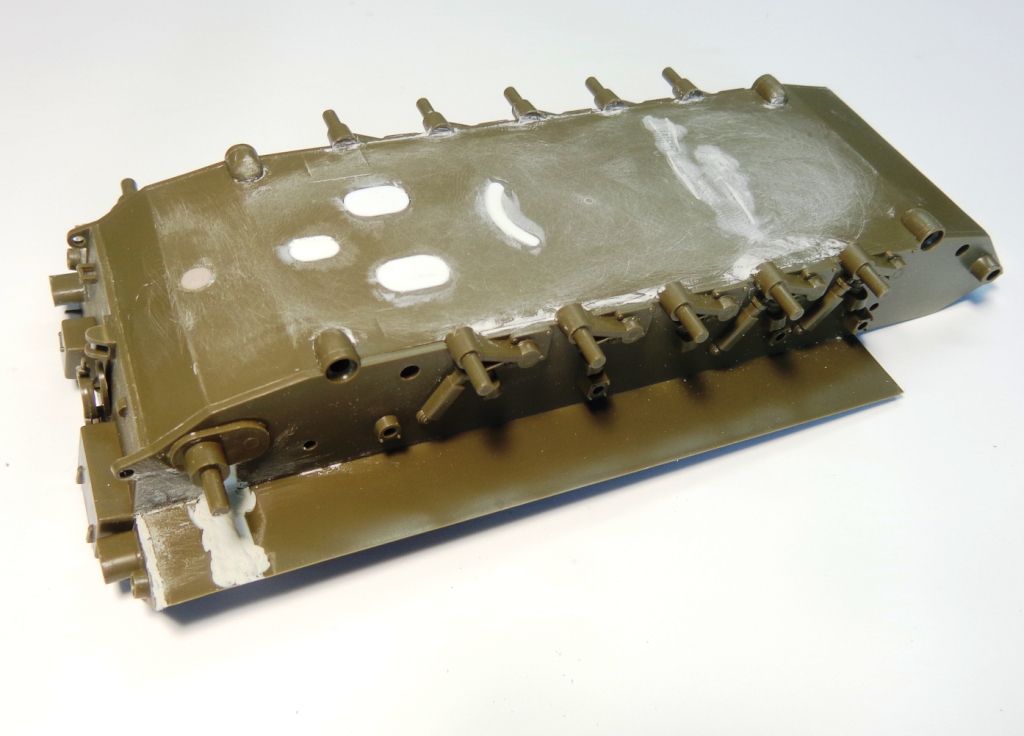
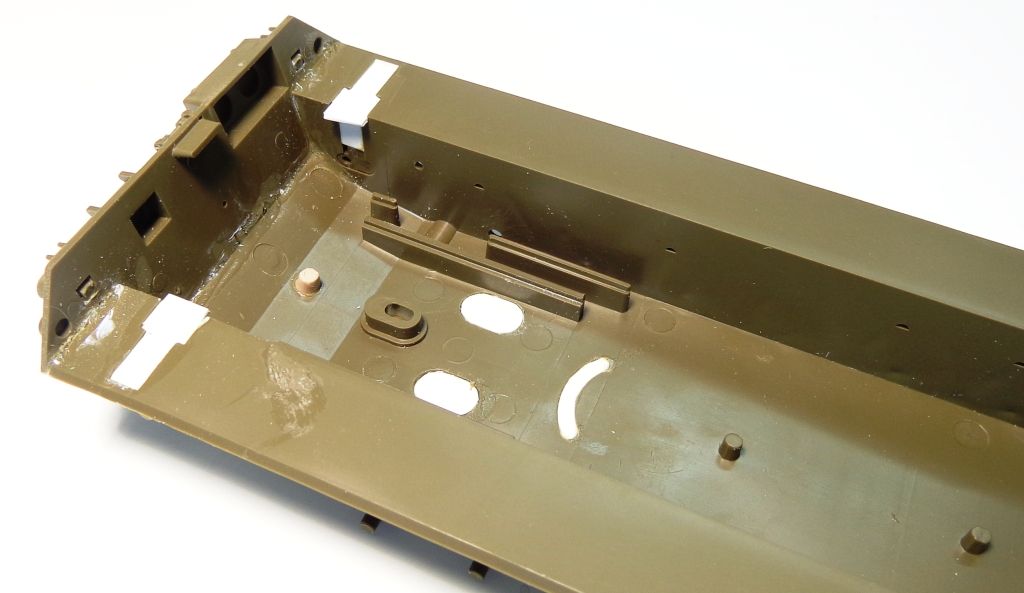
The barrel being glued;
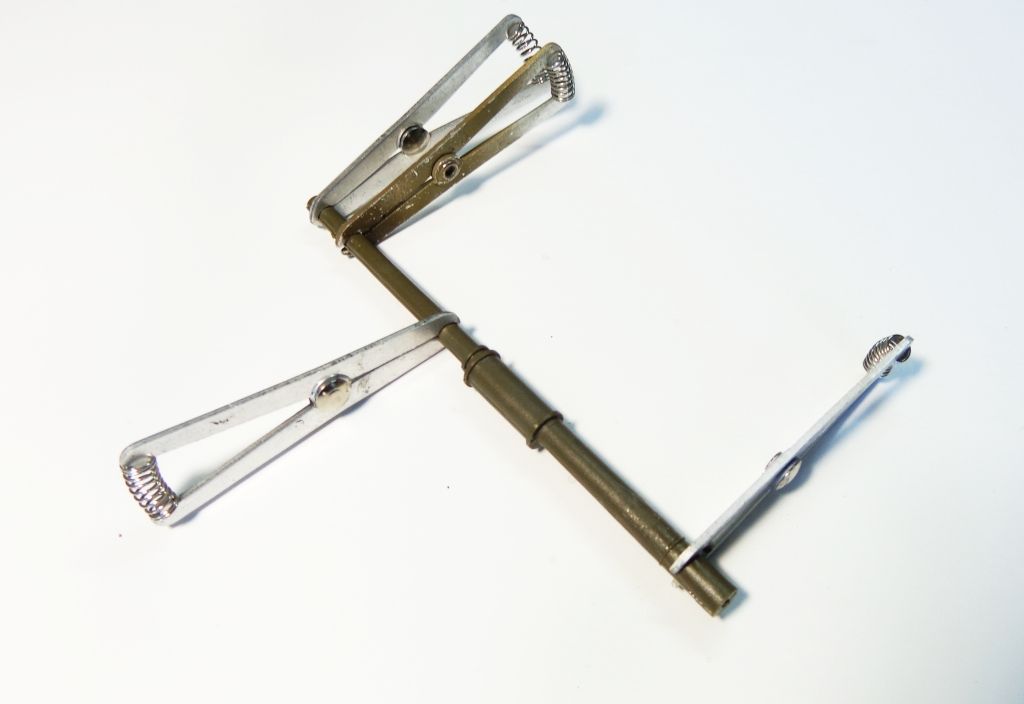
The wheels. Most newbs wouldn't even think of doing anything with these, but notice how they have flash and some weird, "sharp" edges? I decided to take each one, sand the edges, and use an Exacto knife to "round" the edges a bit. It really improved the look of them. Before:
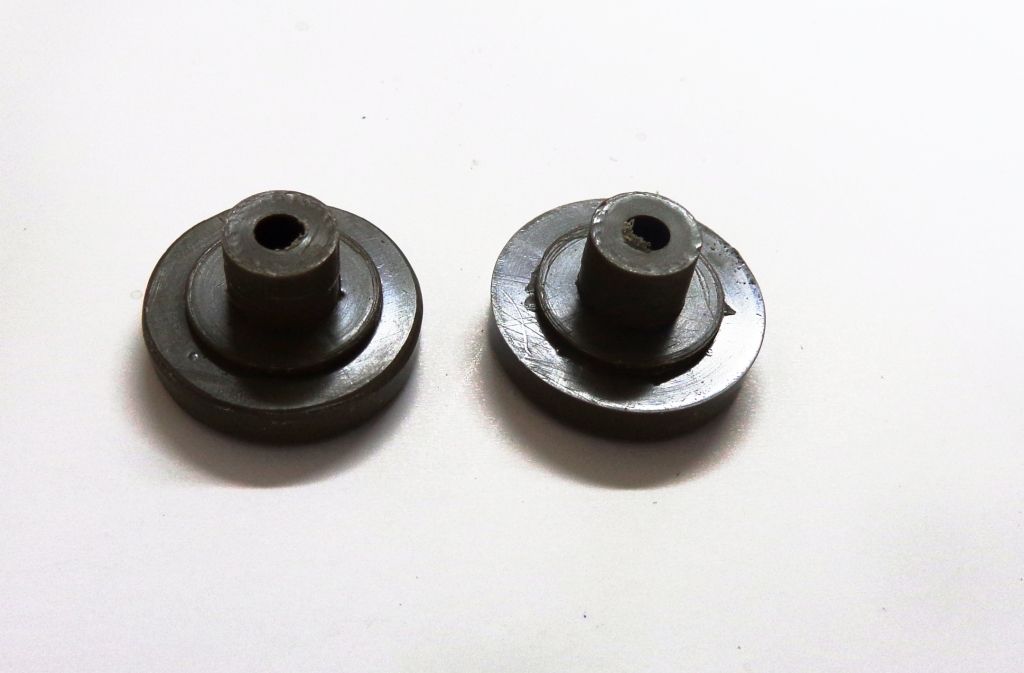
After:
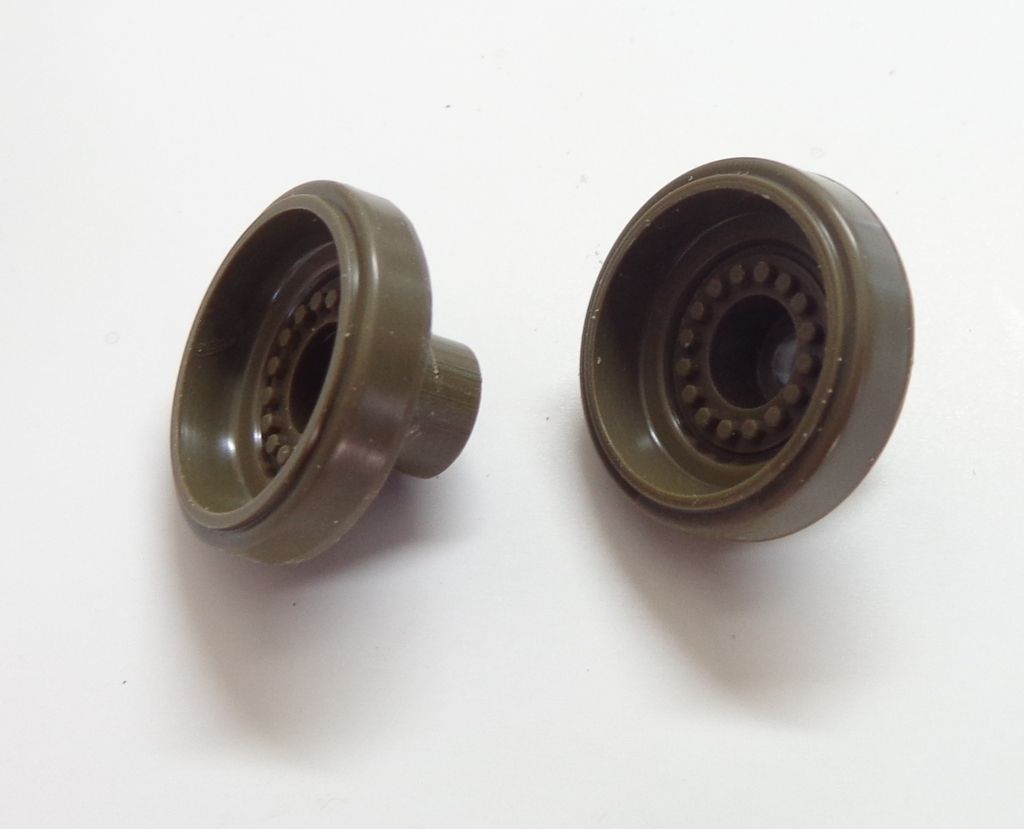
Next: these projections for the binocular targeting optics on the sides. They are protected and "closed" by something that looks like a side mirror; the problem is that they are rather thick and gnarly. Plus they don't actually attach as they should, especially the articulating arms to open the shields. I decided I could d something cool here...
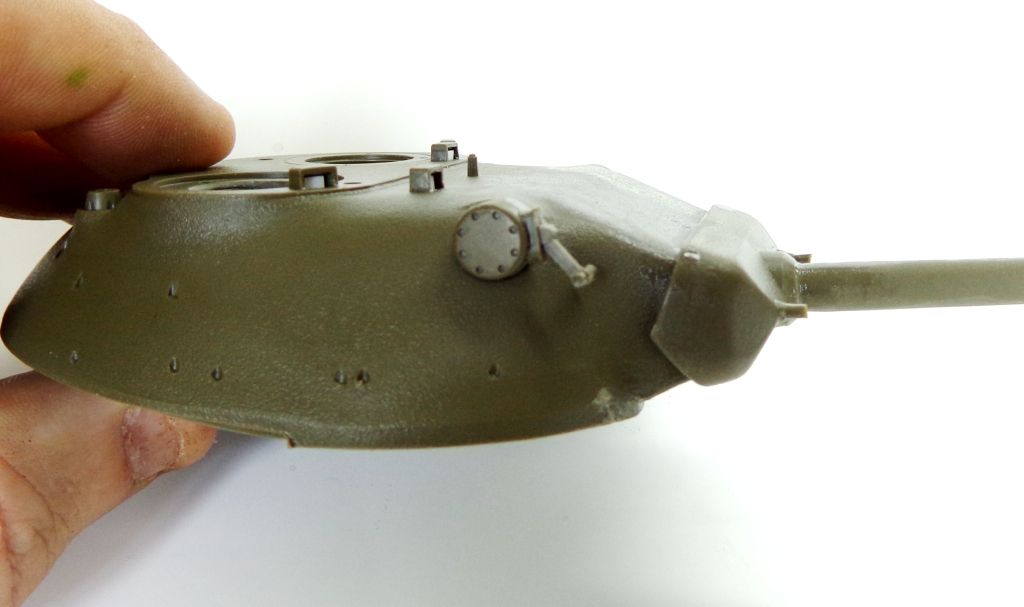
Here's what they're supposed to look like. Note how dainty they are. Note also the missing lifting lugs on the turret sides in front of them?
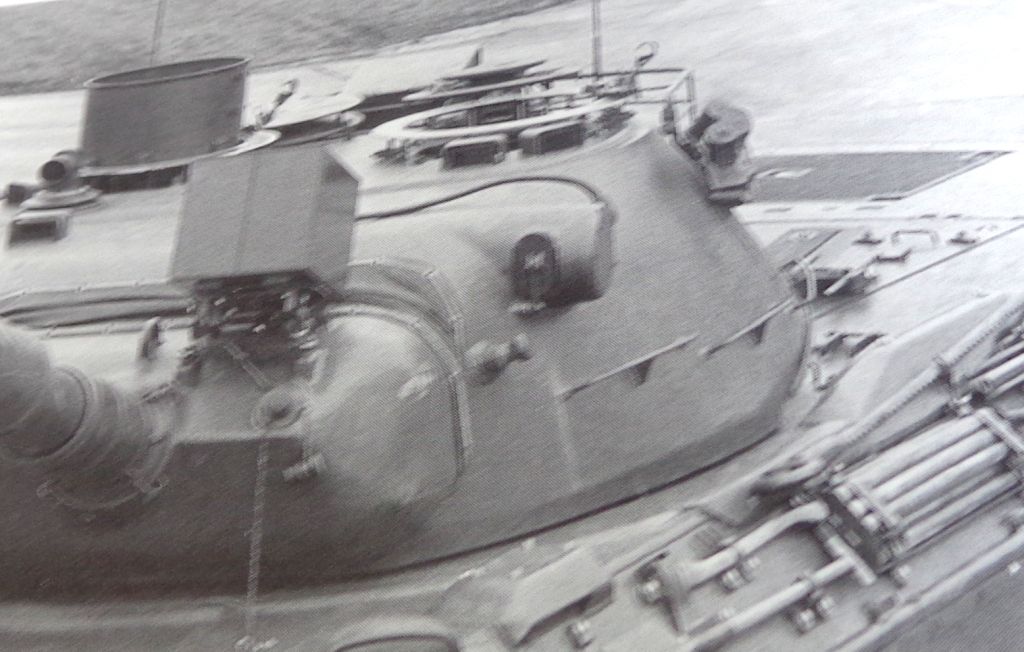
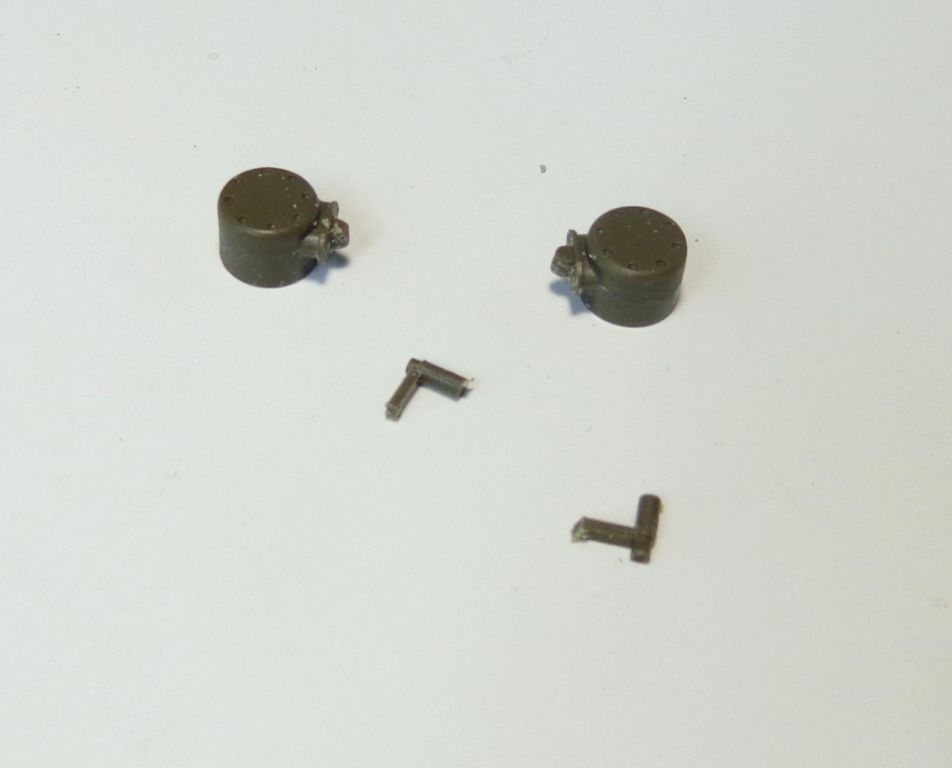
First step: cut off the huge arms..
Another good pic of them..
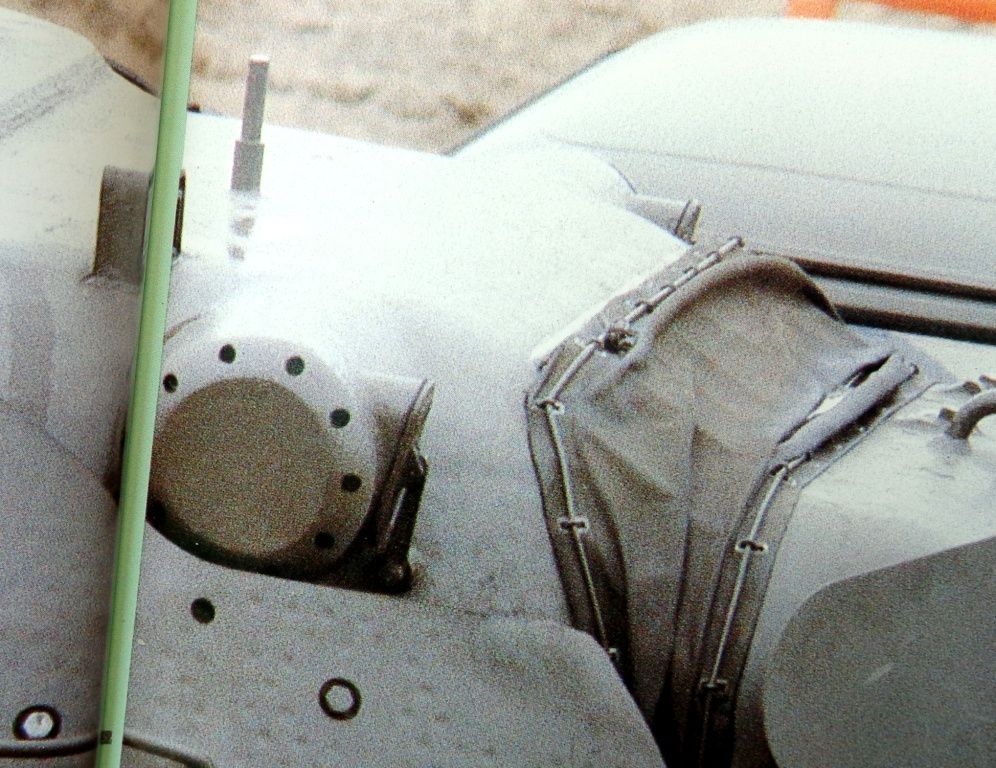
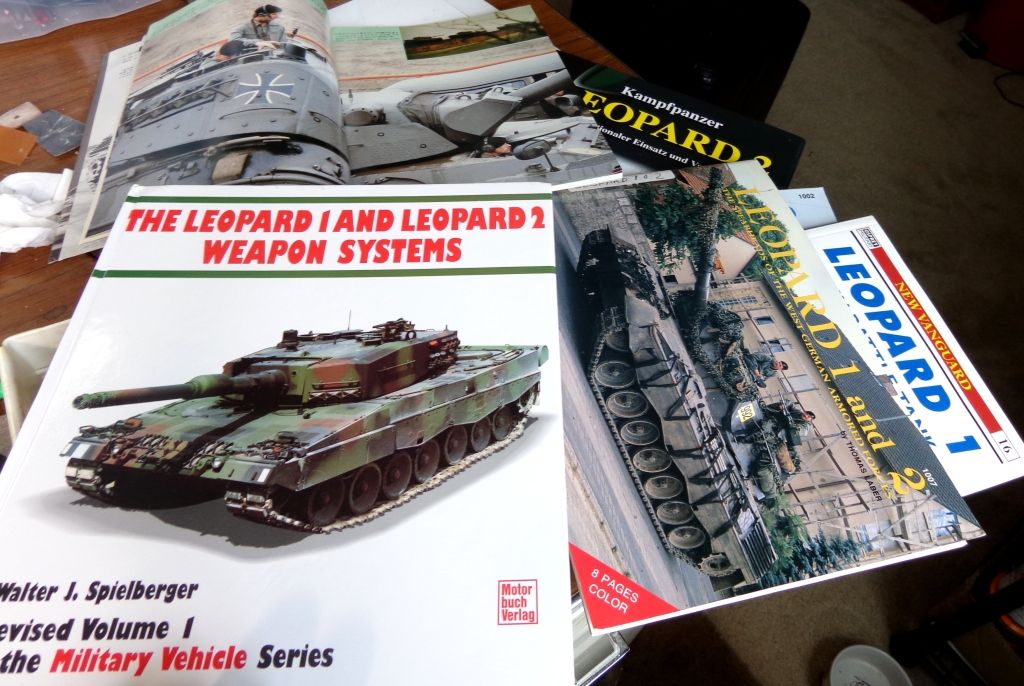
...from my excellent Bundeswehr research library! 
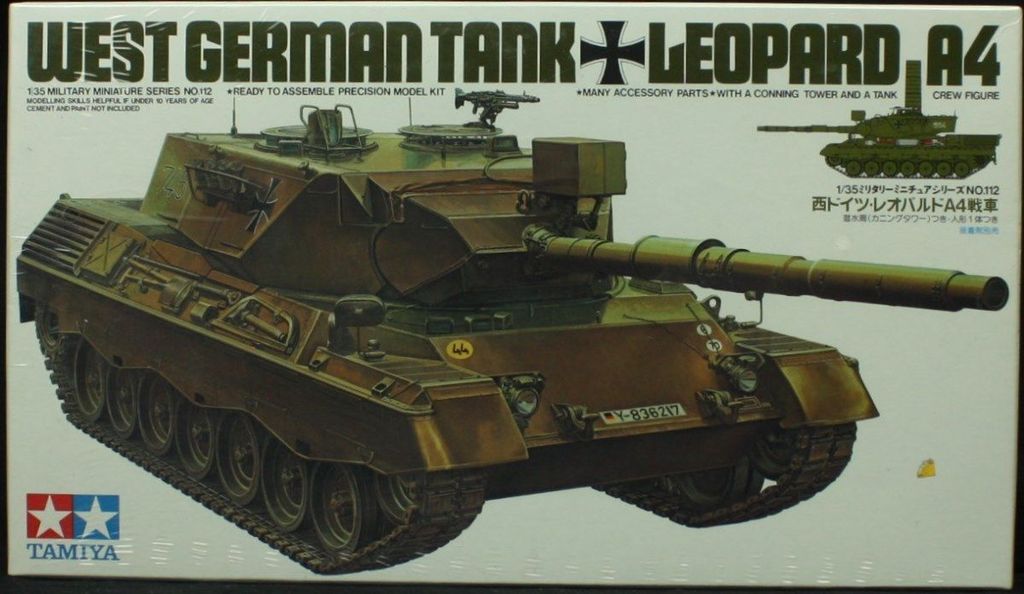
So....at this point, after wondering how I'm going to replicate those lifting lugs, I decided to raid another old favorite kit for parts. I actually have two of these; the other kit is the Testor's kit, and is actually a far better kit, so this sacrifice won't be too hard. WIth this decision, I have opened up a whole wealth of possibilities.
The first thing I did was glue on the parts for the scopes, and blend them into the turret with putty.You'll also note that I removed the molded-on searchlight cable, and re-stippled the turret surface to match the armor texture.
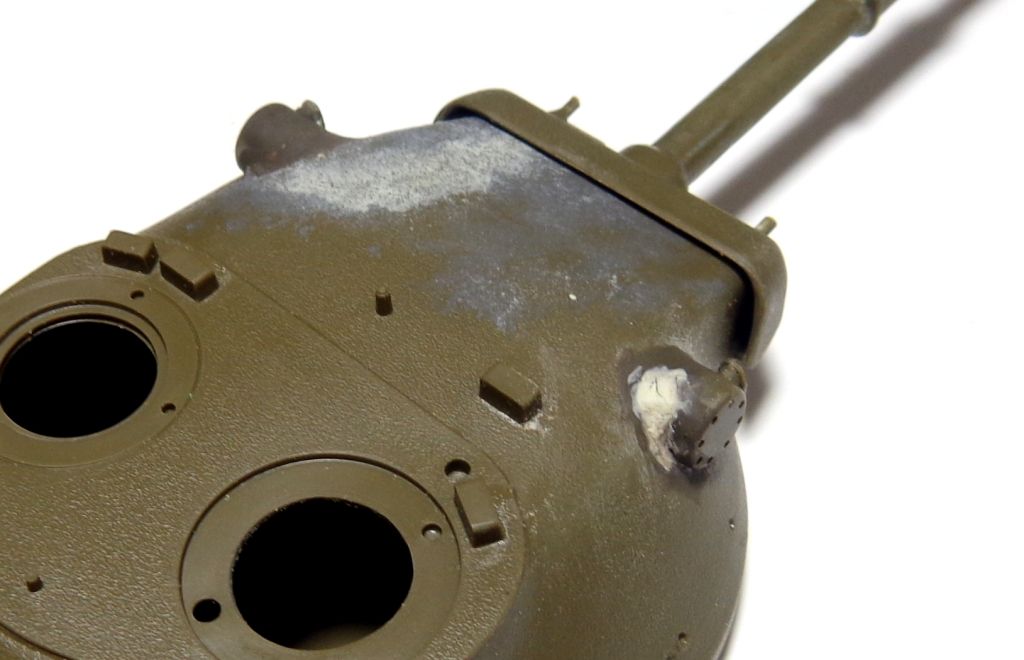
Next, I checked the putty sanding by painting the parts to see if you could tell there was a join there..also note that I've put in periscopes in the holes there.
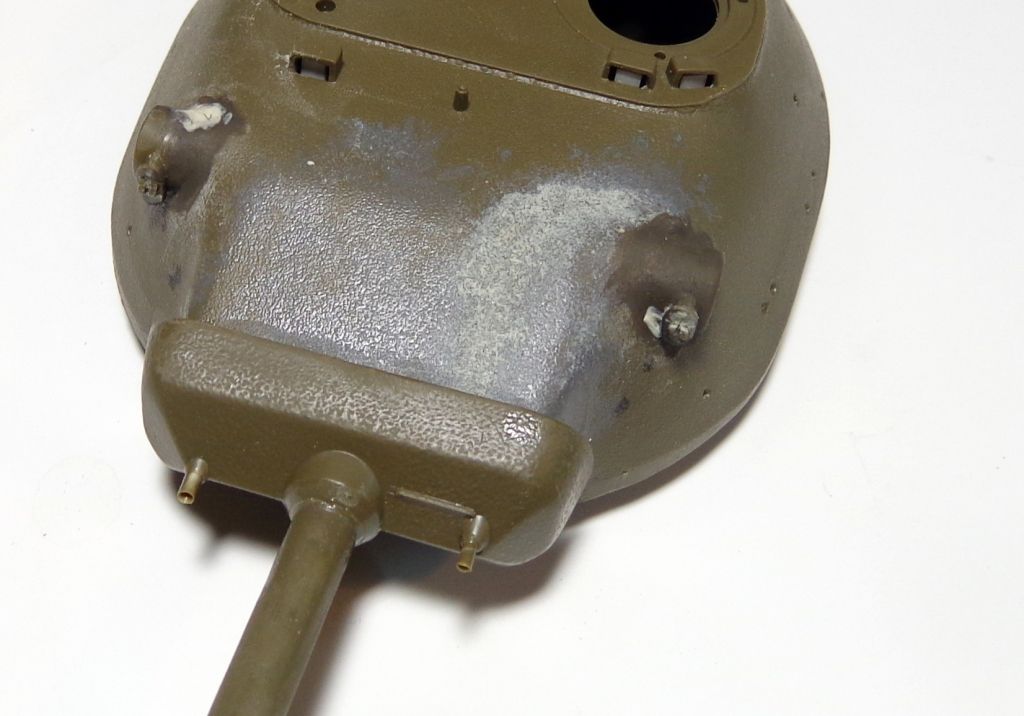
Here is the finished articulating arms, the lifting pintles, the periscopes, and a template for the coming mantlet cover...
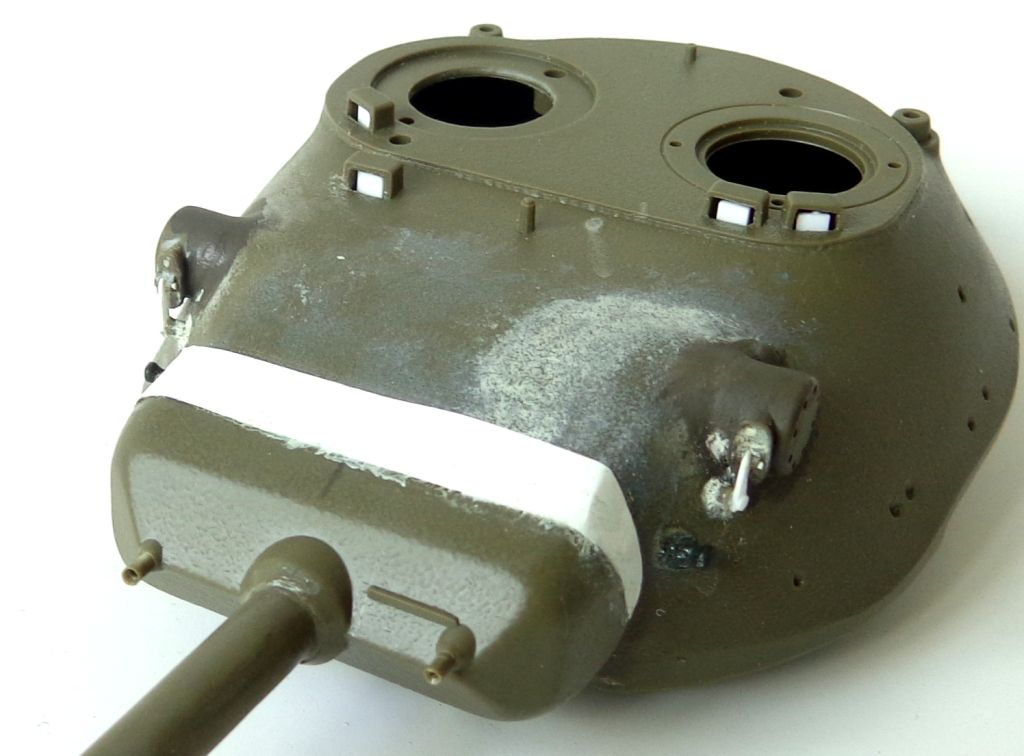
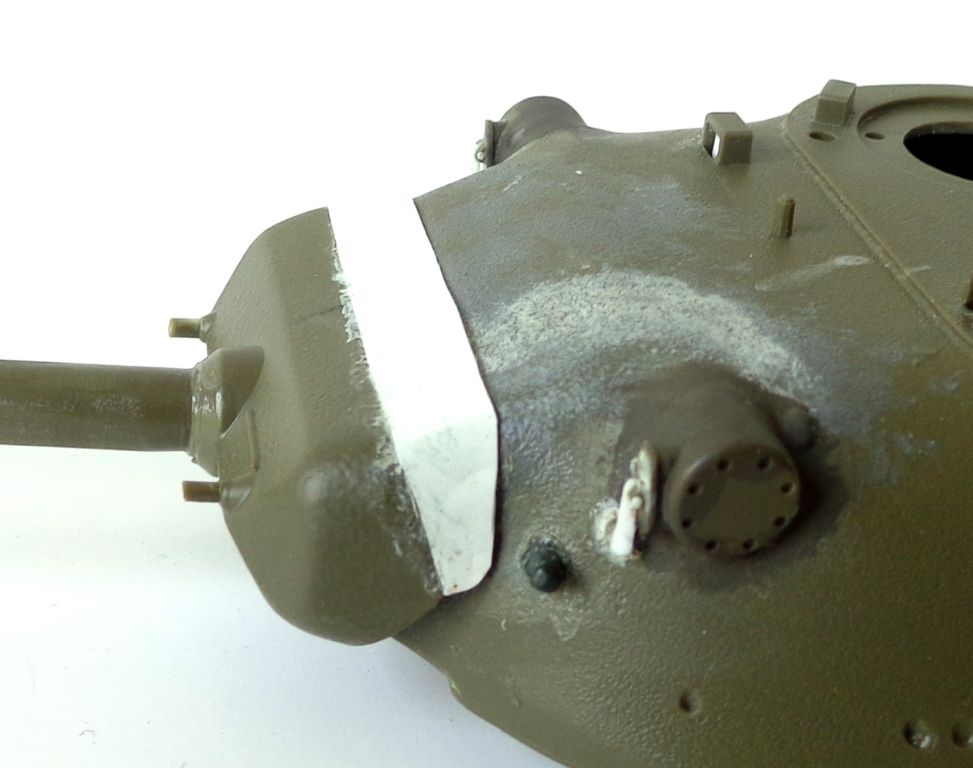
These "bars" have been put on because the mantlet cover has these kind of "lines" of sort under the fabric.
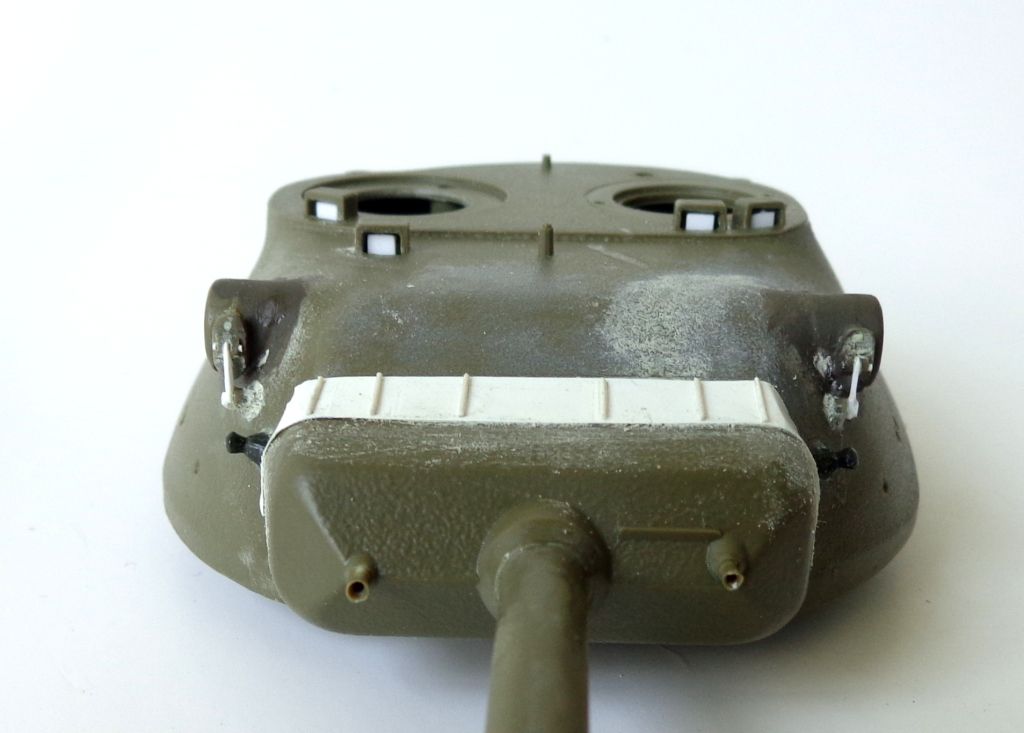
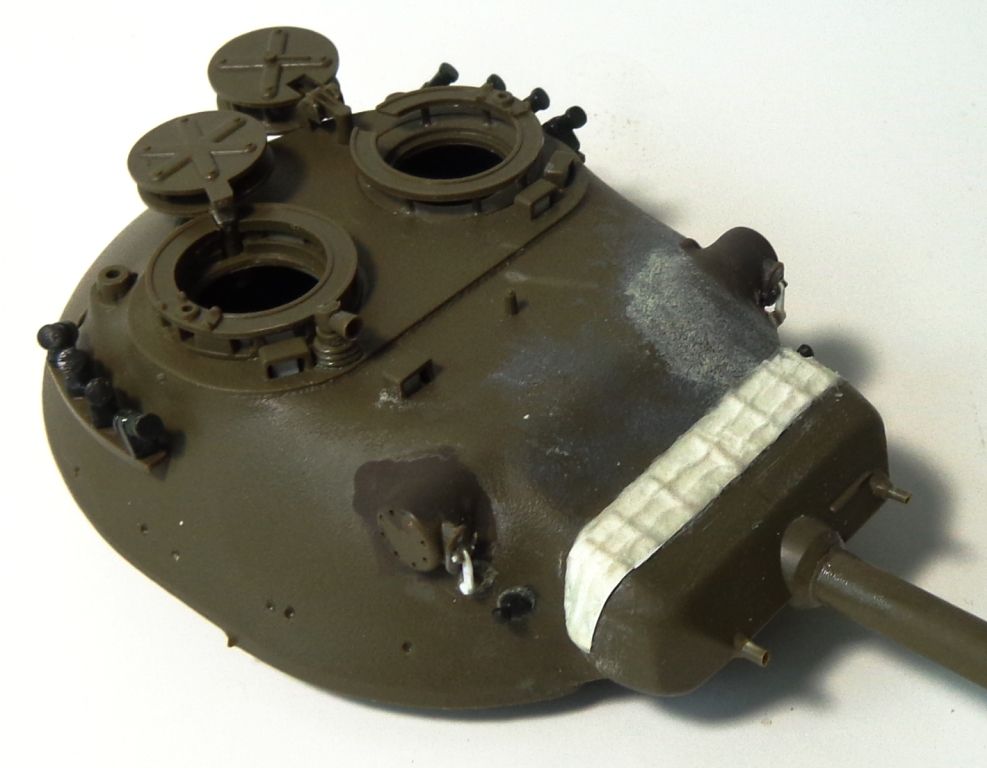
HHere, the mantlet cover has been covered in tissue, and the smoke dischargers from the Leo 1A4 stolen for the better molding. Note also that the barrel has had a "Lip" of sort put on the front. This is barely visible in many photos, but is undoubtedly there.
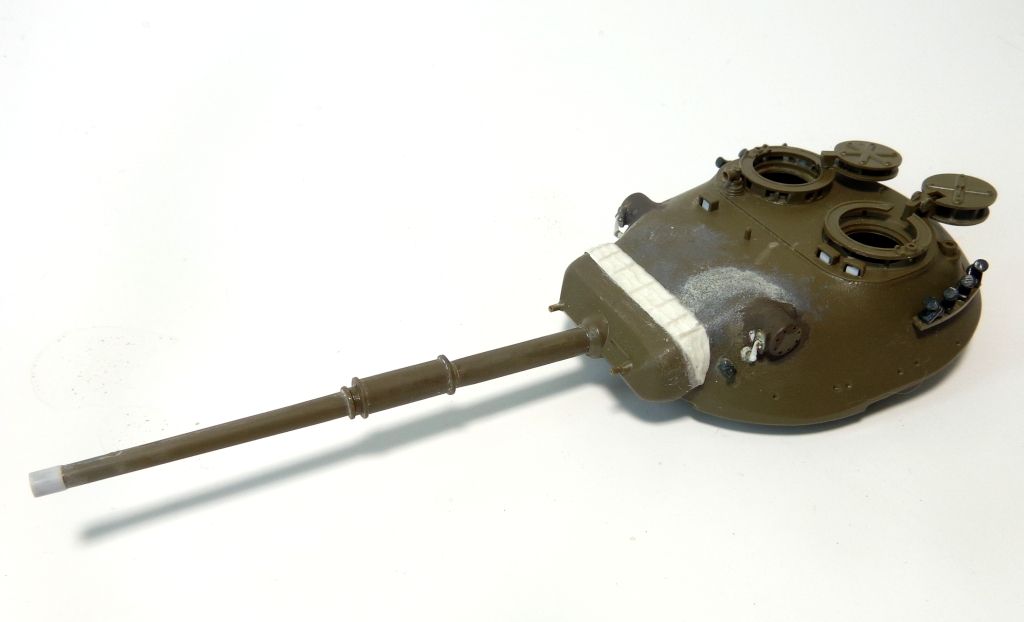
Some of the texturing on the mantlet cover. Not done yet--I have to add wire on the outside of it and details around the edges.
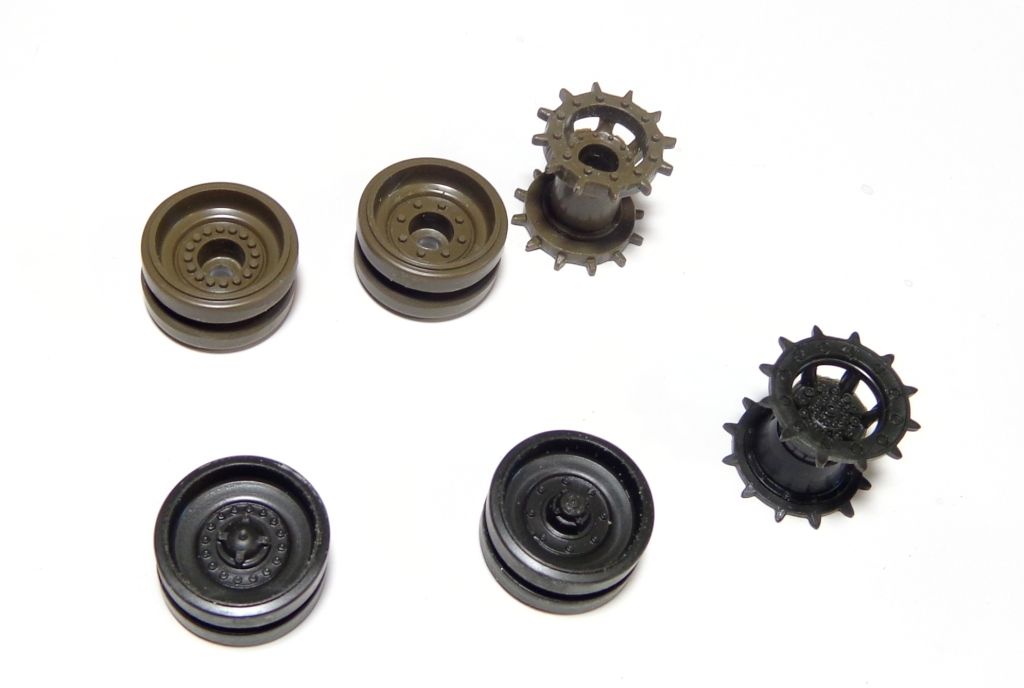
The other thing I decided is to use the Leopard 1A4 wheels, as they're far better in molding; less chunky and primitive looking. The lighter green ones are the original Leo 1 wheels.
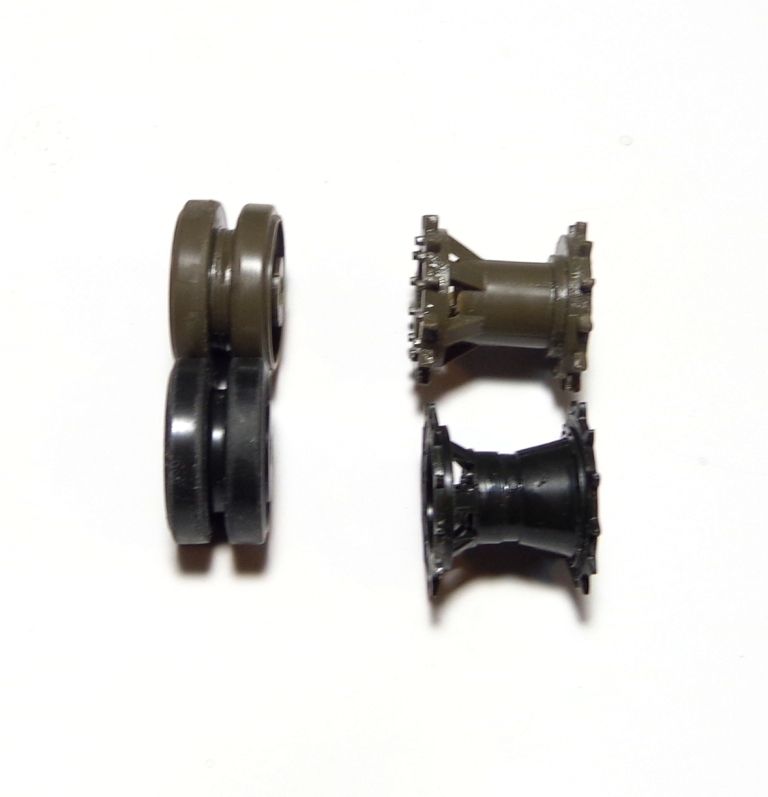
Pretty happy with how this is coming along. I willl also be using the MUCH-better tools from the A4, and possibly some other parts. The tracks, interestingly, are about an inch longer, but look pretty much the same, but with blocks instead of chevrons. Depending on my references, I may have to monkey with them...
That's all for now, guys! Thanks for looking in and commenting!!! 
