garzonh
Good lord!!
Your painting skills just keep amzing me...yes, I know...you have done it before, but you make it look so easy. I always start good on the paneling shading but when I do the overall coat, everything goes away and I end up with nothing of shading...seems you have to be more aggresive on the shading.
I will try something like this on my Merkava...probably will exagerate on the modulation.
Good work Karl!!
Thanks, Hugo; you always make me feel well-appreciated, lol. I do genuinely appreciate your enthusiasm! And yes, you have to be aggressive and fearless on the shading to get the results that I like.

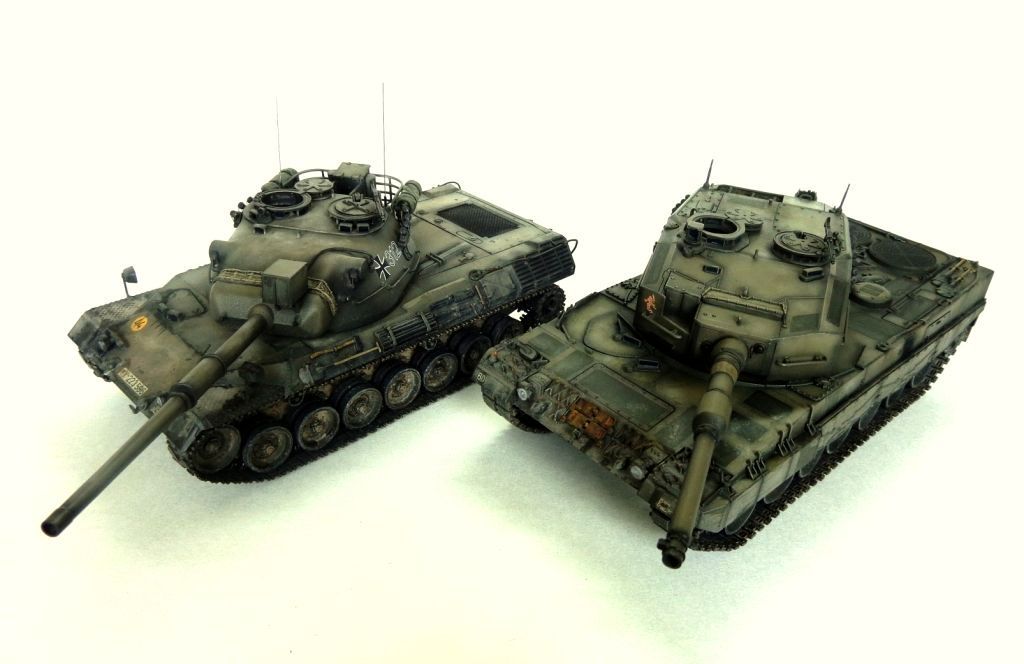
So I am calling these "Finished"! I apologize for not documenting all of the weathering steps; honestly, I just was modeling for the sake of the love of modeling and the nostalgic thrill that working on these old gems gave to me. These were some models that were among the earliest build for me, and re-doing them in more detail and care was a special experience. I'll try to detail what I did to them, but honestly, I didn't go nuts on the weathering---in fact, the 2A4 is almost a "clean" finish; rare for me! 
So here's the pics; first, the two together...
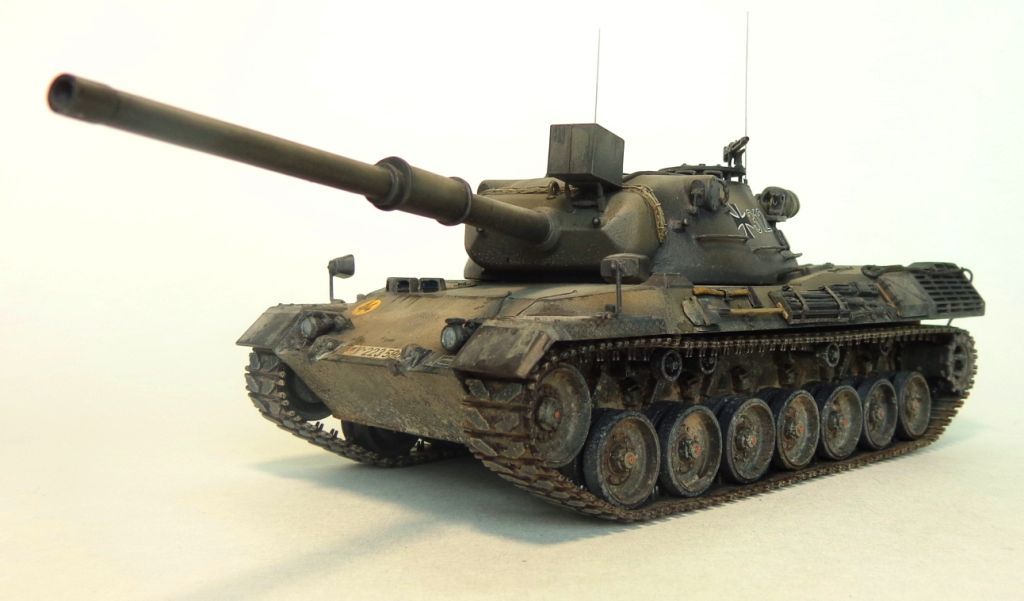
And some of the Leopard 1, which is the dirtier finish of the two.
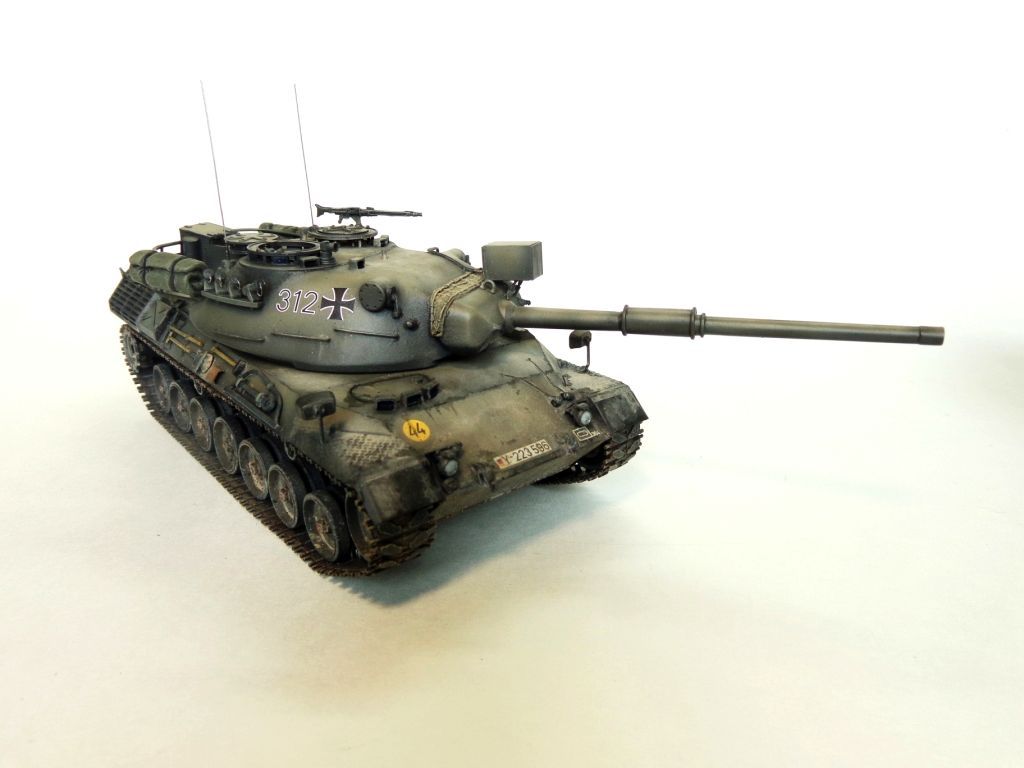
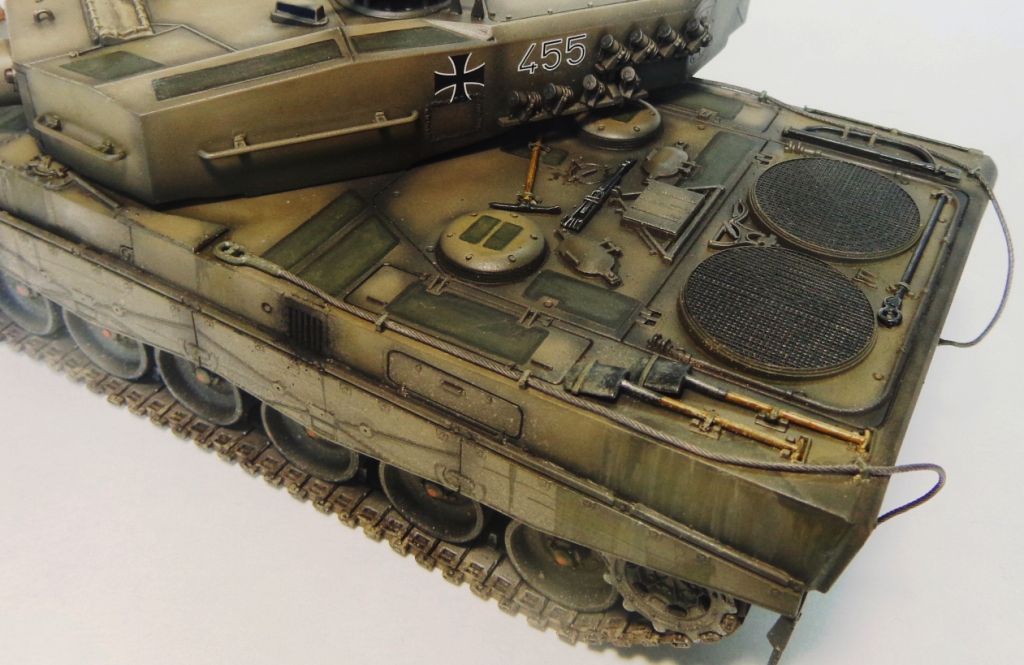
You can see that last two things that I added were those "drain plugs" on chains there on the front hull.
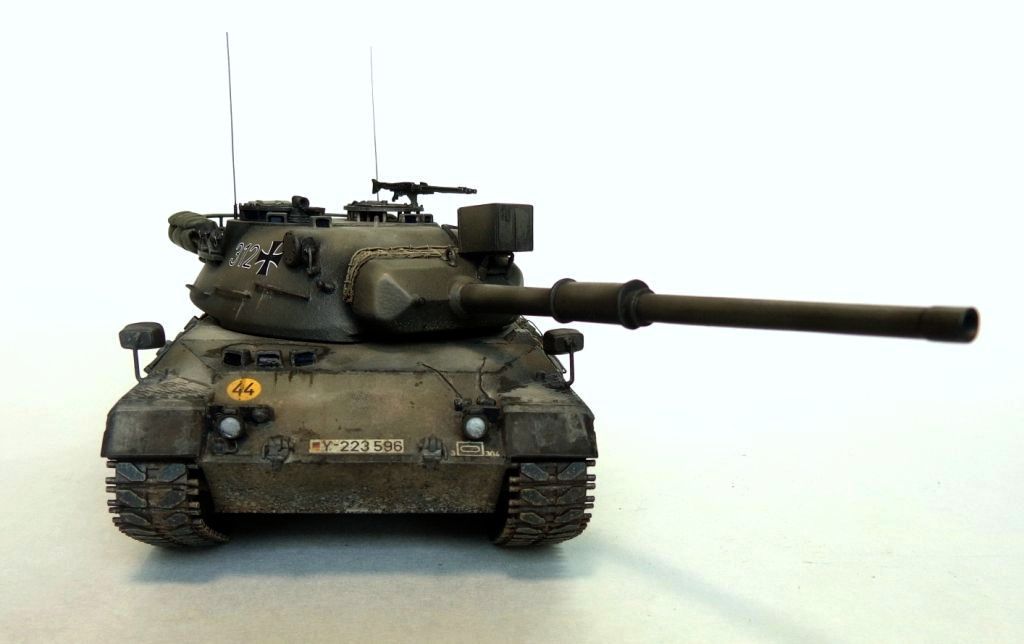
The front hull was spattered and weathered again with craft store acrylics.
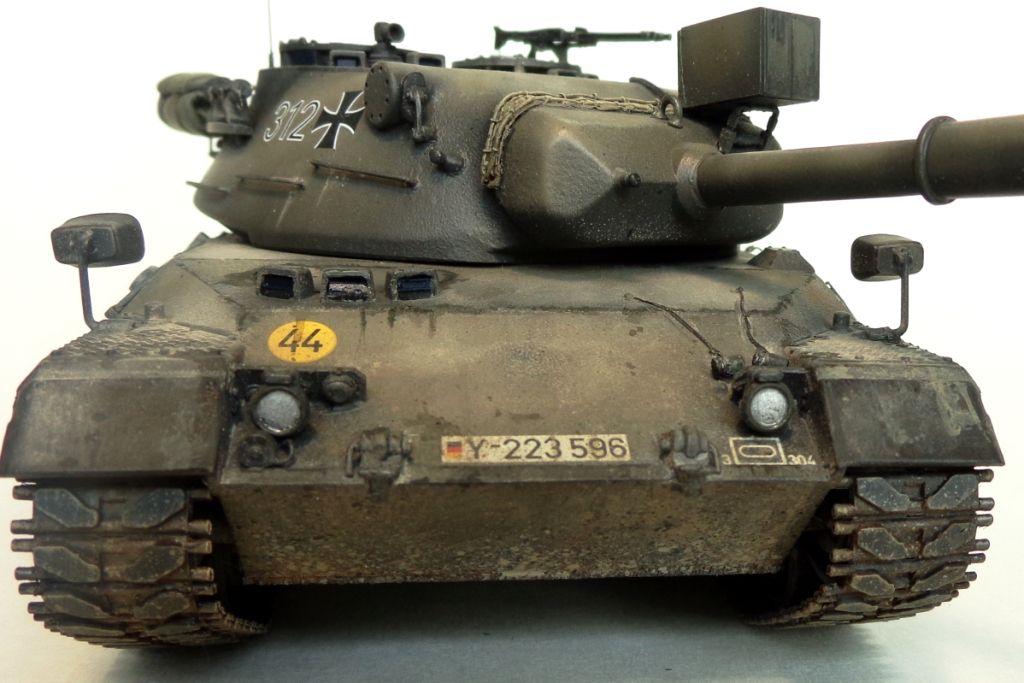
Those "drain plug" things....some Wilder pigments were used to give a dust coat on select surfaces.
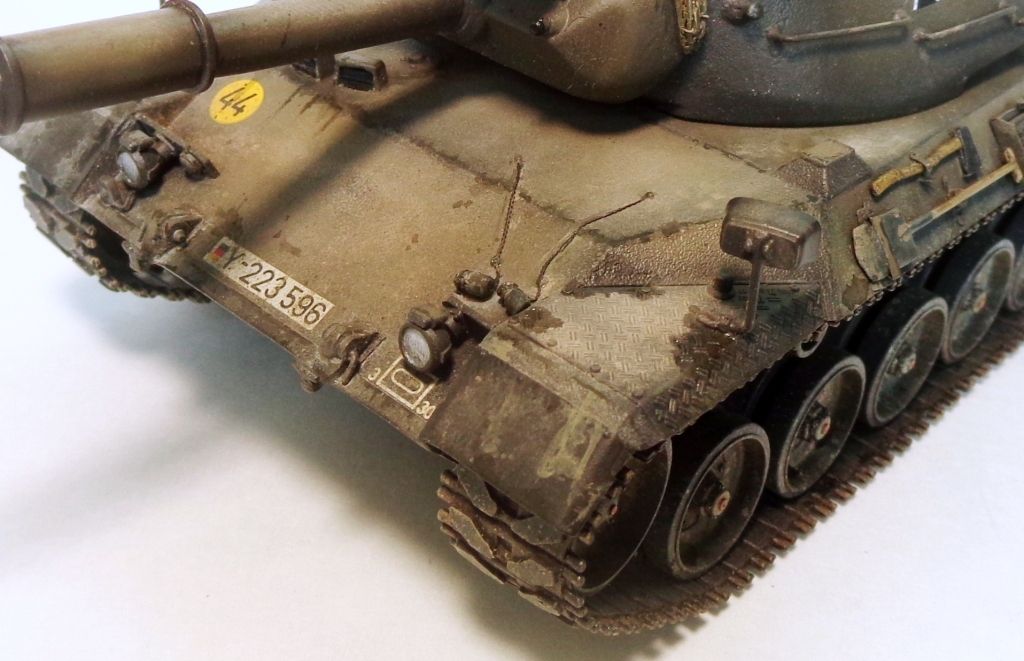
The cables are copper cables from Kayaba, cut to size.
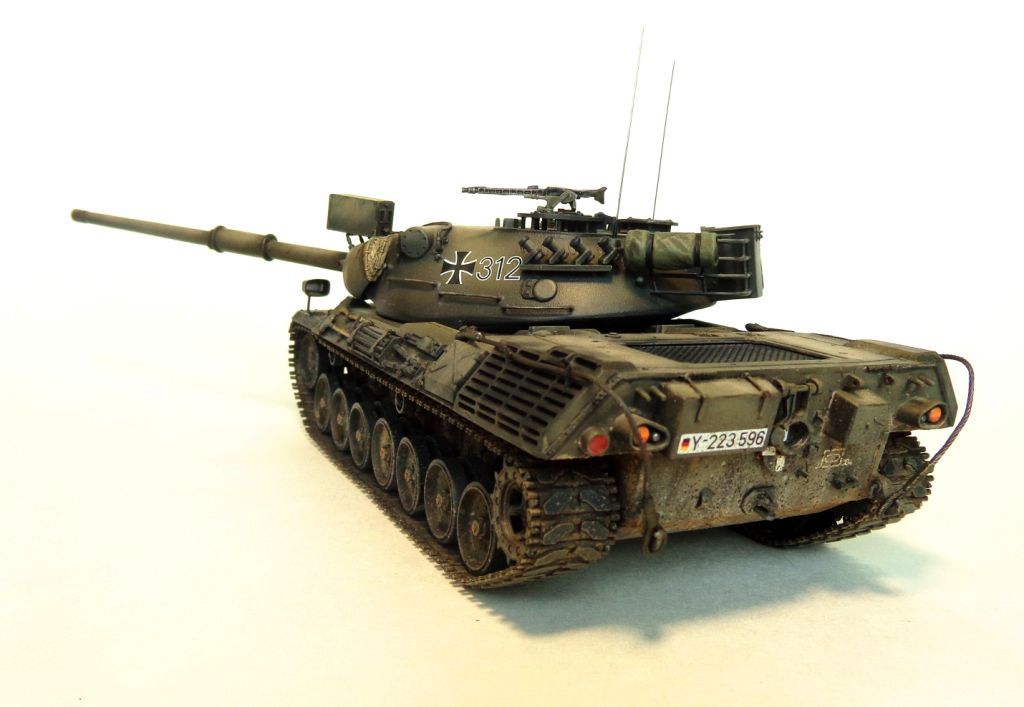
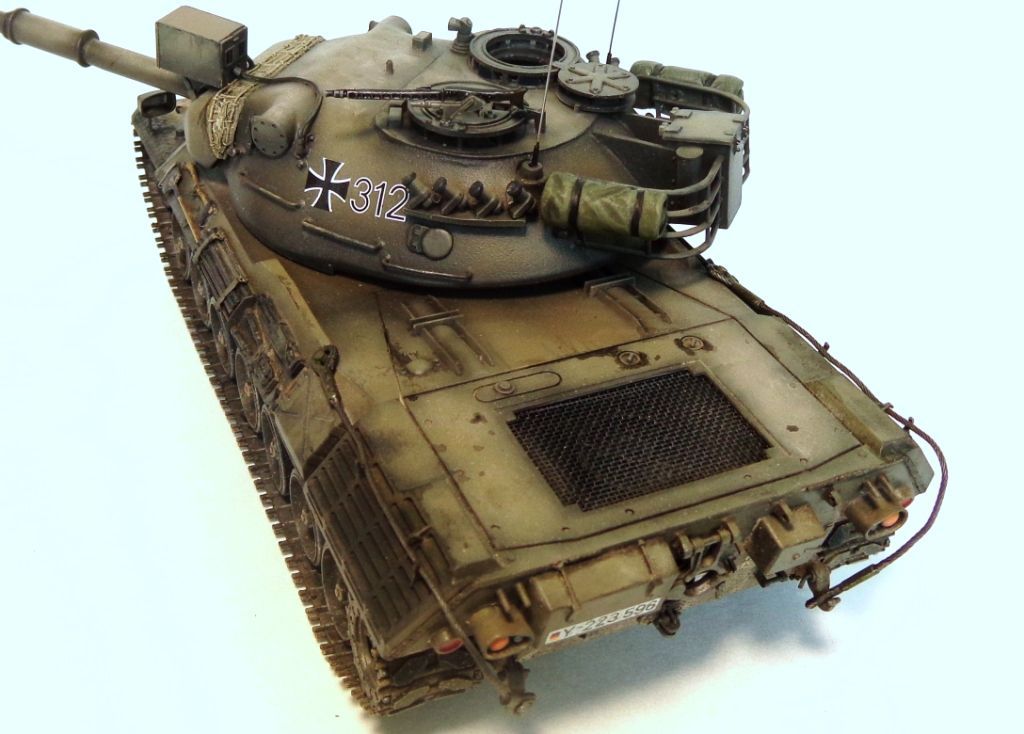
A couple bags dressed up the back..black pigments were used on the exhaust outlets
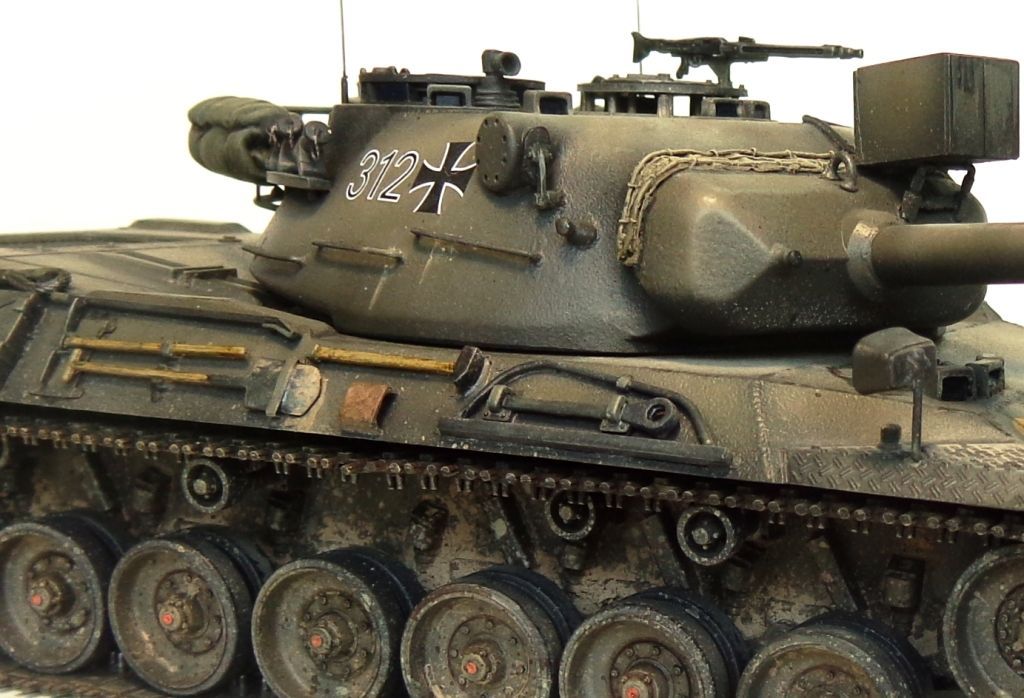
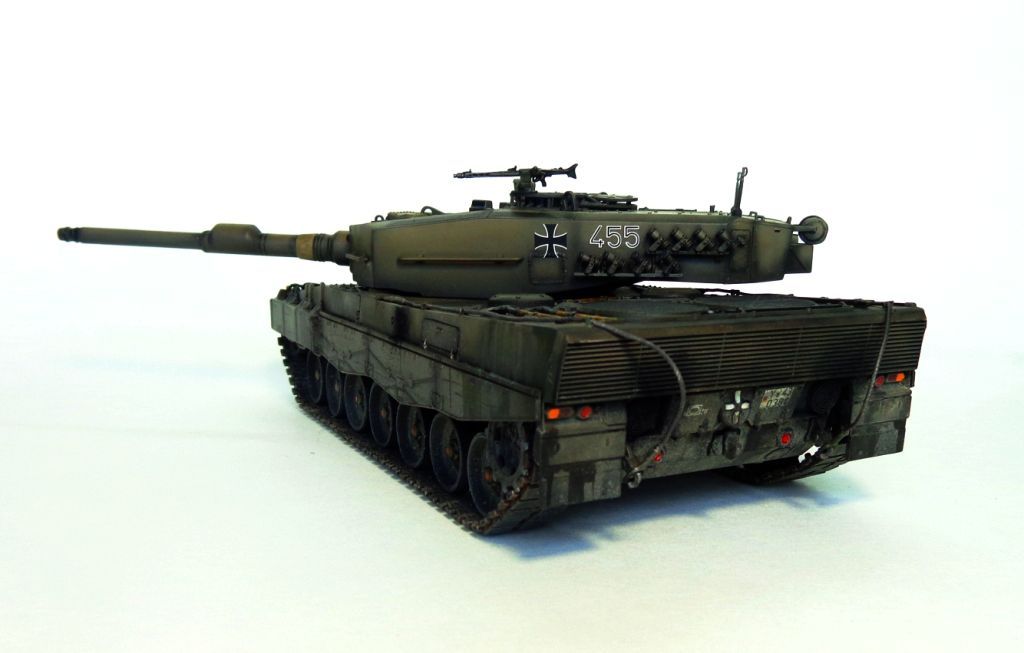
The Leo 2, 95% weathered with acrylics, only.
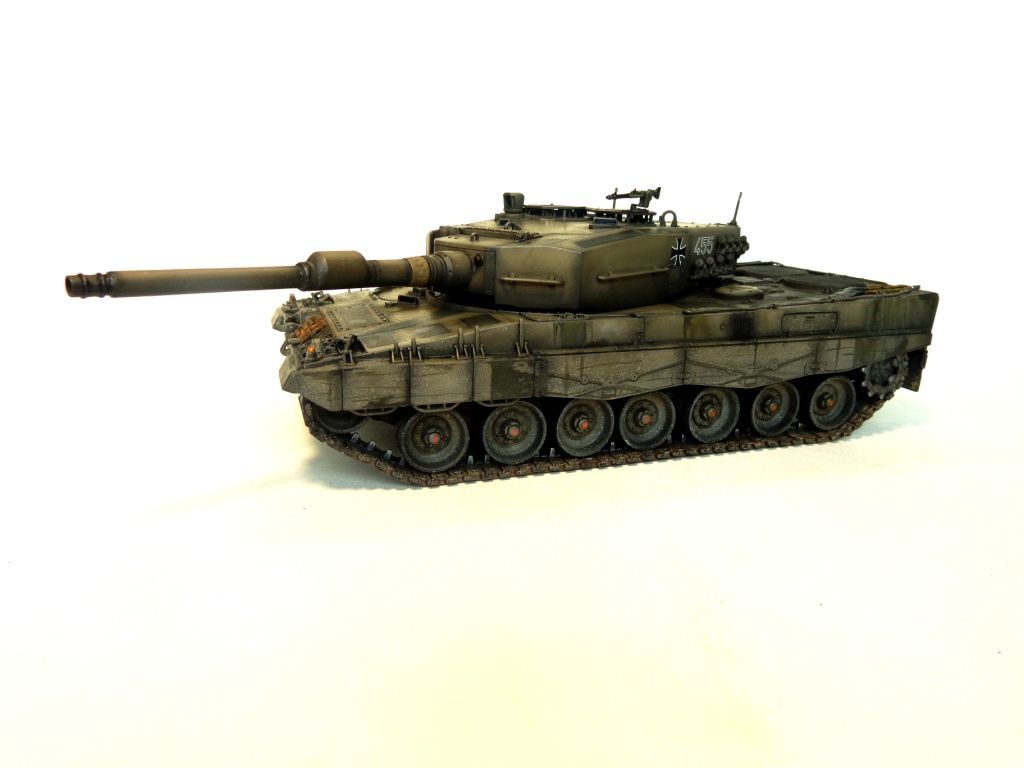
Outlining was done using acrylic washes and pinwashes. The no-skid areas are supposed to be black, I think, but I wanted them to look a little more .... interesting,..so I painted a little base color into them. All done with acrylics...also, I filled the bin there with Verlinden netting and made lead foil straps.
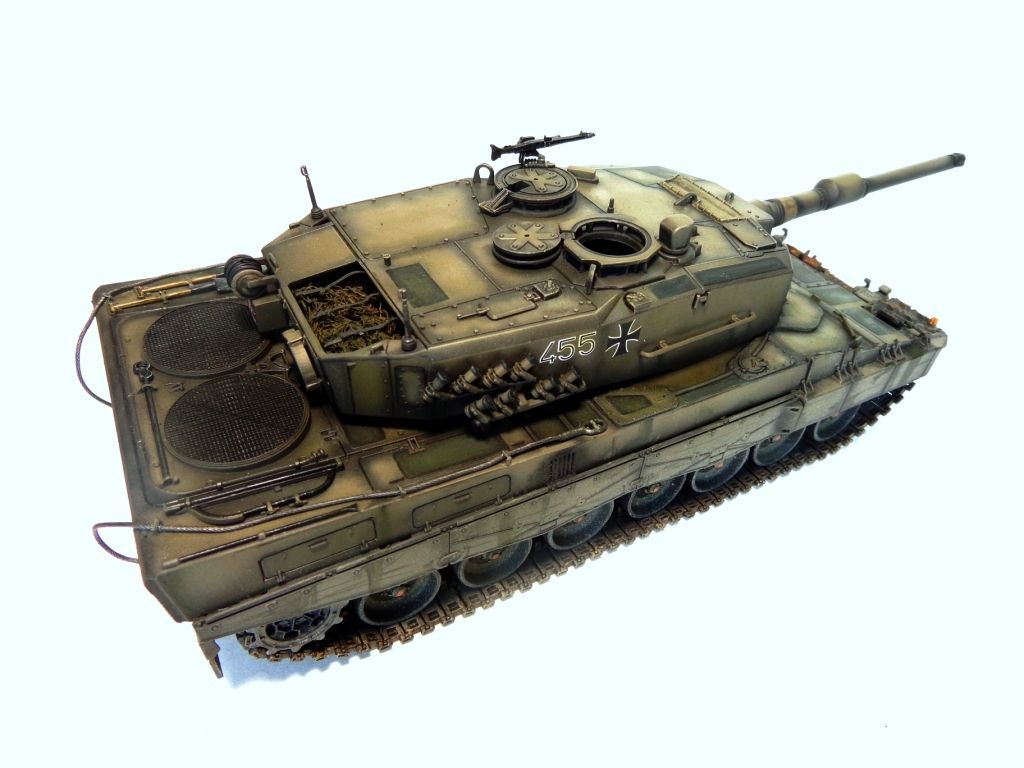
The cables are those Kayaba jobbers again...
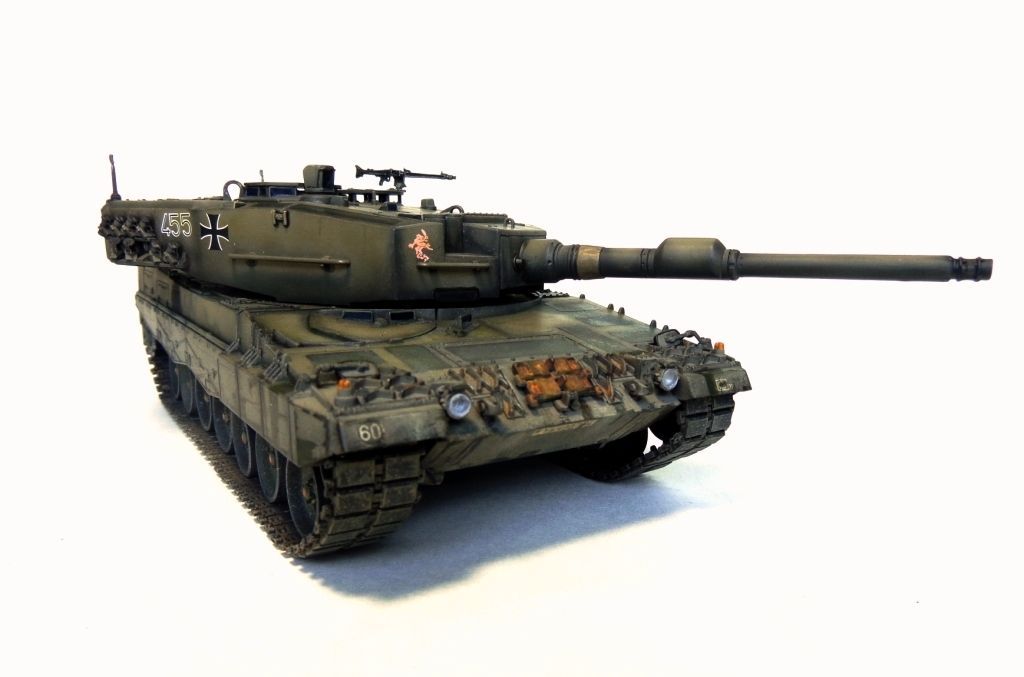
The lights are from some other kit, I honestly can't remember. I had them in the spares box and thought that the clear plastic would look cool.
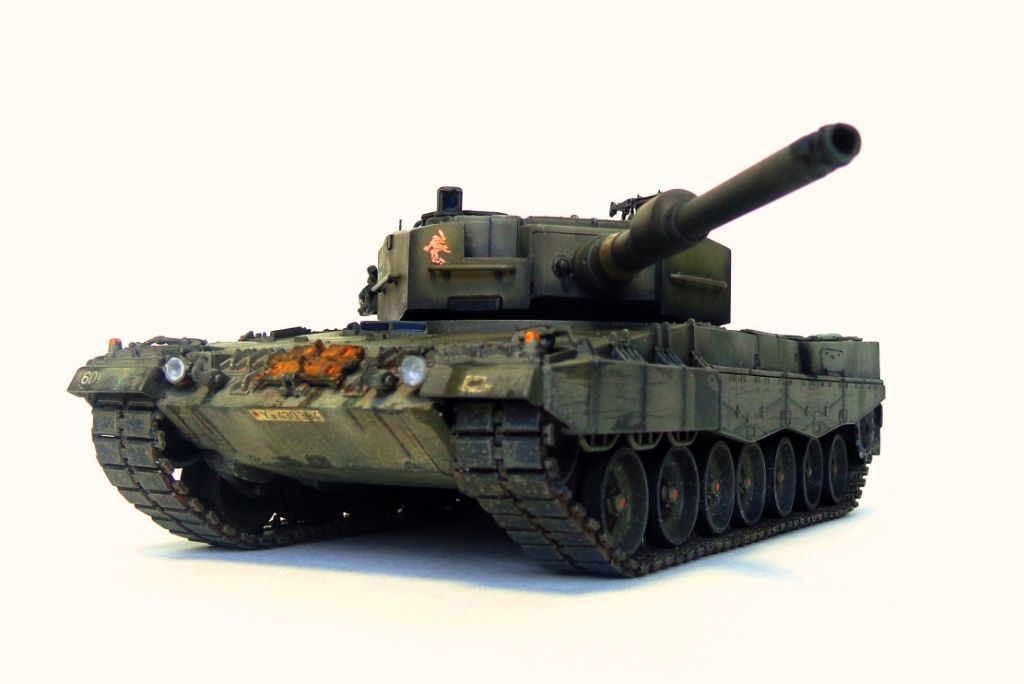
I used Wilder pigments to make rust on the spare track. Normally, this is jus painted the base coat, but I found a few pics where it was freshly-rusted, so I thought it added a nice splash of color to it.
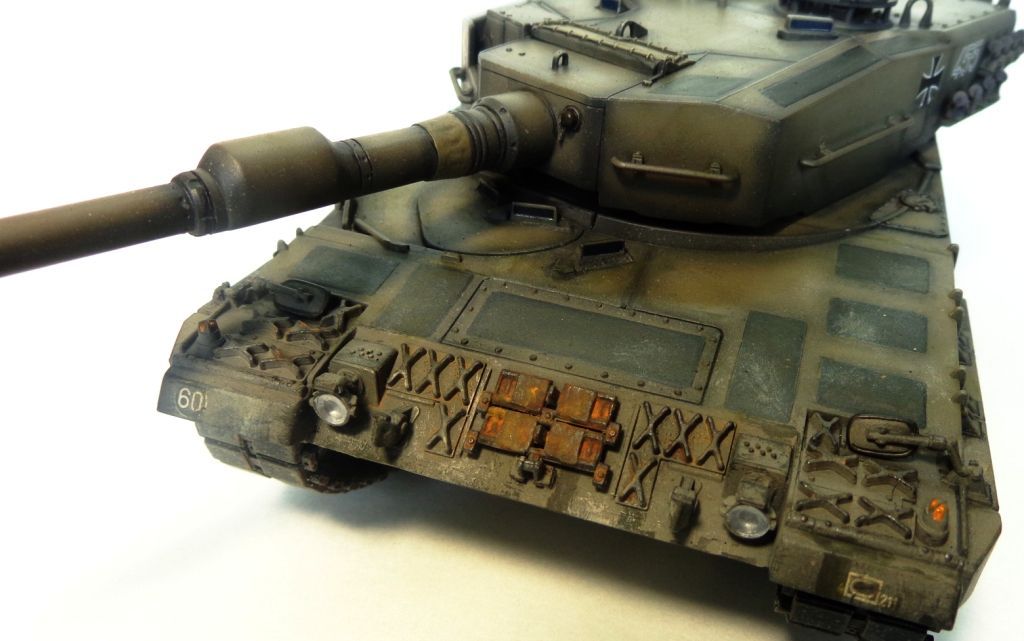
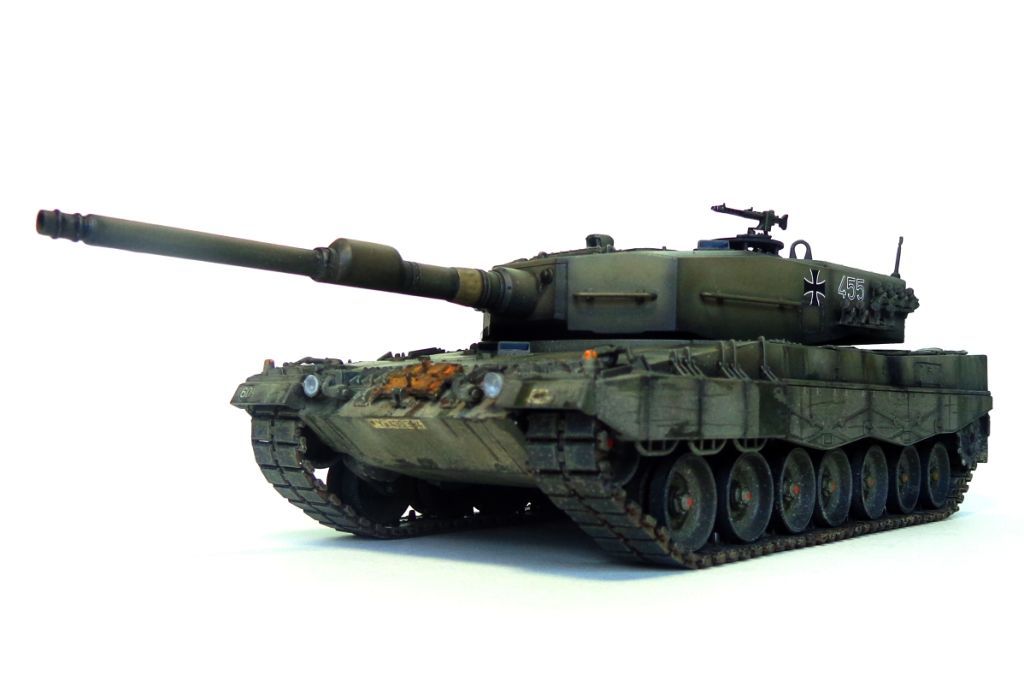
The happy couple...

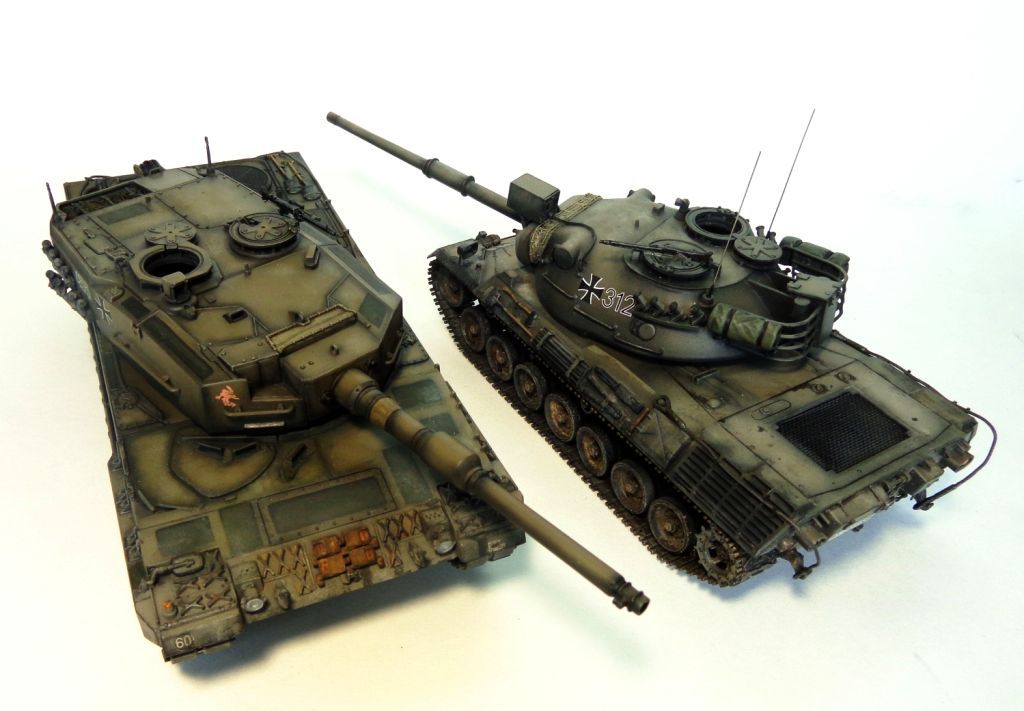
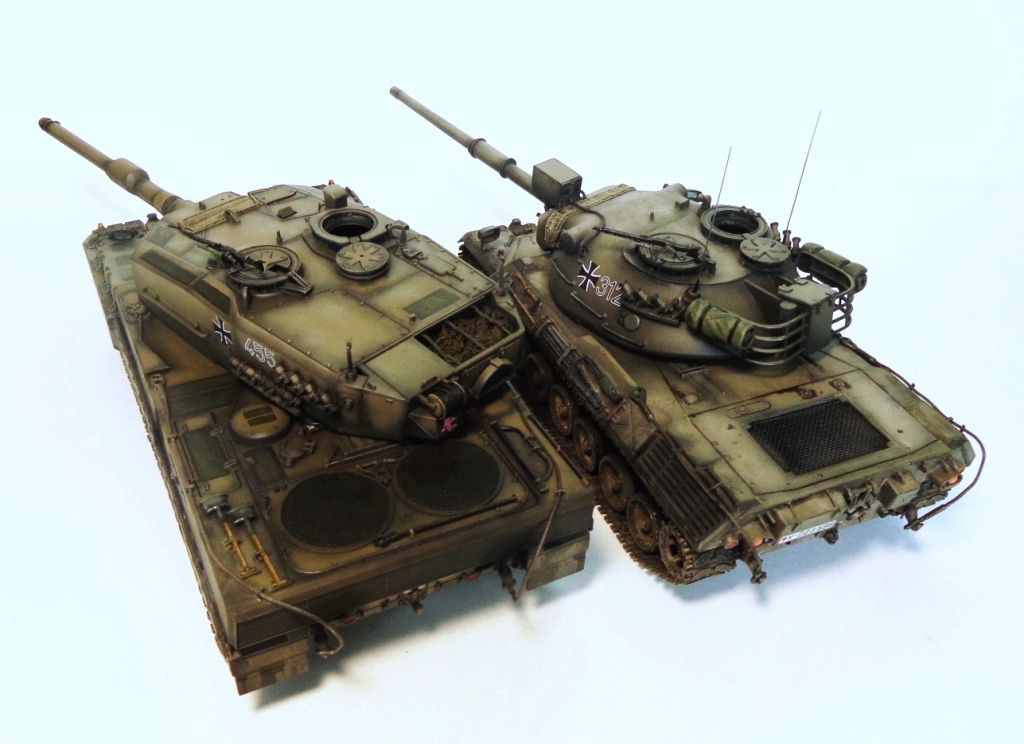
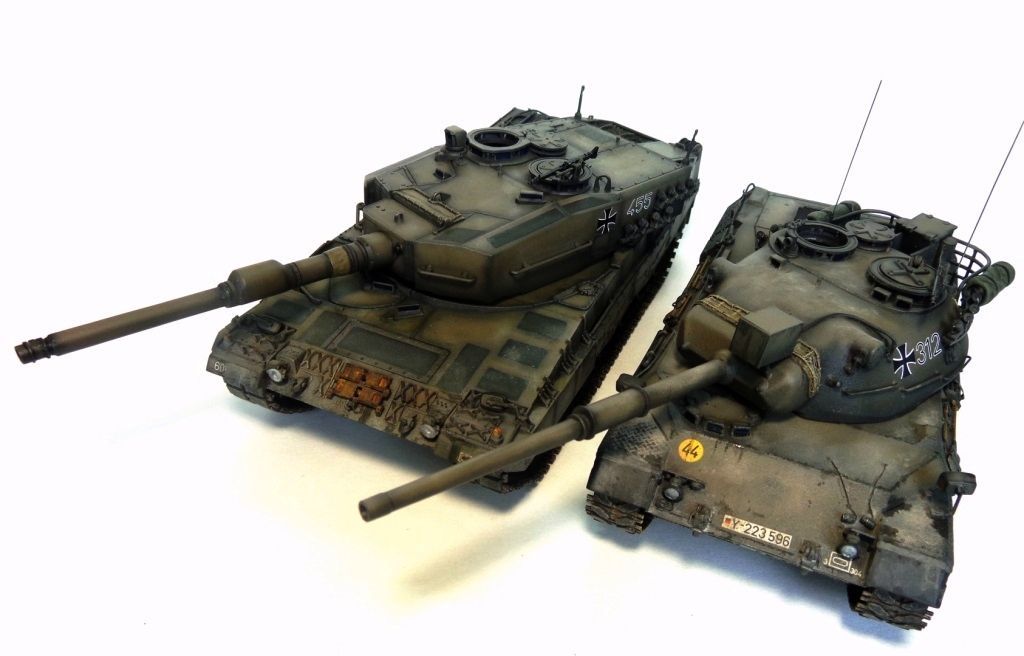
Thanks to everyone who's followed along on this build! It's been a long time since I've done two tanks at the same time, and it was pretty challenging at times to keep things separate and progressing at same levels, but I"m happy with the results. I think that they look a bit different than my other builds, and are surely miles beyond the original builds which I sold on eBay months ago. I'm happy to have these updated versions in my display case!
Comments and questions are, of course, always welcomed!
Thanks again, guys---on to the next project...might be a diorama!??  ........